
Bloom & Brighten: Your Essential Roadmap to Flawless Warm-Weather Nails
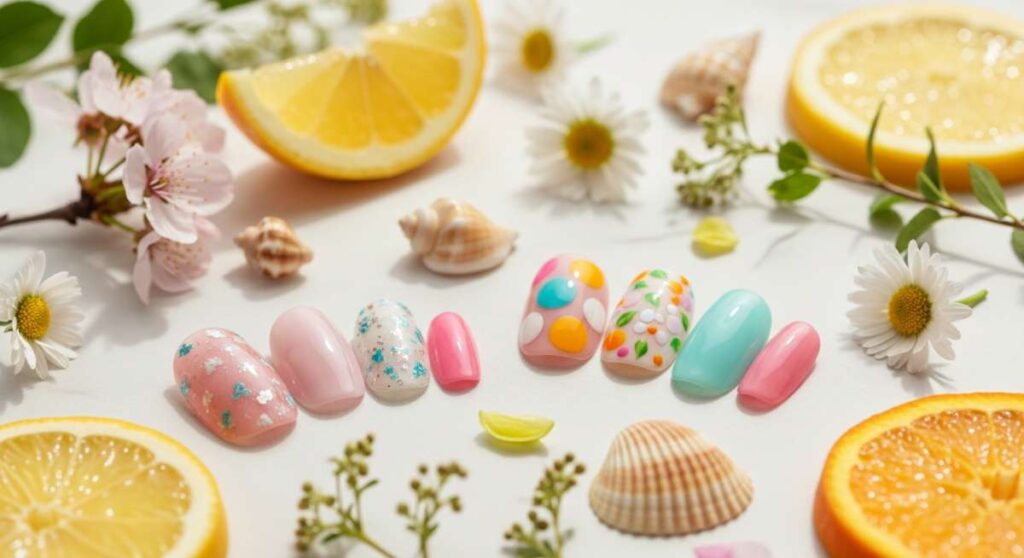
Hello, my loves! Can you feel it? That soft, golden warmth beginning to dance across your skin and the sweet, floral scent of spring waking up the world? As we tuck away our heavy coats and embrace the light, airy vibes of the season, there is nothing quite like a fresh manicure to make us feel truly bloomed and brightened. Our hands tell our stories—they hold our coffee, they wave to neighbors, and they deserve to be treated with a little bit of magic.
I’ve spent the last few weeks dreaming of colors that mimic the sunset and textures that feel as soft as a cloud. Whether you’re a DIY queen or someone who loves their salon sanctuary, this roadmap is my love letter to your fingertips. We’re diving deep into the trends that are going to define your spring and summer, from the return of vintage patterns to the edgiest ‘baddie’ looks that make a statement. So, grab a glass of iced tea, find a sunny spot, and let’s talk about making your nails your favorite accessory this year.
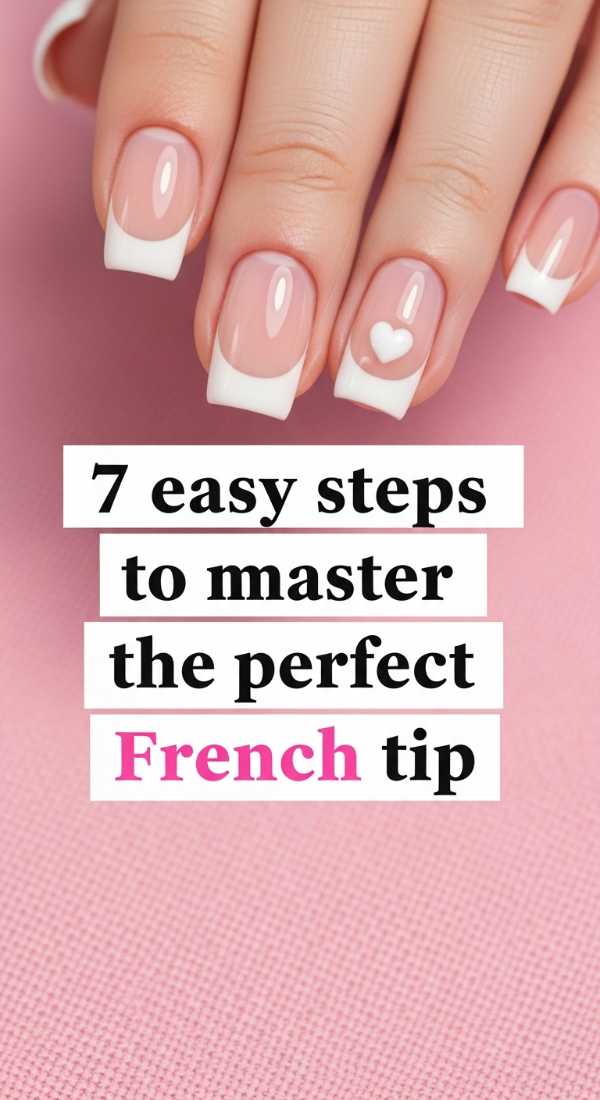
Mastering the Perfect French Tip
Why to love this Design:
There’s something so timeless about a French tip, my loves. It’s the ultimate ‘clean girl’ aesthetic that makes you feel instantly put together, whether you’re in a sundress or your favorite loungewear. It elongates the fingers and gives off an air of quiet luxury that never goes out of style.
Essential Elements:
- Sheer nude or petal pink base coat
- Opaque crisp white polish
- Thin liner brush or French tip guides
- High-gloss top coat
How to Prepare:
- Cleanse nails with alcohol to remove oils.
- Apply one thin layer of base coat.
- Apply two layers of your sheer nude base and let dry completely.
- Place your guide or use a liner brush to map the smile line.
- Swipe the white polish across the tip.
- Clean up the edges with a brush dipped in acetone.
- Seal with a thick, glossy top coat for that glass-like finish.
Budget Range
- Essie Mademoiselle ($10)
- Orly White Tips ($12)
- Mani-Eraser Cleanup Brush ($8)
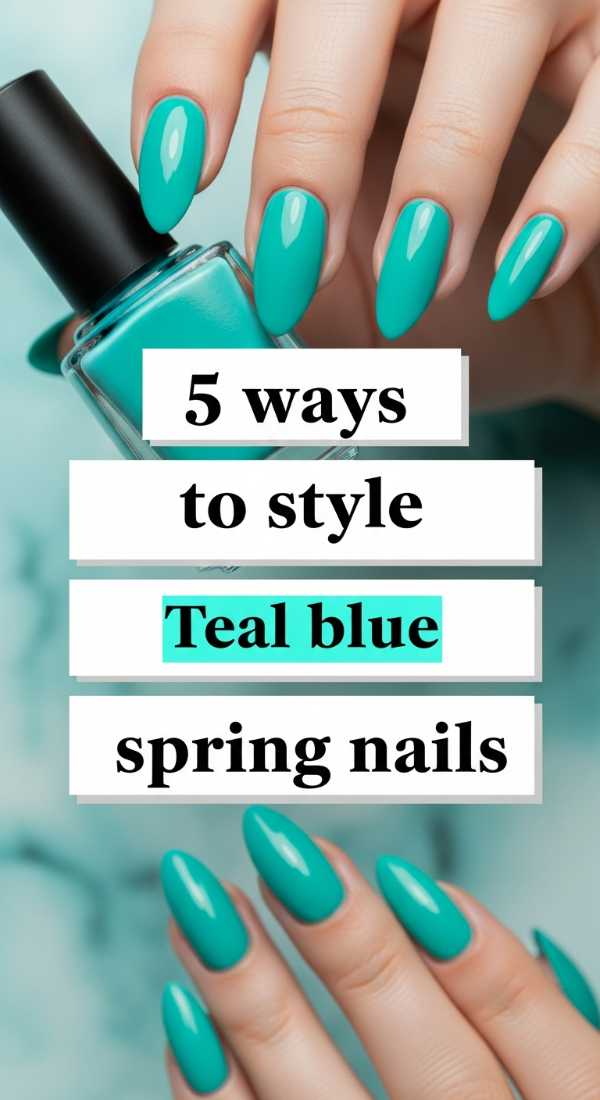
5 Ways to Style Teal Blue Spring Nails
Why to love this Design:
Teal is that magical bridge between the crisp air of spring and the deep warmth of summer. It’s bold yet soothing, like a dip in a hidden Mediterranean cove. It’s the perfect pop of color that looks incredible against every skin tone.
Essential Elements:
- Deep teal cream polish
- Matte top coat
- Gold leaf flakes
- White accent polish
How to Prepare:
- Classic Cream: Two coats of teal for a solid, sophisticated look.
- Matte Magic: Add a matte top coat for a modern, velvet texture.
- The Accent: Paint one nail white and add tiny teal polka dots.
- Golden Shore: Press gold leaf onto a tacky teal base for a luxurious feel.
- Ocean Ombre: Sponge a lighter blue at the tips for a gradient effect.
Budget Range
- OPI ‘Is That a Spear in Your Pocket?’ ($11)
- Sally Hansen Matte Top Coat ($7)
- Nail Art Gold Flakes ($5)
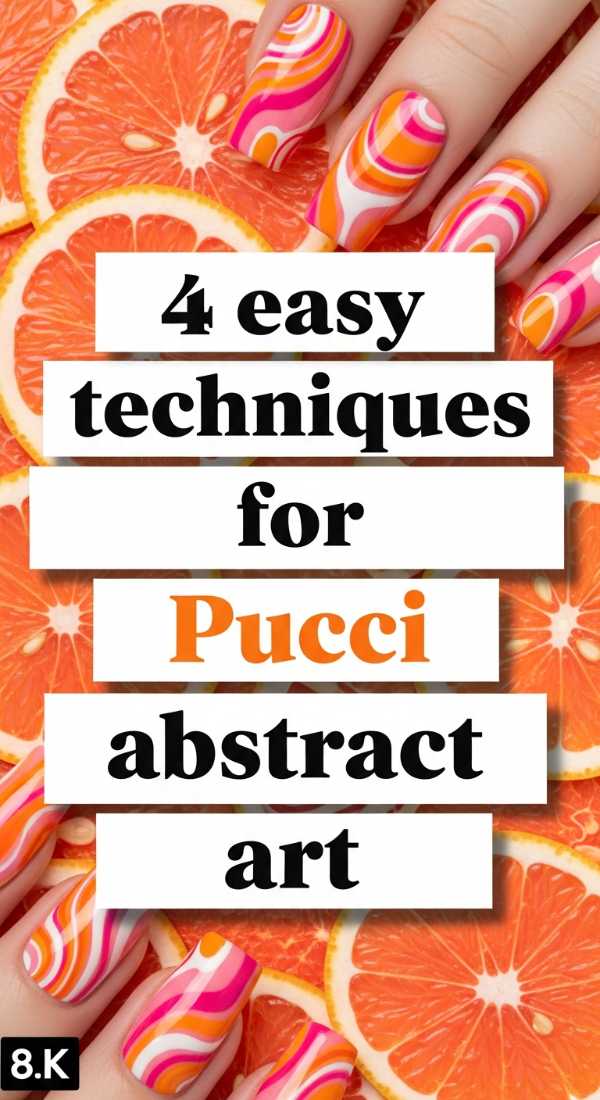
4 Easy Techniques for Pucci Abstract Art
Why to love this Design:
If you love a retro vibe, Pucci-inspired nails are your soulmate. These swirling, colorful patterns are artistic, energetic, and wonderfully unique. They turn your nails into a canvas of 1960s Italian glamour.
Essential Elements:
- Three contrasting pastel or neon colors
- Black or white detailing polish
- Fine-point detailing brush
- Steady hand or a bracing finger
How to Prepare:
- The Blob Method: Drop small dots of color and swirl them with a toothpick.
- The Layered Curve: Paint overlapping ‘C’ shapes in different colors.
- The Outlining Trick: Draw your shapes first with a fine brush, then fill them in.
- The Negative Space: Leave parts of the natural nail showing between swirls for a modern twist.
Budget Range
- Holler and Glow Nail Art Brushes ($9)
- Zoya Professional Lacquer in various shades ($12 each)
3 Secrets to Applying White Chrome Powder
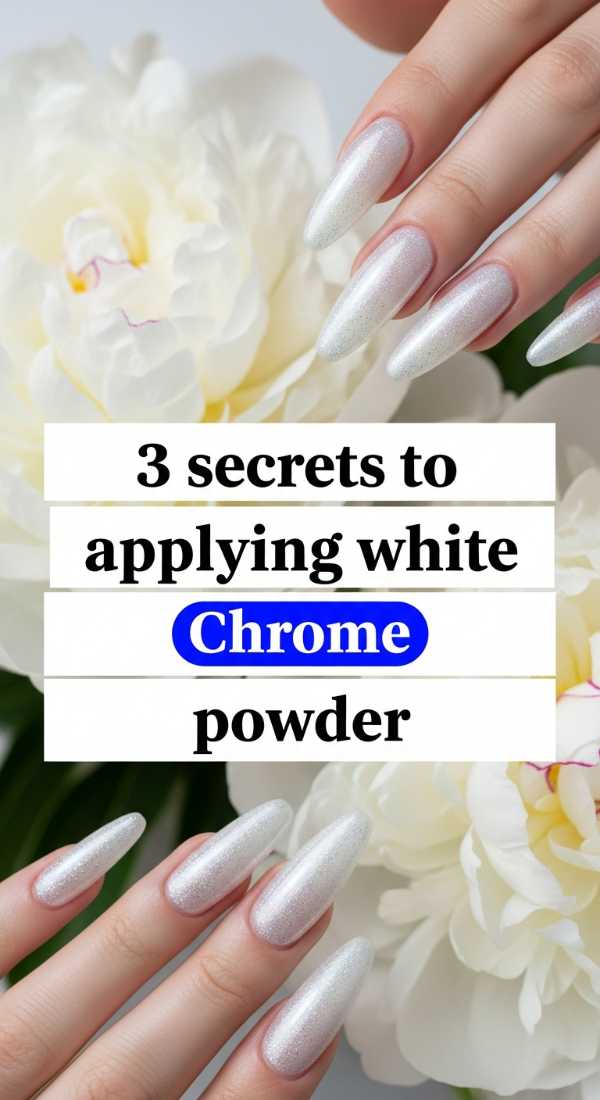
Why to love this Design:
The ‘Glazed Donut’ trend isn’t going anywhere, darlings! White chrome gives your nails a celestial, pearlescent glow that catches the light in the most ethereal way. It’s pure magic in a jar.
Essential Elements:
- White or soft pink gel polish
- Non-wipe top coat (crucial!)
- White pearl chrome powder
- Eyeshadow sponge applicator
How to Prepare:
- The Timing Secret: Cure your non-wipe top coat for only 30 seconds so it remains slightly ‘grippy’ for the powder.
- The Rub: Use the sponge to firmly burnish the powder into the nail until it turns into a mirror.
- The Double Seal: Apply a second layer of top coat and ensure you cap the free edge to prevent peeling.
Budget Range
- Artdone Chrome Powder Palette ($15)
- Beetles No Wipe Gel Top Coat ($8)
6 Baddie Steps for Edgy Spring Designs

Why to love this Design:
Sometimes we want to trade the soft pastels for something with a bit of ‘attitude.’ Edgy spring designs combine feminine colors with sharp shapes and bold accents, perfect for my loves who want to stand out from the crowd.
Essential Elements:
- Long coffin or stiletto tips
- Neon pink or lime green accents
- Silver 3D charms or studs
- Matte black detailing
How to Prepare:
- Shape nails into a sharp stiletto or long coffin.
- Apply a high-contrast base color like neon pink.
- Add a single ‘flame’ graphic on the ring finger using a liner brush.
- Place a silver chrome stud at the base of the thumb.
- Use a matte top coat on the middle finger for texture contrast.
- Finish with a high-shine oil to keep the cuticles looking editorial.
Budget Range
- Aprés Gel-X Nail Extensions ($30)
- Saviland Nail Art Charms ($10)
5 Tips to Prep Vibrant Orange Summer Toes

Why to love this Design:
Orange is the color of joy, energy, and vitamin D! A vibrant orange pedicure is the ultimate sign that summer has arrived. It looks stunning in sandals and makes your skin look instantly sun-kissed.
Essential Elements:
- Exfoliating foot scrub
- Electric orange polish
- Hydrating cuticle oil
- Callus remover
How to Prepare:
- Soak your feet in warm water with Epsom salts for 10 minutes.
- Exfoliate thoroughly, focusing on the heels.
- Trim nails straight across to prevent ingrowns.
- Apply a base coat to prevent the orange pigment from staining the nail.
- Apply two coats of orange, allowing 5 minutes between each.
Budget Range
- Tree Hut Shea Sugar Scrub ($10)
- China Glaze ‘Riveting’ ($9)
4 Goth Inspired Black Spring Looks
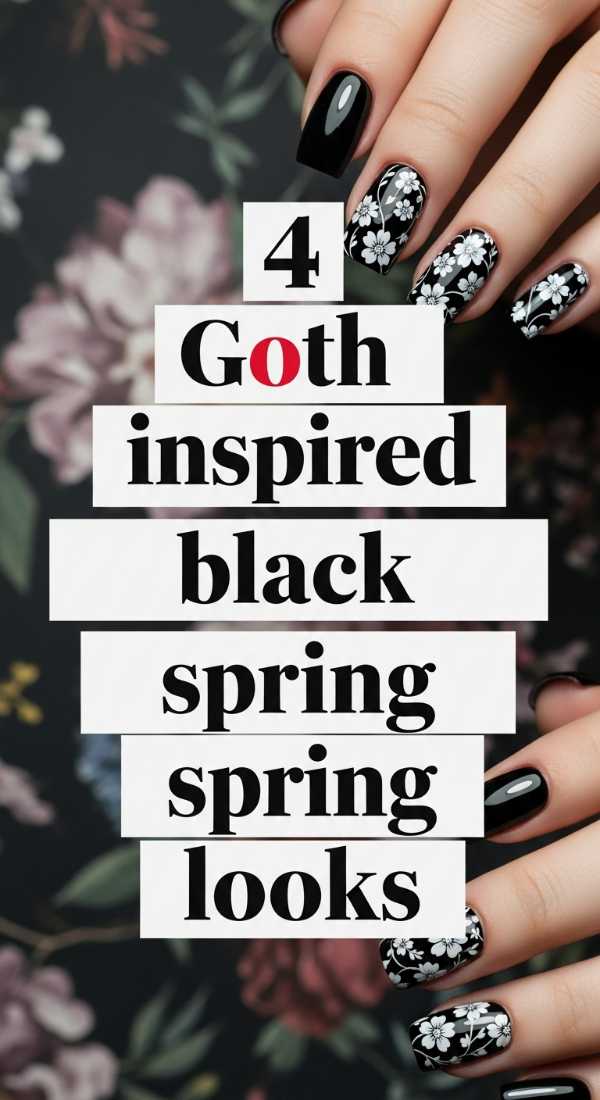
Why to love this Design:
Who says black is only for winter? Goth spring is all about ‘Springtime Sadness’—think delicate black lace and moody florals. It’s sophisticated, mysterious, and incredibly chic.
Essential Elements:
- True black cream polish
- Sheer black ‘tint’ polish
- Floral nail decals
- Matte finish
How to Prepare:
- The Lace Look: Use a stamping plate to apply a lace pattern over a nude base.
- The Moody Bloom: Paint tiny black roses over a lavender background.
- The Sheer Veil: Mix a drop of black polish into a top coat for a ‘tights’ effect.
- The Reverse French: A black base with a silver chrome tip.
Budget Range
- Maniology Stamping Starter Kit ($25)
- Cirque Colors ‘Memento Mori’ Black ($14)
3 Minutes to Achieve Natural Spring Elegance
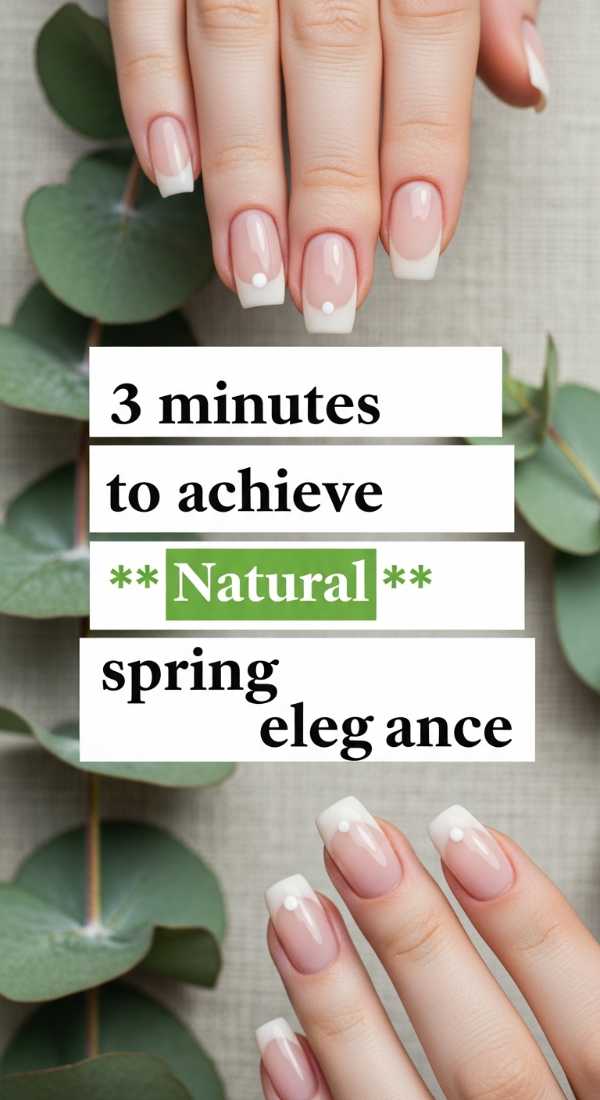
Why to love this Design:
For my busy loves, sometimes less is more. Natural elegance is about healthy, glowing nails that look polished without the effort. It’s the ‘no-makeup’ look for your hands.
Essential Elements:
- Buffing block
- Clear strengthening treatment
- Nail concealer or brightening polish
How to Prepare:
- Buff the surface of the nail gently to a natural shine.
- Apply one coat of a ‘nail concealer’ which filters out yellow tones.
- Finish with a drop of rose-scented cuticle oil.
Budget Range
- Londontown Kur Illuminating Nail Concealer ($20)
- Flowery Scented Cuticle Oil ($6)
6 Steps for Almond Shaped Red Nails
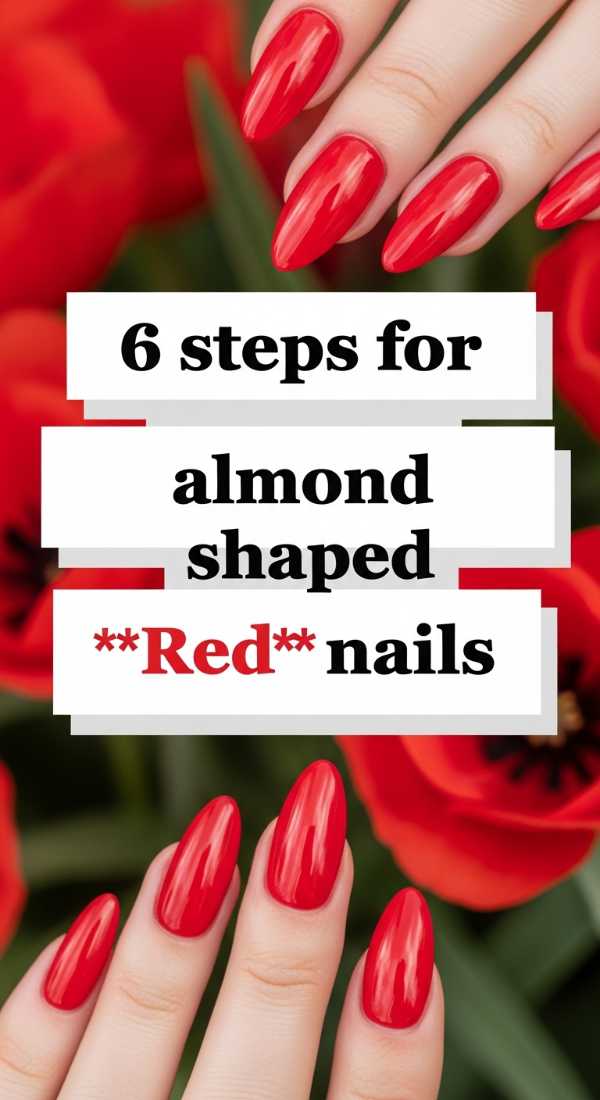
Why to love this Design:
Red is the color of confidence. When you pair a classic cherry red with a sophisticated almond shape, you get a look that is powerful, feminine, and utterly iconic.
Essential Elements:
- Medium-grit nail file
- True red cream polish
- Base coat (to prevent staining)
- Precision brush for the cuticle line
How to Prepare:
- File the sides of the nail toward the center at an angle.
- Round off the tip to create a soft almond peak.
- Apply a thick base coat.
- Start your red polish in the center of the nail, then fill the sides.
- Use a precision brush to get as close to the cuticle as possible without touching it.
- Seal with a UV-protectant top coat to keep the red from fading in the sun.
Budget Range
- Revlon ‘Red’ ($6)
- Glass Nail File ($12)
10 Cute Ideas for Spring 2026 Trends

Why to love this Design:
Let’s look forward, shall we? Spring 2026 is going to be all about ‘Bio-Luminescence’ and ‘Soft Futurism.’ It’s a mix of nature-inspired textures and high-tech finishes that feel incredibly fresh.
Essential Elements:
- Iridescent flakes
- 3D ‘Water Droplet’ gel
- Moss green shades
- Terracotta accents
How to Prepare:
- Bio-Glitter: Use eco-friendly iridescent glitters.
- Water Drops: Use hard gel to create 3D droplets on a matte leaf-green base.
- Sunset Gradients: Blend terracotta into soft peach.
- Micro-Florals: Use a dotting tool for tiny, barely-there daisies.
- Chrome Outlines: Only outline the very edge of the nail in silver.
- Velvet Finish: Use magnetic ‘cat eye’ polish in a soft moss green.
- Mismatched Pastels: A different soft shade on every finger.
- Negative Space Arches: Geometric shapes at the base of the nail.
- Pearled Tips: Small 3D pearls along the French line.
- Matte & Gloss Mix: Alternate finishes for a subtle texture play.
Budget Range
- BioGlitz Eco-Glitter ($12)
- Modelones Builder Gel for 3D effects ($10)
Conclusion: Shine On, My Loves
As you step out into the sunshine, I hope these designs make you feel as radiant as you truly are. Nail care is more than just a beauty routine; it’s a moment of peace, a creative outlet, and a way to celebrate the changing seasons within ourselves. Whether you choose a bold teal or a quiet, natural glow, remember that the most beautiful thing you can wear is your own confidence. Go forth and bloom, my darlings!