
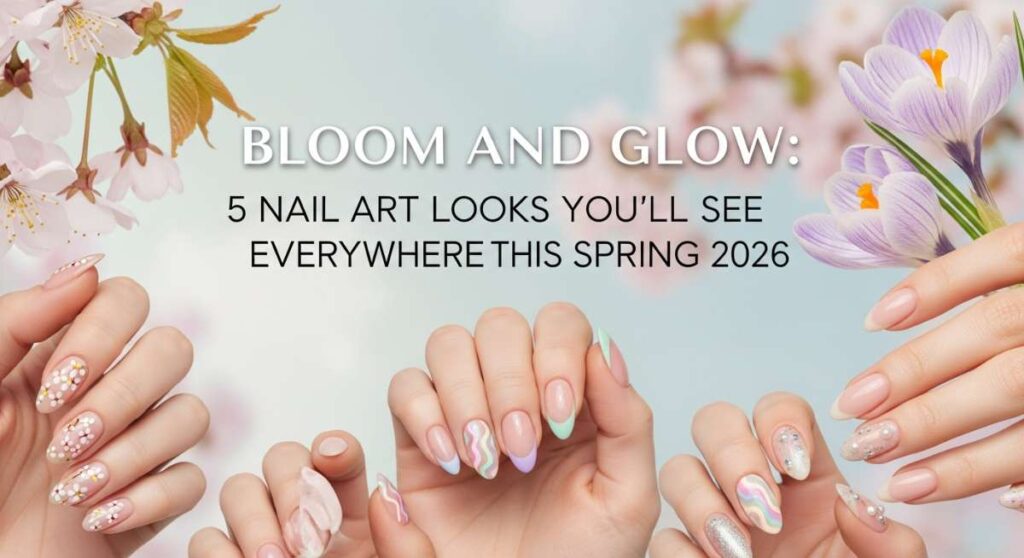
Bloom and Glow: 5 Nail Art Looks You’ll See Everywhere This Spring 2026
Oh, my loves, can you feel it? There is a certain softness returning to the air, a gentle whisper of green things waking up beneath the soil. Every year, as the light shifts into that ethereal spring glow, I find myself wanting to shed the heavy layers of winter and embrace something lighter, something that feels like a cloud-soft embrace. For me, that transition always begins right at my fingertips.
Spring 2026 is all about that delicate balance between whimsical playfulness and grounded, quiet luxury. It’s about nails that don’t just look pretty, but make you feel like you’re carrying a little piece of a blooming garden with you wherever you go. Today, I’m so excited to walk you through the five most enchanting trends I’ve seen emerging, so we can all step into this new season feeling absolutely radiant.
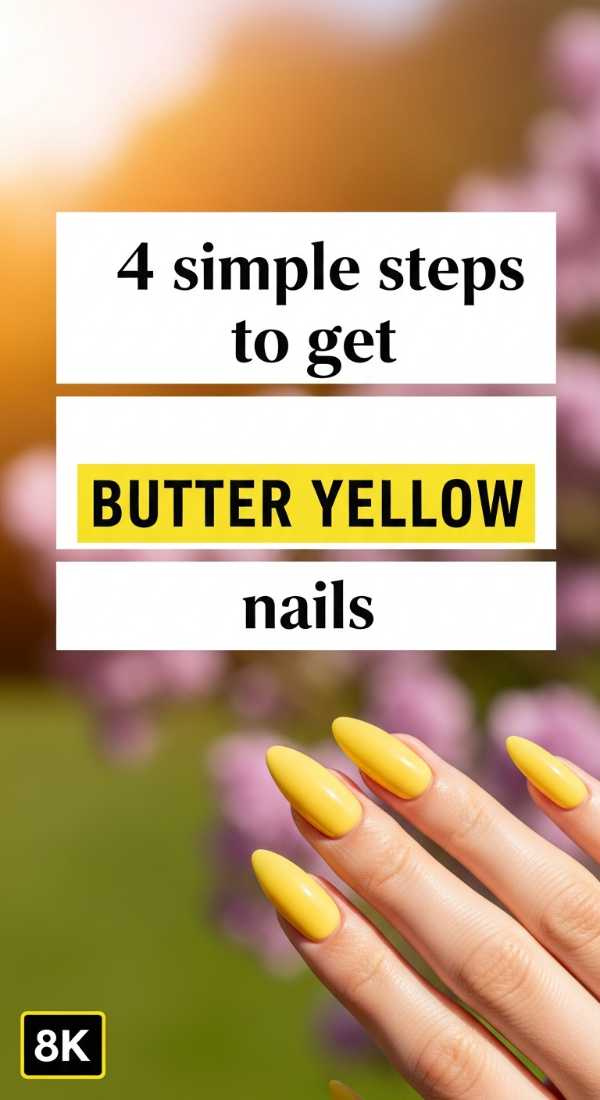
The Soft Sunbeam: 4 Simple Steps to Butter Yellow Nails
Why to love this Design:
Butter yellow is the absolute color of the season, loves. It’s a warm, creamy hue that feels like a soft hug from the sun. Unlike the neon yellows of the past, this version is mellow, inviting, and surprisingly neutral, making it perfect for those first patio coffee dates.
Essential Elements:
- Pale, creamy butter-yellow lacquer
- Smoothing base coat
- High-shine top coat
- Nourishing lemon cuticle oil
How to Prepare:
- Cleanse your nails thoroughly to ensure a smooth canvas for the light pigment.
- Apply one thin layer of base coat to prevent staining and create a level surface.
- Apply two thin, even coats of your butter yellow polish, allowing five minutes between layers.
- Seal the look with a glossy top coat and finish with cuticle oil for that healthy glow.
Budget Range
- Essie Enamel in ‘Hay There’ – $10
- OPI Infinite Shine Gloss Top Coat – $15
- Burt’s Bees Lemon Butter Cuticle Cream – $6
Sweet & Tart: 6 Steps to Create Yellow Blueberry Nails

Why to love this Design:
This design is pure whimsy, my darlings! The contrast between a sunny yellow base and tiny, dusty-blue berries is so unexpected and fresh. It reminds me of a slow Sunday morning spent at a farmer’s market, picking out fresh fruit for a picnic.
Essential Elements:
- Soft pastel yellow polish
- Dusty blueberry blue polish
- Deep forest green for tiny leaves
- A fine-tipped dotting tool
How to Prepare:
- Paint all nails with two coats of your pastel yellow and let them dry completely.
- Using your dotting tool, place two or three small blue dots in a cluster on each nail.
- Dip a toothpick or detail brush into the green polish to add tiny flicked leaves next to the berries.
- Add a tiny white ‘highlight’ dot on each blueberry to give them dimension.
- Wait ten minutes for the art to set.
- Apply a clear top coat very gently so you don’t smear your beautiful work.
Budget Range
- Sally Hansen Insta-Dri in ‘Blueberry Sorbet’ – $7
- Holo Taco ‘Butterpuff’ – $13
- Nail Art Dotting Tool Set from Amazon – $5
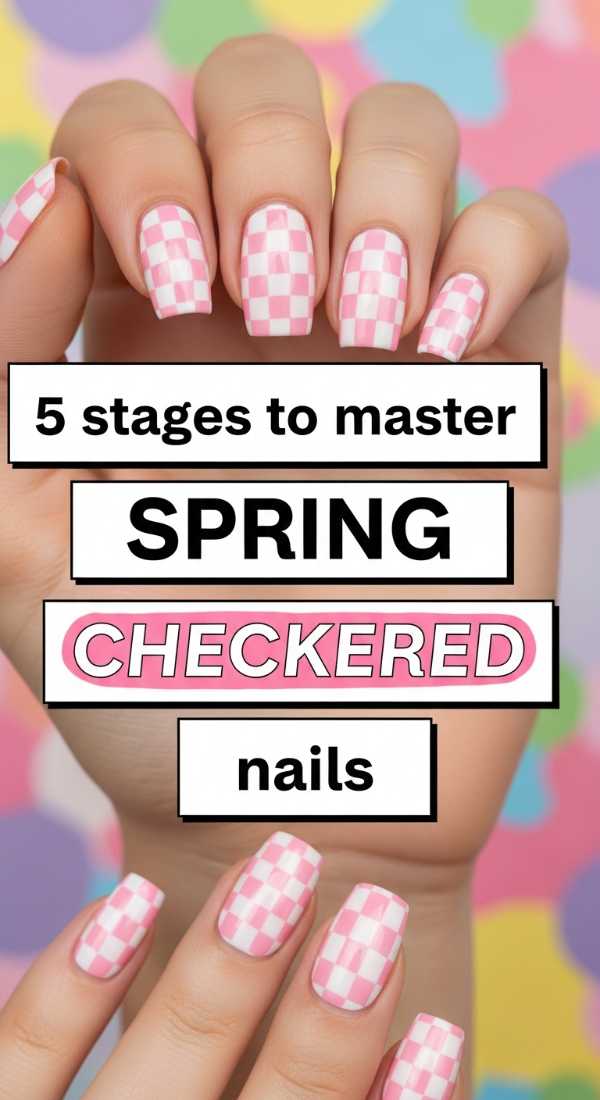
Picnic Chic: 5 Stages to Master Spring Checkered Nails
Why to love this Design:
There is something so nostalgic and sweet about a checkered pattern—it feels like a vintage picnic blanket spread out over fresh clover. In 2026, we are seeing this look in muted, earthy pastels that feel sophisticated rather than loud.
Essential Elements:
- Matte white polish
- Soft sage green or dusty pink polish
- A long-haired striper brush
- Acetone and a cleanup brush
How to Prepare:
- Apply your chosen base color (the sage or pink) and let it dry fully.
- Using the striper brush, draw two vertical lines and two horizontal lines to create a grid.
- Carefully fill in every other square with the white polish to create the checkerboard effect.
- Use a cleanup brush dipped in acetone to sharpen any shaky edges.
- Finish with a matte top coat for that soft, fabric-like aesthetic.
Budget Range
- Zoya Professional Lacquer in ‘Chelsea’ – $12
- Olive & June ‘HD’ White – $9
- Detail Brush Kit – $8
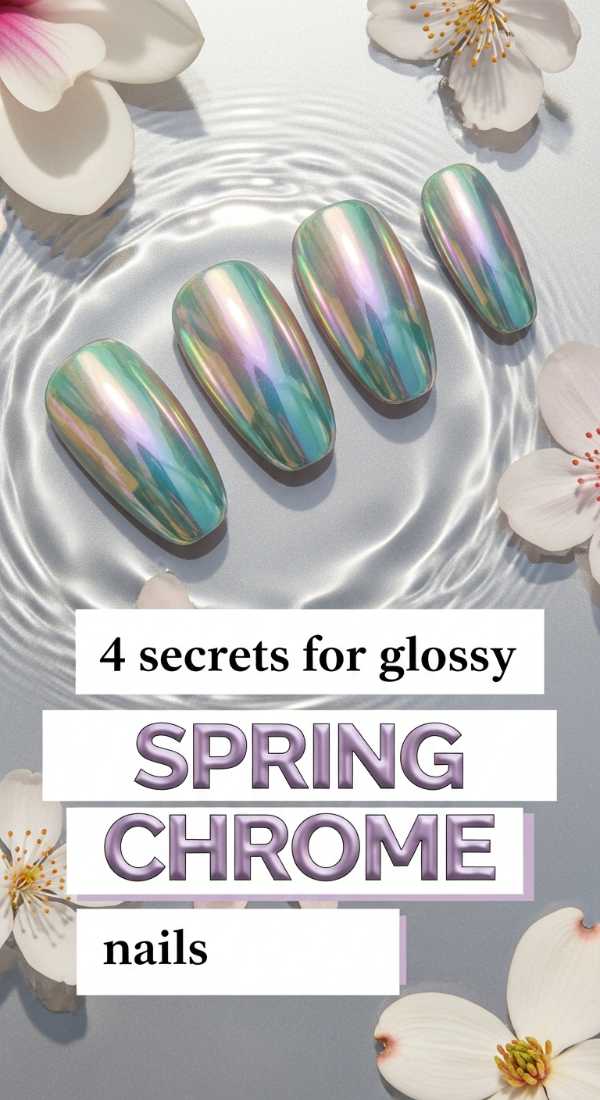
The Dewdrop Glow: 4 Secrets for Glossy Spring Chrome Nails
Why to love this Design:
This look captures the magic of morning mist on a flower petal. It’s ethereal, iridescent, and has a way of catching the light that feels almost supernatural. It’s the perfect way to add a bit of ‘baddie’ energy while staying soft and feminine.
Essential Elements:
- Sheer ‘milk’ colored base polish
- Pearl or iridescent chrome powder
- Sponge eyeshadow applicator
- No-wipe gel top coat
How to Prepare:
- Apply your sheer milky base and cure or dry until it is 90% set.
- Dip your sponge applicator into the pearl powder and rub it firmly onto the nail surface.
- Buff the powder until a mirror-like, iridescent shine appears.
- Seal immediately with a no-wipe top coat to lock in that pearlescent glow.
Budget Range
- Manicurist ‘Pearl’ Effect Powder – $14
- Bio Seaweed Gel in ‘Nude’ – $18
- Mini LED Lamp (if using gel) – $20
Minimalist Bliss: 6 Guides to Shape Short Square Nails Spring
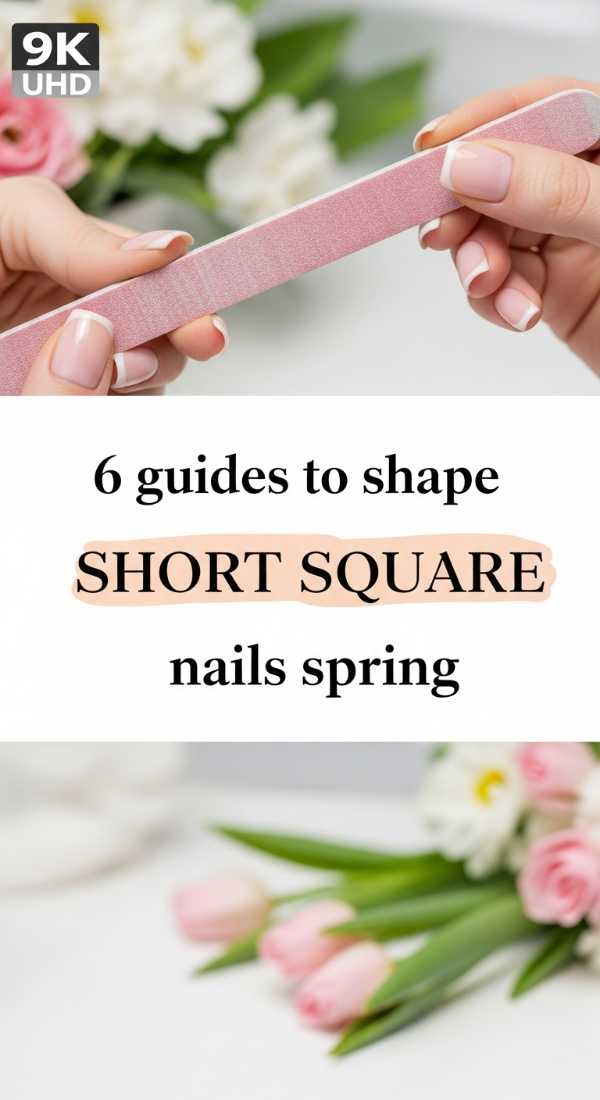
Why to love this Design:
Sometimes the most beautiful look is the cleanest one. Short, perfectly squared nails feel intentional, chic, and practical for all those spring gardening projects. It’s a ‘quiet luxury’ staple that makes any color look instantly more expensive.
Essential Elements:
- Professional glass nail file
- Fine-grit buffer block
- Cuticle remover gel
- High-gloss ‘glass’ finish top coat
How to Prepare:
- Trim your nails to just past the fingertip using straight-edge clippers.
- Hold your glass file perpendicular to the nail and file in one direction to create a straight top edge.
- Softly round the very corners—just a tiny bit—to prevent snagging.
- Use the buffer to smooth the surface and edges for a snag-free finish.
- Apply cuticle remover, push back gently, and wash thoroughly.
- Finish with a clear, high-shine strengthening treatment.
Budget Range
- Mont Bleu Glass Nail File – $10
- Revlon Shape ‘N’ Buff – $5
- Seche Vite Fast Dry Top Coat – $10
Embrace Your Spring Glow
As we move into this beautiful new season, remember that your nails are just another way to express the light you carry inside. Whether you choose the sunny warmth of butter yellow or the ethereal shine of pearl chrome, let it be a reminder to bloom at your own pace. I can’t wait to see which of these looks you choose to make your own, my loves. Stay glowing!