
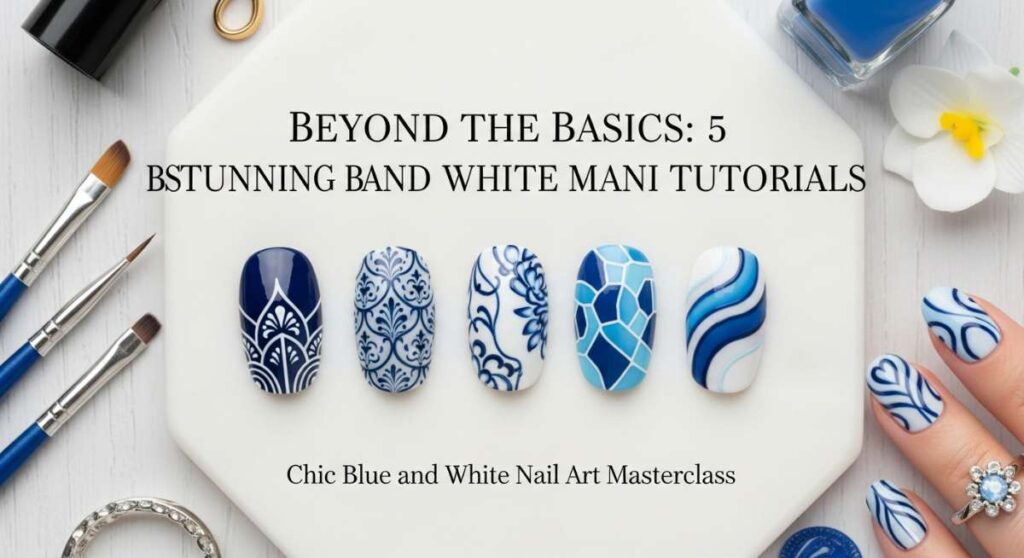
Beyond the Basics: 5 Stunning Blue and White Mani Tutorials
Hello, my sweet loves! I hope you’re feeling as bright and airy as a clear morning sky today. There’s something so incredibly grounding about the color blue, isn’t there? It reminds me of the gentle rhythm of ocean waves and the softest cashmere blankets. Lately, I’ve been manifesting a lot of peace in my life, and I found that my weekly manicure ritual is the perfect place to start. I wanted to share that serenity with you through a little chic blue and white nail art masterclass.
Bringing these colors to your fingertips feels like carrying a piece of the heavens with you wherever you go. Whether you’re a busy mama catching a quiet moment or a dreamer looking for a creative outlet, these designs are meant to feel like a warm, cloud-soft embrace for your hands. Let’s dive into these five dreamy tutorials together and find the perfect shade of calm for your week.
4 Easy Steps to Get Baby Blue Nails

Why to love this Design:
There is nothing quite as ethereal and soothing as a soft, baby blue manicure. It’s like looking up at a summer sky without a single cloud in sight. This design is perfect for those days when you want your nails to look clean, polished, and effortlessly feminine. It’s a whisper of color that says you’re at peace with the world, making it my absolute favorite for Sunday brunches or cozy reading sessions.
Essential Elements:
- A creamy baby blue polish
- A nourishing base coat
- High-shine or matte top coat
- Soft-grit nail file
How to Prepare:
- Shape your nails into a soft oval to mimic the gentle nature of the color.
- Apply one thin layer of base coat to prevent staining and create a smooth canvas.
- Swipe on two coats of baby blue, ensuring you seal the edges of each nail.
- Finish with a matte top coat for a velvety cloud-like texture or a gloss for a classic look.
Budget Range
- Essie ‘Saltwater Happy’ ($10)
- OPI Natural Nail Base Coat ($11)
- Sally Hansen Matte Top Coat ($6)
3 Steps to Master Blue French Tip Nails

Why to love this Design:
Oh, my loves, the French manicure is back but with a modern, soulful twist! Using a deep cobalt or a soft cerulean for the tips instead of the traditional white adds an instant touch of sophistication and mystery. It’s a chic way to show your personality while staying incredibly classy. I love how this design elongates the fingers, making every gesture feel like a graceful dance.
Essential Elements:
- Sheer nude or pale pink base polish
- Rich blue polish for the tips
- French tip guides or a thin liner brush
How to Prepare:
- Apply your sheer base color and let it dry completely—patience is key here, darlings.
- Place your guides or use your brush to sweep the blue polish across the very tips in a gentle arc.
- Once the tips are set, lock everything in with a generous layer of clear top coat for that salon-fresh glow.
Budget Range
- Zoya ‘Naked Manicure’ Perfector ($12)
- Holo Taco ‘Blue Razz Ice’ ($13)
- Orly French Manicure Tip Guides ($5)
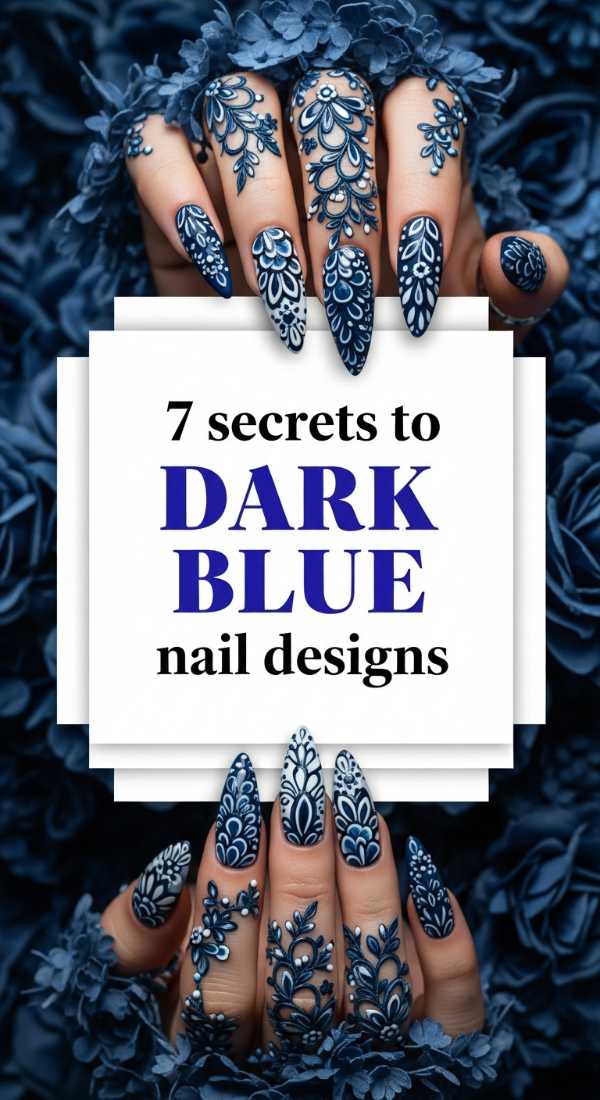
7 Secrets to Dark Blue Nail Designs
Why to love this Design:
When the sun goes down and the stars come out, there’s a certain magic in the air—and that’s exactly what dark blue nails capture. Think of midnight velvet or the deepest parts of the sea. These designs are bold yet incredibly grounded. They offer a sense of strength and mystery that can make you feel like you can conquer anything while still remaining soft at heart.
Essential Elements:
- Navy or midnight blue lacquer
- Silver micro-glitter or white detailing polish
- Cuticle oil for a hydrated finish
- Stipple sponge for gradient effects
- Steady hand for line work
- Acetone for clean edges
- Deep-sea blue rhinestones (optional)
How to Prepare:
- Gently push back your cuticles to maximize the nail surface for these bold pigments.
- Apply your dark blue in very thin layers—this prevents bubbling and ensures a rich, even color.
- Use a tiny brush to add white stars or silver swirls to evoke a night sky.
- Wait five minutes before applying top coat to ensure the dark pigments don’t smear.
- Clean any stray polish with a brush dipped in acetone.
- Add a drop of cuticle oil to keep the skin around the dark color looking healthy.
- Seal with a UV-protectant top coat to keep the navy from fading.
Budget Range
- Chanel ‘Le Vernis’ in Rhythm ($32)
- Beetles Nail Art Liner Brushes ($8)
- Cupa Cuticle Revitalizing Oil ($7)
5 Minutes to Perfect Blue Nail Inspo

Why to love this Design:
I know life can get so busy, my darlings, and sometimes we only have a few minutes for ourselves. This ‘express’ blue inspo is for the woman on the go who still wants to feel put-together. It’s minimalist, modern, and honestly, so refreshing. A single dot of white on a blue base is all it takes to make a statement that is both artistic and intentional.
Essential Elements:
- Quick-dry blue polish
- A white dotting tool or a toothpick
- Rapid-dry top coat
How to Prepare:
- Apply one thick coat of a high-pigment, quick-dry blue.
- While still slightly tacky, use a toothpick to place one perfect white dot at the base of each nail.
- Wait sixty seconds and sweep on your rapid-dry top coat to get you out the door and back to your day!
Budget Range
- Expressie ‘Air Dry’ Blue ($9)
- Sinful Colors ‘Snow Me White’ ($2)
- Seche Vite Dry Fast Top Coat ($10)
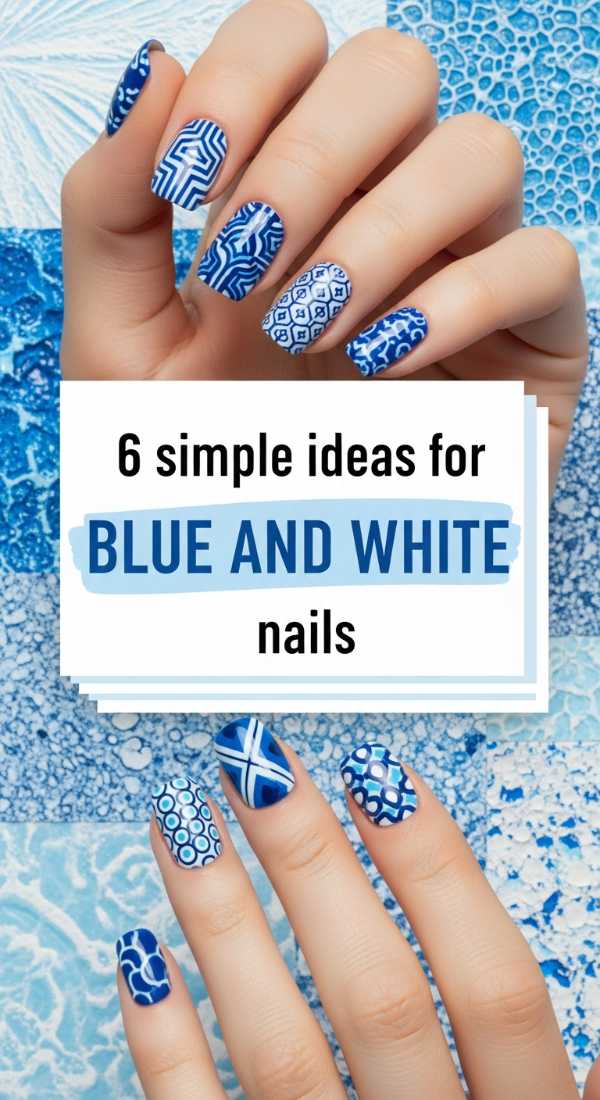
6 Simple Ideas for Blue and White Nails
Why to love this Design:
Combining blue and white is like the ultimate sartorial hug. It’s classic, like fine china or a crisp button-down shirt. This tutorial explores simple geometric patterns that look high-end but are secretly so easy to do at home. It’s all about the play between the two colors—one representing the vast sky and the other representing the pure clouds. It’s balance in a bottle.
Essential Elements:
- Primary blue polish
- Crisp white polish
- Striping tape
- Angled clean-up brush
- Matte and Glossy top coats (for contrast)
- Buffer block
How to Prepare:
- Buffer your nails to a smooth finish so the tape adheres perfectly.
- Paint half the nail blue and the other half white, using tape for a crisp line.
- Try a ‘polka dot’ accent nail on your ring finger for a bit of whimsy.
- Create ‘marble’ effects by swirling the two colors together while wet with a needle.
- Use an angled brush to clean the sidewalls for a professional finish.
- Mix matte and glossy finishes on different nails to add depth and interest.
Budget Range
- OPI ‘Alpine Snow’ ($11)
- Nail Art Striping Tape Roll ($4)
- Olive & June ‘BP’ Light Blue ($9)
Wrap Yourself in Blue
I hope these tutorials bring a little bit of calm and creativity into your world today. Remember, your self-care ritual doesn’t have to be perfect; it just has to be yours. Whether you choose the softest baby blue or a striking navy, let your nails be a reflection of the peace you’re cultivating inside. I can’t wait to see which design you choose, my loves! Keep shining and stay cozy.