

April 2026 Trend Report: The Gel Manicure Styles Taking Over Your Feed
Hello, my loves! Can you feel it? The air is finally softening, the first blossoms are peeking through the dew, and there is a gentle magic in the morning light that makes me want to wrap myself in a cloud-soft embrace. As we step into April 2026, it feels like the perfect moment to shed the heavy weight of winter and let our hands tell a story of renewal and grace.
Lately, my feed has been a dreamy watercolor painting of soft pastels and ethereal finishes, and I’ve spent the last week sipping jasmine tea and testing out every new gel trend just for you. This month isn’t just about color; it’s about how your manicure makes you feel—polished, peaceful, and ready for all the beauty this season has to offer. Let’s dive into the styles that are making my heart flutter right now.
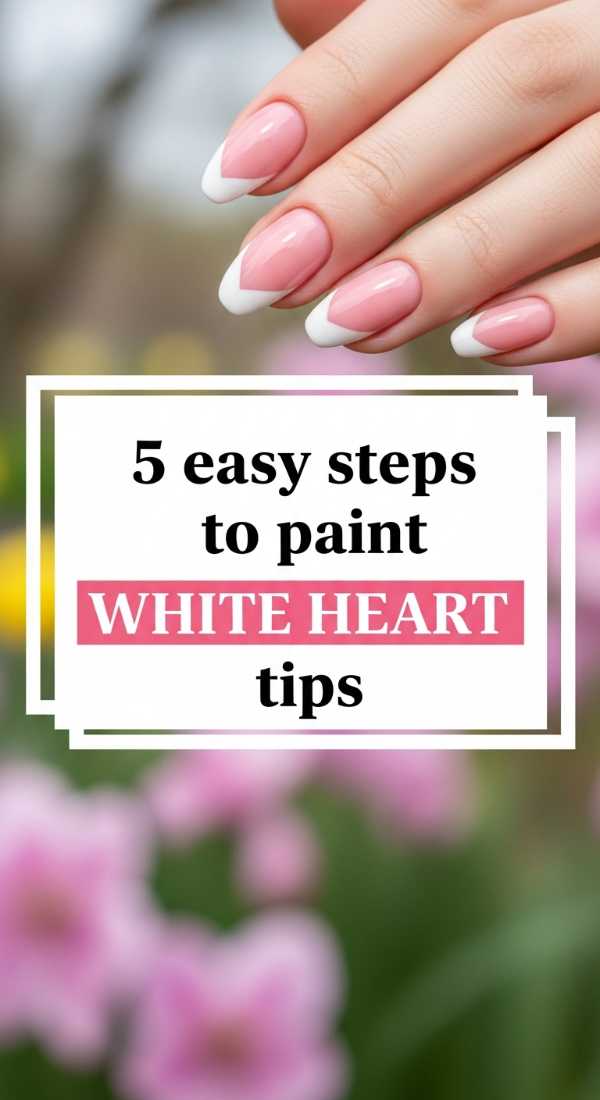
5 Easy Steps to Paint White Heart Tips
Why to love this Design:
There is something so inherently romantic about heart tips. They are a soft whisper of affection for yourself, turning the classic French manicure into a love letter you carry on your fingertips. In 2026, we are seeing these in a milky, soft white that feels like a silk ribbon.
Essential Elements:
- Sheer pink base gel
- Highly pigmented milky white gel
- Fine detailing brush
- Top coat with a high-gloss finish
How to Prepare:
- Apply two thin coats of sheer pink base and cure.
- Dip your detail brush into the white gel and place two small dots side-by-side at the tip.
- Drag each dot down into a ‘V’ shape to form the bottom of the heart.
- Connect the tops to round them out into a perfect heart shape.
- Cure for 60 seconds and seal with a glossy top coat.
Budget Range
- Milky White Gel Polish ($12 – $18)
- Fine Liner Brush Set ($8 – $15)
- Sheer Pink Base ($10 – $20)
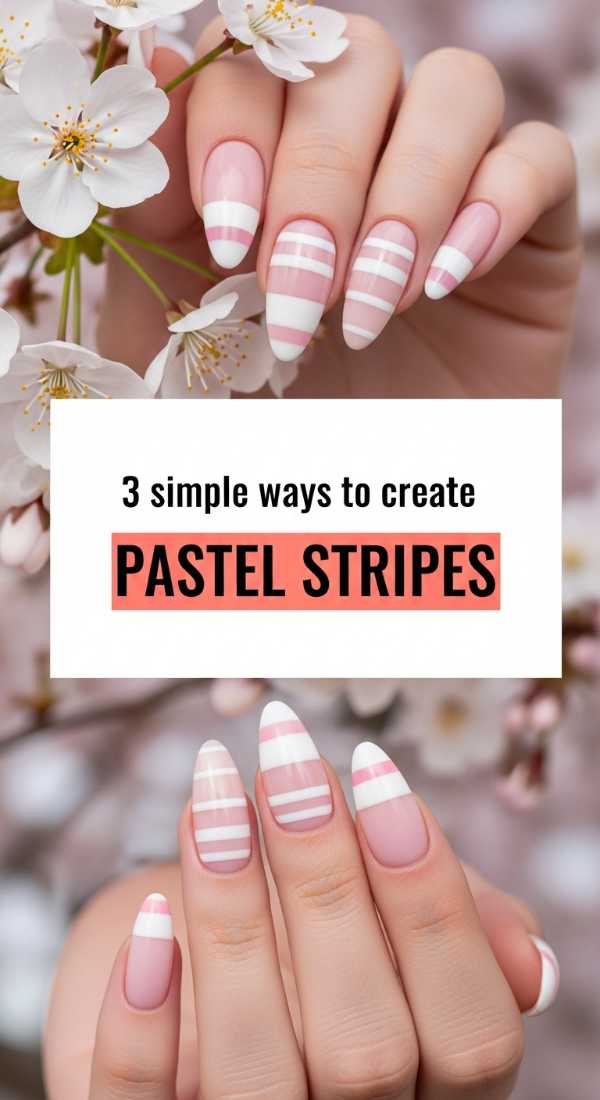
3 Simple Ways to Create Pastel Stripes
Why to love this Design:
Stripes bring a playful, linear energy that reminds me of early spring picnics and linen napkins. Using pastels keeps the look soft and approachable rather than harsh. It’s the ultimate ‘clean girl’ aesthetic with a colorful twist.
Essential Elements:
- Pastel lavender, mint, and buttercup yellow gels
- Striping tape or a long-hair liner brush
- Matte top coat (optional for a velvet look)
How to Prepare:
- Method 1: Use striping tape to mask off areas before painting.
- Method 2: Use a long liner brush to pull one continuous stroke from cuticle to tip.
- Method 3: Layer thin horizontal bands across the nail for a ‘sunset’ effect.
Budget Range
- Pastel Gel Bundle ($25 – $45)
- Nail Striping Tape ($5 – $7)
- Matte Top Coat ($12)
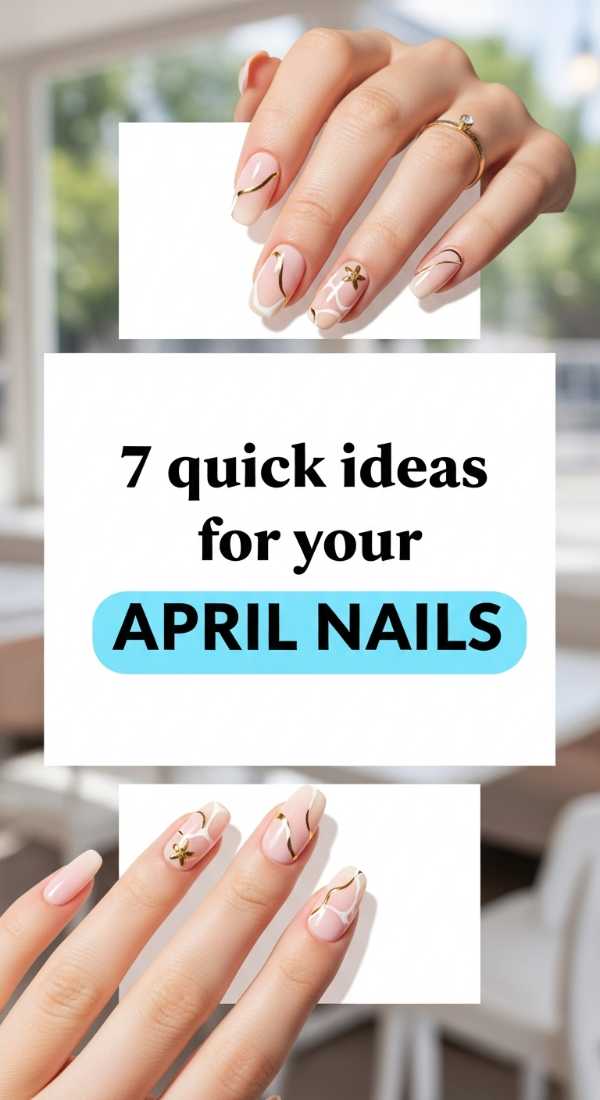
7 Quick Ideas for Your April Nails
Why to love this Design:
Sometimes we just need a quick shot of inspiration to refresh our mood! These seven ideas are curated for the busy soul who still wants to feel like a literal piece of art. From chrome dust to ‘jelly’ finishes, these are the heavy hitters of 2026.
Essential Elements:
- Pearlescent chrome powder
- Dried pressed flowers
- Iridescent flakes
- Nude jelly gels
How to Prepare:
- Try ‘Velvet Nails’ using a magnet and cat-eye polish.
- Apply a tiny dried flower onto a tacky base layer.
- Rub pearl powder over a white base for a ‘Glazed Donut’ 2.0.
- Use a sponge to ombre two pastel shades together.
- Add a single gold stud to the base of each nail.
- Go for ‘Mismatched Pastels’—a different color on each finger.
- Layer a holographic top coat over a simple nude.
Budget Range
- Chrome Powder Palette ($15 – $22)
- Mini Dried Flowers ($6 – $10)
- Magnetic Gel Polish ($14 – $19)
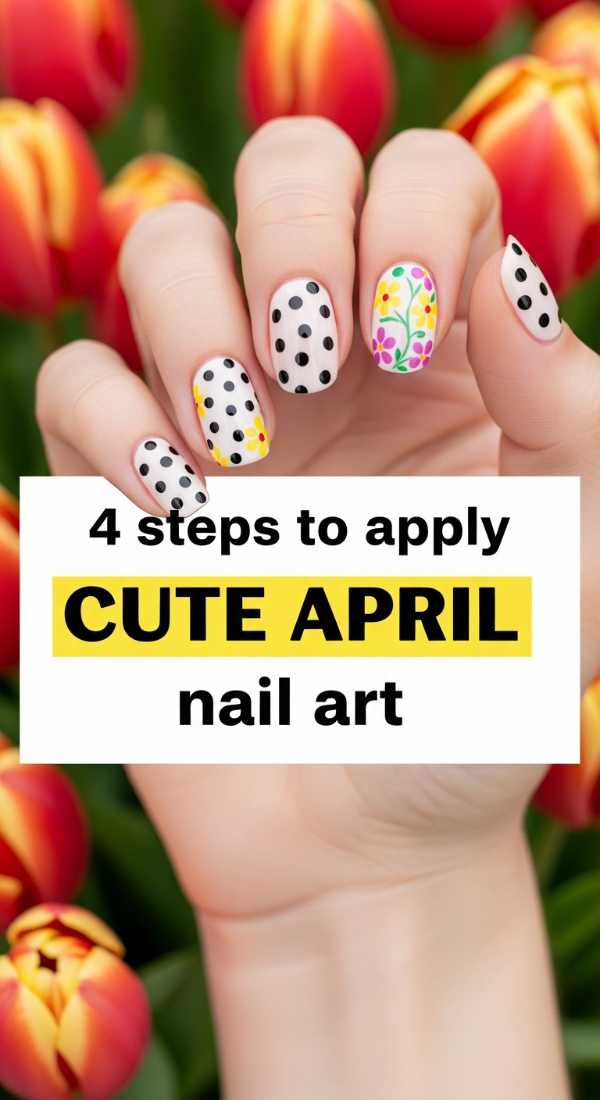
4 Steps to Apply Cute April Nail Art
Why to love this Design:
April nail art is all about those tiny, whimsical details—think butterflies, raindrops, or tiny sprouts. It’s about embracing your inner child while keeping the execution sophisticated and modern. It’s DIY magic at its best.
Essential Elements:
- Nail decals or stickers
- Pointed tweezers
- Strengthening base gel
- UV/LED Lamp
How to Prepare:
- Prep your nails by removing all oils with an alcohol wipe.
- Apply your base color and cure fully so the surface is firm.
- Carefully place your decal using tweezers and press firmly to remove air bubbles.
- Apply two layers of top coat to ensure the edges of the art are fully sealed.
Budget Range
- Spring Theme Nail Decals ($5 – $12)
- Professional Precision Tweezers ($9 – $14)
- High-Power LED Lamp ($30 – $60)
6 Tips to Master the Simple Gel Manicure
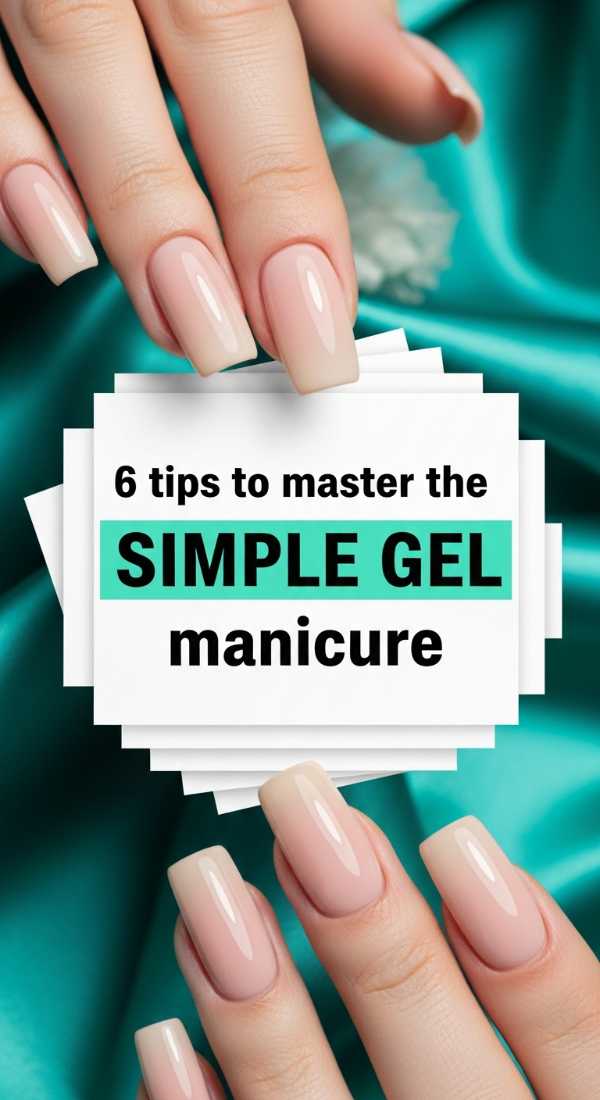
Why to love this Design:
There is a deep sense of satisfaction in a perfectly executed simple mani. It’s the foundation of everything we do. Mastering the basics means your nails look salon-fresh for weeks, saving you time for those slow April Sunday mornings.
Essential Elements:
- Quality cuticle pusher
- High-grit nail file
- Dehydrator and Primer
- Patience
How to Prepare:
- Never skip the prep; push back cuticles gently to avoid lifting.
- Apply gel in paper-thin layers to prevent peeling.
- ‘Cap the free edge’ by running the brush along the very tip of the nail.
- Clean any polish off the skin before curing.
- Always use a primer for maximum adhesion.
- Store your polishes in a cool, dark place to maintain consistency.
Budget Range
- Steel Cuticle Pusher ($7 – $12)
- Nail Dehydrator/Primer Duo ($15 – $25)
- Ergonomic Nail File Set ($10)
8 Trends to Follow for April Nails 2026
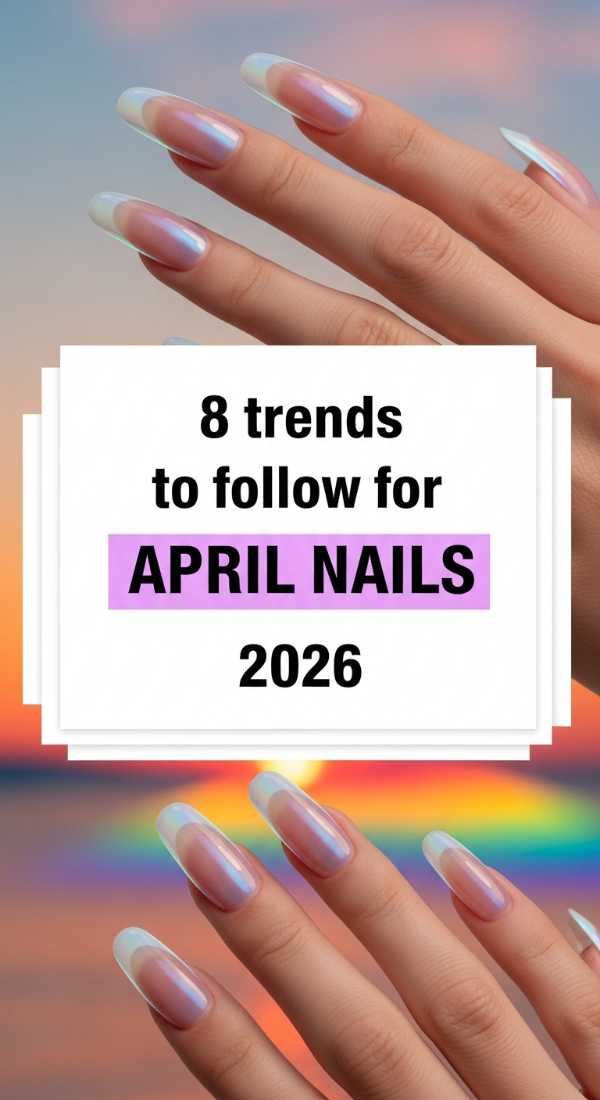
Why to love this Design:
Staying ahead of the curve feels like a fun secret we all share. In 2026, the trend is moving toward ‘Bio-Luminescence’ and ‘Earth-Core’—textures that look like they were found in a magical forest or deep under a gentle sea.
Essential Elements:
- Glow-in-the-dark accent gels
- Terracotta and moss green shades
- 3D ‘Water Droplet’ gel
- Recycled glitter flecks
How to Prepare:
- Mix ‘Earth-Core’ tones like sage and clay for a grounded look.
- Use thick builder gel to create 3D texture.
- Experiment with ‘Aura Nails’ using an airbrush or sponge.
- Try ‘Glass Nails’ using clear extensions and tinted jelly polish.
- Incorporate negative space designs to let the natural nail breathe.
- Use matte and gloss contrasts on the same nail.
- Focus on ‘Shortie’ lengths—natural and practical is very ‘in’.
- Add a metallic silver ‘molten’ edge to a matte base.
Budget Range
- 3D Building Gel ($14 – $22)
- Earth Tone Gel Set ($30 – $50)
- Airbrush Kit for Nails ($40 – $80)
5 Minutes to Prep Your Manicure Inspiration
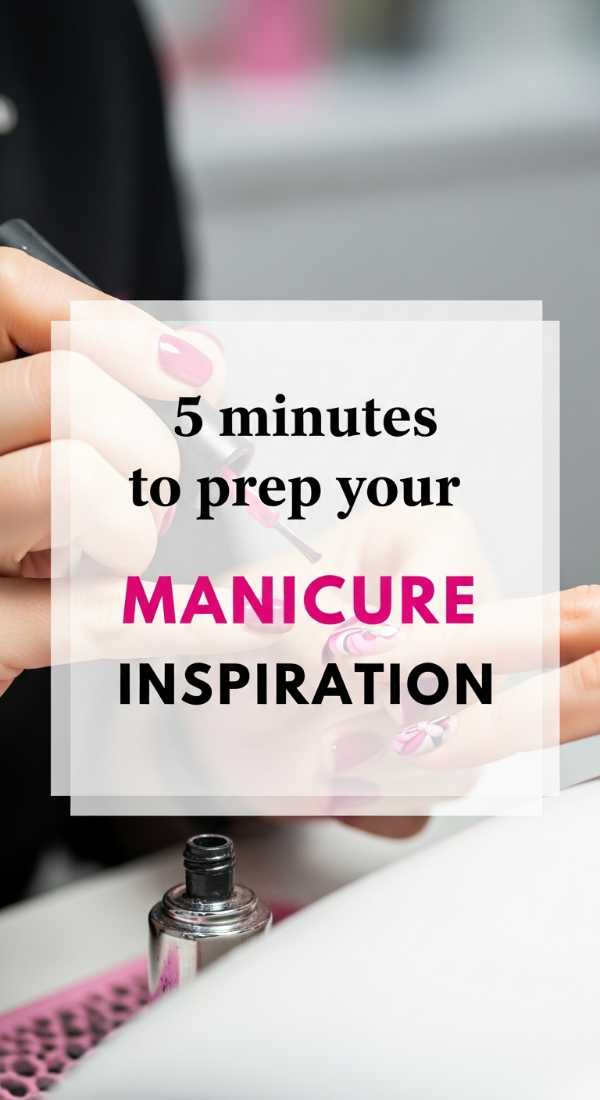
Why to love this Design:
We often rush into painting without a plan, but taking five minutes to breathe and visualize makes the process a ritual of self-love. It’s about creating a mood board for your soul, right there on your vanity.
Essential Elements:
- Pinterest or Instagram saved folders
- A physical sketchbook
- A cup of tea or coffee
How to Prepare:
- Scroll through your ‘Spring 2026’ folder for 2 minutes.
- Pick a ‘hero’ color that matches your favorite spring sweater.
- Sketch a quick layout of which finger gets which design.
- Lay out all your bottles and tools before you start.
- Take three deep breaths to ground yourself before you begin painting.
Budget Range
- Digital Inspiration (Free)
- Moleskine Sketchbook ($15 – $25)
- Comforting Herbal Tea ($10)
10 Secret Hacks for Manicure Design Ideas
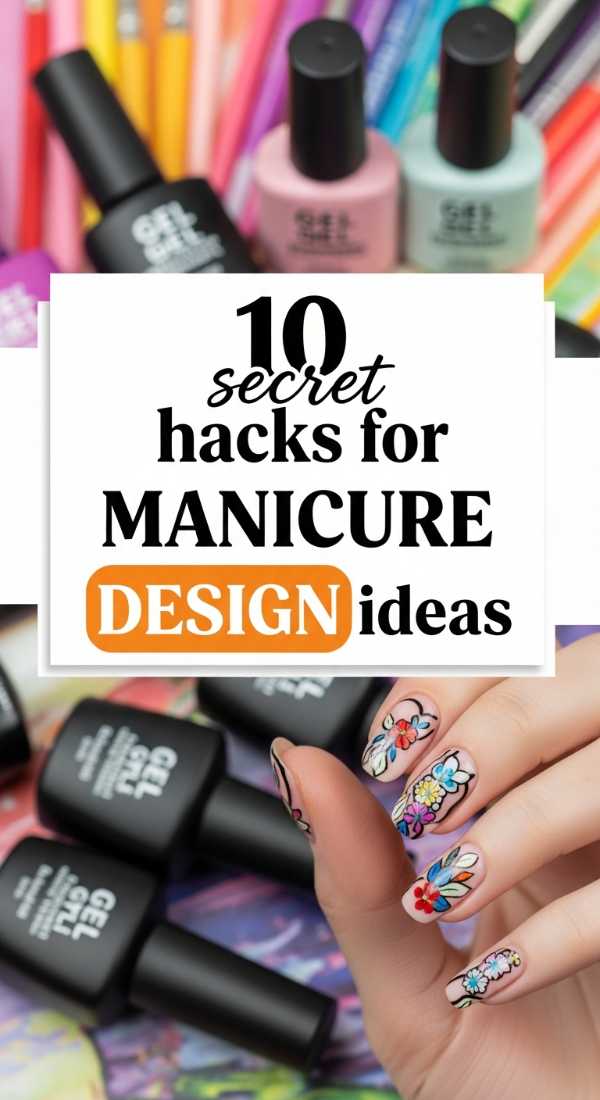
Why to love this Design:
These hacks are the little ‘cheats’ that make a DIY mani look like it cost $150 at a boutique studio. They remove the frustration and replace it with pure, creative joy. You deserve professional results without the professional stress.
Essential Elements:
- Rubbing alcohol
- Bobby pins (as dotting tools)
- Cornstarch (for DIY matte)
- Vaseline (for easy cleanup)
How to Prepare:
- Use a bobby pin tip for perfect polka dots.
- Apply Vaseline to skin around the nail to prevent staining.
- Thin out thick polish with a drop of gel thinner.
- Soak brushes in warm water to keep bristles soft.
- Use a makeup sponge for effortless gradients.
- Wipe the tacky layer with 70% alcohol for a mirror shine.
- Use a fan brush for easy ‘distressed’ texture.
- Cure thumb nails separately to ensure even light exposure.
- Use a toothpick to marble wet colors together.
- Apply a ‘peel-off’ base if you like changing designs often.
Budget Range
- 70% Isopropyl Alcohol ($3 – $5)
- Makeup Sponges ($5 – $8)
- Gel Polish Thinner ($10 – $15)
3 Easy Steps for Professional Manicure Nails
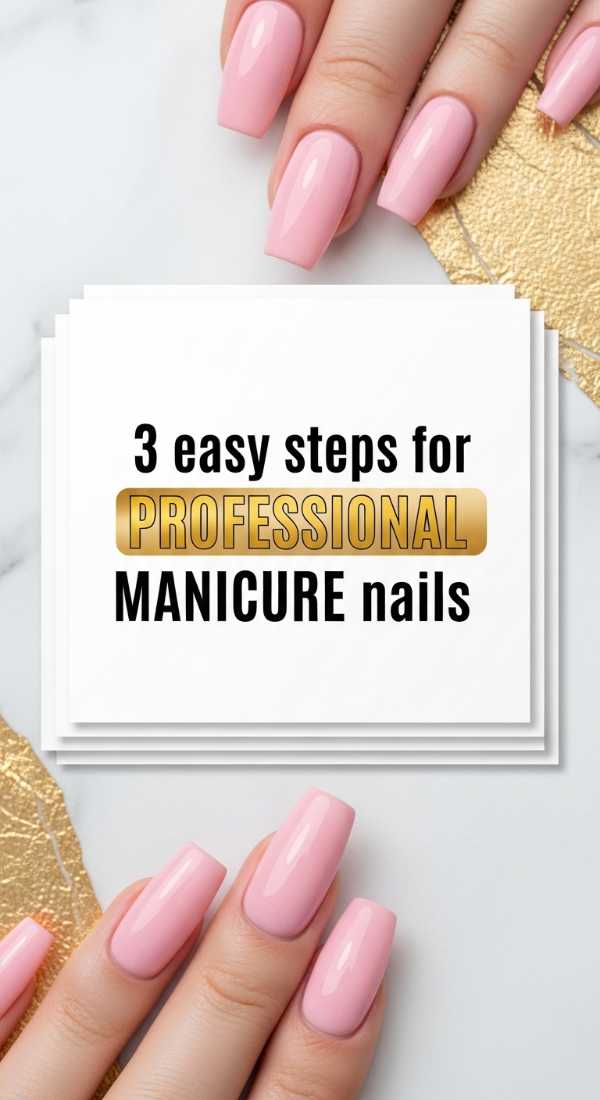
Why to love this Design:
The ‘Professional’ look is all about that flawless, high-shine finish that looks like glass. It makes you feel put-together, even if you’re just wearing your favorite oversized loungewear. It’s the ultimate confidence booster.
Essential Elements:
- High-quality LED lamp
- Professional-grade top coat
- Cuticle oil (the secret ingredient!)
How to Prepare:
- Focus on ‘The Glide’: apply the top coat with one smooth stroke from center to sides.
- Cure for the full recommended time—no cheating!
- Massage a generous amount of cuticle oil into the skin immediately after curing to restore moisture.
Budget Range
- Premium Glass Top Coat ($18 – $25)
- Vitamin E Cuticle Oil ($12 – $18)
- Professional LED Lamp ($50 – $100)
9 Ways to Style Your Gel Manicure Designs
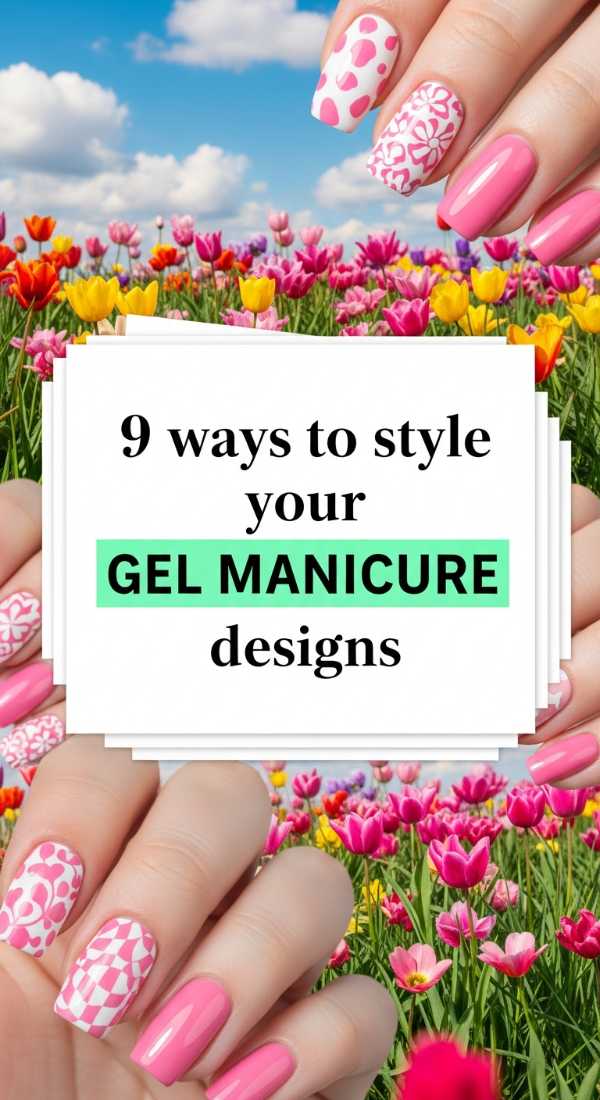
Why to love this Design:
Your manicure doesn’t live in a vacuum—it’s part of your whole gorgeous vibe! Styling is where your personality truly shines through, connecting your nails to your jewelry, your clothes, and your spirit.
Essential Elements:
- Stackable gold rings
- Silk cuffs or sleeves
- Coordinating eyeshadow
How to Prepare:
- Pair pastel nails with chunky gold rings for contrast.
- Match your nail art to a pattern in your favorite spring scarf.
- Use ‘hand masks’ once a week to keep skin soft.
- Take ‘hand selfies’ in natural golden-hour light.
- Coordinate your pedicure with a complementary (not matching!) shade.
- Wear dainty bracelets that don’t distract from the nail art.
- Style with an oversized linen shirt for that effortless look.
- Use a matching lip gloss to pull the aesthetic together.
- Choose a signature scent that ‘smells’ like your nail color (e.g., lavender for purple nails).
Budget Range
- Gold Vermeil Ring Set ($40 – $90)
- Moisturizing Hand Mask ($5 – $10)
- Linen Button-Down ($35 – $70)
Embrace Your Inner Glow
As we wrap up this April trend report, I hope you feel inspired to take a little time for yourself. Whether you choose a simple milky pink or go all out with 3D water droplets, remember that these moments of self-care are precious. Your hands do so much for you—they create, they comfort, and they hold. Giving them a little sparkle is just one way to say ‘thank you’ to yourself. I can’t wait to see which look you choose, my loves. Stay soft, stay bright, and keep shining!