
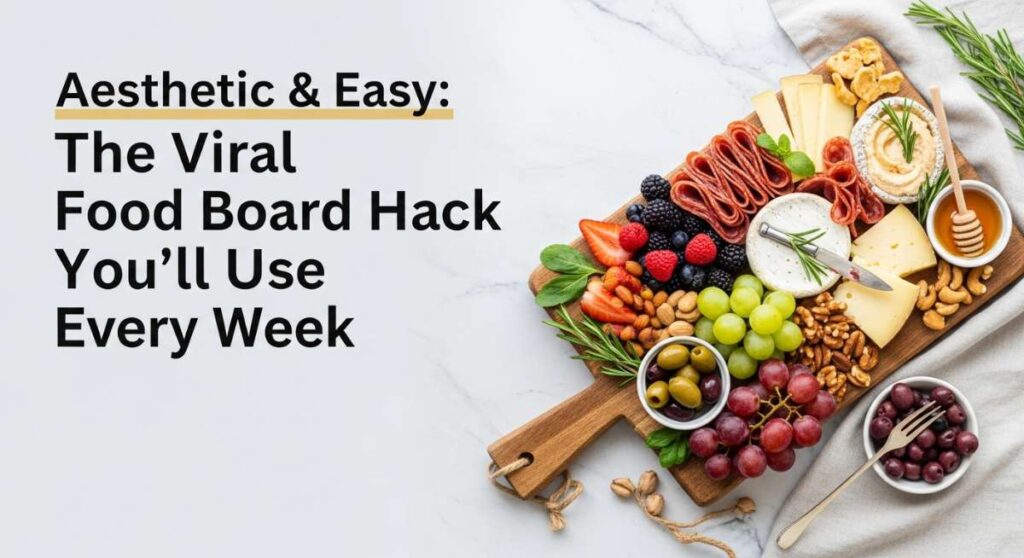
Aesthetic & Easy: The Viral Food Board Hack You’ll Use Every Week
We’ve all been there—staring into the abyss of the refrigerator at 6:00 PM, the hum of the light reflecting off a half-empty jar of pickles and some wilted spinach. The mental load of deciding ‘what’s for dinner’ can be heavier than the cooking itself. But what if I told you that the secret to a stress-free, beautiful week isn’t found in expensive meal kits, but in a simple, viral food board hack that turns your kitchen into a serene, organized sanctuary?
Imagine walking into your kitchen and seeing a vibrant, colorful spread of prepped ingredients, laid out like a high-end charcuterie board, ready to be assembled into a dozen different masterpieces. This isn’t just about saving time; it’s about reclaiming your evening ritual. It’s the visual satisfaction of organized textures, the aroma of roasted garlic lingering in the air, and the peace of mind knowing that your future self is already taken care of. Let’s dive into how you can master this aesthetic and functional lifestyle shift.
How to prep healthy chicken?

Why we love this
There is nothing quite like the sizzle of a perfectly seasoned chicken breast hitting a hot pan, filling the room with the savory scents of lemon zest, cracked black pepper, and fresh thyme. When prepped correctly, the meat remains incredibly succulent and tender, pulling apart with just a fork to reveal a juicy interior that serves as the perfect canvas for any sauce or seasoning. The golden-brown crust offers a satisfying slight crunch that contrasts beautifully with the softness of the meat, making every bite a multi-textured experience that feels like a warm hug for your palate.
Ingredients
- 2 lbs boneless skinless chicken breasts
- 3 tablespoons extra virgin olive oil
- 2 cloves minced garlic
- 1 lemon (zest and juice)
- 1 teaspoon dried oregano
- Salt and smoked paprika to taste
How to make it
- Begin by patting the chicken completely dry with paper towels; removing surface moisture is the professional secret to achieving a deep, golden sear rather than steaming the meat.
- Butterfly the thicker breasts or use a meat mallet to pound them to a uniform 1/2-inch thickness, ensuring they cook evenly through without the edges becoming tough and dry.
- In a large bowl, whisk together the olive oil, garlic, lemon zest, oregano, salt, and paprika until emulsified, then toss the chicken to coat every crevice.
- Heat a heavy-bottomed cast-iron skillet over medium-high heat until a drop of water flicked onto the surface dances and evaporates instantly.
- Lay the chicken in the pan—do not overcrowd—and let it sear undisturbed for 5-6 minutes until a rich crust forms and it releases easily from the pan.
- Flip the chicken and cook for another 4-5 minutes, or until the internal temperature reaches exactly 165°F (74°C); immediately transfer to a board and let it rest for at least 8 minutes to allow the juices to redistribute back into the fibers.
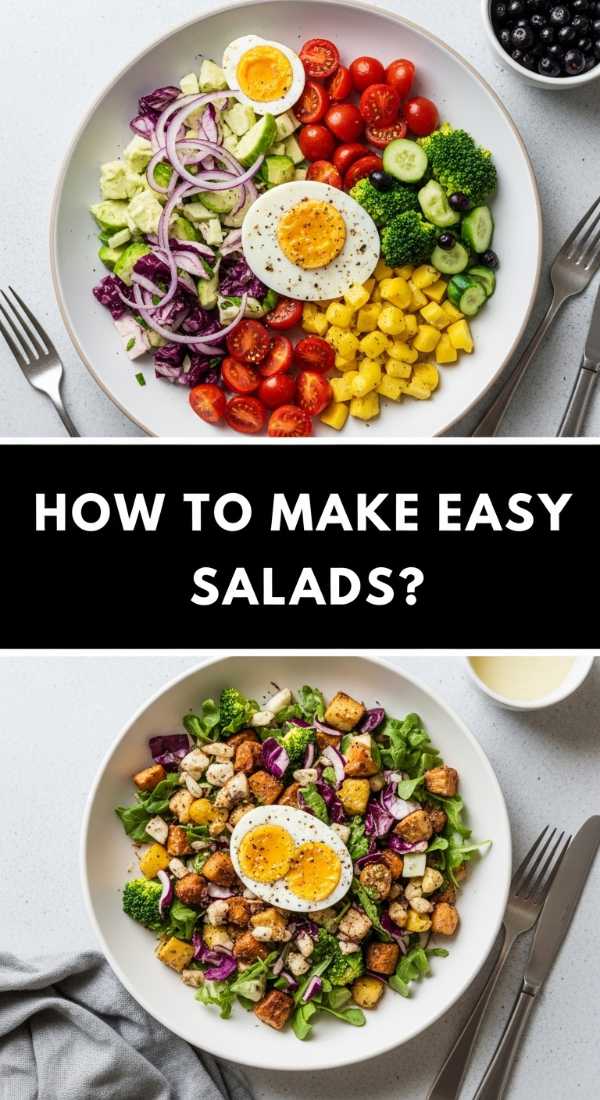
How to make easy salads?
Why we love this
A truly great salad is a symphony of crispness, brightness, and zest that awakens your senses and leaves you feeling vibrant. Think about the refreshing snap of chilled cucumber, the earthy crunch of toasted pumpkin seeds, and the way a tangy balsamic glaze clings to the velvety leaves of fresh arugula. It’s a sensory explosion where the cold, crisp vegetables meet the creamy richness of crumbled feta or avocado, creating a balanced mouthful that feels both indulgent and incredibly nourishing. The visual appeal of emerald greens mixed with ruby-red radishes is a feast for the eyes before you even take the first bite.
Ingredients
- 4 cups mixed baby greens or kale
- 1 cup cherry tomatoes, halved
- 1 English cucumber, sliced thin
- 1/4 red onion, thinly mandoline-shaved
- 1/2 cup crumbled feta or goat cheese
- Vinaigrette (olive oil, dijon, honey, apple cider vinegar)
How to make it
- The key to a non-soggy salad is the ‘dry-prep’ method: wash your greens thoroughly and use a salad spinner until they are bone-dry to ensure the dressing actually sticks to the leaves.
- Prepare your dressing in a separate small mason jar by shaking the ingredients vigorously until the honey and oil are perfectly combined into a thick, cloudy emulsion.
- Layer your ingredients starting with the ‘sturdy’ items at the bottom if you are prepping ahead; place tomatoes and cucumbers at the base so their juices don’t wilt the delicate greens.
- To achieve that restaurant-style aesthetic, thinly shave your red onion using a mandoline and soak the slices in ice water for 10 minutes to remove the harsh ‘bite’ while keeping them incredibly crisp.
- Just before serving, drizzle the dressing around the sides of the bowl rather than directly on top, then toss gently with your hands or tongs to ensure an even, light coating on every leaf.
- Top with your cheese and seeds at the very last second to maintain the textural contrast between the creamy dairy and the crunchy toppings.
How to prep weekly breakfast?

Why we love this
Mornings are transformed when you wake up to the scent of pre-baked egg bites or the sight of creamy, jewel-toned overnight oats waiting in the fridge. There is a deep comfort in the velvety, custard-like texture of a slow-cooked egg mixed with sharp cheddar and delicate chives, or the way chia seeds transform almond milk into a decadent, pudding-like treat. It’s the ultimate morning luxury—having a high-protein, nourishing meal that feels like it was served at a boutique cafe, all while you’re still in your pajamas, sipping on your first coffee of the day.
Ingredients
- 10 large eggs
- 1/2 cup cottage cheese (for fluffiness)
- 1 cup chopped spinach
- 1/2 cup cooked turkey sausage or bacon
- 1/2 cup shredded gruyere cheese
- Salt, pepper, and a pinch of nutmeg
How to make it
- Preheat your oven to 300°F (150°C); using a lower temperature is the secret to that sous-vide style, silky texture that prevents the eggs from becoming rubbery or brown.
- In a high-speed blender, combine the eggs, cottage cheese, salt, pepper, and nutmeg; blend on high for 30 seconds until the mixture is frothy and completely smooth.
- Grease a silicone muffin tin generously with non-stick spray or butter, as egg bites are notorious for sticking to metal pans.
- Divide your chopped spinach and cooked protein evenly into the bottom of each muffin cup, then pour the egg mixture over the top until each cup is 3/4 full.
- Place the muffin tin inside a larger baking sheet filled with an inch of hot water to create a ‘bain-marie’ or water bath, which keeps the steam high and the heat gentle.
- Bake for 20-25 minutes until the centers are just set and have a slight jiggle; let them cool in the pan for 5 minutes before popping them out to ensure they hold their shape.
How to make cheap lunches?

Why we love this
Budget-friendly cooking doesn’t have to mean boring; in fact, some of the most soulful, aromatic dishes come from humble ingredients like chickpeas, lentils, and grains. There is something incredibly satisfying about the way a simple can of beans can be transformed into a zesty Mediterranean medley with just a few spices and a squeeze of lemon. The textures are hearty and filling, with the creamy bite of the beans playing against the sharp tang of pickled red onions. It’s a meal that feels intentional and rich in flavor, proving that you can eat like royalty on a shoestring budget.
Ingredients
- 2 cans chickpeas, drained and rinsed
- 1 cup dry quinoa or brown rice
- 2 large carrots, shredded
- 1 jar of kalamata olives
- Fresh parsley and dried cumin
- Lemon juice and olive oil
How to make it
- Cook your grains (quinoa or rice) using vegetable broth instead of water; this adds a layer of savory depth to the base of your lunch for zero extra cost.
- Drain your chickpeas and toss them in a bowl with cumin, salt, and a splash of oil; for extra texture, roast them at 400°F for 15 minutes until they become slightly nutty and firm.
- Prepare a ‘bulk’ base by mixing the cooked grains with shredded carrots and chopped parsley, which acts as a fiber-rich foundation that stays fresh in the fridge for up to 5 days.
- Keep your ‘flavor bombs’ like olives, feta, or pickles in small separate containers or at the very top of your prep bowls to maintain their distinct, sharp flavors.
- Create a simple lemon-tahini or lemon-olive oil dressing in a large batch to use throughout the week, ensuring it is well-seasoned with salt to bring out the earthy notes of the grains.
- When assembling, use the ‘bowl method’: grain base on the bottom, protein/beans in one corner, veggies in the other, and a generous sprinkle of fresh herbs to make a $2 meal look like a $15 bistro bowl.
How to prep roasted veggies?

Why we love this
Roasted vegetables are the crown jewels of the food board, offering a caramelized sweetness that raw veggies simply can’t match. As the heat of the oven interacts with the natural sugars in sweet potatoes, broccoli, and peppers, they develop charred, crispy edges and tender, melt-in-your-mouth interiors. The aroma is intoxicating—earthy, sweet, and slightly smoky—creating a cozy atmosphere in the kitchen. Each piece becomes a concentrated burst of flavor that adds warmth and a sophisticated depth to any meal you add them to.
Ingredients
- 2 sweet potatoes, cubed
- 1 head of broccoli, cut into florets
- 1 red bell pepper, sliced
- 1 red onion, wedged
- 3 tablespoons avocado oil (high smoke point)
- Garlic powder, salt, and dried rosemary
How to make it
- Preheat your oven to 425°F (220°C); a high temperature is crucial for caramelization (the Maillard reaction) rather than just softening the vegetables.
- Cut all your vegetables into uniform sizes so they cook at the same rate; keep the sweet potatoes slightly smaller since they are denser than the broccoli or peppers.
- In a large bowl, toss the vegetables with avocado oil and seasonings until every surface is shimmering; using a bowl ensures better coverage than drizzling oil directly on the pan.
- Spread the vegetables onto a large sheet pan in a single layer; if the pan is crowded, the vegetables will release steam and become mushy rather than crispy.
- Roast for 20-30 minutes, using a spatula to toss them halfway through to ensure even browning on all sides.
- Look for visual cues: the broccoli tips should be slightly charred and the sweet potatoes should be easily pierced with a fork with golden-brown edges before removing from the oven.
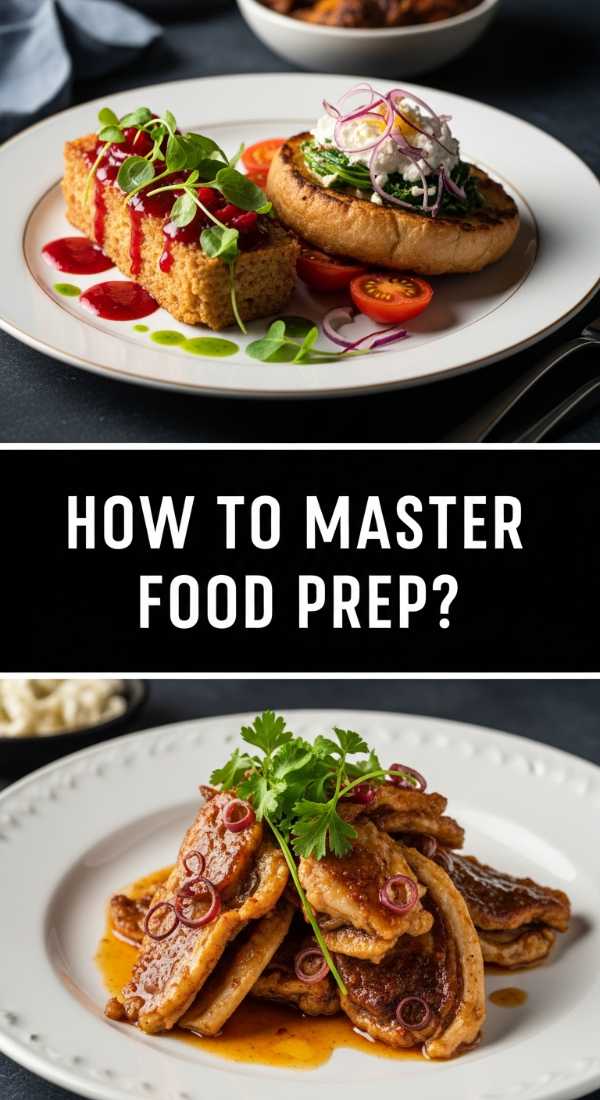
How to master food prep?
Why we love this
Mastering food prep is like gaining a superpower; it’s the transition from being a reactive cook to a proactive chef in your own home. There is a profound sense of calm that comes from seeing a clean, organized fridge filled with transparent containers of prepped components. The tactile experience of chopping, the rhythmic sound of the knife on the board, and the visual harmony of a rainbow of ingredients ready to go creates a meditative state. It’s about more than just food; it’s about creating a system that supports your health and your happiness, one beautiful container at a time.
Ingredients
- Glass airtight containers (various sizes)
- A sharp chef’s knife
- Large wooden cutting board
- Clear labeling tape or chalk markers
- A plan (3 proteins, 3 grains, 5 veggies)
How to make it
- The first rule of mastery is ‘Component Prepping’ rather than ‘Meal Prepping’; instead of making 5 identical burritos, prep the beans, rice, and salsa separately to allow for culinary flexibility.
- Dedicate a ‘Power Hour’ on Sunday: start with the items that take the longest (roasting tubers or cooking grains) so they can work in the background while you chop fresh produce.
- Organize your prep board by texture and color; keep wet ingredients like washed berries separate from dry items like nuts or toasted seeds to prevent cross-moisture.
- Use glass containers for storage; they are non-reactive, allow you to see exactly what you have (which prevents food waste), and they stack beautifully for that ‘viral fridge’ aesthetic.
- Label every container with the date and content using a wash-off marker; this eliminates the ‘sniff test’ later in the week and helps you keep track of what needs to be eaten first.
- Maintain your tools: a dull knife is dangerous and makes the process a chore, so hone your blade before every prep session to make slicing through a tomato feel like sliding through butter.
How to prep steak bowls?

Why we love this
Steak bowls are the epitome of a powerhouse meal, combining the iron-rich, umami-packed punch of a perfectly seared steak with the lightness of fresh greens. The scent of garlic butter melting over a warm steak is arguably one of the greatest kitchen aromas, evoking a sense of celebration and reward. When sliced thin against the grain, the beef is incredibly tender, releasing savory juices that naturally dress the rice and vegetables below. It feels like a high-end steakhouse dinner condensed into a convenient, portable bowl that fuels your body and satisfies your most intense cravings.
Ingredients
- 1 lb flank steak or top sirloin
- 2 tablespoons soy sauce
- 1 tablespoon honey
- 1 teaspoon grated ginger
- 2 cups cooked jasmine rice
- Steamed bok choy or snap peas
How to make it
- Marinate your steak for at least 30 minutes in a mixture of soy sauce, honey, and ginger; the salt in the soy sauce acts as a brine to tenderize the muscle fibers while the honey helps with browning.
- Remove the steak from the fridge 20 minutes before cooking to bring it to room temperature; a cold steak will cook unevenly, leaving the center raw and the outside burnt.
- Heat a skillet over very high heat with a high-smoke-point oil; sear the steak for 3-4 minutes per side for a perfect medium-rare, looking for a dark, caramelized crust.
- Crucially, let the steak rest on a cutting board for 10 full minutes before slicing; this prevents the juices from running out and leaving the meat dry.
- Slice the steak into very thin strips across the grain (perpendicular to the long muscle fibers) to ensure every bite is effortless to chew.
- Assemble the bowls by placing a mound of fluffy jasmine rice at the base, layering the steak strips on top, and drizzling with any leftover pan juices mixed with a little extra soy sauce.
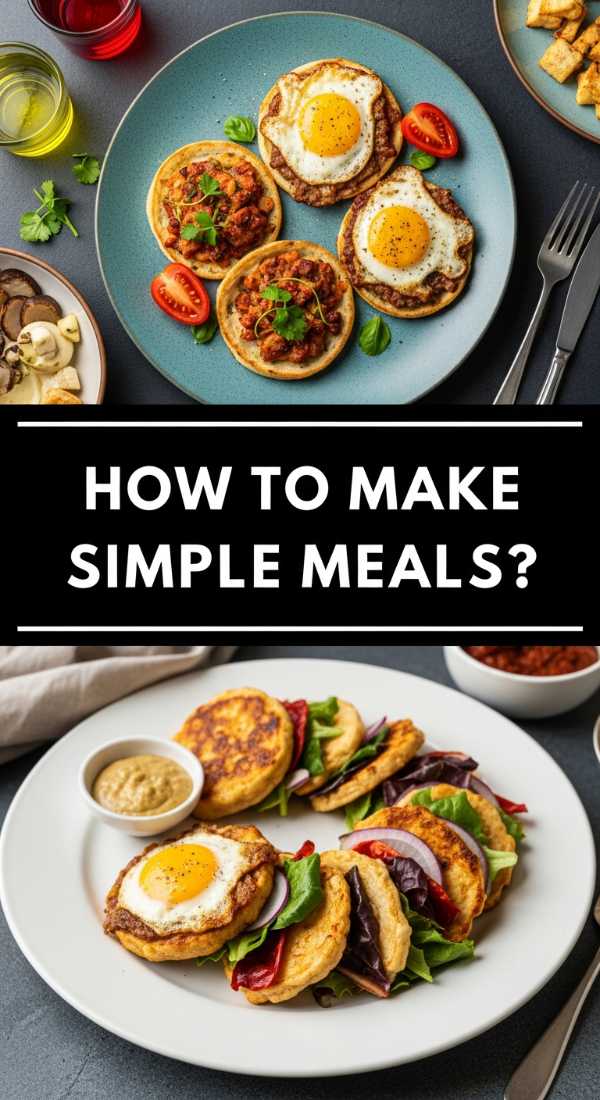
How to make simple meals?
Why we love this
Simple meals are a masterclass in minimalism, proving that you don’t need a hundred ingredients to create something spectacular. There is a quiet beauty in a dish where the individual flavors—like the floral notes of high-quality olive oil or the sharp bite of sea salt—are allowed to shine. These meals are light on the stomach and light on the mind, offering a gentle way to end a busy day. The textures are clean and uncomplicated, providing a sense of purity and balance that makes you feel nourished without the ‘food coma’ that comes from heavier, more complex dishes.
Ingredients
- 1 box high-quality pasta or couscous
- 1 jar of sundried tomatoes in oil
- 2 cups fresh baby spinach
- 1/2 cup shaved parmesan
- Lemon wedges and red pepper flakes
How to make it
- Use the ‘one-pot’ or ‘one-pan’ philosophy to keep cleanup minimal; cook your pasta in salted water until it is ‘al dente’ (firm to the bite).
- Reserve a half-cup of the starchy pasta water before draining; this liquid gold is the secret to creating a silky sauce that binds everything together without heavy cream.
- In the same warm pot, toss the hot pasta with the sundried tomatoes and a few tablespoons of their infused oil, which carries an intense, concentrated tomato flavor.
- Add the fresh spinach directly to the hot pasta; the residual heat will wilt the leaves perfectly in seconds, preserving their bright green color and nutrients.
- Stir in the reserved pasta water and a handful of parmesan, mixing vigorously until a light, glossy emulsion forms around the noodles.
- Finish with a big squeeze of fresh lemon juice and a sprinkle of red pepper flakes to add a bright acidity and a subtle heat that cuts through the richness of the oil.
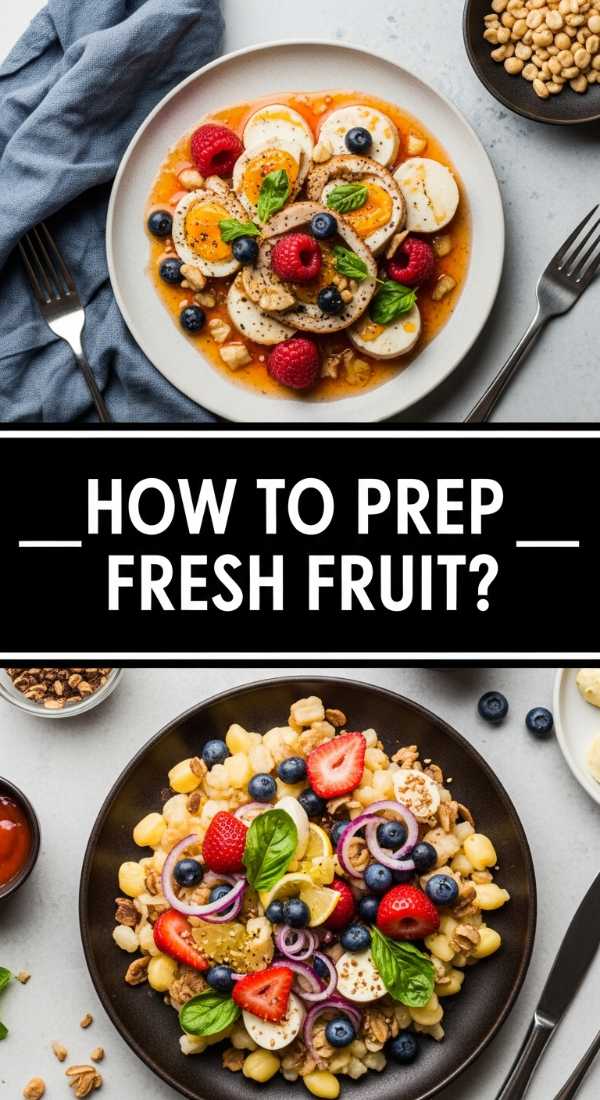
How to prep fresh fruit?
Why we love this
A fresh fruit board is like nature’s candy store, a vibrant display of neon pinks, deep purples, and sun-kissed oranges. There is nothing more refreshing than the explosion of cold juice from a ripe strawberry or the crisp, watery snap of a chilled grape. The scent is a mix of floral sweetness and zesty citrus that instantly lifts your mood. Prepping fruit ahead of time makes it the easiest snack to reach for, turning a mundane Tuesday afternoon into a spa-like experience where you’re treating your body to a rainbow of antioxidants and pure, hydrating energy.
Ingredients
- 1 pineapple, cubed
- 1 pint blueberries
- 2 kiwis, peeled and sliced
- 1 bunch of red grapes
- Fresh mint leaves for garnish
- Optional: Greek yogurt for dipping
How to make it
- Wash all berries in a solution of 1 part white vinegar to 3 parts water; this removes mold spores and pesticides, helping them stay fresh in the fridge for up to twice as long.
- Dry the fruit thoroughly before storing; moisture is the enemy of longevity, so line your storage containers with a clean paper towel to absorb any excess.
- For the most aesthetic look, use different cutting techniques: cube the pineapple, slice the kiwi into rounds, and keep the grapes on small ‘snacking’ stems.
- Keep ‘bleeding’ fruits like raspberries or sliced strawberries in their own separate sections to prevent them from staining the lighter fruits like pineapple or melon.
- Store the prepped fruit at eye-level in the refrigerator in clear glass bowls; the visual cue will encourage you and your family to choose the healthy option over processed snacks.
- Right before serving on your food board, chiffonade a few fresh mint leaves and scatter them over the top to add a professional, aromatic touch that enhances the natural sweetness.
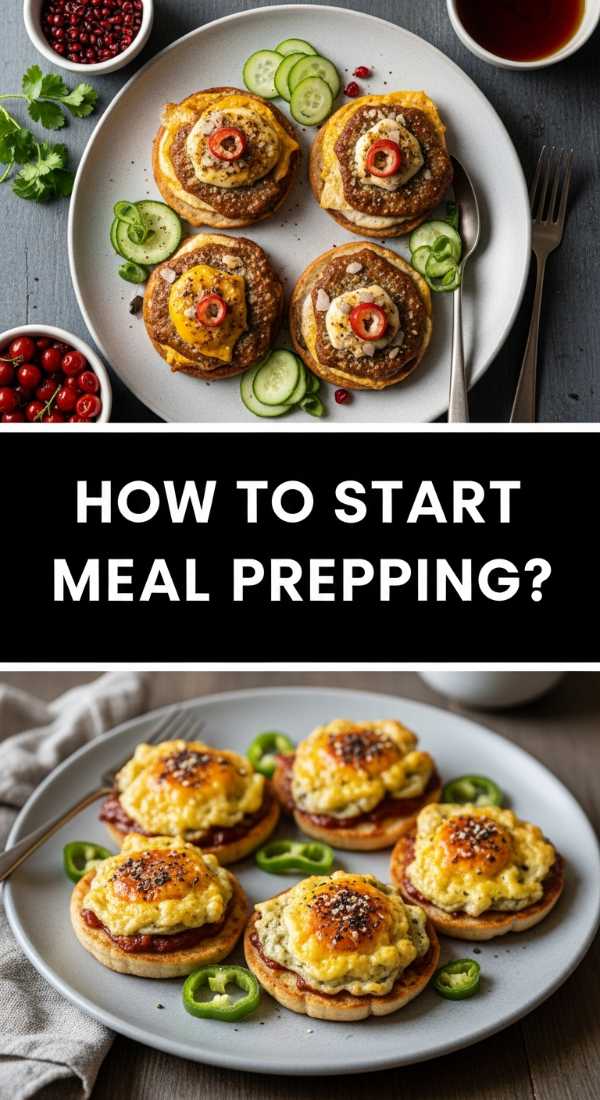
How to start meal prepping?
Why we love this
Starting your meal prep journey is the ultimate act of self-care. It’s the transition from feeling overwhelmed by life’s demands to feeling in control of your plate. There is an incredible sense of accomplishment in standing back and looking at a week’s worth of food that you created with your own hands. It’s a process that saves you money, reduces waste, and ensures you’re eating food that makes you feel amazing. The routine of prep becomes a weekly ritual of mindfulness—a time to put on your favorite podcast, pour a glass of wine, and invest in your future health and happiness.
Ingredients
- A weekly meal planner or notepad
- A set of 10-15 matching containers
- 5 staple pantry items (grains, oils, spices)
- 1 grocery list organized by store aisle
How to make it
- Start small: don’t try to prep 21 meals on your first day. Begin by prepping just your lunches for three days to build the habit without the burnout.
- Inventory your pantry before you go to the store; building meals around what you already have is the most efficient and cost-effective way to start.
- Choose ‘Multipurpose Proteins’: roast two chickens instead of one, using one for dinner tonight and shredding the second for salads, tacos, and bowls later in the week.
- Invest in a ‘Prep Kit’: having matching containers that stack well makes the process much more satisfying and keeps your fridge looking like a Pinterest board.
- Theme your nights to make planning easier: ‘Meatless Monday,’ ‘Taco Tuesday,’ and ‘Grain Bowl Wednesday’ provide a framework that reduces decision fatigue.
- Remember the ‘2-2-2 Rule’: Prep 2 proteins, 2 grains, and 2 sauces. With these components, you can mix and match to create endless varieties so you never feel like you’re eating the same ‘leftovers’ twice.
The Ultimate Goal: Effortless Living
The viral food board hack isn’t just about food—it’s about a lifestyle of ease and beauty. By spending a little time each week organizing your ingredients into an aesthetic spread, you remove the friction from healthy eating. You turn your kitchen from a place of chores into a place of creativity. So, grab your favorite wooden board, clear your counters, and start your journey toward a more beautiful, delicious, and organized life.
Frequently Asked Questions
How long does prepped food stay fresh? Generally, most cooked proteins and roasted vegetables stay fresh for 3-4 days in airtight glass containers. Fresh, hearty greens like kale can last up to 5 days if kept dry.
Do I have to prep everything on Sunday? Not at all! Many people find ‘Mid-Week Prep’ on Wednesday works better for their schedule to ensure everything stays crunchy and fresh through the weekend.
What are the best containers to use? Glass containers with snap-locking lids are the gold standard. They don’t stain, they are oven and microwave safe, and they keep odors from transferring between foods.