

Simple, Stunning, and Viral: The Easiest Food Board You’ll Ever Make
There is something inherently magical about gathering around a table where the center is filled with vibrant colors and rich aromas. We’ve all seen those stunning charcuterie boards on our feeds, but let’s be honest—sometimes you want something more nourishing, warm, and comforting than just cold cheese and crackers. That is where the ‘Harvest Roasted Board’ comes in, a viral sensation that celebrates the beauty of perfectly cooked vegetables in a way that feels like a party on a platter.
I remember the first time I brought one of these boards out for a casual Friday night with friends. The room went silent as they took in the rainbow of caramelized onions, charred cauliflower, and golden potatoes, all glistening under a drizzle of herb-infused oil. It’s not just food; it’s an experience that invites everyone to dig in, share stories, and savor the simple joy of a home-cooked meal that looks like it belongs in a magazine.
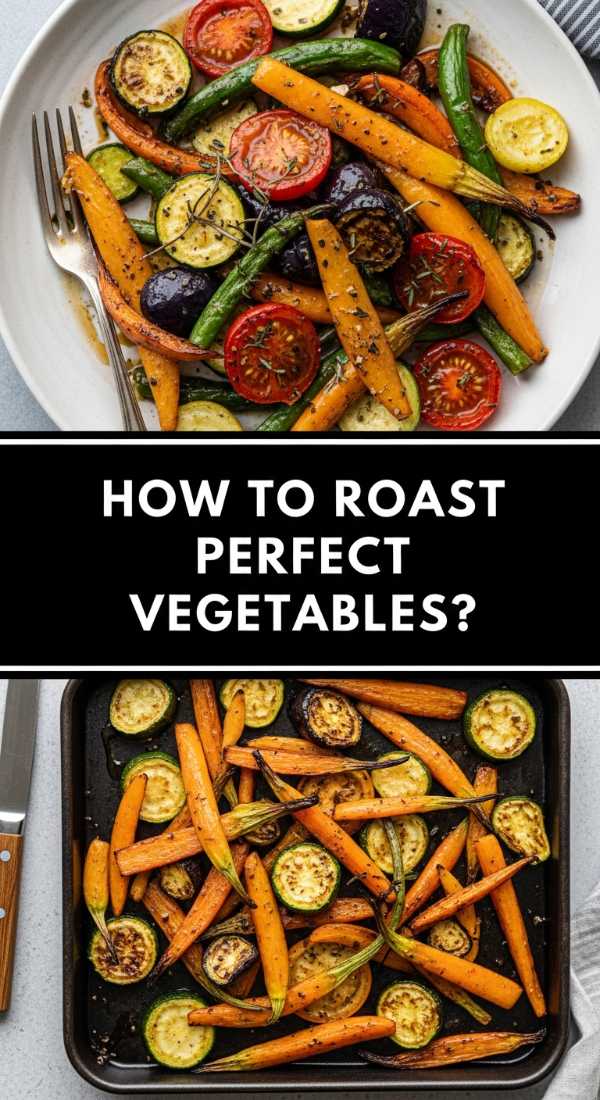
How to roast perfect vegetables?
Why we love this
Perfectly roasted vegetables are the backbone of any stunning food board, offering a symphony of textures and deep, concentrated flavors. When you master the art of the roast, you transform humble produce into something truly decadent, with skins that snap and interiors that melt like butter. The aroma of roasting garlic and earthy vegetables wafting through your home creates an immediate sense of comfort and anticipation for the feast ahead. It is the ultimate way to bring out the natural sugars of the earth, resulting in a savory sweetness that no other cooking method can replicate.
Ingredients
- 2 lbs of mixed seasonal vegetables (carrots, parsnips, bell peppers)
- 3 tablespoons extra virgin olive oil
- 1 teaspoon sea salt
- 1/2 teaspoon cracked black pepper
- 2 sprigs of fresh rosemary
How to make it
- Preheat your oven to 425°F (220°C). This high temperature is crucial for achieving that signature golden-brown exterior without overcooking the inside into mush.
- Wash and thoroughly dry your vegetables. Any moisture left on the surface will create steam in the oven, preventing that beautiful browning we are looking for.
- Cut your vegetables into uniform sizes to ensure they cook at the same rate. Aim for 1-inch chunks or batons for even heat distribution.
- In a large mixing bowl, toss the vegetables with olive oil, salt, and pepper until every surface is thinly and evenly coated. You want them to glisten, not sit in a pool of oil.
- Spread the vegetables in a single layer on a large rimmed baking sheet. Do not crowd the pan; if they are too close together, they will steam instead of roast. Use two pans if necessary.
- Roast for 25-35 minutes, tossing them halfway through with a spatula. Look for edges that are beginning to darken and a fork-tender center as your visual cue for perfection.
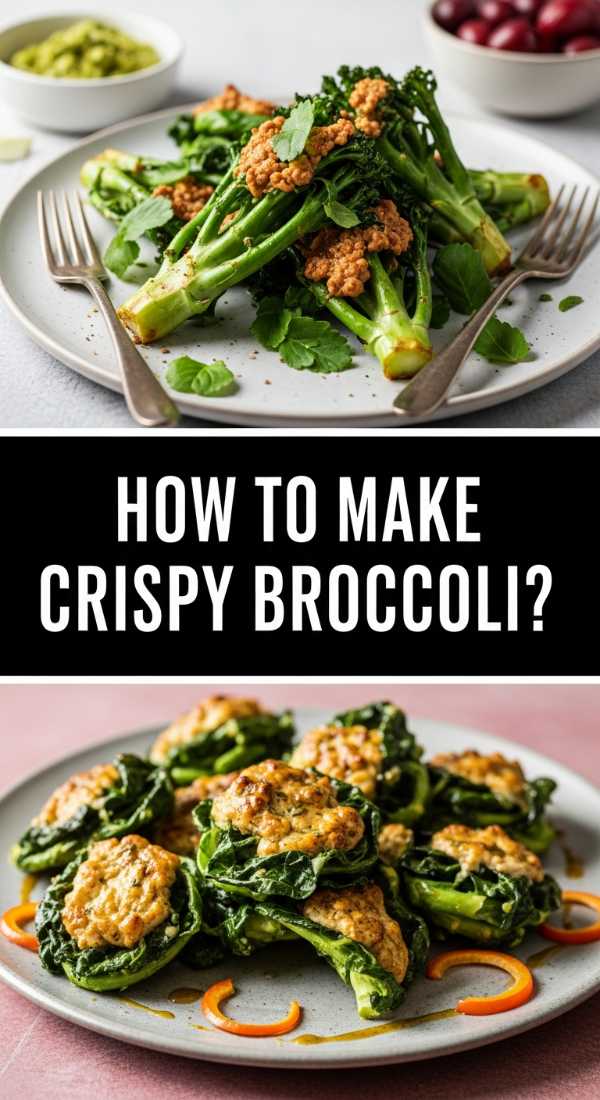
How to make crispy broccoli?
Why we love this
Crispy broccoli is the ultimate game-changer for those who think they don’t like greens, offering a satisfying crunch that rivals your favorite potato chips. The tiny florets act like sponges for flavor, soaking up the oil and seasonings while the tips become delightfully charred and brittle. There is a specific nutty flavor that emerges when broccoli is pushed to the limit of crispiness, providing a sophisticated bitterness that pairs beautifully with a squeeze of fresh lemon. It’s the kind of side dish that disappears in seconds because every bite is a perfect balance of salt, char, and tender stem.
Ingredients
- 2 large heads of broccoli, cut into florets
- 2 tablespoons avocado oil (high smoke point)
- 1 teaspoon garlic powder
- 1/2 teaspoon red pepper flakes
- Fresh lemon wedges for serving
How to make it
- Adjust your oven rack to the lower-middle position and preheat to 450°F (230°C). The intense heat from the bottom helps crisp up the florets faster.
- Trim the broccoli florets so they have at least one flat side. This flat surface area maximizes contact with the hot pan, creating more ‘crisp’ per bite.
- Whisk the oil, garlic powder, and pepper flakes in a bowl, then toss the broccoli until the florets are saturated. Broccoli is porous, so ensure the oil gets deep into the ‘trees.’
- Place the florets flat-side down on a preheated baking sheet. Hearing a slight sizzle when they hit the pan is a great sign that you’ll get a good sear.
- Roast for 15-20 minutes without moving them. You are looking for the bottoms to be deep brown and the top edges to look slightly charred and wispy.
- Remove from the oven and immediately squeeze fresh lemon juice over the top to brighten the flavors and cut through the richness of the oil.
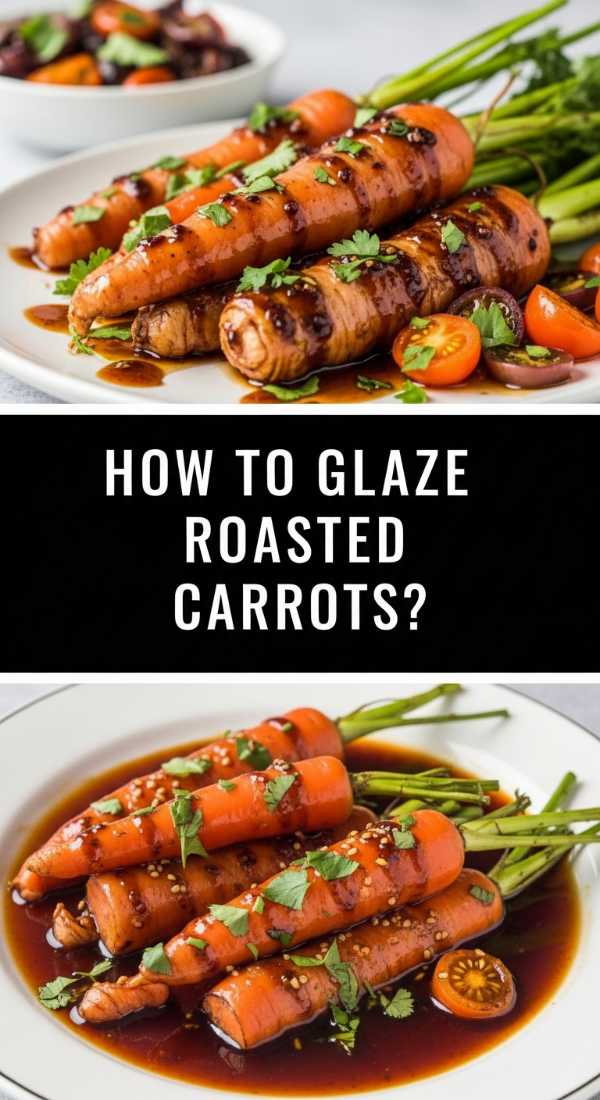
How to glaze roasted carrots?
Why we love this
Glazed roasted carrots add a touch of elegance and a pop of vibrant orange to your food board, acting as the sweet-and-savory anchor of the meal. The glaze reduces in the oven’s heat, clinging to the carrots like a shimmering, sticky coat of armor that heightens their natural honey-like essence. As you bite through the tender flesh, you get the herbal notes of thyme mixed with the sharp tang of balsamic, creating a complex flavor profile that feels fancy yet remains incredibly simple to execute. They are soft enough to spread on a piece of crusty bread but firm enough to hold their own as a standalone star.
Ingredients
- 1 bunch of rainbow carrots, tops trimmed
- 2 tablespoons honey or maple syrup
- 1 tablespoon balsamic vinegar
- 1 tablespoon melted butter
- 1 teaspoon fresh thyme leaves
How to make it
- Preheat your oven to 400°F (200°C). Scrub the carrots clean, but leave the skins on for a more rustic, textured appearance on your board.
- If the carrots are particularly thick, slice them in half lengthwise so they cook at the same speed as the thinner ones in the bunch.
- In a small ramekin, whisk together the honey, balsamic vinegar, and melted butter until emulsified into a smooth syrup.
- Place the carrots on a parchment-lined baking sheet and roast them ‘naked’ (with just a touch of oil and salt) for the first 15 minutes to soften the core.
- Pull the tray out and brush the glaze generously over each carrot using a pastry brush. Sprinkle the fresh thyme leaves over the top so they stick to the glaze.
- Return to the oven for another 10-12 minutes. Watch closely; the sugars in the glaze can burn quickly. You want the glaze to be bubbling and the carrots to have a glossy, lacquered finish.
How to blend vegetable soup?

Why we love this
Including a small bowl of blended vegetable soup on your food board provides a silky, dipping element that ties all the roasted components together. It is incredibly luxurious on the palate, offering a concentrated burst of garden-fresh flavor that feels both light and deeply satisfying at the same time. The process of blending releases the starches of the vegetables, creating a creaminess that feels indulgent without necessarily needing heavy dairy. It’s the ultimate comfort food, serving as a warm, liquid hug that complements the crunchy, roasted textures of the rest of the board’s offerings.
Ingredients
- 4 cups roasted vegetables (squash, cauliflower, or carrots)
- 2 cups vegetable broth (warm)
- 1/2 cup heavy cream or full-fat coconut milk
- 1 shallot, minced and sautéed
- Salt and white pepper to taste
How to make it
- Start by sautéing your minced shallot in a small pan with butter until translucent and fragrant; this provides a savory base layer for the soup.
- Transfer your pre-roasted vegetables into a high-speed blender. Using roasted veggies instead of boiled ones adds a smoky depth that is incomparable.
- Pour in half of the warm vegetable broth. It is vital the broth is warm to ensure a smooth emulsion and to prevent the blender jar from cracking if using glass.
- Blend on low, gradually increasing to high speed. Add the remaining broth slowly until you reach your desired consistency—thick for dipping or thinner for sipping.
- Once smooth, pour in the cream or coconut milk and pulse a few times to incorporate. This adds a velvety mouthfeel and a beautiful pale hue to the soup.
- Taste and adjust seasoning. Use white pepper if you want to keep the appearance perfectly clean and speck-free.
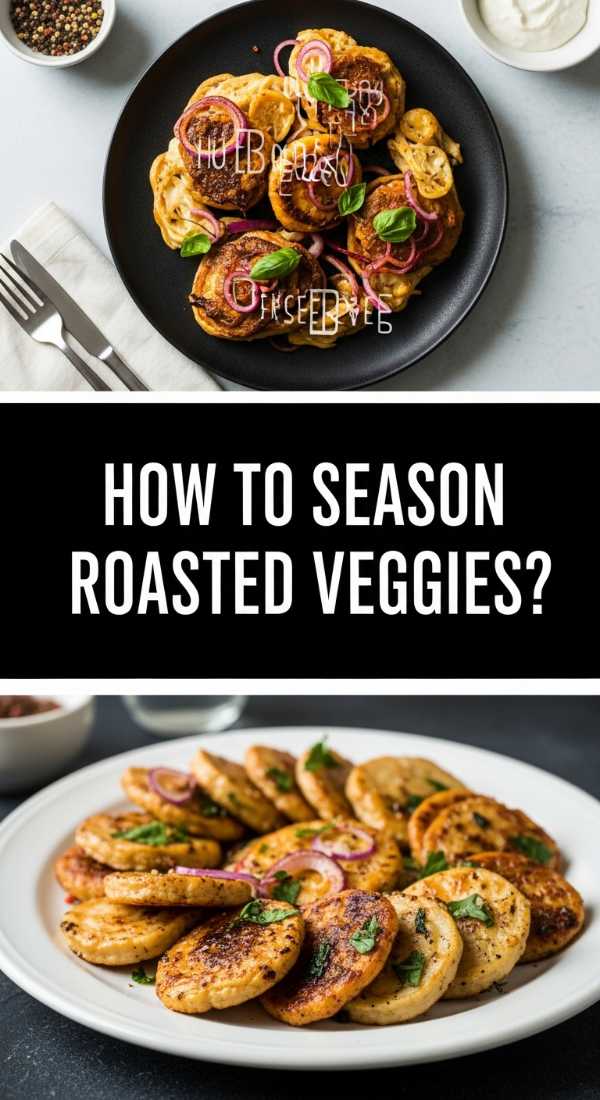
How to season roasted veggies?
Why we love this
Seasoning is where the personality of your food board truly shines, allowing you to take your guests on a culinary journey through different cultures and aromas. The way spices toast in the oven transforms them from simple pantry staples into complex, aromatic powerhouses that penetrate deep into the heart of the vegetables. Whether you choose the smoky warmth of paprika or the earthy zest of cumin, the right seasoning creates a fragrant crust that makes every bite exciting and unpredictable. It is the secret language of the kitchen, turning a simple tray of produce into a masterpiece of balanced heat, salt, and herbaceousness.
Ingredients
- 1 tablespoon smoked paprika
- 1 teaspoon ground cumin
- 1 teaspoon dried oregano
- 1/2 teaspoon onion powder
- Flaky sea salt for finishing
How to make it
- Create a ‘dry rub’ by mixing all your spices in a small bowl before they ever touch the vegetables. This ensures an even distribution of flavor across the entire batch.
- Apply the seasoning to the vegetables after they have been coated in oil but before they go into the oven. The oil acts as a glue, holding the spices in place so they don’t fall to the bottom of the pan.
- Massage the spices into the vegetables with your hands. This physical action helps break down the surface tension and ensures the spices get into every nook and cranny.
- During the last 5 minutes of roasting, add any delicate dried herbs like oregano or thyme. Adding them too early can cause them to burn and turn bitter.
- Once the vegetables are removed from the oven and are still glistening with hot oil, sprinkle a generous pinch of flaky sea salt from high above.
- The heat will help the salt adhere, providing a sharp, crystalline crunch that contrasts beautifully with the soft, spiced interior of the roasted gems.
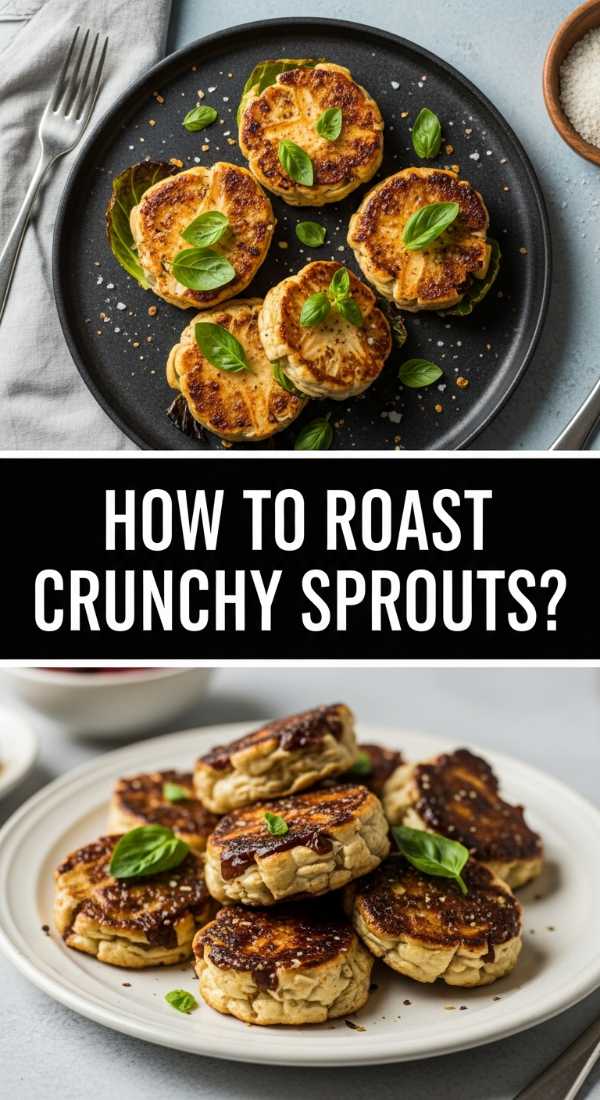
How to roast crunchy sprouts?
Why we love this
Brussels sprouts, when roasted to a state of maximum crunch, become the ‘candy’ of the vegetable world, offering a nutty and salty profile that is completely addictive. The outer leaves that fall off on the baking sheet turn into dark, paper-thin crisps, while the halved hearts become tender and caramelized with a savory depth. There is something incredibly satisfying about the contrast between the charred, bitter edges and the sweet, concentrated center that develops under high heat. They bring a rustic, hearty energy to your food board that feels both sophisticated and unapologetically rustic.
Ingredients
- 1 lb Brussels sprouts, trimmed and halved
- 2 tablespoons extra virgin olive oil
- 1 tablespoon balsamic glaze
- 2 oz pancetta or bacon bits (optional)
- Salt and pepper
How to make it
- Preheat your oven and a heavy-duty baking sheet to 425°F (220°C). Putting the sprouts on a hot pan ensures an immediate sear.
- Toss the halved sprouts in a bowl with oil, salt, and pepper. Make sure the cut surfaces are well-greased, as this is where the most caramelization happens.
- Place each sprout cut-side down on the hot baking sheet. This is the most important step for achieving a deep, dark brown crust.
- Scatter any loose leaves around the sprouts; these will become the ultra-crunchy bits that everyone fights over.
- Roast for 20-25 minutes. Do not stir them for the first 15 minutes to allow the bottom crust to fully develop and release from the pan naturally.
- In the final 2 minutes, drizzle the balsamic glaze over the sprouts and toss gently. The glaze will thicken and become sticky, perfectly coating the charred surfaces.
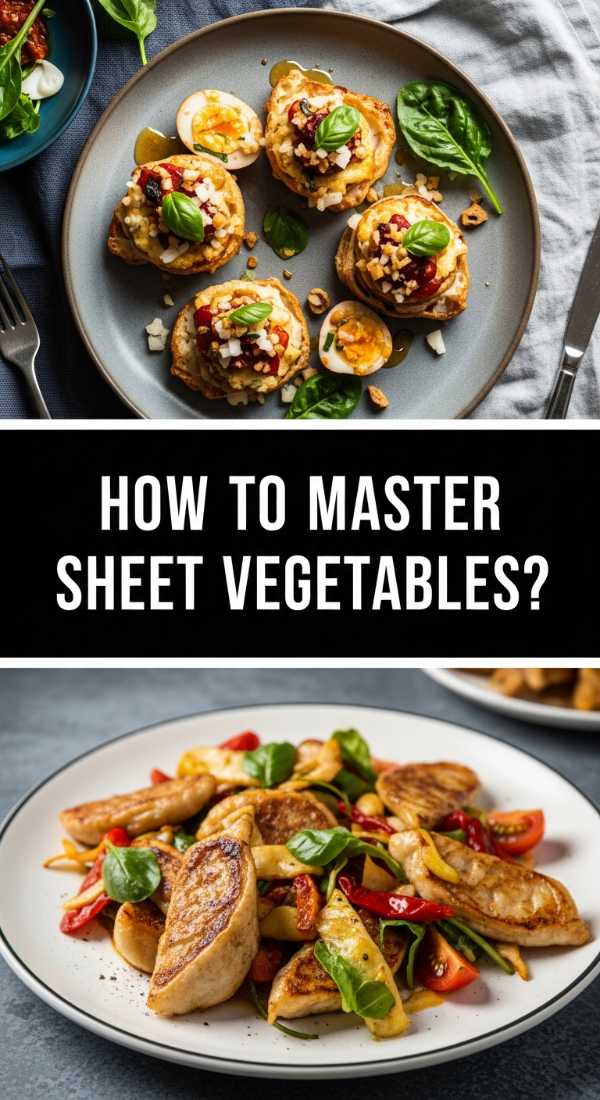
How to master sheet vegetables?
Why we love this
Mastering the sheet pan method is the ultimate ‘life hack’ for the modern host, allowing you to create a massive amount of food with minimal cleanup and maximum visual impact. It’s all about the art of ‘organized chaos,’ where different colors and textures mingle on a single tray, creating a stunning gradient of roasted goodness. When done correctly, the vegetables retain their individual integrity while sharing a common, roasted soul that makes the entire board feel cohesive. It frees you up to spend time with your guests, knowing the oven is doing the heavy lifting of creating deep, complex flavors and beautiful aesthetics.
Ingredients
- Assorted ‘hard’ veggies (sweet potatoes, beets)
- Assorted ‘soft’ veggies (zucchini, bell peppers)
- 4 tablespoons olive oil
- Fresh rosemary and thyme sprigs
- Garlic cloves, smashed
How to make it
- The secret to a successful sheet pan is ‘zoning.’ Place the denser, harder vegetables like potatoes and beets on one side of the tray, as they require more time to soften.
- Start roasting the hard vegetables at 400°F (200°C) for about 15 minutes before adding anything else to the pan.
- After the initial roast, add your softer vegetables like zucchini and peppers to the other side of the tray. This prevents the soft veggies from turning to mush while the potatoes cook.
- Tuck smashed garlic cloves and herb sprigs in between the vegetables. This infuses the oil on the pan with aromatics that flavor everything simultaneously.
- Rotate the pan 180 degrees halfway through the total cooking time to account for any hot spots in your oven.
- Check for doneness by piercing the thickest vegetable with a knife; it should slide in effortlessly. The resulting tray will have a variety of textures perfectly timed for your board.
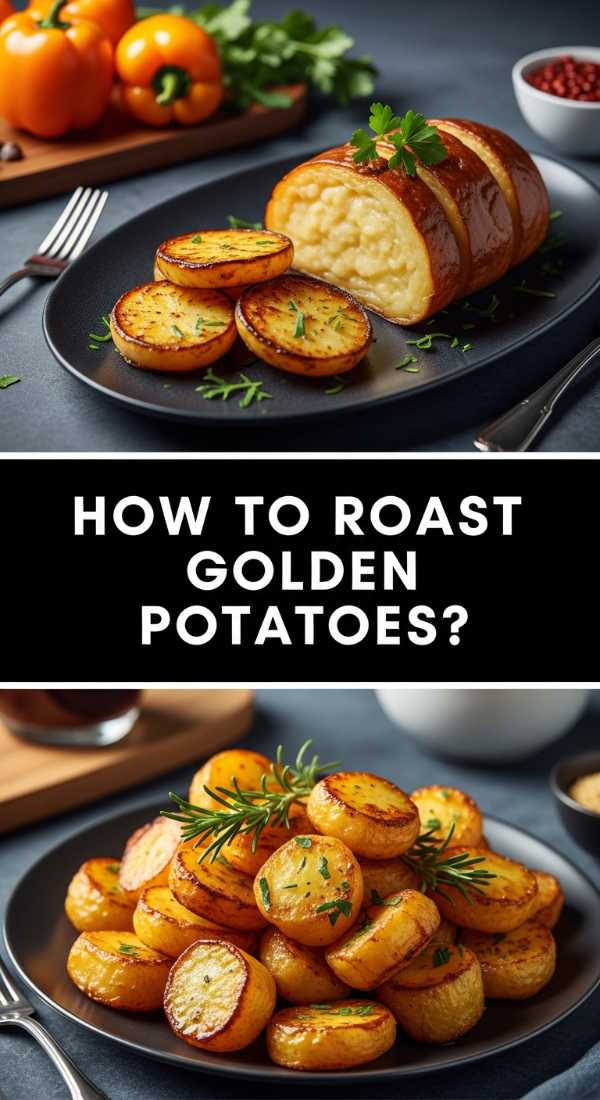
How to roast golden potatoes?
Why we love this
A perfectly roasted golden potato is a masterpiece of culinary engineering, featuring a glass-like outer shell that shatters to reveal a fluffy, cloud-like interior. They are the ultimate crowd-pleaser on any board, providing a starchy, comforting base that carries flavors of rosemary and garlic with effortless grace. The sight of those jagged, golden-brown edges is enough to make anyone’s mouth water, promising a salty, savory crunch that is better than any restaurant side dish. They bring a sense of abundance and warmth to the table, making the meal feel substantial and deeply nourishing.
Ingredients
- 2 lbs Yukon Gold potatoes, chopped into 1-inch pieces
- 3 tablespoons duck fat or olive oil
- 2 tablespoons fresh rosemary, chopped
- 4 cloves garlic, minced
- Maldon sea salt
How to make it
- Start by parboiling your potato chunks in salted water for about 8-10 minutes. You want them to be slightly soft on the outside but still firm in the middle.
- Drain the potatoes and give them a vigorous shake in the pot. This ‘roughs up’ the edges, creating a starchy mash on the surface that will turn into an extra-thick crust in the oven.
- Preheat your roasting pan with the oil or duck fat in the oven at 425°F (220°C) until the fat is shimmering and hot.
- Carefully add the potatoes to the hot fat. They should sizzle immediately. Toss them to ensure they are fully coated in the hot oil.
- Roast for 40-50 minutes, turning every 15 minutes. This long, slow roast at high heat is what builds that thick, golden crust.
- In the last 5 minutes, toss in the minced garlic and rosemary. Doing this late prevents the garlic from burning while allowing the rosemary oil to coat the spuds.
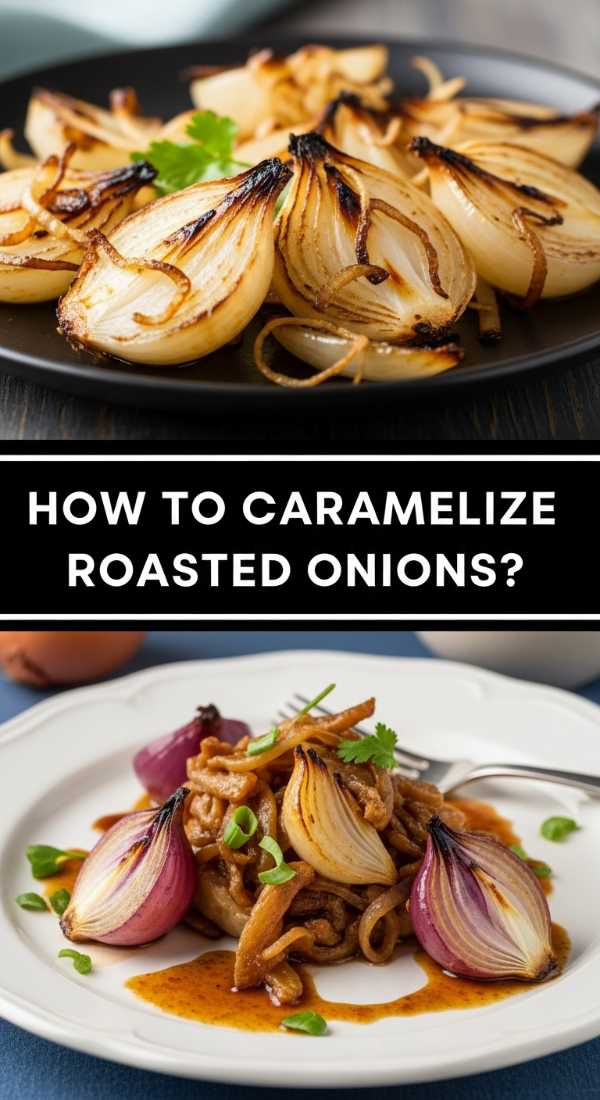
How to caramelize roasted onions?
Why we love this
Caramelized roasted onions are the unsung heroes of the food board, offering a jammy, concentrated sweetness that acts as a natural condiment for everything else. As they roast, the sharp, pungent bite of the raw onion transforms into a mellow, umami-rich flavor that is almost candy-like in its intensity. Their soft, pliable texture provides a beautiful contrast to the crunchier roasted vegetables, and their deep mahogany color adds a sophisticated visual depth to the platter. They are the ‘flavor bomb’ that ties the savory elements together, providing a rich, melt-in-your-mouth experience that lingers on the palate.
Ingredients
- 3 large red or yellow onions, peeled and wedged
- 2 tablespoons olive oil
- 1 tablespoon brown sugar
- 1 tablespoon balsamic vinegar
- 1/2 teaspoon salt
How to make it
- Cut the onions into thick wedges, leaving the root end slightly intact so the layers stay together during roasting and flipping.
- In a bowl, whisk together the oil, brown sugar, balsamic vinegar, and salt. The sugar helps speed up the caramelization process and adds a glossy finish.
- Toss the onion wedges in the mixture until they are thoroughly coated. Ensure the liquid gets between the layers as much as possible.
- Lay the wedges on a parchment-lined baking sheet, making sure they aren’t overlapping too much.
- Roast at 375°F (190°C) for 35-45 minutes. The lower temperature (compared to other veggies) prevents the sugar in the glaze from burning before the onion softens.
- Flip them gently with a thin spatula halfway through. You are looking for the edges to turn dark brown and the centers to become translucent and soft.
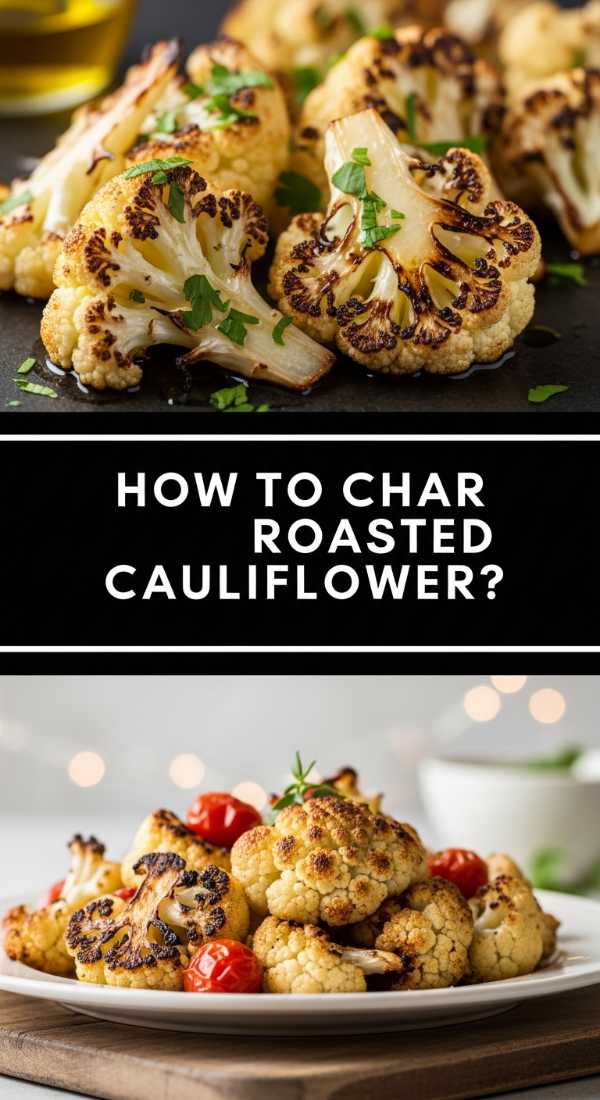
How to char roasted cauliflower?
Why we love this
Charred cauliflower is a revelation, offering a smoky, almost grilled flavor profile that elevates the vegetable to a main-course status. The high heat of the oven creates dark, caramelized spots on the florets that provide a sophisticated bitterness, perfectly balanced by the vegetable’s natural creaminess. It’s a texture-heavy addition to your board, with the stems remaining slightly tender-crisp while the tops become airy and brittle. When paired with warm spices like turmeric or cumin, it glows with an earthy vibrance that makes the entire food board look like a work of art.
Ingredients
- 1 large head of cauliflower, cut into flat florets
- 3 tablespoons extra virgin olive oil
- 1 teaspoon ground turmeric
- 1 teaspoon ground cumin
- Fresh parsley for garnish
How to make it
- Slice the cauliflower head into thick ‘steaks’ or large florets with at least one completely flat side to maximize the charring surface area.
- Whisk the oil with turmeric and cumin. The turmeric will give the cauliflower a stunning golden hue that looks incredible under the oven lights.
- Coat the cauliflower thoroughly. Use your hands to ensure the spiced oil reaches into the crannies of the florets.
- Place on a heavy baking sheet, flat-side down, and roast at 425°F (220°C) in the upper third of the oven. The higher placement exposes it to more intense radiant heat.
- Roast for 20-25 minutes without flipping. The goal is a deep, dark char on the bottom and a vibrant, toasted look on the top.
- Remove and immediately sprinkle with fresh parsley. The residual heat will wake up the oils in the parsley, adding a fresh, herbaceous aroma to the smoky cauliflower.
The Final Touch: Bringing Your Viral Board to Life
Now that you’ve mastered the individual components, it’s time for the best part—the assembly! Lay out your roasted treasures on a large wooden board, grouping them by color to create a stunning ombre effect, or mix them up for a rustic, ‘just-harvested’ look. Place your bowl of blended soup or a creamy tahini dip in the center, and fill the gaps with fresh herbs, nuts, or a few slices of toasted sourdough. This board isn’t just a meal; it’s a conversation starter that proves simple ingredients, when treated with love and a little heat, can become something truly viral and unforgettable.