

Less is More: Stunning Spring Minimalist Nail Tutorials for Every Occasion
Hello my loves! Can you feel it? That soft, golden light filtering through the window, the first brave blossoms peeking through the soil—spring is finally whispering its arrival. There is something so incredibly healing about this transition, like the world is taking its first deep, clean breath after a long slumber. Lately, I’ve been finding so much peace in the quiet moments, and that feeling has completely taken over my beauty routine.
I used to think that more was always better, but this season, my heart is leaning into the ‘less is more’ philosophy. There is a profound elegance in a simple white line or a tiny, delicate heart against a sheer base. It’s like a cloud-soft embrace for your hands. Today, I’m so excited to walk you through my favorite minimalist spring nail tutorials so we can carry that sense of calm and clarity right at our fingertips. Grab a cup of herbal tea, and let’s create something beautiful together.
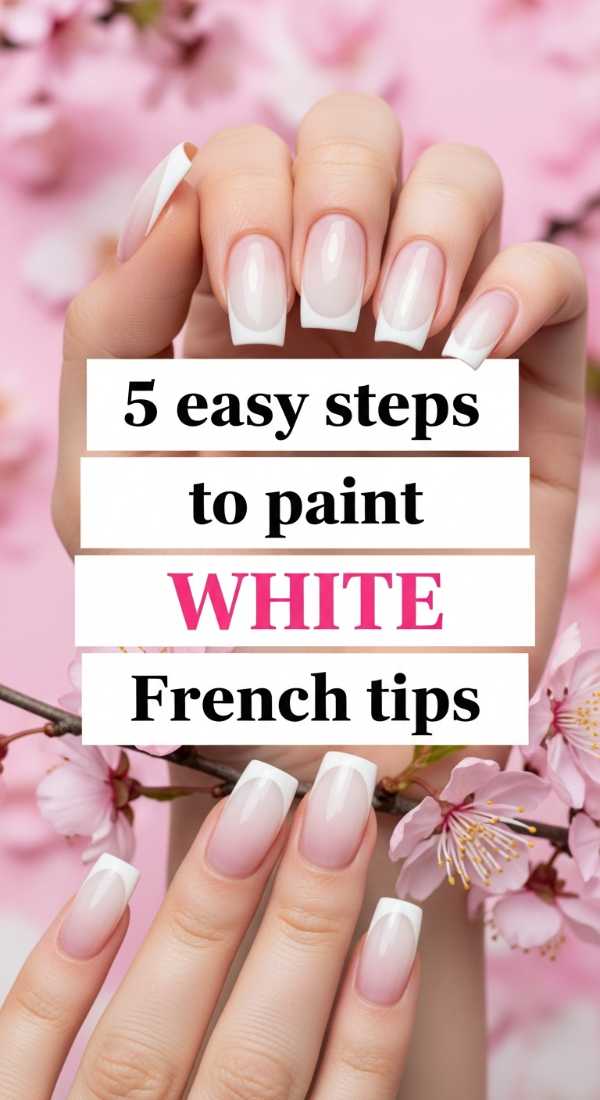
5 Easy Steps to Paint White French Tips
Why to love this Design:
The classic French tip is the ultimate love letter to timelessness. It’s crisp, clean, and makes your hands look instantly elongated and polished without trying too hard.
Essential Elements:
- Opaque crisp white polish
- Sheer nude or pink base coat
- French tip guide stickers or a thin liner brush
- High-shine top coat
How to Prepare:
- Apply one thin layer of your favorite sheer nude base and let it dry completely.
- Place your guide sticker just below the free edge of your nail, following the natural curve.
- Swipe the white polish across the very tip of the nail.
- Carefully peel the sticker away while the polish is still slightly damp for a sharp line.
- Seal the look with a glossy top coat to blend the layers together.
Budget Range
- Essie ‘Marshmallow’ ($10)
- French Tip Guides ($4)
- Sally Hansen Top Coat ($7)
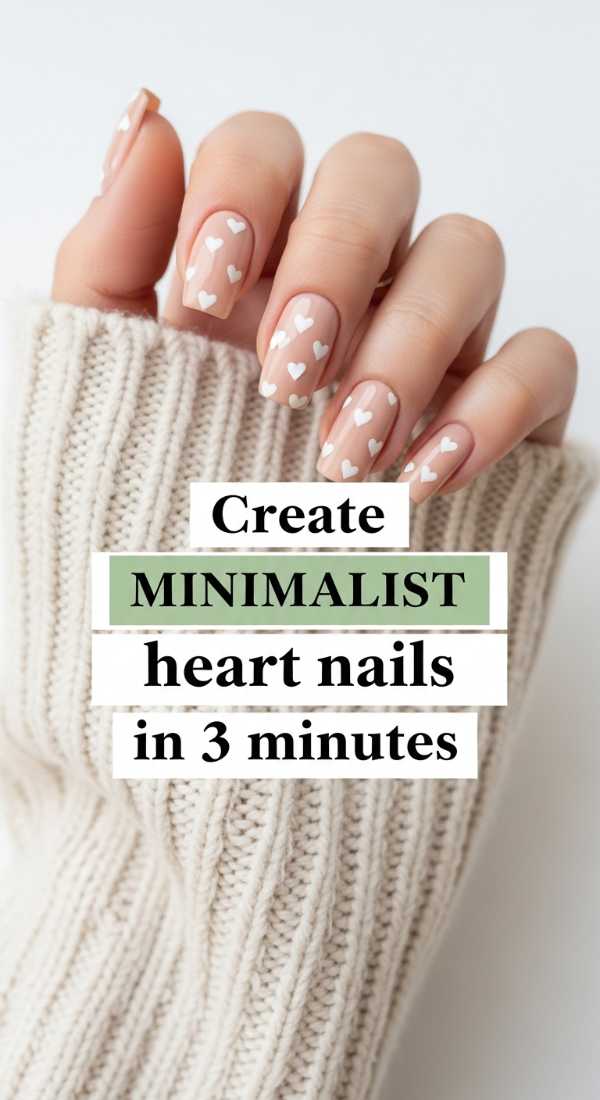
Create Minimalist Heart Nails in 3 Minutes
Why to love this Design:
This design is like a tiny secret shared between you and your nails. It’s subtle, romantic, and perfectly captures that sweet spring feeling of new beginnings.
Essential Elements:
- A toothpick or a small dotting tool
- Bright white nail polish
- Matte or glossy top coat
How to Prepare:
- Dip your dotting tool or toothpick into the white polish.
- Place two small dots side-by-side near the base of your nail.
- Using the tip, drag the bottom of each dot downward to meet in a ‘V’ shape, forming a tiny heart.
Budget Range
- OPI ‘Alpine Snow’ ($11)
- Bamboo Toothpicks ($2)
- Holler and Glow Dotting Tool ($5)
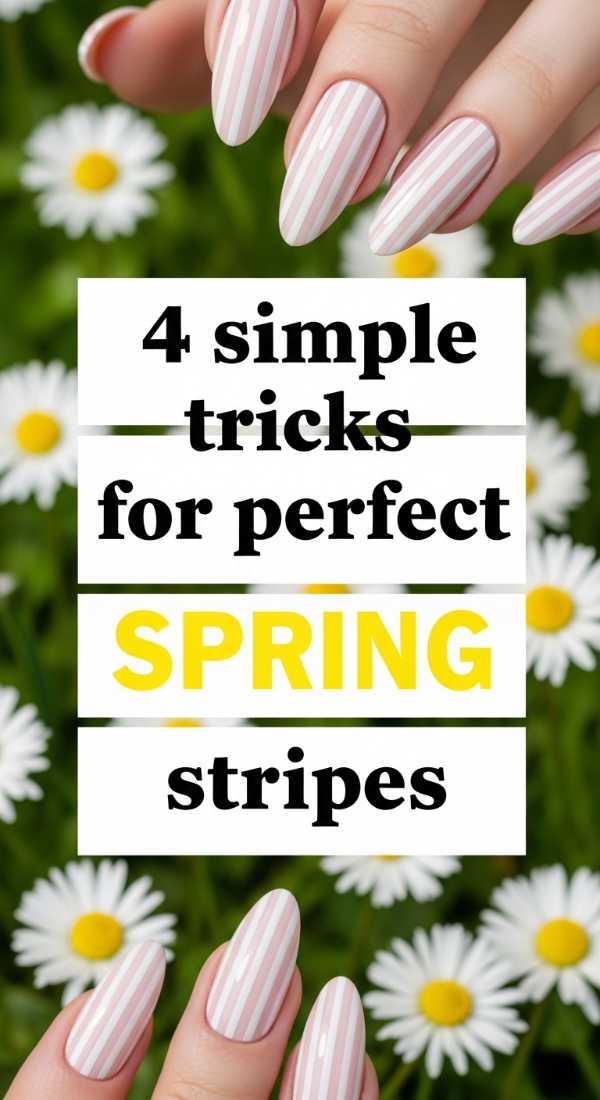
4 Simple Tricks for Perfect Spring Stripes
Why to love this Design:
Stripes bring a modern, architectural feel to your manicure. They are sleek, sophisticated, and surprisingly easy to achieve with just a little bit of patience.
Essential Elements:
- Striping tape
- White cream polish
- Tweezers
- Steady surface for your hand
How to Prepare:
- Apply your base color and ensure it is 100% dry.
- Lay a piece of striping tape vertically or horizontally across the nail.
- Paint the white polish over the tape.
- Immediately remove the tape with tweezers to reveal a perfect, crisp line.
Budget Range
- Nail Art Striping Tape ($6)
- Wet n Wild White Polish ($2)
- Revlon Clear Coat ($6)
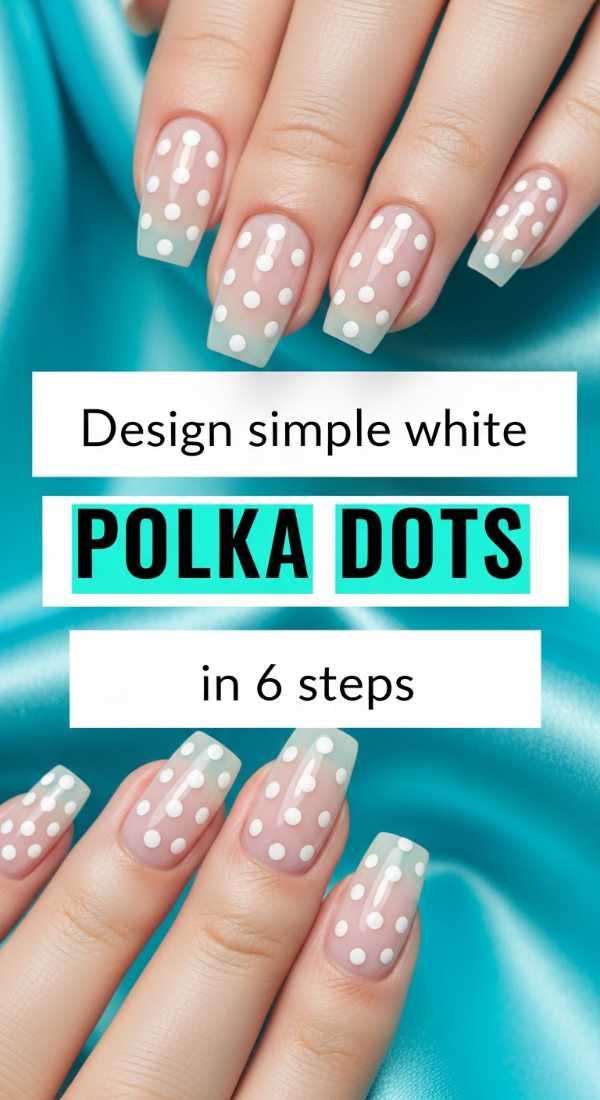
Design Simple White Polka Dots in 6 Steps
Why to love this Design:
Polka dots are the visual equivalent of a giggle. They are playful yet minimalist, giving your nails a vintage-inspired charm that feels fresh for April showers.
Essential Elements:
- Bobby pin or dotting tool
- White lacquer
- Paper plate for a palette
How to Prepare:
- Drop a small amount of white polish onto a paper plate.
- Dip the rounded end of a bobby pin into the paint.
- Lightly tap the nail to create your first dot.
- Repeat in a symmetrical or scattered pattern.
- Keep the dots small for a more sophisticated look.
- Let them dry for 5 minutes before applying your top coat.
Budget Range
- Pack of Bobby Pins ($3)
- Orly ‘White Tips’ ($12)
- Paper Plates ($2)
Get the Clean Girl Aesthetic in 7 Steps
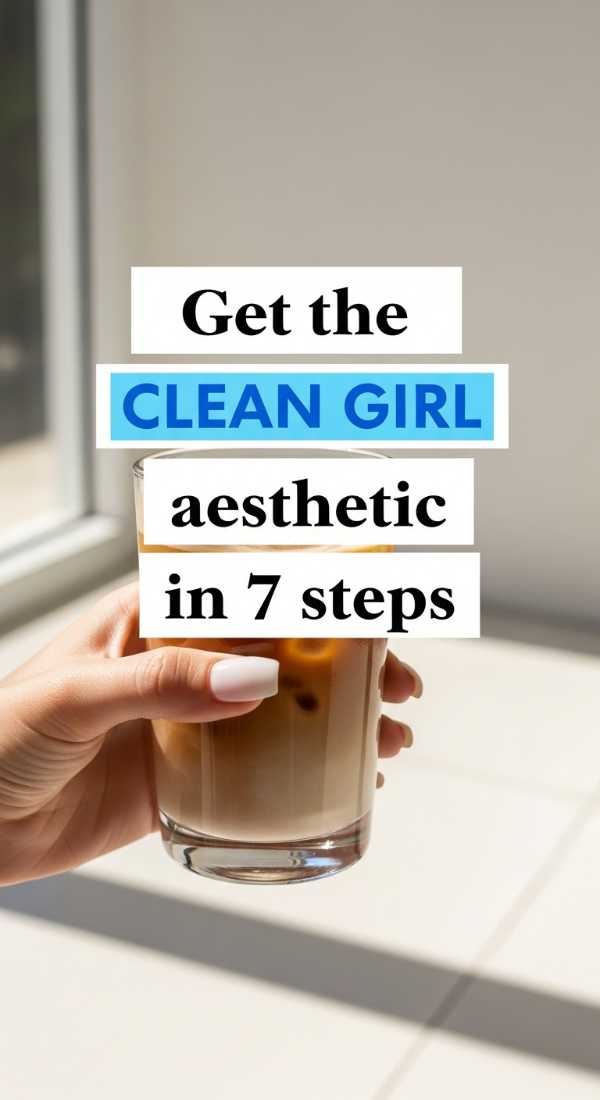
Why to love this Design:
This is all about highlighting your natural beauty. It’s the ‘no-makeup makeup’ of the nail world—looking expensive, healthy, and perfectly groomed.
Essential Elements:
- Glass nail file
- Cuticle remover
- Sheer milky pink polish
- Nourishing cuticle oil
How to Prepare:
- Shape nails into a soft almond or square-oval.
- Apply cuticle remover and gently push back the cuticles.
- Buff the nail surface to a soft glow.
- Apply one coat of a strengthening base.
- Layer two coats of a ‘barely there’ milky pink.
- Finish with a high-gloss top coat.
- Massage cuticle oil into the skin for a hydrated finish.
Budget Range
- Glass File ($8)
- CND SolarOil ($9)
- Dazzle Dry ‘Peacefully Me’ ($22)
Apply White Floral Nail Art in 5 Easy Ways
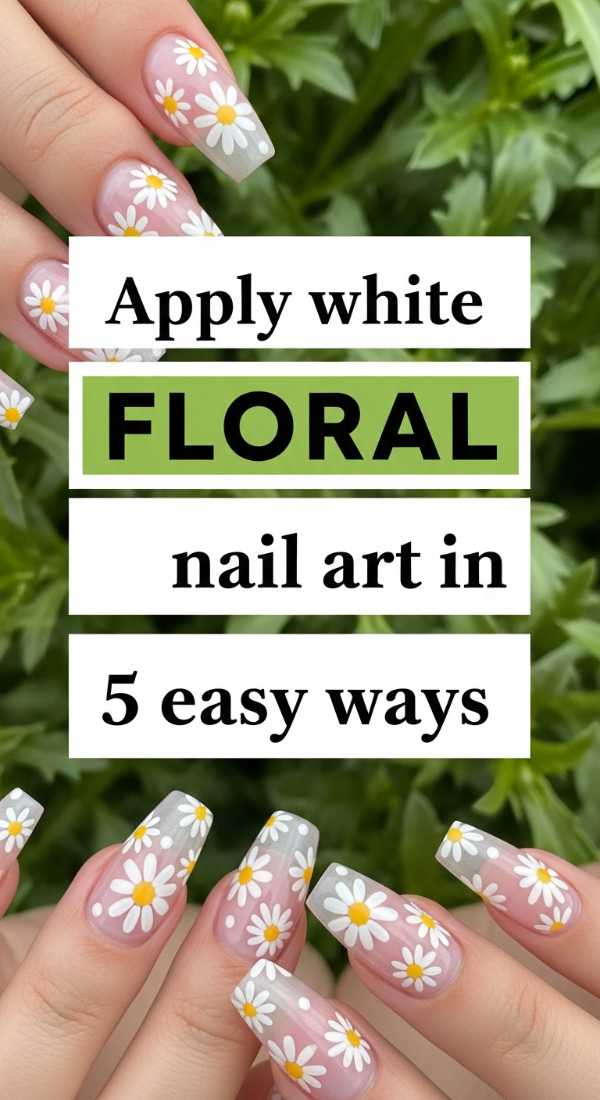
Why to love this Design:
What is spring without flowers? These minimalist daisies are sweet and organic, reminding us of the beauty found in nature’s simplest forms.
Essential Elements:
- Thin detailing brush
- White and yellow polish
- Stable hand
How to Prepare:
- Place a tiny yellow dot for the flower center.
- Use your white polish to create five small dots circling the yellow center.
- Gently pull the white dots inward toward the center with a needle.
- Add one leaf or stem using a very thin line if desired.
- Seal with a protective top coat.
Budget Range
- Nail Art Brush Set ($7)
- Yellow Accent Polish ($5)
- Zoya ‘Purity’ ($12)
Prepare Your Spring Manicure in 10 Minutes
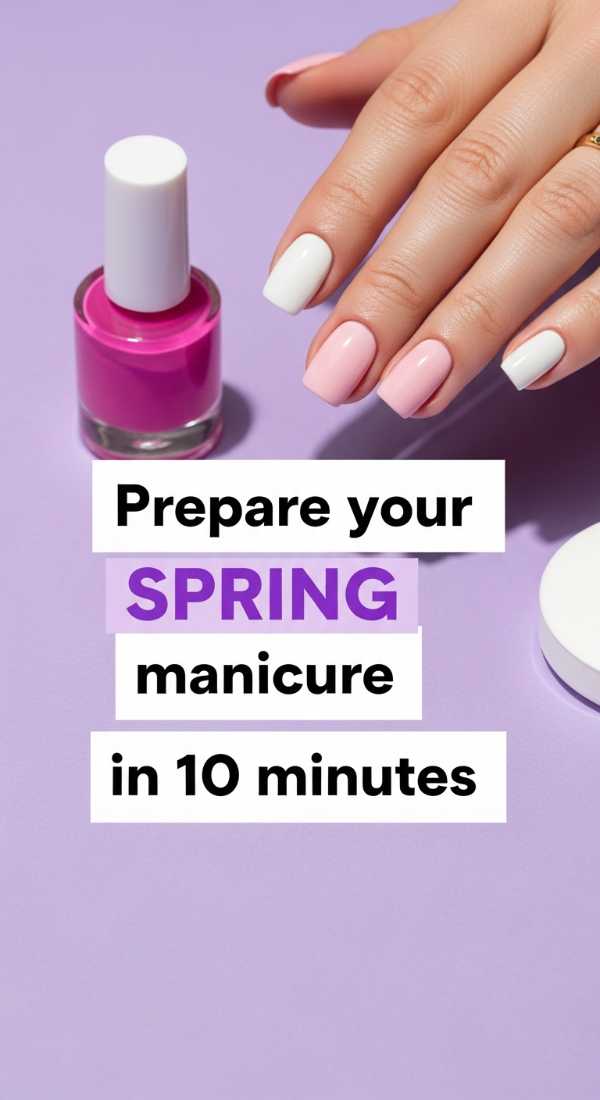
Why to love this Design:
The foundation of any minimalist look is the prep. When your nails are healthy and well-shaped, even a clear coat looks like a million dollars.
Essential Elements:
- Nail clippers
- Buffing block
- Alcohol wipes
How to Prepare:
- Clip nails to a uniform length.
- File in one direction to prevent splitting.
- Buff the ridges away for a smooth canvas.
- Soak hands in warm soapy water for 2 minutes.
- Exfoliate with a sugar scrub.
- Wipe the nail plates with alcohol to remove oils.
Budget Range
- Revlon Manicure Kit ($12)
- Rubbing Alcohol ($3)
- DIY Sugar/Olive Oil Scrub ($0)
3 Secrets for Long-Lasting White Spring Nails
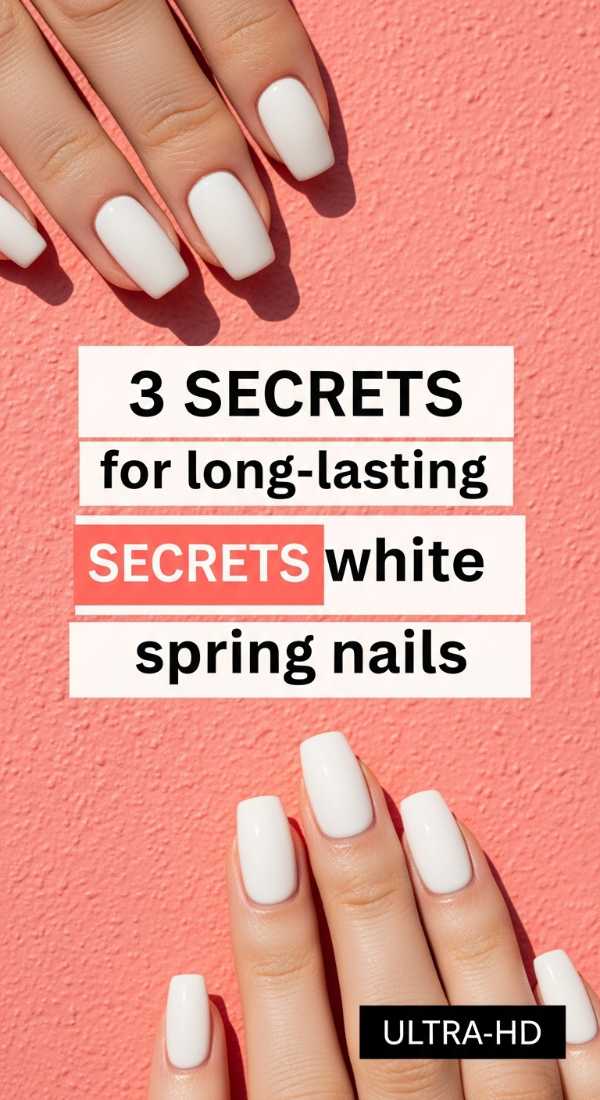
Why to love this Design:
White polish can be notoriously finicky, but these secrets will keep your minimalist mani looking salon-fresh for up to two weeks.
Essential Elements:
- Dehydrator
- Long-wear top coat
- UV lamp (optional for gel)
How to Prepare:
- Always ‘cap’ the free edge by swiping polish across the very tip of the nail to prevent lifting.
- Use very thin layers; three thin coats are better than one thick, streaky one.
- Re-apply a top coat every three days to refresh the shine and protection.
Budget Range
- Modelones Dehydrator ($7)
- Seche Vite Dry Fast Top Coat ($9)
Achieve a Milky White Base in 4 Simple Layers
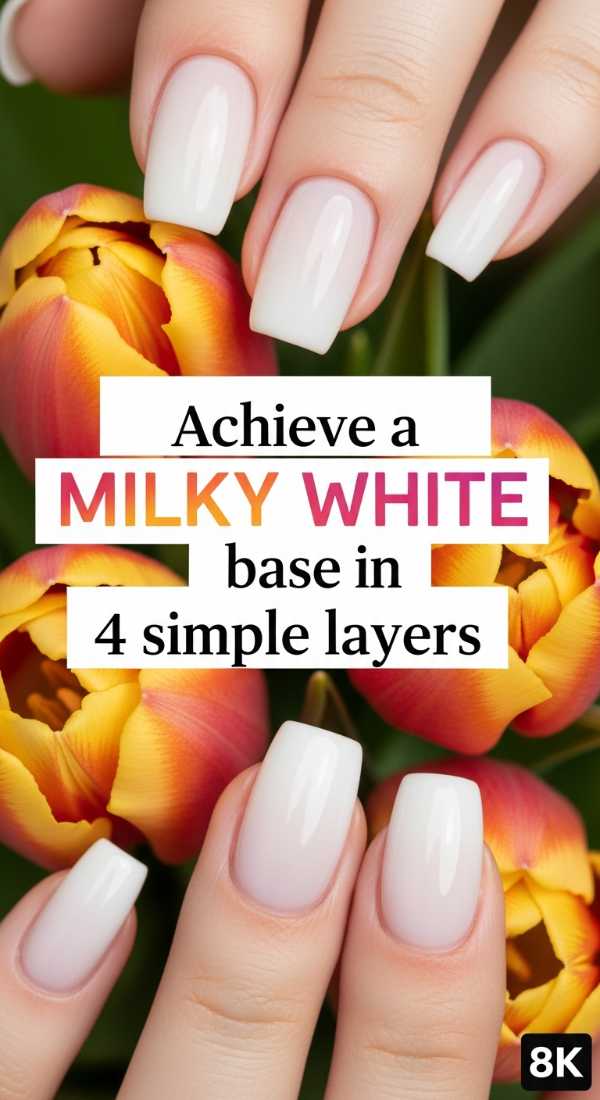
Why to love this Design:
The milky white look is soft, dreamy, and diffused—like looking at the moon through a light fog. It’s the perfect neutral for any spring outfit.
Essential Elements:
- Sheer white polish
- Ridge filler base coat
How to Prepare:
- Apply one coat of ridge filler to create an even surface.
- Apply the first layer of sheer white very thinly.
- Apply a second layer, focusing on even coverage.
- Finish with a blurring top coat to soften the look.
Budget Range
- Londontown Illuminating Nail Veil ($20)
- Pacifico Ridge Filler ($10)
Craft a Minimalist Spring Look in 8 Steps
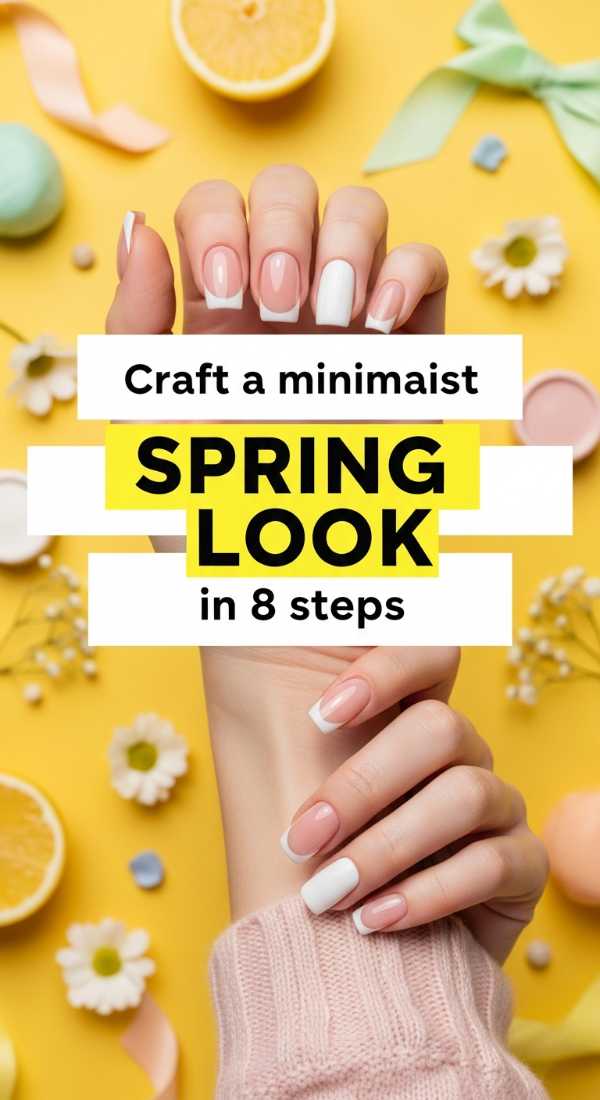
Why to love this Design:
This is the ultimate ‘curated’ look, combining all our favorite minimalist elements into one cohesive, artistic statement.
Essential Elements:
- Matte and Glossy top coats
- White liner polish
- Tweezers
How to Prepare:
- Start with a clean, buffed nail.
- Apply a sheer base.
- Choose one accent nail for a single white dot.
- Add a single thin vertical line on the thumb.
- Keep the other nails plain and glossy.
- Mix matte and glossy finishes for texture.
- Use a cleanup brush dipped in acetone for perfect edges.
- Hydrate with a botanical hand cream.
Budget Range
- Cleanup Brush ($5)
- Acetone ($4)
- Aesop Hand Balm ($30)
Wishing You a Beautiful Bloom
I hope these tutorials bring a little bit of serenity to your week, my sweet souls. Minimalism isn’t just about what we take away; it’s about what we choose to highlight. This spring, let your natural grace shine through. Whether you’re sipping coffee or typing away at your desk, I hope you look down at your hands and feel a sense of light and joy. Don’t forget to tag me in your photos—I can’t wait to see your beautiful creations!