

7 DIY Wall Aesthetic Hacks That Are Going Viral Right Now
Have you ever walked into a room and felt like the walls were giving you a giant, warm hug? That is the magic of a curated home aesthetic. For the longest time, I treated my walls as mere boundaries—white, sterile, and frankly, a bit boring. But lately, the DIY community has exploded with creative ways to transform these vertical planes into canvases of personality and peace. It’s not just about paint anymore; it’s about texture, light, and a sense of belonging that starts the moment you step through the door.
We spend so much of our lives within these four walls, so why shouldn’t they reflect the very best versions of our dreams? Whether you’re a minimalist seeking a quiet retreat or a maximalist craving a burst of artistic energy, these viral hacks are designed to be accessible, soulful, and deeply transformative. Grab your measuring tape and a cup of coffee; we’re about to turn your living space into a viral-worthy sanctuary that feels uniquely, unapologetically you.
How to Create a Lush Oasis for Pure Serenity
Why we love this
There is something deeply primal and soothing about bringing the outdoors in, especially when it involves a vertical moss wall or a dense collection of velvet-leaved plants. Imagine the soft, earthy scent of damp forest moss wafting through your hallway as you pass by a tapestry of vibrant greens and deep emeralds. This aesthetic doesn’t just look beautiful; it feels like a living, breathing lung for your home, providing a tactile softness that absorbs sound and radiates a quiet, grounding energy that instantly lowers your heart rate after a long day.
Essential Elements:
- Preserved Reindeer Moss or Sheet Moss in varying shades of green
- A deep wooden shadow box or reclaimed wood frame
- Non-toxic floral adhesive or high-temp hot glue
- Cork backing or plywood for the base
- Spray bottle for occasional misting (if using live air plants)
How to make it
- Begin by prepping your wooden frame, ensuring the backboard is securely fastened and the surface is free of dust; a light sanding with 220-grit sandpaper ensures the adhesive bonds perfectly to the wood.
- Lay out your moss varieties on a flat surface first to plan the gradient, mixing lime greens with forest hues to mimic the natural randomness of a forest floor; avoid straight lines to keep the look organic.
- Apply a generous bead of high-temperature adhesive to the back of a small moss clump, pressing it firmly onto the top corner of the frame; hold for 10 seconds until you feel the glue set and the moss remains stationary.
- Work in small 4-inch sections, overlapping the edges of the moss clumps to hide the backing material completely; if you see any gaps, use a wooden skewer to tuck smaller moss tufts into the crevices for a dense, plush texture.
- Once the frame is filled, tilt it vertically to check for any loose pieces; if any fall, re-apply adhesive and press firmly, then allow the entire piece to cure in a dry, ventilated area for at least 24 hours before mounting.
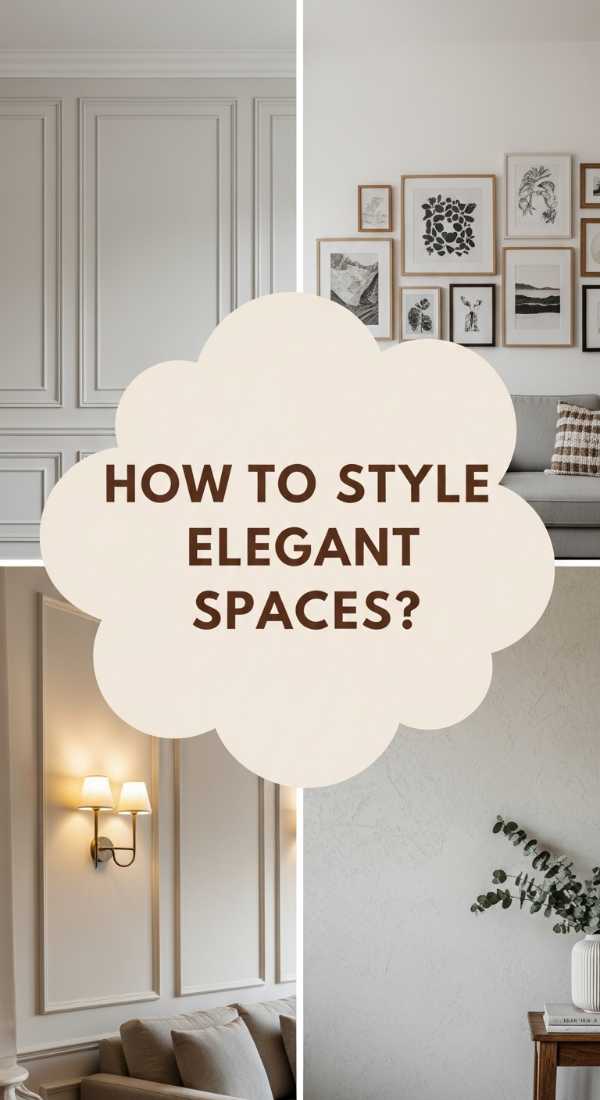
How to Style Elegant Spaces for Cozy Evenings
Why we love this
Picture-frame molding, or wainscoting, adds a level of architectural sophistication that feels like a vintage Parisian apartment. When the sun sets and you light a few amber-scented candles, the shadows dance across the raised edges of the trim, creating a rhythmic play of light and dark that feels incredibly cozy. The texture is smooth and refined, inviting you to run your fingers along the painted wood, while the structured layout brings a sense of historical permanence and quiet luxury to even the most modern of rooms.
Essential Elements:
- Polystyrene or pine decorative molding trim
- Construction adhesive (like Liquid Nails) and a caulking gun
- Painter’s tape and a laser level
- Miter box or miter saw for 45-degree angle cuts
- High-quality satin finish paint in a monochrome shade
How to make it
- Measure your wall width and divide it into equal sections, usually 24 to 30 inches wide, ensuring you leave a 4-inch gap between frames and from the baseboards/ceiling for a balanced, professional look.
- Use a laser level to project a straight line across the wall and mark your corners with a pencil; apply painter’s tape to visualize the boxes before you make any permanent cuts.
- Cut your molding strips at precise 45-degree angles using a miter saw; ensure the long side of the cut matches your measured dimensions, and dry-fit the four pieces on the floor to check for perfect 90-degree corners.
- Apply a thin, zigzag bead of construction adhesive to the back of the first trim piece, press it against the wall along your level line, and secure it with a few pieces of painter’s tape to hold it in place while the glue sets.
- Fill the corner joints and any wall gaps with paintable wood filler or caulk, smoothing it with a damp finger for a seamless transition, then sand lightly and apply two coats of paint once the filler is completely dry (usually 2-4 hours).
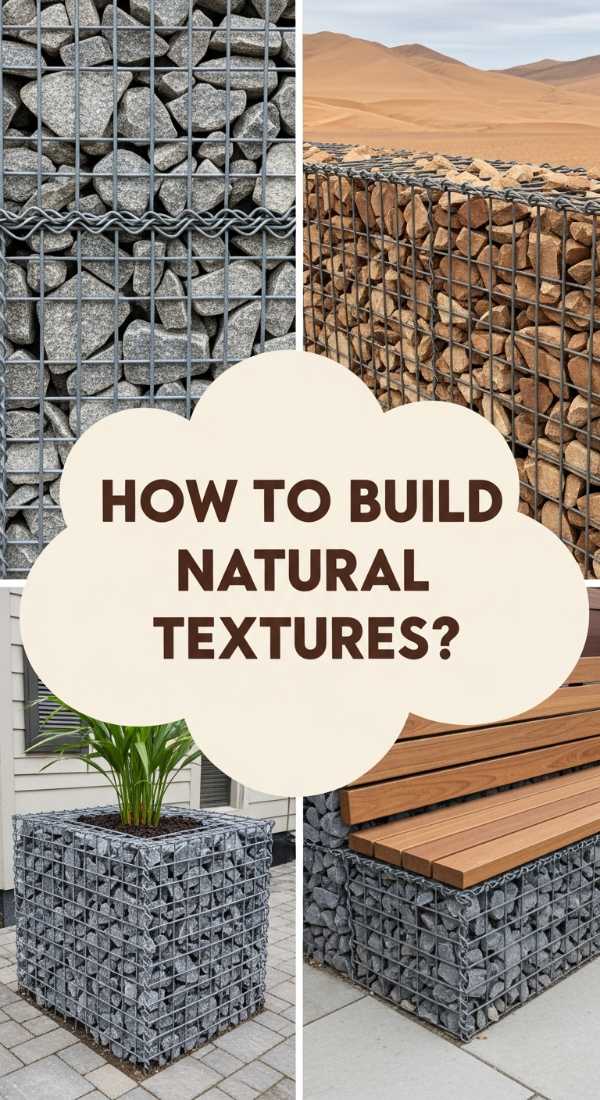
How to Build Natural Textures for Organic Vibes

Why we love this
The slat wall trend is all about the harmony between linear precision and the raw warmth of wood grain. It creates a striking focal point that feels both modern and mid-century, offering a rhythmic texture that breaks up the flatness of a room. The scent of cut pine or oak lingers in the air, reminding you of a quiet mountain cabin, while the vertical lines draw the eye upward, making your ceilings feel loftier and the whole space feel more expansive and grounded in nature.
Essential Elements:
- 1×2 inch wood slats (Pine, Oak, or Walnut)
- Matte black paint or dark charcoal felt for the backing
- Finish nailer with 1.5-inch brad nails
- Wood stain in a natural or honey tone
- Spacer block (usually 0.5 to 0.75 inches wide)
How to make it
- Paint the target wall area with a deep matte black paint; this provides a “void” look behind the slats that creates the illusion of depth and makes the wood color pop significantly.
- Sand each wood slat thoroughly, starting with 120-grit and finishing with 220-grit, then apply your chosen stain using a lint-free cloth, wiping in the direction of the grain for a smooth, professional finish.
- Find the studs in your wall using a stud finder and mark them; you will want to nail into these whenever possible for maximum structural integrity.
- Place your first slat perfectly plumb using a level, then use a finish nailer to drive brads into the top, middle, and bottom of the slat, hiding the nails in the natural grain or filling them later with a matching wood putty.
- Use your spacer block to set the distance for the next slat, ensuring the gap is identical from top to bottom before nailing; continue this process across the wall, checking for level every three slats to correct any slight shifts.
How to Design Sleek Entertainment Hubs for Family Fun

Why we love this
The modern media wall is the heart of the home, where the glow of a movie screen meets the soft ambiance of integrated LED lighting. It’s about more than just a TV; it’s a streamlined hub that eliminates clutter and replaces it with sleek, floating surfaces. There is a satisfying tactile click to magnetic cabinet doors and a visual calmness in seeing all those messy cables hidden away. It creates an inviting atmosphere where the family can gather for Friday night marathons in a space that feels like a private boutique cinema.
Essential Elements:
- Floating media console or heavy-duty wall brackets
- Cable management raceways or in-wall cable kits
- RGBIC LED backlighting strips
- Texture-rich wallpaper or Venetian plaster for the TV backdrop
- Hidden mounting hardware for soundbars
How to make it
- Map out the “Golden Zone” for your TV—eye level should be roughly at the center of the screen when seated—and install a heavy-duty tilting mount directly into at least two wall studs.
- Drill a 2-inch hole behind where the TV will sit and another near the floor outlet; use an in-wall cable routing kit to pull all HDMI and power cords through the wall so they are completely invisible.
- Install your floating console by securing a French cleat or heavy-duty brackets to the studs, ensuring it is perfectly level; this provides a clean floor line that makes the room feel much larger.
- Apply LED strips to the back perimeter of the TV, approximately 2 inches from the edge; use the adhesive backing and reinforced tape on the corners to prevent peeling caused by the heat of the screen.
- Test the lighting levels in a dark room; adjust the color temperature to a warm 2700K to reduce eye strain and create a high-end, sophisticated halo effect against your textured backdrop.
How to Craft Sophisticated Accents for High-End Living
Why we love this
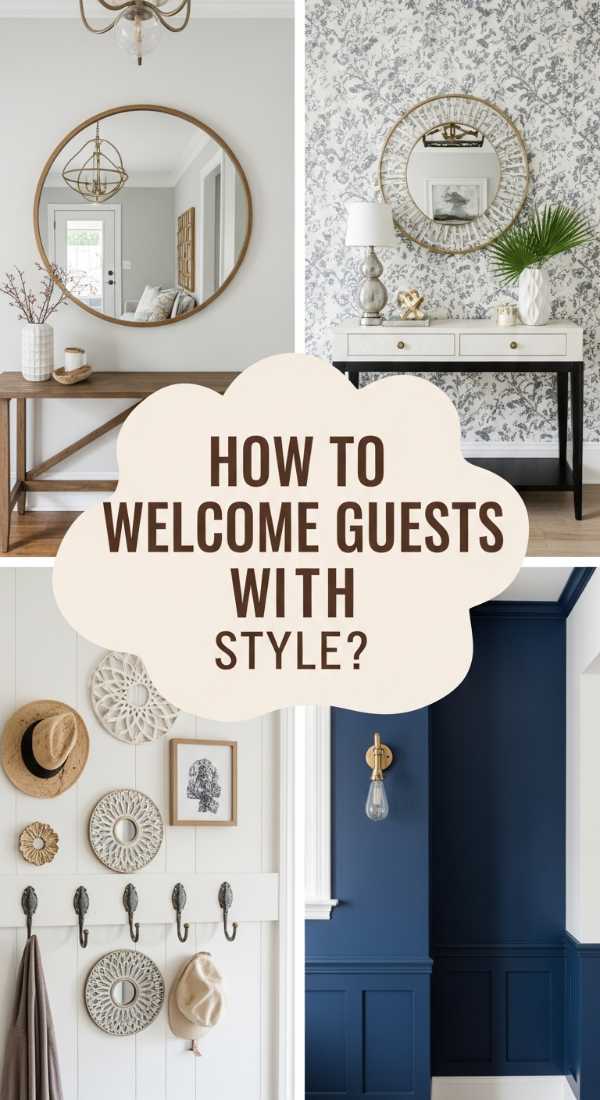
Limewash and textured plasters have made a massive comeback because they offer a chalky, sueded finish that feels incredibly expensive and soft to the touch. Unlike flat paint, limewash has a mottled, cloudy appearance that changes with the light of the day, moving from a pale stone in the morning to a deep, moody taupe by twilight. It’s a sensory experience that adds a layer of “quiet luxury” to your bedroom or lounge, making the walls feel like they belong in a sun-drenched villa in the Mediterranean.
Essential Elements:
- Authentic Limewash paint or Mineral paint
- Large 4-to-6 inch block brush with natural bristles
- Primer specifically designed for mineral paints
- A bucket for diluting the paint (if required)
- Painter’s plastic and drop cloths
How to make it
- Clean the wall surface thoroughly with TSP or a mild detergent to remove oils, then apply a specialized mineral primer; this creates the necessary “tooth” for the limewash to bond to.
- Dampen the wall slightly with a spray bottle of water before starting; limewash is a breathable finish and applies better on a surface that isn’t bone-dry, allowing for a longer “open time” to blend.
- Dip just the tips of your block brush into the paint and apply it in large, sweeping “X” patterns; do not try to achieve full coverage in the first pass, as the beauty comes from the translucent layers.
- Allow the first coat to dry completely (usually 3-5 hours); you will notice the color lightens significantly as it cures, revealing the characteristic mottled texture.
- Apply a second, thinner coat using the same “X” motion, focusing on areas where you want more depth; the overlapping brush strokes will create those viral-worthy cloudy transitions that define the high-end look.
How to Arrange Gallery Features for Artistic Flair
Why we love this
A curated gallery wall is the ultimate expression of your personal journey, a visual diary that combines textures, memories, and colors. There’s a certain joy in the eclectic mix of a sleek gold frame next to a rustic wooden one, or a glossy oil painting beside a matte black-and-white photograph. It turns a blank, intimidating wall into a conversation starter, filled with the warmth of nostalgia and the crispness of modern art, making every trip down the hallway feel like a walk through a private, sunlit museum.
Essential Elements:
- An assortment of frames in varying sizes and finishes
- Kraft paper or newspaper for templates
- Command strips or picture hanging nails
- Spirit level and a pencil
- Art prints, personal photos, and 3D objects (like brass keys or masks)
How to make it
- Trace each frame onto kraft paper and cut out the shapes; label them so you know which art piece corresponds to which paper template.
- Use painter’s tape to arrange these templates on your wall, starting with the largest “anchor” piece at eye level (about 57 inches from the floor) and radiating outward with smaller pieces.
- Maintain a consistent gap of 2 to 3 inches between frames to keep the arrangement feeling cohesive rather than cluttered; use a level on each paper template to ensure they are perfectly straight.
- Measure the distance from the top of the frame to the hanging wire or hook on the back of the actual art, then mark that exact spot on your paper template on the wall.
- Drive your nail or apply your Command strip directly through the paper mark, then pull the paper away and hang the frame; this ensures your art lands exactly where you planned it without any “oops” holes in the wall.
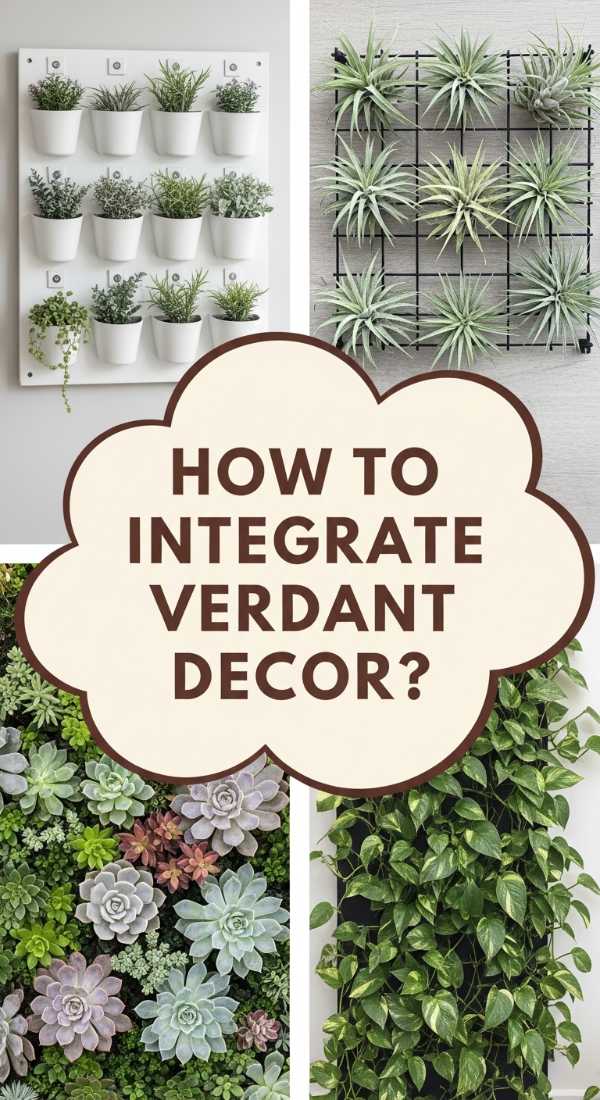
How to Integrate Verdant Decor for Healthy Air

Why we love this
Hanging propagation stations and floating plant shelves are the “it” hack for those who want a wall that literally grows over time. The sight of delicate roots trailing through clear glass vials filled with water is mesmerizing, offering a crisp, clean aesthetic that feels incredibly fresh. It creates a vertical jungle that purifies the air while adding a splash of vibrant, living color. The sound of water being refreshed and the sight of new leaves unfurling brings a sense of hope and vitality into the home that no inanimate object can replicate.
Essential Elements:
- Glass test tubes or small bud vases
- Leather cord or minimalist wooden wall racks
- Cuttings from Pothos, Monstera, or Philodendron
- Small floating “live edge” shelves
- Wall anchors for supporting weight of water and soil
How to make it
- Select a wall that receives bright, indirect sunlight; too much direct sun will cook the roots in glass vials, while too little will prevent the “verdant” growth you’re looking for.
- Install your floating shelves or propagation racks using heavy-duty wall anchors, as water-filled glass and ceramic pots can be surprisingly heavy once fully assembled.
- Take clean cuttings from your mother plants, ensuring each has at least one “node” (the little bump where the leaf meets the stem), as this is where the new roots will emerge.
- Fill your glass vials with room-temperature filtered water—avoiding cold tap water which can shock the plant—and place the cuttings inside, ensuring no leaves are submerged in the water to prevent rot.
- Arrange the vials on your wall rack and complement them with trailing plants on the higher shelves; as the vines grow, use clear adhesive clips to “train” the plants to climb across the wall, creating a living wallpaper effect.
Final Thoughts on Your Wall Transformation
Transforming your home doesn’t require a massive renovation or a professional contractor. It starts with the realization that your walls are the backdrop of your life’s best moments. Whether you choose the organic warmth of a slat wall or the sophisticated depth of limewash, each of these hacks offers a way to inject soul and style into your space. Remember, the best aesthetic is one that makes you feel at peace the moment you walk through the door. Happy DIYing!