
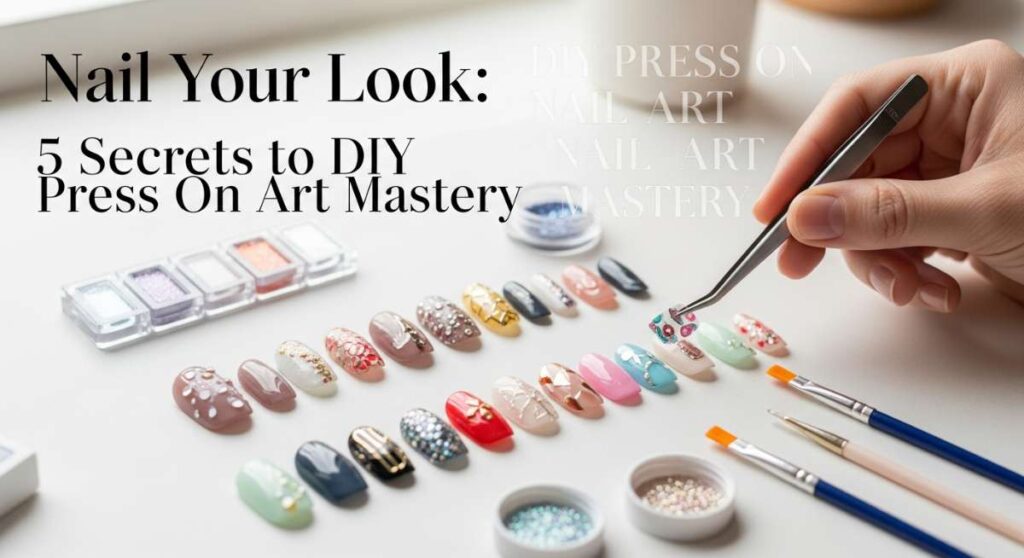
Nail Your Look: 5 Secrets to DIY Press On Art Mastery
Hi loves! Welcome back to my little corner of the internet where we talk all things self-care and sparkle. There is something so magical about looking down at your hands and seeing a set of nails that makes you feel like the absolute goddess you are. I truly believe that when our hands feel beautiful, our whole soul feels a little lighter, like a warm, cloud-soft embrace on a chilly morning.
Lately, I’ve been completely obsessed with the world of DIY press-ons. It’s not just about saving a few dollars at the salon (though that’s a lovely bonus!), it’s about the ritual. It’s that quiet time you carve out for yourself to create something stunning. Today, I’m sharing all my little secrets so you can master the art of the perfect mani right from your favorite cozy chair.
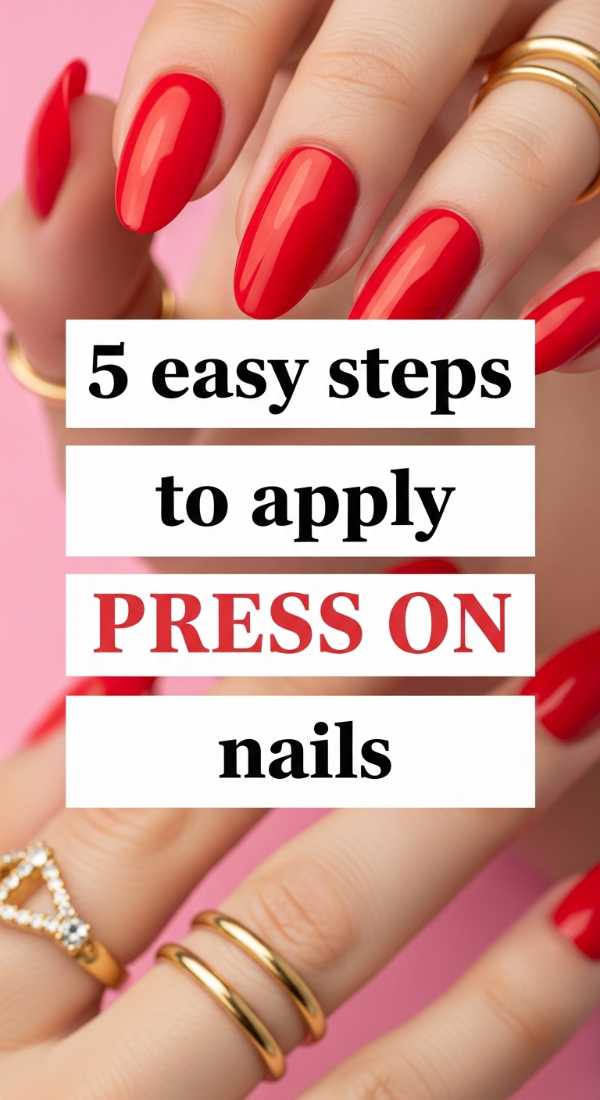
5 Easy Steps to Apply Press On Nails
Why to love these Nails:
Oh, my darlings, there is nothing like the instant gratification of a fresh set. These are your secret weapon for feeling put-together in minutes, giving you that ‘just-stepped-out-of-the-salon’ confidence without the wait.
Essential Items:
- Full cover press-on nail set
- High-quality nail glue or adhesive tabs
- Nail file and buffer
- Alcohol prep pad
- Orange wood stick
How to Prepare:
- Select your sizes beforehand to ensure a perfect fit for each finger.
- Gently push back cuticles with your wood stick.
- Buff the surface of your natural nail to create a little ‘grip’.
- Cleanse thoroughly with an alcohol pad to remove oils.
- Apply a drop of glue, align at the cuticle, and press firmly for 30 seconds.
Budget Range
- KISS Bare but Better Nails – $8.99
- BTArtbox Extra Strong Nail Glue – $6.50
4 Simple Tips to Prep Your Natural Nails

Why to love these Nails:
The foundation of beauty always starts with care. Prepping your natural nails is like prepping your skin for makeup—it’s the gentle hug your hands need to ensure your art lasts and your natural nails stay healthy and strong.
Essential Items:
- Cuticle remover cream
- Glass nail file
- Nail dehydrator or 91% alcohol
- Lint-free wipes
How to Prepare:
- Softly dissolve overgrown cuticles for a clean canvas.
- Shape your natural nails short so they don’t peek out under the press-ons.
- Etch the surface very lightly to remove shine.
- Scrub the nail plate with a dehydrator to ensure a bone-dry surface for bonding.
Budget Range
- Sally Hansen Instant Cuticle Remover – $5.49
- Glass Nail File – $9.00
Create 3 Viral Cherry Nail Designs at Home

Why to love these Nails:
Cherries are just so sweet and nostalgic, aren’t they? This design is trending because it’s playful yet sophisticated. It’s like carrying a little bit of summer joy on your fingertips all year round.
Essential Items:
- Red and green gel liners or polish
- Dotting tool
- Glossy top coat
- Nude base press-ons
How to Prepare:
- Design 1: Tiny cherries. Use your dotting tool to place two red dots together, then a thin green line for the stem.
- Design 2: Cherry French. Paint red tips and add a tiny cherry accent on the ring finger.
- Design 3: Picnic Vibes. Add white gingham accents alongside your cherry art.
Budget Range
- Beetles Gel Liner Set – $15.99
- Nail Art Dotting Tools – $4.00
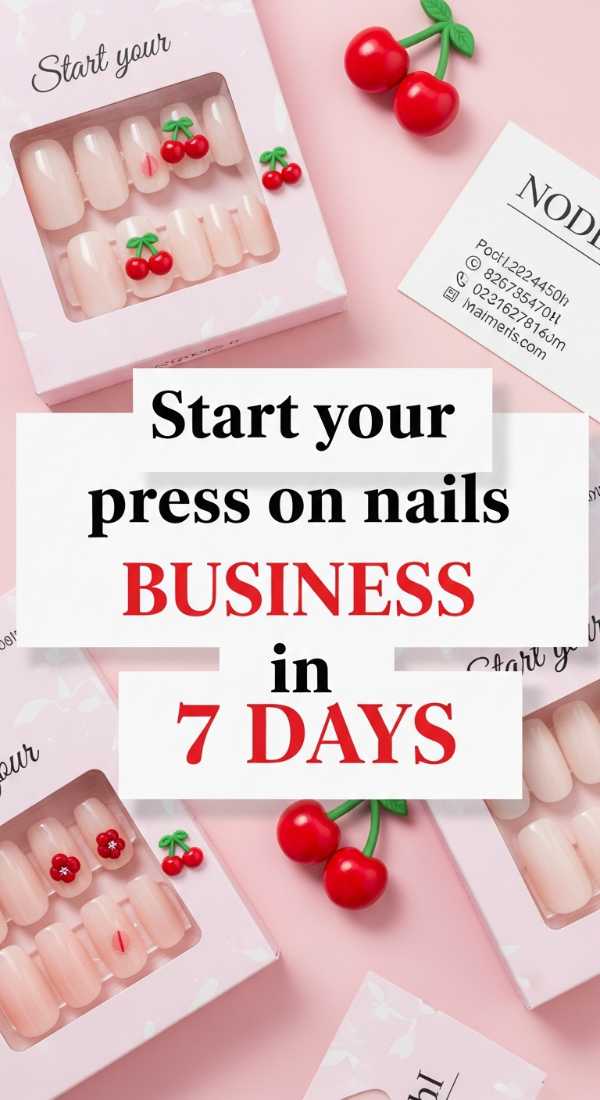
Start Your Press On Nails Business in 7 Days
Why to love these Nails:
Imagine turning your passion into a way to empower others. Starting a nail business isn’t just about selling a product; it’s about sharing your art and building a community of loves who value your unique touch.
Essential Items:
- Bulk clear nail tips
- Luxury packaging boxes
- Social media account
- Business cards and instruction inserts
How to Prepare:
- Day 1-2: Define your brand aesthetic and name.
- Day 3-4: Source your materials and create your first 5 sample sets.
- Day 5-6: Take high-quality photos in natural light and set up an Etsy or Shopify store.
- Day 7: Launch on Instagram and TikTok to show off your process!
Budget Range
- Apres Gel-X Tips (Bulk) – $25.00
- Custom Logo Stamps – $15.00
3 Ways to Find Your Perfect Nail Size

Why to love these Nails:
Nothing feels worse than a nail that pinches or looks too small. Finding your size is an act of self-honor—it’s about making sure your beauty fits you perfectly, comfortably, and naturally.
Essential Items:
- Clear tape
- Fine-tip marker
- Millimeter ruler
- Sizing kit from a seller
How to Prepare:
- The Tape Method: Place tape over your nail, mark the widest points, then measure the distance on a ruler.
- The Sizing Kit: Purchase a sample kit of all sizes (0-9) to try on physically.
- The Coin Method: Take a photo of your hand next to a coin for digital scaling (best for custom orders).
Budget Range
- Sizing Kit (Generic) – $5.00
- Measuring Tape – $2.00
Master the Perfect Red French Tip in 2 Steps

Why to love these Nails:
Red is the color of passion and power. A red French tip is the ultimate ‘cool girl’ look—it’s classic yet edgy, and it makes every outfit look like it was styled for a magazine cover.
Essential Items:
- Deep red polish
- Silicone nail stamper
- Base nude press-ons
How to Prepare:
- Apply red polish directly onto the head of your silicone stamper.
- Gently push your nail tip into the stamper at a 45-degree angle to create a crisp, curved line.
Budget Range
- Essie ‘Forever Yummy’ Red – $10.00
- Silicone Nail Stamper – $6.00
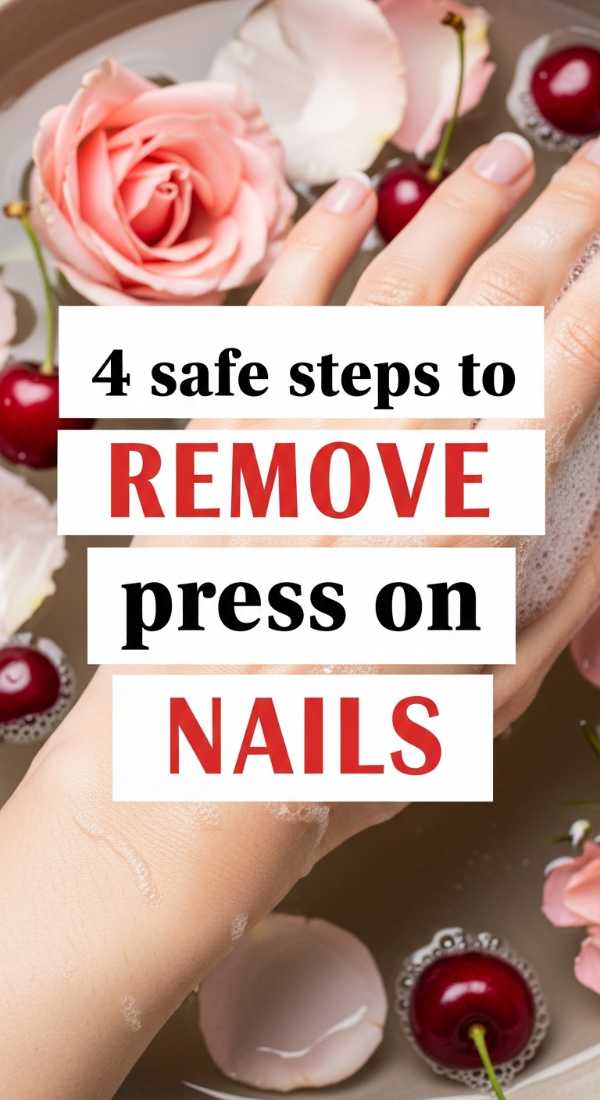
4 Safe Steps to Remove Press On Nails
Why to love these Nails:
Sweetheart, your natural nails deserve kindness. Safe removal is how we show gratitude to our hands, ensuring they stay healthy and ready for your next beautiful transformation.
Essential Items:
- Warm water and dish soap
- Olive or cuticle oil
- Dental floss picks
- Buffing block
How to Prepare:
- Soak your hands in warm, soapy water mixed with oil for 15 minutes.
- Apply extra oil around the edges to break down the adhesive.
- Use a dental floss pick to gently slide under the edge and lift—never pull!
- Buff away any remaining residue and moisturize immediately.
Budget Range
- Cuccio Revitalize Cuticle Oil – $9.95
- Dental Floss Picks – $3.00
5 Cute Short Press On Nails Ideas for Work
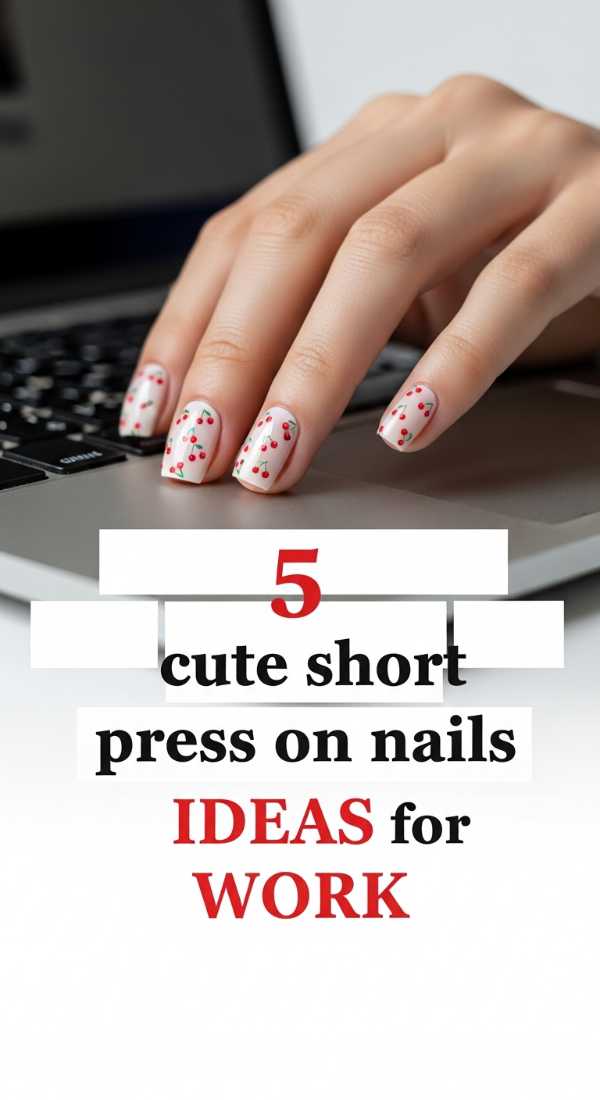
Why to love these Nails:
Sometimes we need a look that is as functional as it is beautiful. Short nails are chic, professional, and let you type away at that keyboard while still feeling like a total boss babe.
Essential Items:
- Short square or oval tips
- Muted tones (Sage, Dusty Rose, Cream)
- Matte top coat
How to Prepare:
- Idea 1: The ‘Clean Girl’ Nude—a sheer beige that looks like your nails but better.
- Idea 2: Sage Green Minimalist—a soft pop of color that pairs with everything.
- Idea 3: Micro-French—a tiny white line on a short oval base.
- Idea 4: Tortoiseshell accents on the ring finger.
- Idea 5: Velvet matte finish in a soft mocha.
Budget Range
- Static Nails Short Round Set – $16.00
- Zoya Naked Manicure Kit – $12.00
Apply 3D Nail Charms in 3 Easy Minutes

Why to love these Nails:
Adding a charm is like putting on a piece of jewelry for your nails! It’s that extra touch of whimsy and personality that makes your set feel completely unique to you.
Essential Items:
- 3D Charms (bows, hearts, or gems)
- Rhinestone glue (thicker than regular glue)
- Wax picker tool
- UV lamp (if using gel glue)
How to Prepare:
- Place a small bead of thick glue exactly where you want the charm.
- Use the wax tool to pick up the charm and nestle it into the glue.
- Cure under the lamp or hold steady for 60 seconds to ensure it’s locked in place.
Budget Range
- Makartt Rhinestone Glue – $9.99
- Mixed Resin Bow Charms – $7.00
Make Your Press On Nails Last 2 Weeks
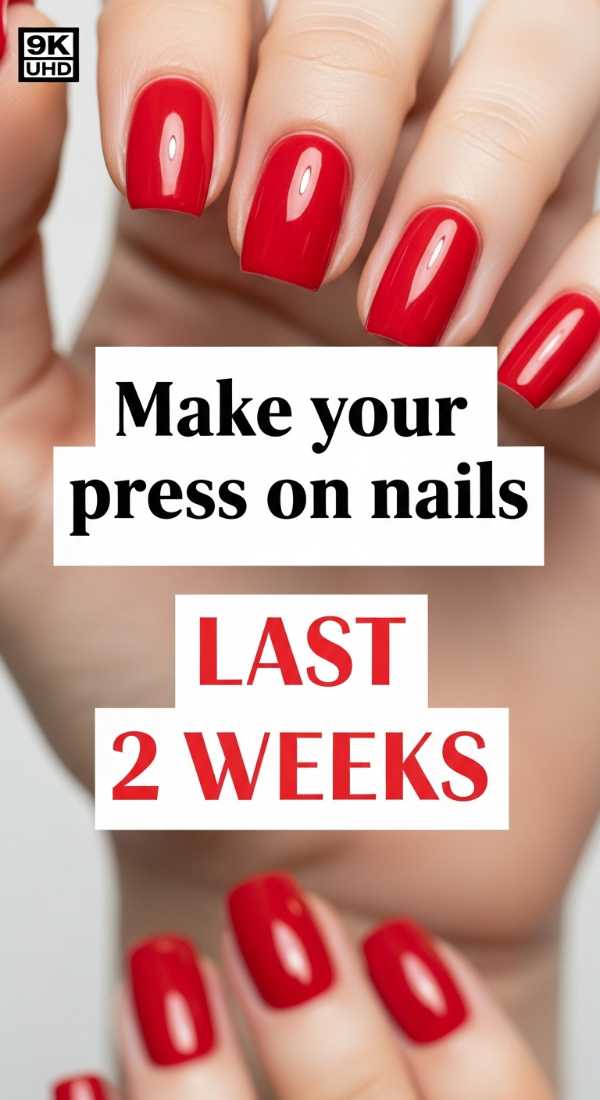
Why to love these Nails:
There is such peace in knowing your beauty is built to last. When your nails stay perfect for two weeks, it’s one less thing to worry about, leaving you more time to focus on the things that set your heart on fire.
Essential Items:
- Nail dehydrator
- Professional grade glue
- Clear top coat
- Gloves for cleaning
How to Prepare:
- Ensure 100% of the natural oil is removed during prep.
- Apply glue to both your natural nail and the press-on for a double-bond effect.
- Avoid submerging your hands in hot water for the first 24 hours.
- Always wear gloves when doing dishes or using cleaning chemicals.
Budget Range
- Modelones Nail Dehydrator – $7.99
- Rubber Cleaning Gloves – $5.00
Conclusion
Sweet friends, I hope these secrets help you feel more confident in your DIY journey. Remember, your nails are a canvas, but you are the masterpiece. Whether you are rocking a simple nude or a wild 3D cherry design, wear it with your head held high and your heart full of love. You deserve to feel beautiful, every single day. Happy styling!