
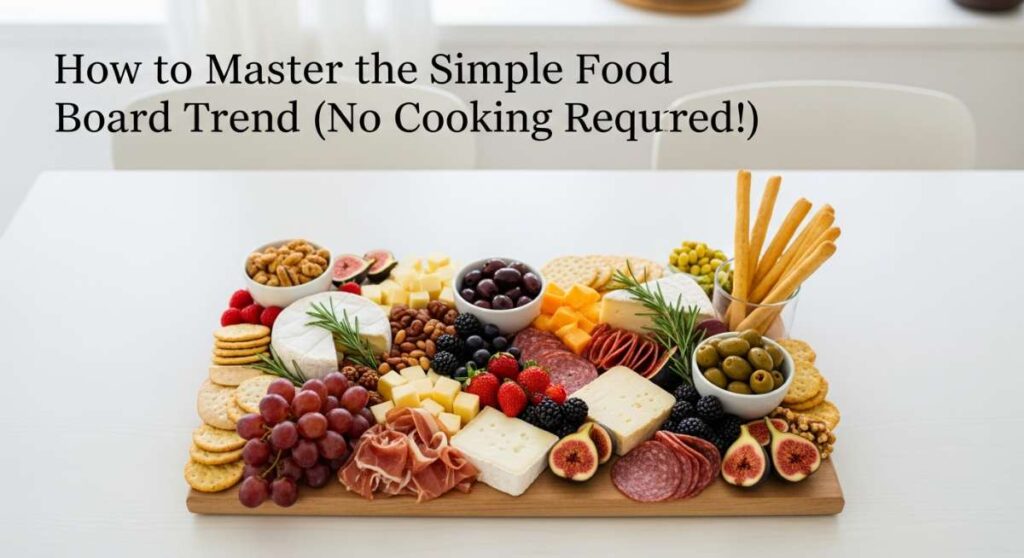
We’ve all been there—the sun is setting, the golden hour light is hitting the patio just right, and friends are starting to trickle in with laughter and cold drinks in hand. But instead of being part of the conversation, you’re stuck in a sweltering kitchen, hovering over a hot stove while your makeup melts. I decided this summer was going to be different. I wanted to embrace the ‘Simple Food Board’ trend that’s taking over our feeds—the kind that looks like a masterpiece but requires zero frantic cooking.
There is something so incredibly intimate and relaxed about a giant board overflowing with textures, colors, and flavors. It invites people to lean in, graze, and linger over their favorite bites. It’s not just about the food; it’s about the permission to be present. In this post, I’m showing you how to master the art of the effortless summer spread, from chilled salads to the perfect dips that keep everyone coming back for more without you breaking a sweat.
How to make creamy Rotel dip?

Why we love this
This dip is the ultimate comfort food for any gathering, offering a velvety, molten texture that clings perfectly to every chip. As you dip into the warm, golden cheese, you’re met with the bright, zesty pop of diced tomatoes and the subtle, smoky heat of green chilies that cut through the richness beautifully. The aroma of melted cheese and savory spices fills the air, instantly signaling to your guests that it’s time to relax. It’s a nostalgic classic that feels both indulgent and unpretentious, making it the heart of any snack board.
Ingredients
- 16 oz Velveeta cheese, cubed
- 1 can (10 oz) Ro-Tel Diced Tomatoes and Green Chilies, undrained
- 1/2 lb ground sausage or beef (optional)
- 1/4 cup fresh cilantro, chopped
- 1/2 teaspoon smoked paprika
- Tortilla chips for serving
How to make it
- If using meat, start by browning the ground sausage or beef in a skillet over medium-high heat. Use a wooden spoon to break the meat into small crumbles, cooking until no pink remains and the edges are slightly crispy. Drain the excess fat thoroughly to ensure the dip stays smooth and not oily.
- In a medium-sized heavy-bottomed pot or a slow cooker, combine the cubed Velveeta cheese and the entire can of Ro-Tel (do not drain the liquid, as this provides the necessary moisture and flavor).
- Set the heat to low. This is crucial—high heat can cause the cheese to grain or scorch. Stir frequently with a silicone spatula, ensuring the cheese melts evenly into a silken consistency.
- Once the cheese is fully melted and smooth, fold in the browned meat and the smoked paprika. Continue to stir for another 2-3 minutes until the mixture is piping hot and well-integrated.
- Transfer to a warm serving bowl and garnish with fresh cilantro. For a board presentation, keep the dip in a small insulated crock or bowl nested among a sea of colorful corn chips.
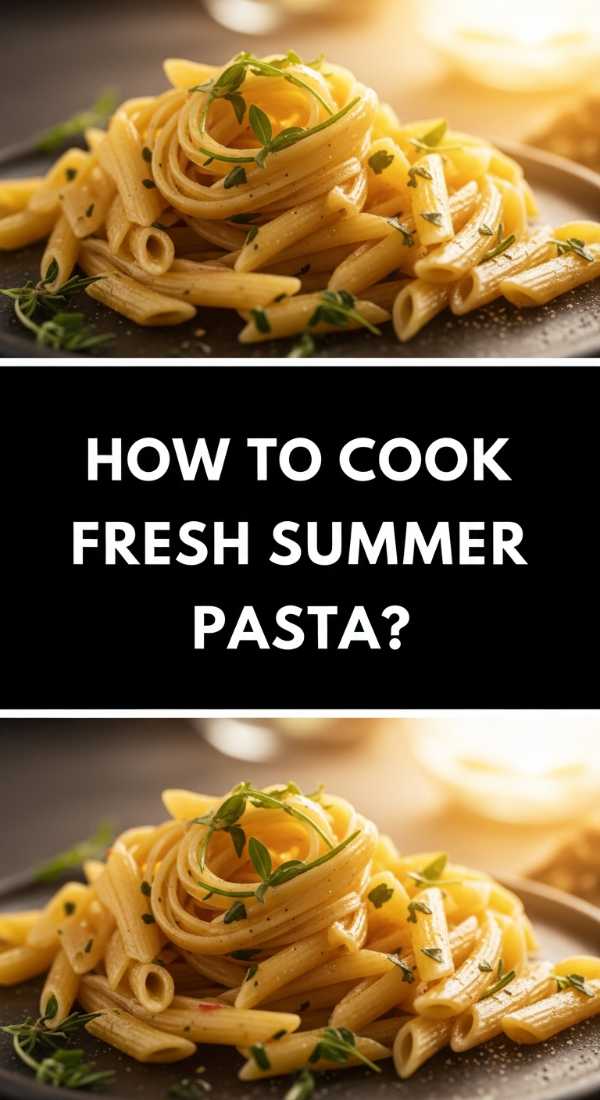
How to cook fresh summer pasta?
Why we love this
Summer pasta is all about celebrating the bounty of the garden with minimal interference, resulting in a dish that feels incredibly light and vibrant. Imagine the silky strands of pasta coated in a delicate sheen of garlic-infused olive oil, topped with tomatoes that burst with sweetness and basil that smells like a fresh breeze. Every bite offers a satisfying al dente snap, balanced by the creamy tang of fresh mozzarella or a sprinkle of salty parmesan. It’s a refreshing take on a classic that doesn’t leave you feeling weighed down in the summer heat.
Ingredients
- 1 lb spaghetti or linguine
- 2 cups cherry tomatoes, halved
- 4 cloves garlic, thinly sliced
- 1/2 cup extra virgin olive oil
- 1 cup fresh basil leaves, torn
- 1/2 cup grated parmesan cheese
- Salt and red pepper flakes to taste
How to make it
- Bring a large pot of heavily salted water (it should taste like the sea) to a rolling boil. Add your pasta and cook according to the package instructions, but aim for 1 minute less than the ‘al dente’ time to ensure it holds its shape when tossed.
- While the pasta cooks, heat the olive oil in a wide skillet over medium-low heat. Add the sliced garlic and a pinch of red pepper flakes. Sauté gently until the garlic is golden and fragrant, taking care not to let it brown or turn bitter.
- Add the halved cherry tomatoes to the skillet. Turn the heat up to medium and cook for about 4-5 minutes, just until the tomatoes start to soften and release their juices, creating a natural sauce.
- Before draining the pasta, reserve 1 cup of the starchy pasta water. Drain the pasta and immediately add it to the skillet with the tomatoes.
- Toss the pasta vigorously with the tomato-garlic oil, adding splashes of the reserved pasta water as needed to create a glossy emulsion that coats every strand. Remove from heat, fold in the fresh basil and parmesan, and serve immediately on your board with a side of crusty bread.
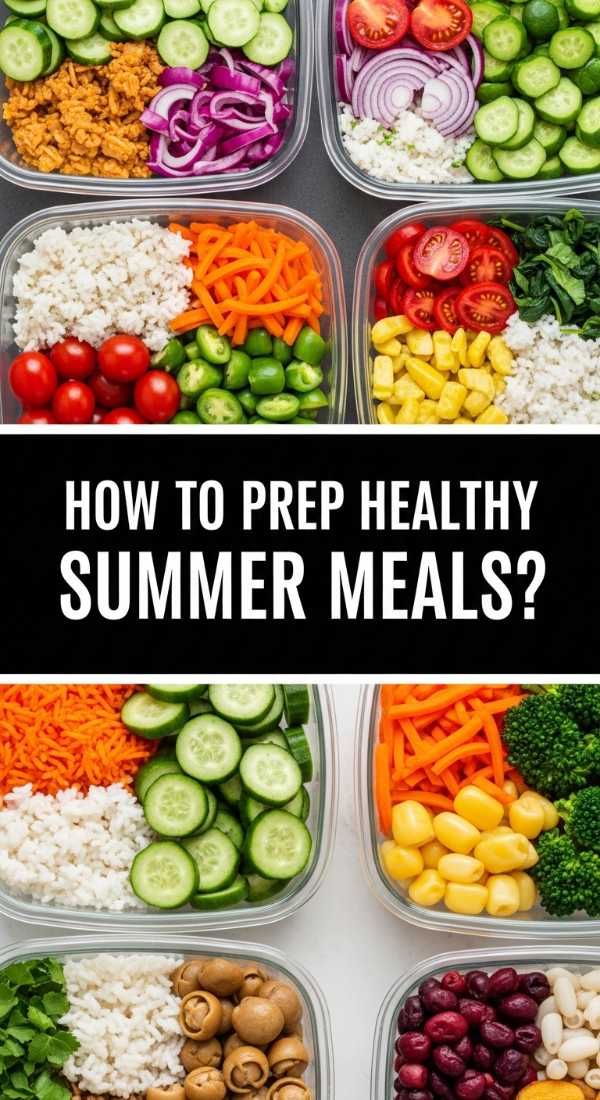
How to prep healthy summer meals?
Why we love this
The beauty of healthy summer meal prep lies in the vibrant rainbow of colors and the crisp, clean flavors that make eating well feel like a luxury rather than a chore. We love the crunch of raw bell peppers paired with the earthy sweetness of roasted sweet potatoes and the clean protein of grilled lemon-herb chicken. Preparing these components in advance means you can assemble a nourishing, Instagram-worthy bowl or board in minutes, leaving you more time to enjoy the sunshine. It’s about feeling energized and light, with every bite providing a burst of hydration and nutrition.
Ingredients
- 2 lbs chicken breast or firm tofu, cubed
- 3 large bell peppers, sliced
- 2 zucchinis, sliced into rounds
- 3 cups cooked quinoa or brown rice
- Lemon-tahini dressing
- Fresh parsley and lemon wedges for garnish
How to make it
- Start by prepping your protein. Marinate the chicken or tofu in olive oil, lemon juice, salt, and dried oregano for at least 30 minutes to ensure deep flavor and tenderness.
- Preheat your oven to 400°F (200°C). Arrange the peppers and zucchinis on a large baking sheet, drizzling with olive oil and seasoning with sea salt. Roast for 15-20 minutes until the edges are slightly charred but the vegetables still retain some bite.
- While the vegetables roast, grill the chicken or tofu over medium-high heat for about 5-6 minutes per side. Look for clear juices in the chicken and a golden-brown crust on the tofu.
- Cook your grains (quinoa or rice) in vegetable broth instead of water to add an extra layer of savory flavor. Once cooked, fluff with a fork and let cool slightly.
- To prep for a board or meal, store each component in separate glass containers. When ready to serve, arrange them in neat clusters on a board with the lemon-tahini dressing in the center, allowing everyone to build their own perfect healthy bowl.
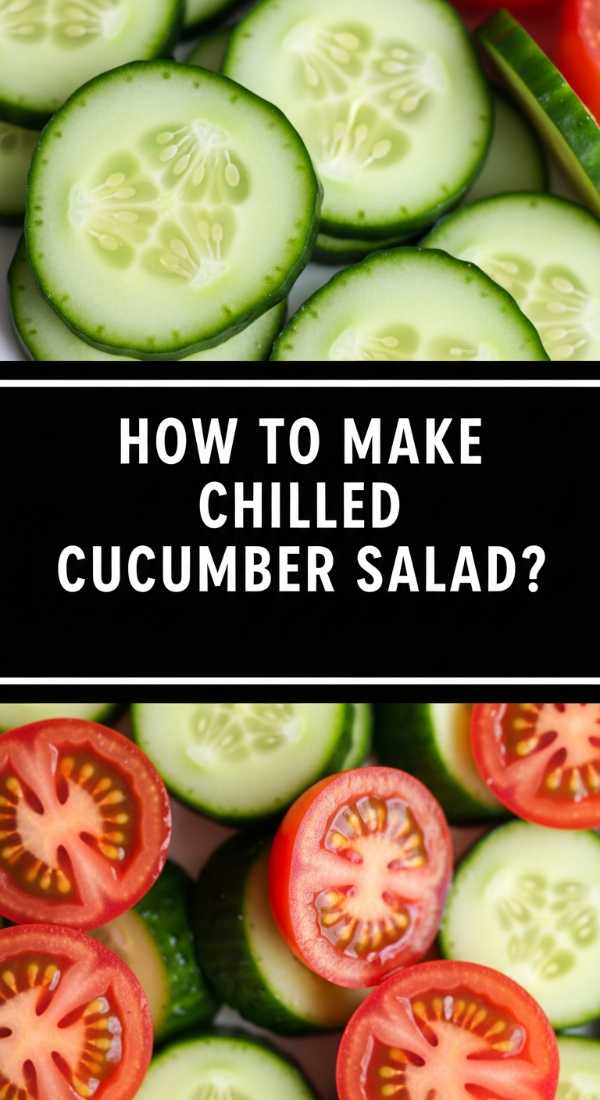
How to make chilled cucumber salad?
Why we love this
This chilled cucumber salad is the ultimate palate cleanser, offering an explosive crunch and a cooling sensation that is incredibly welcome on a humid afternoon. The thin, translucent slices of cucumber absorb the tangy, slightly sweet vinegar dressing, while red onions provide a sharp, colorful contrast that wakes up your taste buds. The aroma of fresh dill wafting from the bowl is instantly refreshing, reminiscent of garden parties and backyard barbecues. It’s a simple, elegant side dish that adds a much-needed brightness and crisp texture to any food board.
Ingredients
- 3 large English cucumbers, thinly sliced
- 1/2 small red onion, very thinly sliced
- 1/2 cup white wine vinegar
- 2 tablespoons honey or sugar
- 1/4 cup fresh dill, chopped
- 1 teaspoon sea salt
- 1/2 teaspoon cracked black pepper
How to make it
- Begin by slicing the cucumbers into thin rounds. If you want a more decorative look, use a fork to score the skin of the cucumber lengthwise before slicing. For the red onion, use a mandoline to achieve paper-thin slices that will soften in the dressing.
- In a large glass bowl, whisk together the white wine vinegar, honey (or sugar), sea salt, and black pepper until the sweetener and salt are completely dissolved.
- Add the cucumbers and red onions to the bowl, tossing them thoroughly to ensure every slice is submerged or coated in the liquid.
- Cover the bowl and refrigerate for at least 30 minutes, though 2 hours is ideal. This allows the cucumbers to release some of their moisture and the flavors to meld together.
- Just before serving, drain about half of the excess liquid if you prefer a less soupy salad. Fold in the fresh chopped dill and arrange the salad in a shallow bowl on your board, perhaps garnished with a few additional sprigs of dill for a pop of green.
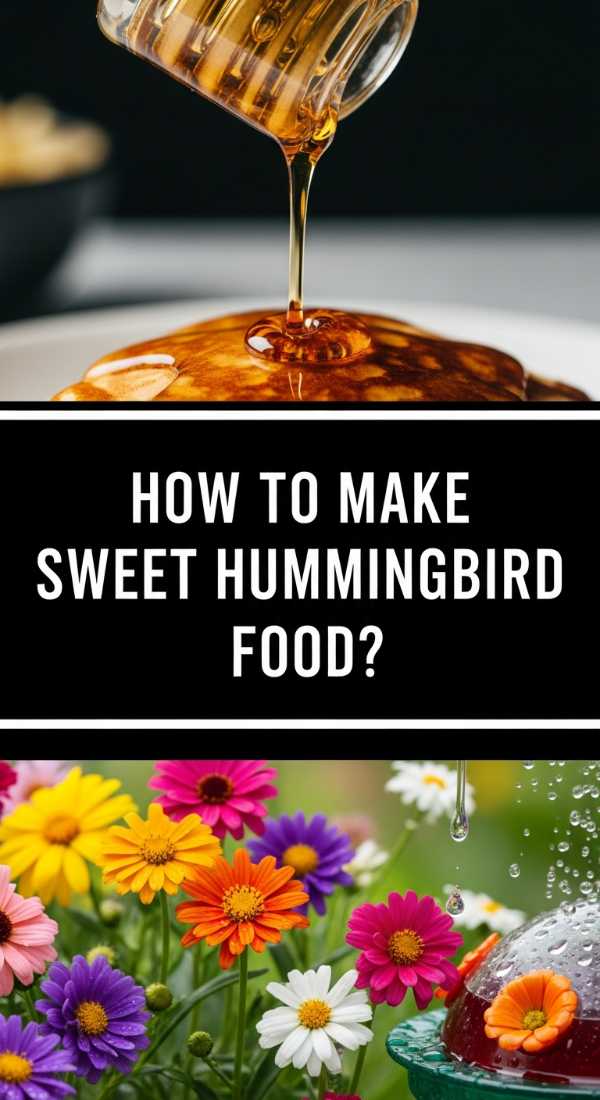
How to make sweet hummingbird food?
Why we love this
While this isn’t for human consumption, making your own hummingbird food is a lifestyle essential that brings the magic of nature right to your window while you enjoy your board. There is something deeply peaceful about watching these tiny, iridescent creatures dart and hover, their wings humming in a rhythmic blur as they drink the sweet nectar you prepared. It adds an interactive, living element to your outdoor space, turning a simple meal into an enchanting experience. We love it because it’s a simple way to support the local ecosystem while enjoying the delicate beauty of summer wildlife.
Ingredients
- 1 cup white granulated sugar
- 4 cups water
- A clean hummingbird feeder
How to make it
- Measure out 4 cups of water and pour it into a medium saucepan. Bring the water to a boil on the stove over high heat. Boiling helps to remove impurities from the water and ensures the sugar dissolves completely.
- Once the water is boiling, stir in 1 cup of white granulated sugar. Use only plain white sugar, as honey can promote fungal growth and brown sugar contains iron which can be toxic to hummingbirds.
- Stir the mixture constantly until the sugar is fully dissolved and the liquid is completely clear. This should only take about a minute or two once the water is hot.
- Remove the pot from the heat and let the nectar cool to room temperature. This is vital; pouring hot liquid into a plastic feeder can warp the feeder and could harm the birds.
- Fill your feeder with the cooled nectar and hang it in a shaded area to prevent the sugar from fermenting too quickly in the sun. Change the food every 3-5 days to keep it fresh and safe for your feathered visitors.
How to make spicy summer dips?

Why we love this
Spicy summer dips are the spark plugs of a food board, providing an exciting kick that contrasts perfectly with cool drinks and fresh vegetables. We love the way a well-made spicy dip balances heat with acidity and creaminess, whether it’s a fiery jalapeño-infused hummus or a smoky chipotle crema. The sensation of a slow, building heat followed by the refreshing crunch of a carrot or cucumber creates a sensory experience that keeps you reaching for more. It’s a bold addition that adds character and a bit of adventure to your summer snacking.
Ingredients
- 1 cup Greek yogurt or sour cream
- 2 tablespoons chipotle peppers in adobo, minced
- 1 tablespoon lime juice
- 1 clove garlic, minced
- 1/2 teaspoon ground cumin
- 1/4 teaspoon salt
- Fresh jalapeño slices for garnish
How to make it
- In a small mixing bowl, start with your base of Greek yogurt or sour cream. This provides the cooling fat that will carry the spice without overwhelming the palate.
- Finely mince the chipotle peppers from the can. Use more or less depending on your heat tolerance; the sauce inside the can (adobo) adds great smoky flavor without as much direct heat as the peppers themselves.
- Add the lime juice, minced garlic, cumin, and salt to the bowl. Whisk everything together until the mixture is uniform in color and the spices are evenly distributed.
- Taste the dip. If it’s too spicy, add another dollop of yogurt. If it needs more zing, add an extra squeeze of lime juice.
- Transfer the dip to a small ramekin. Top with fresh jalapeño slices for a visual cue that this dip packs a punch. Place it near neutral items on your board, like crackers or pita bread, to help balance the heat.
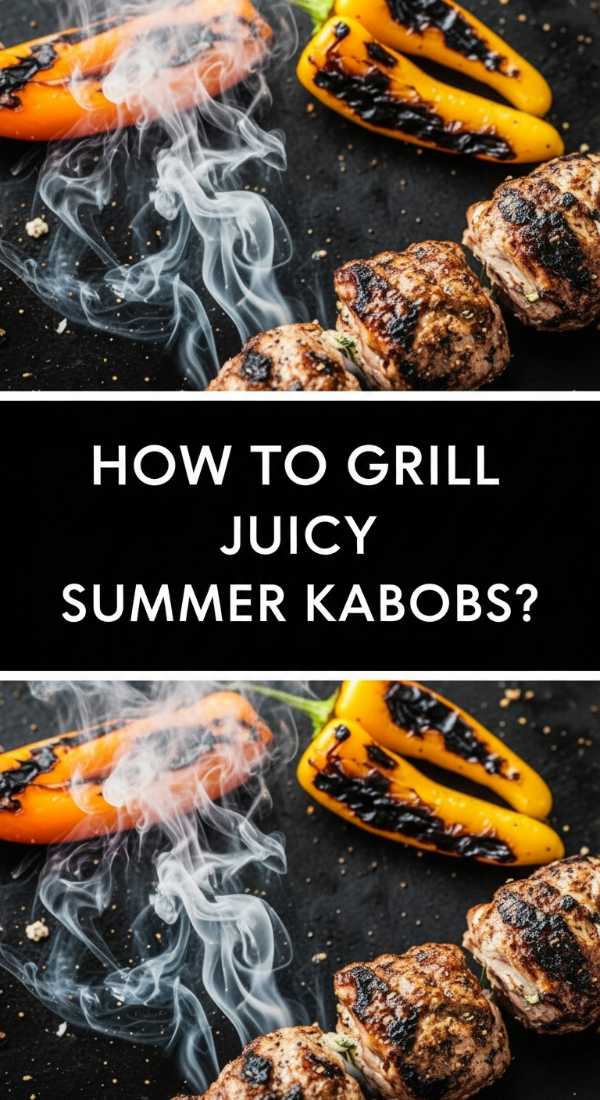
How to grill juicy summer kabobs?
Why we love this
There is nothing quite like the charred, smoky aroma of kabobs sizzling on the grill to evoke the feeling of a perfect summer evening. We love the beautiful, organized chaos of colorful vegetables and marinated meats threaded onto a skewer, each piece picking up those coveted grill marks and a caramelized crust. The meat stays incredibly juicy inside thanks to the high-heat sear, while the vegetables soften just enough to release their natural sugars. It’s a fun, handheld way to eat that encourages guests to pick their favorite combinations directly from the board.
Ingredients
- 1.5 lbs top sirloin steak or chicken thighs, cut into 1-inch cubes
- 1 red onion, cut into chunks
- 1 green bell pepper, cut into chunks
- 1 cup whole mushrooms
- 1/2 cup balsamic vinaigrette (for marinade)
- Wooden or metal skewers
How to make it
- If using wooden skewers, soak them in water for at least 30 minutes before grilling to prevent them from catching fire.
- Place your cubed meat in a bowl or zip-top bag with the balsamic vinaigrette. Let it marinate in the refrigerator for at least 1 hour. This breaks down the fibers and ensures every bite is seasoned to the core.
- Thread the meat and vegetables onto the skewers, alternating colors and textures. Don’t crowd the pieces too tightly; leaving a tiny bit of space between them allows the heat to circulate and cook everything evenly.
- Preheat your grill to medium-high heat (about 400°F). Clean the grates thoroughly and lightly oil them to prevent sticking.
- Place the kabobs on the grill. Cook for 8-10 minutes, turning them a quarter turn every 2-3 minutes. This ensures a consistent sear on all sides. Use a meat thermometer to check for doneness—145°F for steak and 165°F for chicken. Let them rest for 5 minutes before placing them on your serving board.
How to make light summer desserts?

Why we love this
After a savory board, a light summer dessert is the perfect way to end on a sweet note without feeling overly full. We love desserts that highlight the natural perfection of seasonal fruit, like macerated berries with a cloud-like dollop of whipped cream or a refreshing fruit carpaccio with lime zest and mint. These treats are visually stunning, featuring bright reds, deep purples, and vibrant oranges that make the board look like a work of art. They offer a clean, sweet finish that leaves you feeling refreshed and satisfied under the summer stars.
Ingredients
- 2 cups strawberries, sliced
- 1 cup blueberries
- 1 tablespoon honey
- 1 teaspoon lemon zest
- 1 cup heavy whipping cream
- 1/2 teaspoon vanilla extract
- Fresh mint leaves for garnish
How to make it
- In a medium bowl, combine the sliced strawberries and blueberries. Drizzle with honey and add the lemon zest. Toss gently to coat. Let this sit at room temperature for about 15 minutes; this process, called maceration, draws out the natural juices and creates a light, fruity syrup.
- In a separate chilled bowl, pour in the heavy whipping cream and vanilla extract. Use a hand mixer or whisk to beat the cream until soft peaks form. Be careful not to overbeat, or it will become grainy.
- For a beautiful board presentation, place the macerated berries in a large, shallow bowl.
- Dollop the whipped cream directly in the center of the berries, or serve it in a small bowl on the side for dipping.
- Scatter fresh mint leaves over the top. The mint isn’t just for looks—it adds a cooling aromatic element that pairs beautifully with the berries. Serve with light shortbread cookies or enjoy as is with a spoon.
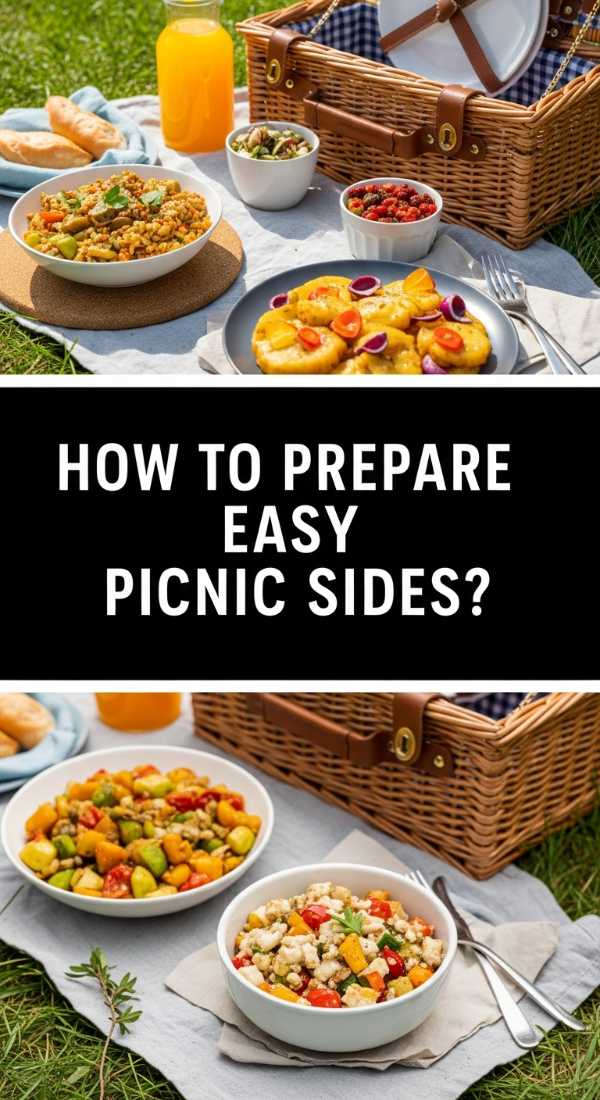
How to prepare easy picnic sides?
Why we love this
The best picnic sides are those that travel well, stay fresh in the heat, and offer a satisfying variety of textures. We love a classic potato salad with a twist, or a tangy bean salad that actually tastes better as it sits and marinates in the cooler. These sides are the workhorses of the summer board, providing the heartiness needed to balance out lighter fruits and veggies. There’s a certain nostalgia to these dishes that brings back memories of park blankets and family reunions, making them a soulful addition to any gathering.
Ingredients
- 1 can (15 oz) chickpeas, rinsed and drained
- 1 can (15 oz) black beans, rinsed and drained
- 1 cup frozen corn, thawed
- 1 red bell pepper, diced
- 1/4 cup red onion, finely diced
- 3 tablespoons olive oil
- 2 tablespoons apple cider vinegar
- 1 tablespoon lime juice
- Salt, pepper, and cumin to taste
How to make it
- In a large mixing bowl, combine the rinsed chickpeas, black beans, corn, diced bell pepper, and red onion. This combination of legumes and vegetables provides a great protein and fiber boost that keeps people full.
- In a small jar or bowl, whisk together the olive oil, apple cider vinegar, lime juice, cumin, salt, and pepper. This simple vinaigrette is bright and acidic, which helps preserve the vegetables while they sit.
- Pour the dressing over the bean mixture and toss thoroughly to ensure everything is well-coated.
- Cover and refrigerate for at least 1 hour. This is the secret step—the beans will absorb the dressing, becoming more flavorful and tender as they sit.
- When ready to pack for your picnic or arrange on your board, give it one last toss. Serve it in a leak-proof container or a festive bowl, perhaps topped with a few slices of avocado just before eating for a creamy finish.
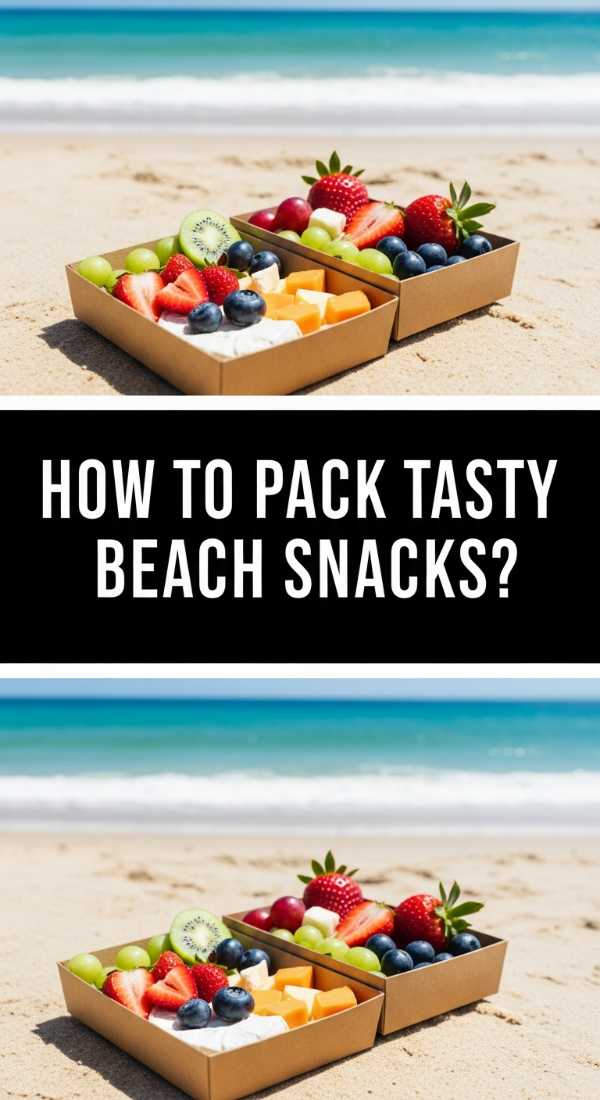
How to pack tasty beach snacks?
Why we love this
Packing for the beach requires a strategic balance of hydration and durability, and we love snacks that can withstand the heat and the occasional rogue grain of sand. Think of juicy grapes frozen into little ice pops, crunchy nut mixes that provide quick energy for swimming, and refreshing watermelon slices that act as both a snack and a drink. These bites are all about convenience and maximum refreshment. There is nothing more satisfying than reaching into a cold cooler for a crisp, salty snack while the sound of the waves crashes in the background.
Ingredients
- 2 cups green or red grapes
- 1 cup salted almonds or cashews
- 1/2 small watermelon, sliced into wedges
- Beef jerky or turkey sticks
- Pretzels or sturdy crackers
How to make it
- Start the night before by washing and drying your grapes. Remove them from the stems and place them in a single layer on a baking sheet lined with parchment paper. Freeze overnight. These frozen grapes act as delicious, edible ice cubes that won’t get soggy.
- Slice your watermelon into thick wedges with the rind still on. The rind acts as a natural handle, keeping sandy hands away from the fruit you’re actually eating.
- Pack the almonds and pretzels in airtight, rigid containers rather than bags. This prevents them from being crushed by heavier items in your cooler or beach bag.
- Layer your cooler strategically: put the frozen items and heavy containers at the bottom near the ice packs, and place the delicate items like watermelon wedges on top.
- When assembling your beach board, use a tray with high sides to keep the snacks contained and protected from the wind and sand. Arrange the frozen grapes and watermelon together to keep them cool as long as possible.
The Final Touch: Bringing Your Board to Life
Mastering the simple food board trend isn’t about being a professional chef; it’s about being a curator of flavors and an architect of good vibes. By choosing items that are easy to prep, vibrant in color, and varied in texture, you create an experience that feels abundant and thoughtful. Remember, the goal is to spend less time in the kitchen and more time making memories. So, pour yourself a cold glass of lemonade, set your beautiful board in the center of the table, and enjoy the effortless magic of summer hosting.