
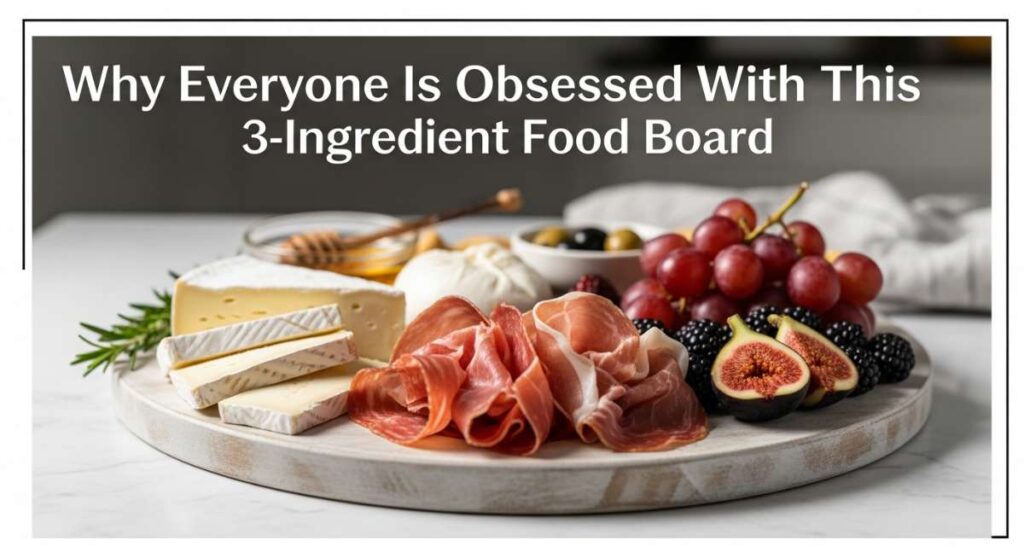
Why Everyone is Obsessed With This 3-Ingredient Food Board
There is a certain magic that happens when the sun starts lingering just a little longer in the evening, casting that golden, honey-hued glow over the backyard. We’ve all been there—the sudden urge to invite friends over, the frantic cleaning of the patio, and then the inevitable ‘what are we going to eat?’ panic. I used to spend hours in the kitchen, missing out on the laughter and the clinking of glasses, until I discovered the art of the simplified food board. It’s not just about the food; it’s about the freedom to actually enjoy your own party.
The obsession with these boards stems from a collective desire to return to basics without sacrificing flavor. We are reclaiming our time by leaning into high-impact, low-effort dishes that look like a million bucks but take minutes to prep. Whether it’s a pile of smoky kabobs or a bowl of the crispiest cucumber salad, these recipes are designed to be the centerpiece of your summer memories. Let’s dive into the ultimate guide for creating the spread everyone is talking about.
How to make summer crockpot chicken?
Why we love this
This shredded chicken is the ultimate summer hack because it keeps your kitchen cool while delivering incredibly tender, succulent meat that practically melts in your mouth. The aroma of slow-cooked poultry infused with zesty citrus and herbs wafts through the house, creating an inviting atmosphere long before dinner is served. Every forkful is moist and packed with savory juices, making it the perfect protein base for tacos, sliders, or topping a fresh green salad under the afternoon sun.
Ingredients
- 3 lbs boneless skinless chicken breasts
- 1 jar (16 oz) of your favorite mild salsa or pineapple salsa
- 2 tablespoons of taco seasoning (or a blend of cumin, garlic powder, and smoked paprika)
How to make it
- Begin by patting your chicken breasts dry with paper towels to ensure the seasoning adheres perfectly to the meat.
- Place the chicken in the bottom of a 6-quart slow cooker, ensuring they are in a single layer for even cooking.
- Evenly sprinkle the taco seasoning over both sides of the chicken, then pour the entire jar of salsa over the top, using a spoon to spread it so every inch of the chicken is covered.
- Set your crockpot to ‘Low’ and cook for 6 to 7 hours; avoid using the ‘High’ setting if possible, as the slow, low heat is what breaks down the connective tissue to create that ‘pull-apart’ texture.
- Once the chicken reaches an internal temperature of 165°F and flakes easily with a fork, remove it from the pot and place it in a large bowl.
- Using two forks, shred the chicken into bite-sized pieces, then return the shredded meat back into the crockpot for 20 minutes to soak up all the remaining juices and spices before serving.
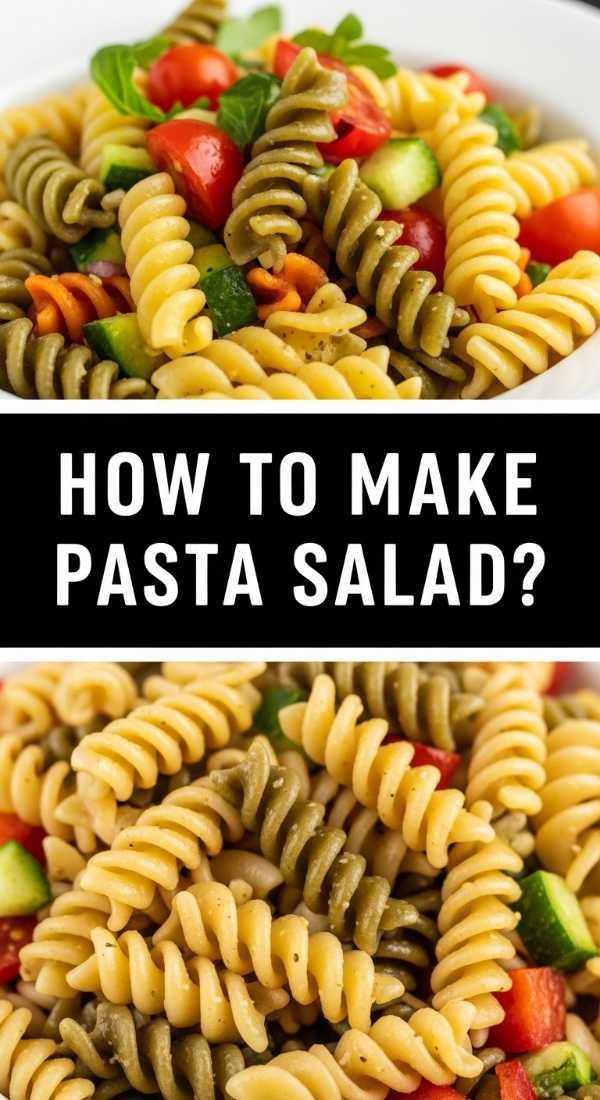
How to make creamy pasta salad?

Why we love this
There is nothing quite as nostalgic and comforting as a bowl of chilled, creamy pasta salad at a July cookout. The contrast between the al dente pasta and the velvety, tangy dressing is a textural dream, while the crunch of fresh bell peppers adds a bright pop of color and sweetness. It feels indulgent yet refreshing, with a silky mouthfeel that coats every spiral of pasta, making it an irresistible side dish that guests will keep coming back to for seconds and thirds.
Ingredients
- 1 lb rotini or fusilli pasta
- 1.5 cups high-quality mayonnaise
- 0.5 cup sour cream
- 2 tablespoons apple cider vinegar
- 1 tablespoon yellow mustard
- 1 cup diced bell peppers and red onions
- Salt, pepper, and dried dill to taste
How to make it
- Bring a large pot of heavily salted water to a rolling boil; the water should taste like the ocean to properly season the pasta from the inside out.
- Add your pasta and cook for exactly one minute less than the package directions for ‘al dente,’ as the pasta will soften slightly once it sits in the dressing.
- While the pasta cooks, whisk together the mayonnaise, sour cream, vinegar, mustard, and spices in a large mixing bowl until the dressing is completely smooth and aerated.
- Drain the pasta and immediately rinse it under cold running water to stop the cooking process and remove excess starch, which prevents the salad from becoming gummy.
- Fold the cooled pasta and the diced vegetables into the dressing using a rubber spatula, ensuring every piece is thoroughly coated.
- Cover and refrigerate for at least 2 hours before serving; this ‘resting’ phase allows the pasta to absorb the flavors and creates the perfect creamy consistency.
How to make easy rotel dip?
Why we love this
This dip is the undisputed king of party appetizers, offering a rich, gooey, and slightly spicy experience that is pure liquid gold. The way the melted cheese swirls with the zesty tomatoes and green chilies creates a vibrant, savory profile that is impossible to stop eating once you start. The warmth of the dip against a salty, crunchy tortilla chip provides a sensory contrast that is deeply satisfying, making it the most requested item at any gathering.
Ingredients
- 1 lb Velveeta or processed cheese block
- 1 can (10 oz) Ro-Tel Diced Tomatoes and Green Chilies
- 0.5 lb cooked, crumbled breakfast sausage or ground beef (optional)
How to make it
- If using meat, brown it in a skillet over medium-high heat until fully cooked, then drain the grease thoroughly to ensure your dip isn’t oily.
- Cut the cheese block into 1-inch cubes; this is a crucial step because smaller, uniform cubes melt much faster and more evenly than a whole block.
- In a medium-sized slow cooker or a heavy-bottomed saucepan, combine the cheese cubes and the undrained can of Ro-Tel (the liquid in the can is essential for the right consistency).
- If using a stovetop, set the heat to ‘Low’ and stir constantly with a wooden spoon to prevent the cheese from scorching or sticking to the bottom.
- Once the cheese is about 80% melted, stir in your cooked meat and continue to heat until the mixture is silky smooth and bubbling gently.
- Transfer to a serving bowl or keep in the slow cooker on the ‘Warm’ setting, stirring occasionally to maintain that perfect, dippable texture throughout the night.
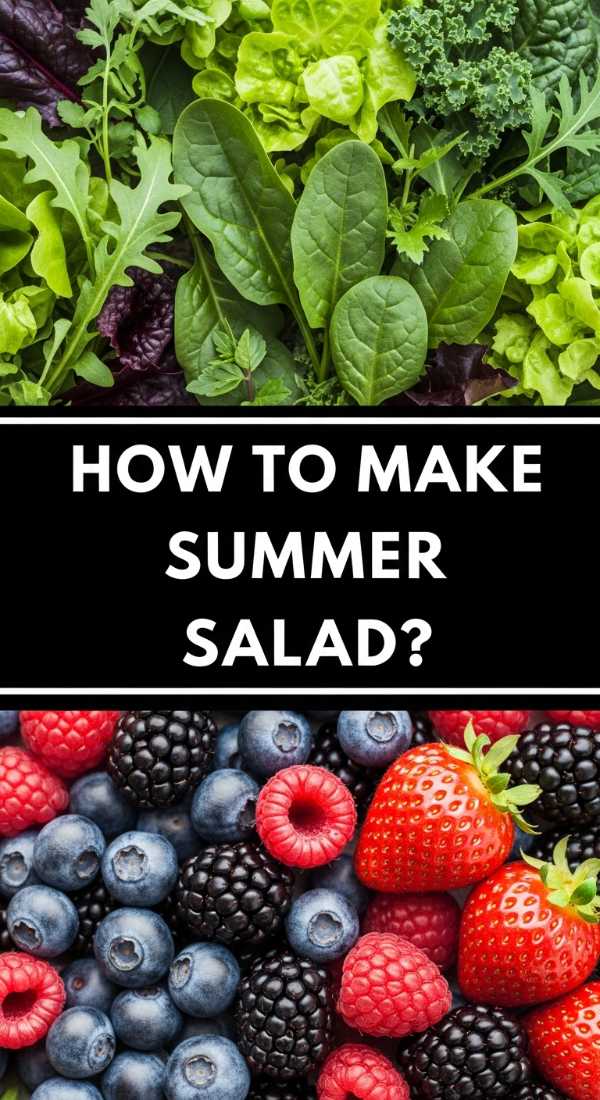
How to make fresh summer salads?
Why we love this
A fresh summer salad is like a garden on a plate, offering a crisp, hydrating explosion of flavor that cuts through the heat of a humid afternoon. The bright acidity of a lemon vinaigrette against the sweetness of ripe berries or heirloom tomatoes creates a sophisticated balance that feels light and life-giving. It’s the visual centerpiece of the board, boasting vibrant greens and jewel-toned fruits that make the entire meal feel intentional, healthy, and incredibly upscale.
Ingredients
- 5 oz mixed baby greens or arugula
- 1 cup sliced strawberries or peaches
- 0.5 cup crumbled feta or goat cheese
- 0.25 cup toasted pecans or walnuts
- Dressing: 3 tbsp olive oil, 1 tbsp lemon juice, 1 tsp honey
How to make it
- Start by washing your greens in ice-cold water and using a salad spinner to dry them completely; wet leaves will cause the dressing to slide off rather than coat the greens.
- In a small glass jar, combine the olive oil, lemon juice, honey, and a pinch of salt, then shake vigorously until the mixture emulsifies into a thick, pale yellow dressing.
- Place the dried greens in a wide, shallow bowl (this allows for better distribution of toppings) and drizzle half of the dressing over them, tossing gently with your hands or tongs.
- Layer your sliced fruit and crumbled cheese over the top of the greens, rather than mixing them in, to keep the fruit from bruising and the cheese from clumping.
- Just before serving, sprinkle the toasted nuts over the top to maintain their maximum crunch and provide a textural contrast to the soft fruit.
- Finish with a final light drizzle of dressing and a crack of fresh black pepper to elevate the natural sweetness of the summer produce.
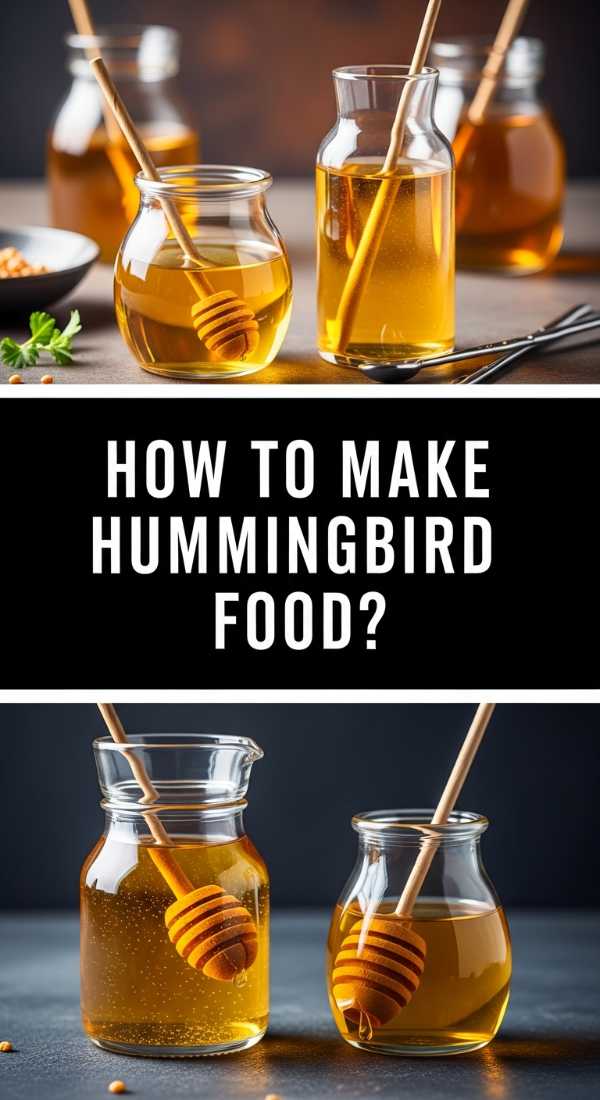
How to make hummingbird food?
Why we love this
While not for the guests, making your own hummingbird nectar is the ultimate lifestyle flex for an outdoor summer board setting. Watching those iridescent, tiny creatures dart and hover near your patio adds an element of whimsical nature to your gathering that no store-bought decoration could ever match. It feels rewarding to provide a pure, homemade energy source that brings life and movement to your garden, making your outdoor space feel like a true sanctuary.
Ingredients
- 1 cup white granulated sugar
- 4 cups filtered water
How to make it
- Mix the sugar and water in a medium saucepan; do not use honey, brown sugar, or artificial sweeteners, as these can be harmful or fatal to hummingbirds.
- Heat the mixture over medium heat, stirring constantly until the sugar is completely dissolved; you do not need to bring it to a full boil, but a simmer helps ensure total dissolution.
- Once the liquid is clear and the sugar is gone, remove the pan from the heat and let it cool completely to room temperature.
- Never add red food coloring; the red parts of your feeder are enough to attract the birds, and the dye is unnecessary and potentially toxic to their small systems.
- Pour the cooled nectar into a clean hummingbird feeder, ensuring the base is tightly sealed to prevent dripping.
- Change the nectar every 2-3 days (or daily in extreme heat) to prevent fermentation and mold growth, which can be dangerous for the birds.
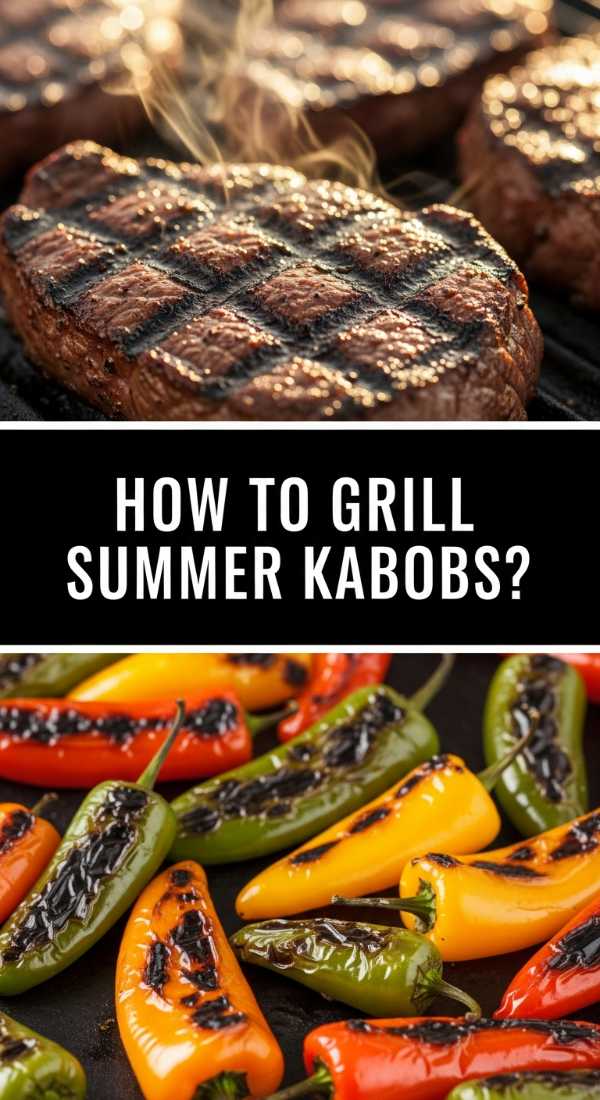
How to grill summer kabobs?
Why we love this
There is a primitive joy in eating food off a stick, especially when it’s been kissed by the flames of a charcoal grill. The charred, caramelized edges of the vegetables provide a smoky sweetness that pairs perfectly with the savory, marinated cubes of meat. The aroma of woodsmoke and searing protein is the quintessential scent of summer, promising a meal that is both fun to eat and visually stunning with its alternating colors and textures.
Ingredients
- 1.5 lbs steak tips or chicken breast, cut into 1-inch cubes
- 2 bell peppers and 1 red onion, cut into chunks
- 1 cup whole mushrooms or zucchini slices
- Marinade: 0.5 cup soy sauce, 2 tbsp olive oil, 1 tbsp minced garlic
How to make it
- Whisk together your marinade ingredients in a large bowl, add your meat cubes, and let them marinate in the refrigerator for at least 30 minutes (or up to 4 hours) to tenderize the fibers.
- If using wooden skewers, soak them in water for at least 30 minutes before threading to prevent them from catching fire on the grill.
- Thread the meat and vegetables onto the skewers, alternating between colors and textures; leave a tiny bit of space between items so the heat can circulate and cook everything evenly.
- Preheat your grill to medium-high heat (about 400°F) and lightly oil the grates using a brush or a rolled-up paper towel dipped in oil.
- Place the kabobs on the grill and cook for 10-12 minutes, turning them a quarter-turn every 3 minutes to achieve beautiful grill marks on all sides.
- Remove the kabobs when the meat reaches the desired internal temperature (145°F for steak, 165°F for chicken) and let them rest for 5 minutes before serving to allow the juices to redistribute.
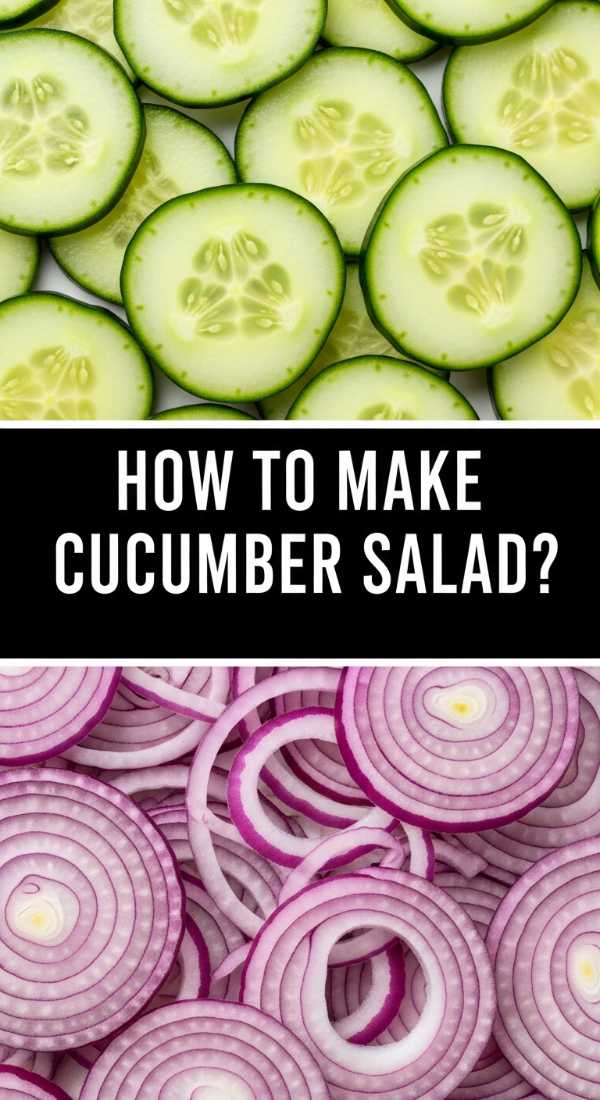
How to make cucumber salad?
Why we love this
Cucumber salad is the ‘cool down’ dish every summer board needs, offering a sharp, vinegary snap that cleanses the palate between heavier bites. The thin, translucent slices of cucumber are incredibly refreshing, especially when paired with the bite of red onion and the earthiness of fresh dill. It’s light, hydrating, and has a satisfying crunch that makes it feel like a sophisticated upgrade to a standard pickle.
Ingredients
- 2 large English cucumbers, thinly sliced
- 0.5 red onion, thinly sliced into half-moons
- 0.5 cup white vinegar or rice vinegar
- 2 tablespoons sugar
- 1 tablespoon chopped fresh dill
How to make it
- Use a mandoline slicer to get the cucumbers into uniform, paper-thin rounds; this ensures that every slice absorbs the brine evenly and has the perfect texture.
- Place the cucumber and onion slices in a colander and sprinkle with a teaspoon of salt, letting them sit for 15 minutes to draw out excess moisture so the salad doesn’t get watery.
- In a separate bowl, whisk together the vinegar, sugar, and dill until the sugar crystals have completely dissolved into the liquid.
- Pat the cucumbers dry with a clean kitchen towel to remove the released water and the excess salt.
- Toss the cucumbers and onions into the vinegar mixture, ensuring every slice is submerged or well-coated.
- Refrigerate for at least 30 minutes before serving; the colder the salad is, the crispier and more refreshing the cucumbers will taste.
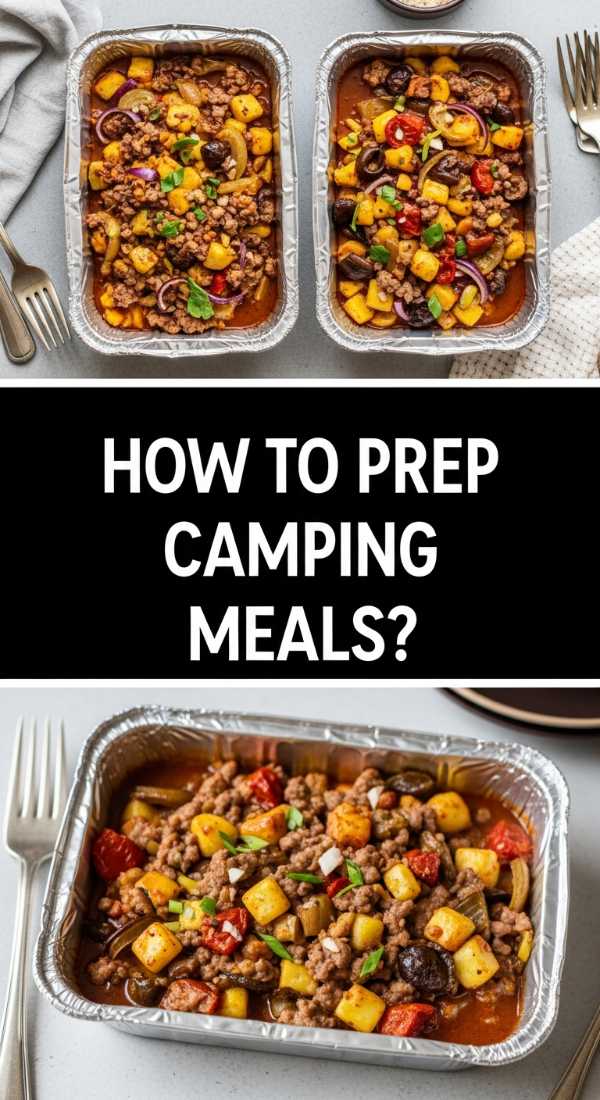
How to prep camping meals?

Why we love this
Camping meals are all about high-reward efficiency, designed to be enjoyed under the stars after a long day of adventure. There’s a rustic, hearty soulfulness to food prepped in foil or one-pot cast iron that makes every bite taste like a hard-earned victory. These meals are the ultimate stress-free addition to a food board because they emphasize prep-ahead convenience, leaving you more time to focus on the campfire and the company.
Ingredients
- Heavy-duty aluminum foil
- Pre-chopped potatoes, sausage, and carrots
- Olive oil and ‘all-purpose’ steak seasoning
How to make it
- The secret to successful camping meals is the ‘Double Foil’ method; use two layers of heavy-duty foil to prevent the bottom from burning over uneven fire heat.
- At home, chop all your vegetables and proteins into uniform sizes—about 1/2 inch cubes—so that they all cook at the same rate.
- Toss the ingredients in a large gallon-sized bag with olive oil and your seasonings, ensuring every piece is slick and well-coated.
- Portion the mixture into the center of your foil squares, then fold the edges up and over, crimping them tightly to create a sealed steam pocket.
- Store these foil packets in your cooler until you’re ready to cook; they should be placed on a grill grate over hot coals, not directly in the roaring flames.
- Cook for 20-25 minutes, flipping once halfway through, and always open the packets carefully as the built-up steam will be incredibly hot.
How to make summer desserts?

Why we love this
Summer desserts should feel like a celebration of the season’s bounty—bright, sweet, and just a little bit messy. Whether it’s a berry-laden shortcake or a simple fruit platter with a sweet dip, these treats offer a light finish to a sun-drenched meal. The way the natural sugars of ripe fruit interact with whipped cream or a dusting of powdered sugar creates a simple elegance that feels both indulgent and wholesome.
Ingredients
- 2 cups fresh blueberries and raspberries
- 1 loaf of pound cake or angel food cake, sliced
- 1 container of whipped topping or homemade whipped cream
- Fresh mint for garnish
How to make it
- Slice your cake into thick, even wedges and, for an extra professional touch, lightly toast them on a dry griddle for 30 seconds per side to create a warm, golden crust.
- Macerate half of your berries by tossing them with a tablespoon of sugar and a squeeze of lemon juice, letting them sit for 10 minutes until they release their natural syrups.
- Place a slice of cake on the board, top with a generous dollop of whipped cream, and then pour the macerated berries and their juice over the top.
- Scatter the remaining fresh, whole berries around the board to provide a variety of textures and visual appeal.
- Add small sprigs of fresh mint near the fruit; the aroma of the mint enhances the perception of sweetness in the berries.
- Keep the whipped cream chilled until the very last second before serving to ensure it holds its shape against the summer warmth.
How to make picnic sides?
[IMAGE_10]
Why we love this
Picnic sides are the versatile heroes of the food board, bridging the gap between a snack and a meal. They are designed to be portable, stable at room temperature, and packed with punchy flavors that hold up over time. From tangy bean salads to seasoned nuts, these sides provide the ‘grazing’ element that makes a food board so successful, allowing guests to nibble and explore different flavors throughout the afternoon.
Ingredients
- 1 can (15 oz) chickpeas, drained and rinsed
- 1 cucumber, diced
- 0.5 cup crumbled feta
- Dressing: 2 tbsp olive oil, 1 tbsp red wine vinegar, 1 tsp dried oregano
How to make it
- Rinse your canned chickpeas thoroughly under cold water until the foam disappears, then pat them dry with a paper towel to remove excess starch.
- In a medium bowl, combine the chickpeas with the diced cucumber and feta cheese; the feta adds a necessary saltiness that balances the earthy chickpeas.
- Whisk the olive oil, vinegar, and oregano in a small bowl until combined, then pour it over the chickpea mixture.
- Toss everything together and let the salad sit for at least 15 minutes; this allows the chickpeas to marinate and soften slightly in the acidic dressing.
- If you’re taking this on a picnic, store it in a wide-mouthed mason jar with the dressing at the bottom and the cucumbers at the top to keep them from getting soggy.
- Serve with a slotted spoon to ensure guests get all the hearty ingredients without a puddle of dressing on their plates.
The Secret to a Viral Board
At the end of the day, the reason everyone is obsessed with these boards isn’t just the 3-ingredient simplicity—it’s the way it brings people together. When you strip away the complexity of high-maintenance recipes, you’re left with the essence of hospitality. You’re relaxed, your guests are fed, and the food looks as vibrant as the conversation. So, grab a board, pick a few of these summer staples, and start building your own viral masterpiece. Your summer self will thank you.