
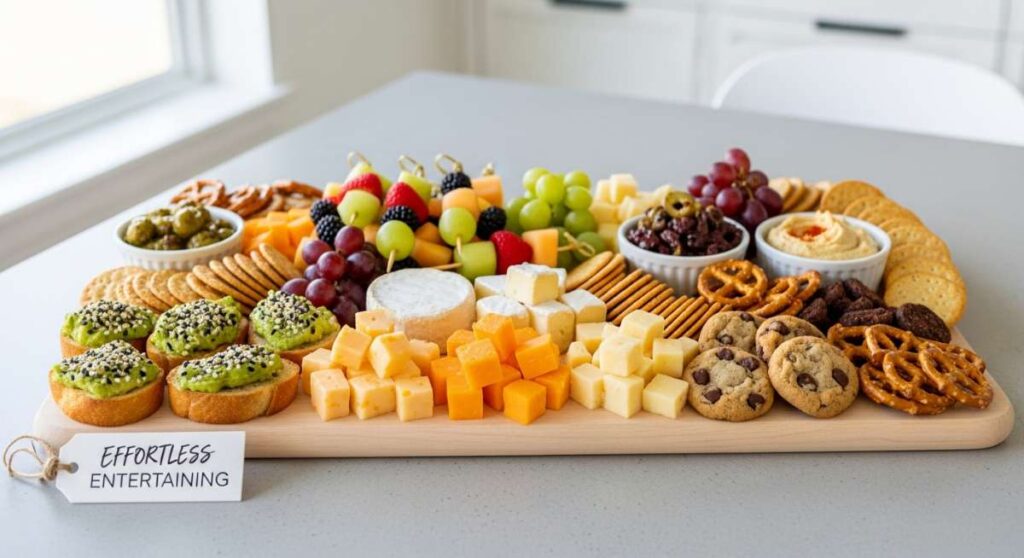
There is a specific kind of magic that only happens when the sun lingers late into the evening and the air smells like cut grass and jasmine. It’s the season of spontaneous gatherings, where the best memories aren’t made at a formal dining table, but huddled around a wooden board on the back porch. I used to spend hours stressing over complicated multi-course meals, only to realize that my guests were happiest when they could graze, linger, and help themselves to something vibrant and fresh.
The rise of the ‘viral food board’ has completely transformed how I host. It’s no longer just about cheese and crackers; it’s about creating a visual and culinary landscape that invites people to dig in. Whether it’s a spread of perfectly charred kabobs or a DIY drink station, these boards strip away the formality and leave behind nothing but good vibes and even better flavors. Today, I’m sharing my favorite ways to bring that effortless, viral-worthy aesthetic to your own summer table.
How to prep summer meals?
Why we love this
Prepping summer meals is all about reclaiming your time so you can actually enjoy the sunshine instead of being tethered to a hot stove. We love this approach because it focuses on ‘component cooking’—preparing vibrant, interchangeable ingredients that look stunning when arranged on a large grazing board. Imagine the crunch of snap peas, the silkiness of soft-boiled eggs, and the hearty texture of quinoa, all ready to be assembled into a personalized feast. It creates a relaxed atmosphere where the aroma of fresh herbs takes center stage and every bite feels like a curated celebration of the season.
Ingredients
- 2 cups cooked quinoa or farro
- 1 bunch grilled asparagus
- 1 pint cherry tomatoes, halved
- 4 soft-boiled eggs
- 1 cup blanched snap peas
- 1 sliced avocado
- Lemon-tahini dressing
- Fresh mint and parsley
How to make it
- Begin by cooking your grains in salted water or vegetable broth to infuse them with flavor; once fluffy, spread them onto a baking sheet to cool quickly, which prevents them from becoming mushy.
- Blanch your green vegetables by dropping them into boiling water for exactly two minutes until they turn a vibrant, electric green, then immediately plunge them into an ice bath to stop the cooking process and preserve that satisfying snap.
- For the perfect jammy eggs, bring a pot of water to a rolling boil, gently lower the eggs in, and simmer for exactly six and a half minutes before transferring them to ice water; this ensures a silky, pourable yolk that acts as a natural sauce for the board.
- Arrange the components in clusters on a large wooden board, keeping colors contrasting—place the bright red tomatoes next to the deep green asparagus—and finish with a generous drizzle of acid-forward dressing and a shower of torn herbs just before serving to keep everything looking dew-fresh.
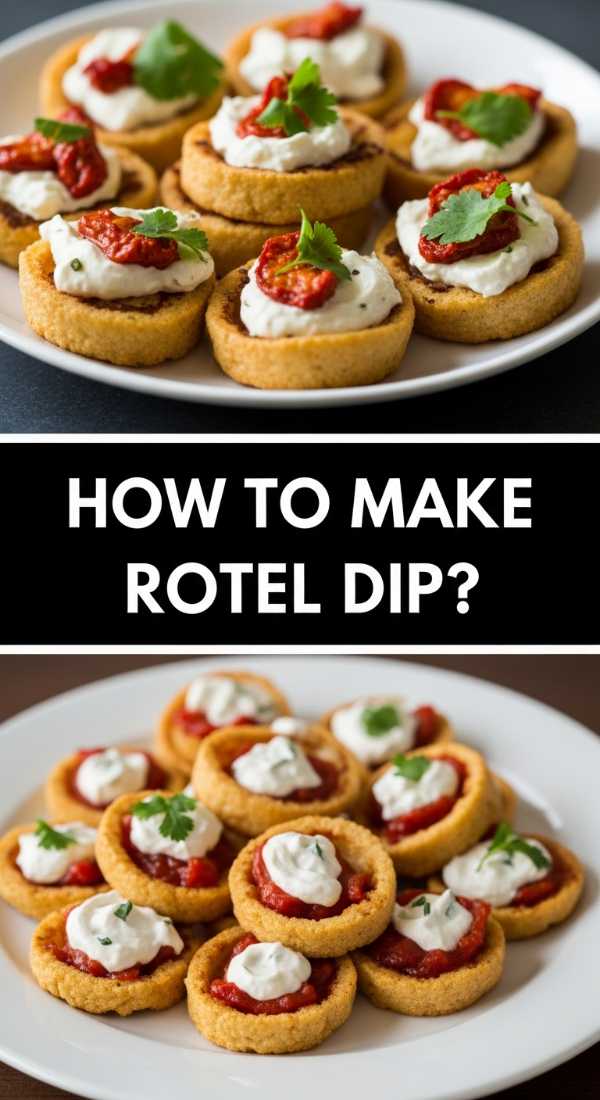
How to make rotel dip?

Why we love this
This is the ultimate nostalgia on a board, a creamy, spicy, and deeply comforting dip that has earned its viral status for a reason. There is something incredibly satisfying about the way the golden, melted cheese clings to a salty tortilla chip, carrying with it the subtle heat of green chilies and the savory richness of browned sausage. It’s the centerpiece that disappears in minutes because it appeals to that primal love for warm, gooey textures and bold, zesty flavors that remind us of tailgates and backyard birthdays.
Ingredients
- 1 lb Velveeta cheese, cubed
- 1 can (10 oz) Ro-Tel Diced Tomatoes and Green Chilies
- 1 lb ground breakfast sausage or chorizo
- 1/2 cup heavy cream (for silkiness)
- Fresh cilantro for garnish
- Large sturdy tortilla chips
How to make it
- In a large skillet over medium-high heat, brown the ground sausage, breaking it into very small crumbles with a wooden spoon until no pink remains and the edges are slightly crispy and caramelized.
- Drain the excess fat from the skillet but leave a small amount for flavor; reduce the heat to low to prevent the cheese from scorching or separating.
- Add the cubed Velveeta and the entire can of Ro-Tel (do not drain the juices, as they provide essential acidity and moisture) to the skillet, stirring constantly in a figure-eight motion until the cheese is completely melted and smooth.
- Slowly whisk in the heavy cream to achieve a professional, velvety consistency that won’t harden too quickly as it sits on the board; once steaming and perfectly emulsified, pour it into a warmed ceramic bowl, place it in the center of your board, and surround it with a mountain of chips and fresh cilantro.
How to make hummingbird food?
Why we love this
While not for human consumption, creating a ‘Hummingbird Station’ near your outdoor food board adds a layer of enchanting nature-watching to your entertaining. We love this because it brings a sense of life and movement to the garden, where the tiny, iridescent birds dart back and forth like living jewels. The simplicity of the clear nectar—free from artificial dyes—ensures the health of these delicate creatures while providing you and your guests with a mesmerizing, tranquil backdrop that makes any summer afternoon feel like a scene from a fairytale.
Ingredients
- 1 cup granulated white sugar
- 4 cups filtered water
- Clean hummingbird feeder
- Ant moat (optional)
How to make it
- Mix the white granulated sugar and filtered water in a medium saucepan; it is vital to use plain white sugar only, as honey can promote fungal growth and brown sugar contains iron which can be toxic to hummingbirds.
- Heat the mixture over medium heat, stirring gently until every crystal of sugar has completely dissolved; you do not need to bring it to a full boil, but a simmer helps ensure the solution is thoroughly combined and sterilized.
- Remove the pan from the heat and allow the nectar to cool completely to room temperature; never put hot nectar into a feeder as it can warp the plastic and harm the birds’ delicate beaks.
- Fill your clean feeder and hang it in a shaded area to prevent the sugar from fermenting too quickly in the summer sun; remember to change the nectar every 2-3 days and clean the feeder thoroughly with hot water to keep your feathered visitors healthy.
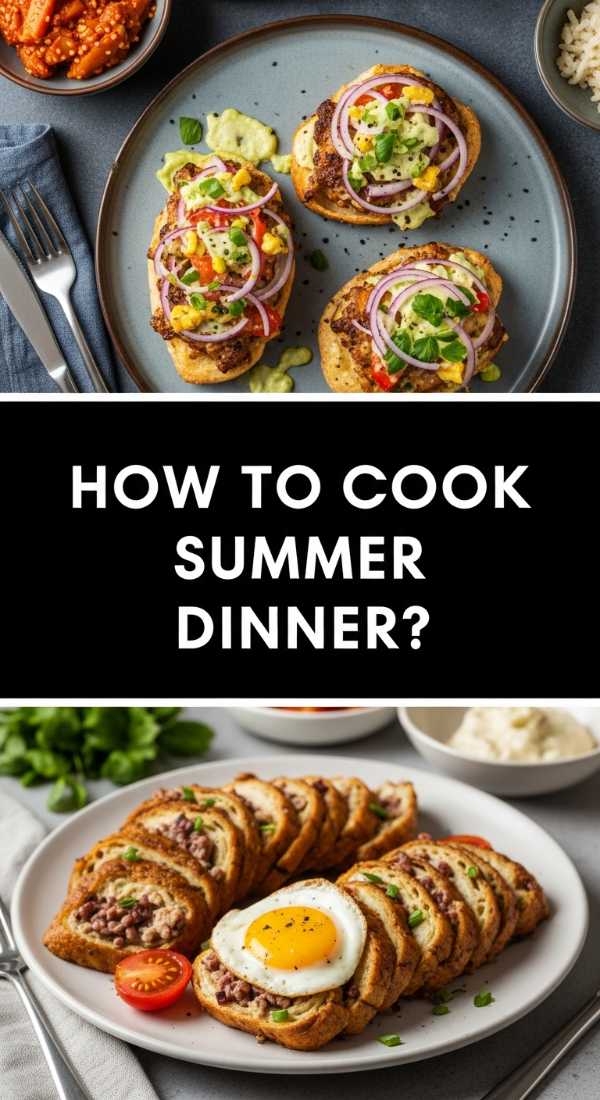
How to cook summer dinner?
Why we love this
Summer dinner should feel like a breeze, a harmonious blend of light proteins and the best produce the season has to offer. We love the ‘Dinner Board’ concept because it eliminates the need for plated service, allowing everyone to grab a slice of grilled chicken, a wedge of charred corn, and a handful of arugula. The smell of the grill mingling with the scent of fresh lemon zest creates an atmosphere of pure relaxation, where the textures range from the crispy skin of the protein to the juicy, sun-ripened burst of grilled peaches.
Ingredients
- 2 lbs chicken thighs or flank steak
- 3 ears of corn, husks removed
- 2 peaches, halved
- Large bunch of arugula
- Chimichurri sauce
- Flaky sea salt
How to make it
- Preheat your grill to a high heat (about 450°F) and lightly oil the grates to ensure those beautiful, dark sear marks that signify deep flavor development.
- Season your protein generously with salt and pepper, then grill until the internal temperature reaches the safe zone (165°F for chicken, 135°F for medium-rare steak), allowing the meat to rest for at least ten minutes before slicing to retain all the juices.
- Place the corn and peach halves directly over the flames; rotate the corn every few minutes until charred in spots, and grill the peaches for 2-3 minutes until the sugars caramelize and leave golden rungs.
- Lay a bed of peppery arugula on a massive board, arrange the sliced meat and grilled fruits on top, and finish by drizzling a vibrant, garlicky chimichurri over everything to tie the smoky and sweet elements together.
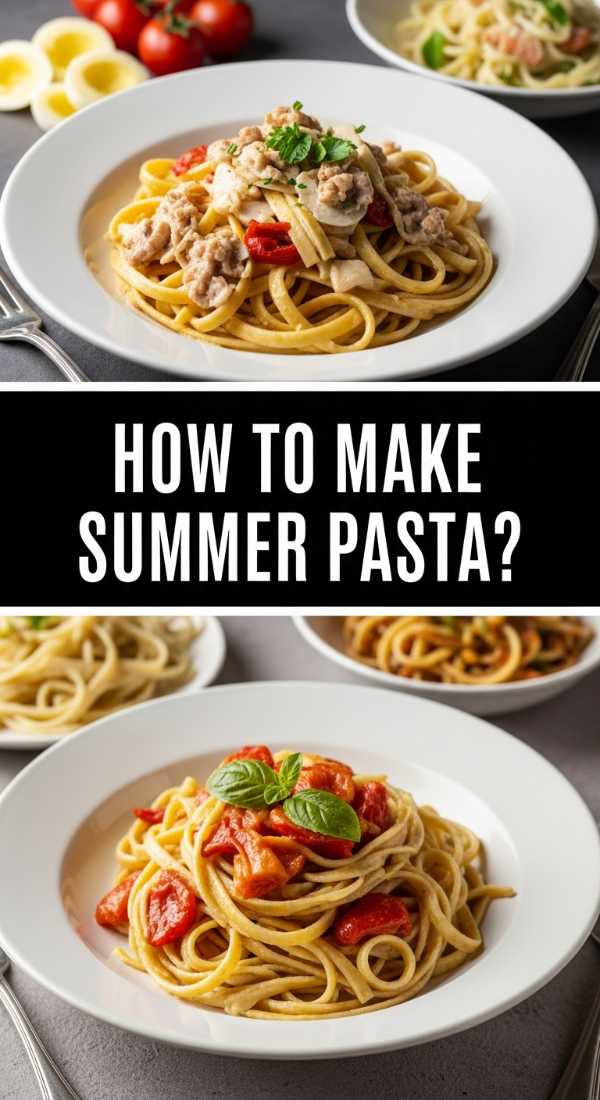
How to make summer pasta?
Why we love this
A summer pasta board is the ultimate crowd-pleaser because it moves away from heavy, simmering sauces toward something bright, herbaceous, and refreshing. We love the way al dente noodles can be tossed with a simple ‘no-cook’ sauce made of garlic, olive oil, and the heat of the sun-warmed tomatoes. The fragrance of torn basil hitting the warm pasta is therapeutic, and the addition of creamy burrata or salty feta adds a layer of decadence that makes a simple Tuesday night feel like an Italian vacation.
Ingredients
- 1 lb fusilli or orecchiette pasta
- 1/2 cup high-quality extra virgin olive oil
- 3 cloves garlic, thinly shaved
- 2 cups cherry tomatoes
- 1 ball of fresh burrata cheese
- 1 cup fresh basil leaves
- Lemon zest
How to make it
- Boil a large pot of heavily salted water—it should taste like the sea—and cook your pasta for one minute less than the package directions to ensure a perfect al dente bite that holds up on a serving board.
- While the pasta cooks, combine the olive oil, shaved garlic, and halved cherry tomatoes in a large bowl, letting them marinate and release their natural juices into the oil.
- Drain the pasta, reserving a half-cup of the starchy cooking water; toss the hot noodles directly into the tomato mixture, adding the reserved water splashes at a time to create a light, silky emulsion that coats every spiral.
- Pour the pasta onto a rimmed board or platter, tear the creamy burrata over the top so the center oozes out, and finish with a mountain of hand-torn basil and a bright grating of lemon zest for an aromatic finish.
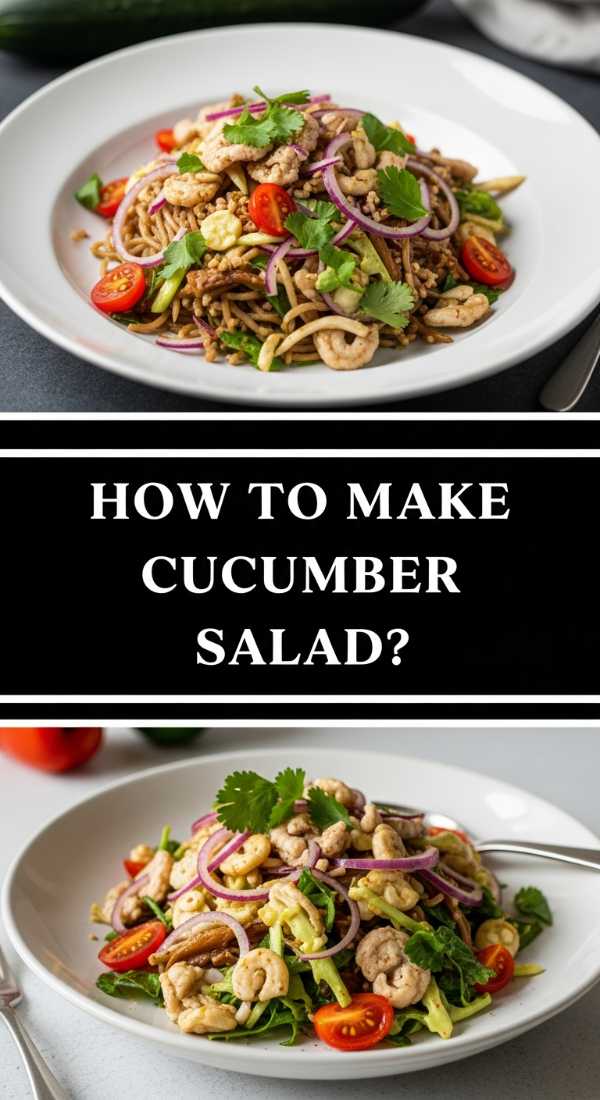
How to make cucumber salad?

Why we love this
Cucumber salad is the unsung hero of the summer board, providing a cool, hydrating contrast to grilled meats and spicy dips. We love the ‘smashed’ technique because it creates jagged edges and crannies that soak up the dressing far better than smooth slices ever could. Each bite is an explosion of rice vinegar tang, the subtle heat of chili flakes, and the cooling crunch of the cucumber. It’s a sensory experience that cleanses the palate and keeps you reaching for more, looking effortlessly chic with its translucent green hues.
Ingredients
- 4 Persian cucumbers
- 2 tbsp rice vinegar
- 1 tsp toasted sesame oil
- 1 tsp honey
- 1 clove garlic, minced
- Toasted sesame seeds and red chili flakes
How to make it
- Place the cucumbers on a cutting board and use the flat side of a heavy chef’s knife to firmly whack them until they split and crack open; this ‘smashing’ technique is a professional secret for creating more surface area for the dressing to cling to.
- Tear or slice the smashed cucumbers into bite-sized chunks and place them in a colander with a pinch of salt for 10 minutes to draw out excess moisture, ensuring your salad stays crunchy rather than watery.
- In a small jar, whisk together the rice vinegar, sesame oil, honey, and minced garlic until the honey is fully dissolved and the dressing is emulsified.
- Pat the cucumbers dry, arrange them on a shallow board or platter, pour the dressing over them, and garnish with a heavy sprinkle of toasted sesame seeds and chili flakes for a pop of texture and heat.
How to bake summer desserts?

Why we love this
Baking in the summer should be an homage to the harvest, focusing on stone fruits and berries that are so sweet they barely need extra sugar. We love a dessert board featuring a rustic galette or crumble because it’s intentionally imperfect and incredibly inviting. The smell of buttery pastry browning in the oven combined with the scent of bubbling fruit filling is the ultimate comfort. Served warm on a board with a side of melting vanilla bean ice cream, it becomes an interactive experience where everyone scoops up their own slice of summer bliss.
Ingredients
- 1 store-bought or homemade pie crust
- 4 cups mixed berries or sliced stone fruit
- 1/4 cup sugar + 1 tbsp for sprinkling
- 1 tbsp cornstarch
- 1 egg (for wash)
- Vanilla bean ice cream for serving
How to make it
- Preheat your oven to 400°F and line a baking sheet with parchment paper; roll out your chilled dough into a rough circle—don’t worry about perfect edges, as the rustic look is part of the charm.
- Toss your fruit with the 1/4 cup of sugar and cornstarch; the cornstarch is crucial as it thickens the fruit juices into a glossy sauce that won’t make the bottom crust soggy.
- Pile the fruit in the center of the dough, leaving a two-inch border, then fold the edges inward, overlapping them slightly to create a beautiful, hand-formed crust.
- Brush the edges with a beaten egg wash and sprinkle with coarse sugar; bake for 25-30 minutes until the crust is a deep golden brown and the fruit is bubbling vigorously, then slide the parchment onto a wooden board and serve with big scoops of ice cream.
How to make summer drinks?

Why we love this
A drink board—or a DIY beverage station—is the most viral way to hydrate this season. We love this because it turns a simple glass of water or tea into a customizable work of art. The sight of clear glass dispensers filled with floating citrus wheels, sprigs of mint, and frozen berries is instantly cooling. It encourages guests to experiment with flavors, and the aroma of muddled herbs and fresh-squeezed lime provides a sensory lift that is as refreshing to the nose as it is to the palate.
Ingredients
- 1 gallon chilled sparkling water or iced green tea
- 2 lemons and 2 limes, sliced into wheels
- 1 cup fresh raspberries
- 1 bunch fresh mint leaves
- Honey or simple syrup on the side
- Lots of ice
How to make it
- Prepare your ‘flavor base’ by slicing citrus and washing berries; for a more intense flavor, lightly muddle a few mint leaves at the bottom of your serving glasses to release their essential oils.
- Fill a large glass dispenser or several beautiful carafes with your chosen base liquid, ensuring it is thoroughly chilled before you begin assembly.
- Create a ‘garnish board’ next to the drinks: arrange the citrus wheels in fans, put berries in small ceramic bowls, and place mint sprigs in a small vase of water to keep them from wilting.
- Provide a bowl of high-quality ice (clear ice or fruit-infused cubes work best) and encourage guests to build their drinks by layering the fruit and herbs before pouring the liquid over the top, finishing with a stir and a drizzle of sweetener if desired.
How to grill summer kabobs?
Why we love this
Kabobs are the quintessential finger food for a summer board, offering a perfect ratio of charred protein to tender-crisp vegetables. We love them because they are naturally portioned and incredibly colorful, making them a visual standout on any spread. The smokiness from the grill permeates the meat while the peppers and onions develop a sweet, charred exterior that is irresistible. Holding a warm skewer while chatting with friends captures the very essence of relaxed, outdoor living.
Ingredients
- 1.5 lbs sirloin steak or chicken breast, cubed
- 2 bell peppers, cut into chunks
- 1 red onion, wedged
- 1 cup pineapple chunks
- Balsamic-soy marinade
- Wooden or metal skewers
How to make it
- If using wooden skewers, soak them in water for at least 30 minutes to prevent them from catching fire on the grill; meanwhile, marinate your meat cubes for at least an hour to ensure they stay tender and flavorful under high heat.
- Thread the skewers, alternating between meat, pepper, onion, and pineapple; ensure the pieces are touching but not packed too tightly, which allows the hot air to circulate and cook everything evenly.
- Clean and oil your grill grates thoroughly, then place the skewers over medium-high heat (about 400°F); grill for about 3-4 minutes per side, turning carefully with tongs until the meat is cooked through and the vegetables have charred edges.
- Remove from the grill and let them rest for 5 minutes so the juices redistribute; arrange them in a starburst pattern on a large board, garnished with extra lime wedges for a final hit of acid that cuts through the smoky char.
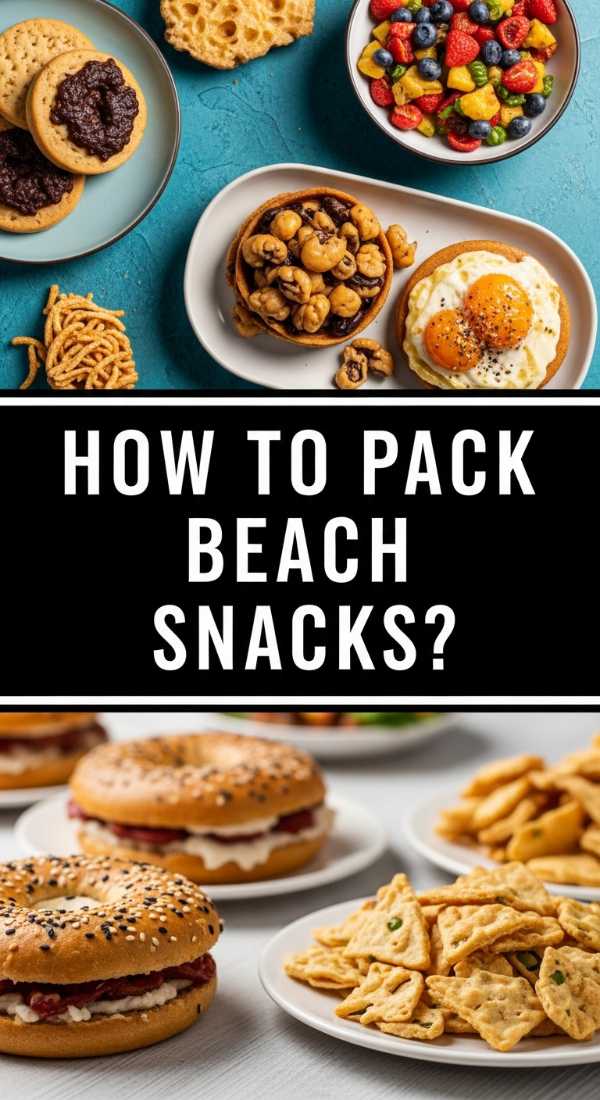
How to pack beach snacks?
[IMAGE_10]
Why we love this
Packing for the beach usually means soggy sandwiches, but the ‘Snackle Box’ or beach board has changed the game. We love this because it keeps everything organized, sand-free, and perfectly chilled. There is a deep satisfaction in opening a container to find a rainbow of bite-sized treats—salty nuts, sweet grapes, and crunchy pretzels—all tucked into their own compartments. It’s the ultimate way to fuel a day of sun and surf without the mess, making the beach experience feel elevated and intentional.
Ingredients
- Multi-compartment airtight container
- Grapes or frozen blueberries
- Hard cheeses (cheddar or gouda)
- Dry roasted almonds or pistachios
- Small pretzels or crackers
- Dried apricots or jerky
How to make it
- Choose a container with a very tight-fitting lid to ensure no sand can find its way in; a plastic tackle-style box with adjustable dividers is the professional choice for a viral ‘snackle’ look.
- Place heavier, moisture-resistant items like nuts, jerky, and dried fruits in the bottom or center compartments to act as anchors for the board.
- Cut your cheeses into cubes or thick slices that won’t sweat or crumble easily, and pair them next to the crackers; if you are worried about sogginess, place crackers in a small silicone cupcake liner within the compartment.
- Fill the remaining spots with ‘wet’ fruits like grapes or berries, but ensure they are patted completely dry before packing; for an extra cooling treat, freeze your grapes overnight before packing—they act as delicious, edible ice packs that keep the rest of the board cool until you’re ready to graze.
The Art of the Effortless Summer
At the end of the day, these viral boards are about more than just food—they are about a feeling. They represent a shift toward a slower, more intentional way of hosting where the pressure to be perfect is replaced by the joy of being present. When you set out a board, you’re telling your guests that they are welcome to linger, to try a bit of everything, and to make themselves at home. So grab a board, gather your favorite seasonal ingredients, and let the summer do the rest of the work. Happy grazing!