

There is something undeniably magical about the way a beautifully arranged food board brings people together. Whether it is a sun-drenched afternoon on the patio or a cozy evening gathering in the kitchen, the ‘board’ trend has evolved from simple cheese and crackers into a full-blown culinary art form that celebrates abundance and community. I have spent countless hours experimenting with textures and flavors to find those perfect, viral-worthy combinations that stop guests in their tracks and make hosting feel like a breeze.
Lately, I have been leaning into the effortless vibe of summer hosting, where the food is fresh, the colors are vibrant, and the prep is minimal. These hacks are not just about the food itself; they are about creating an experience that feels intentional and warm. From the sizzling sound of a hot dip to the refreshing crunch of a chilled salad, these board-style ideas are designed to engage all your senses and leave everyone reaching for ‘just one more bite.’ Let’s dive into the viral hacks that are redefining my summer table.
The Ultimate Creamy Rotel Dip Hack

Why we love this
This dip is the quintessential crowd-pleaser, offering a nostalgic, velvety texture that feels like a warm hug for your taste buds. As it melts, the aroma of savory browned meat mixes with the zesty, sharp scent of green chiles, creating an irresistible invitation to dive in. The way the golden, gooey cheese clings to a salty tortilla chip provides a satisfying contrast that is both rich and spicy, making it the perfect centerpiece for a savory snack board that disappears in minutes.
Ingredients
- 1 lb Ground Beef or Hot Sausage
- 1 block (16 oz) Velveeta or Processed Cheese, cubed
- 2 cans (10 oz each) RoTel Diced Tomatoes and Green Chiles
- 1 tsp Garlic Powder
- 1/2 tsp Cumin
- Fresh Cilantro for garnish
- Tortilla chips for serving
How to make it
- Begin by placing a large skillet over medium-high heat. Add your ground beef or sausage, breaking it apart with a wooden spoon into small crumbles. Cook for 7-9 minutes until no pink remains and the meat has developed a deep, caramelized brown color for maximum flavor. Drain the excess fat thoroughly to ensure the dip stays smooth and not oily.
- Reduce the heat to low and add the cubed cheese to the skillet. It is vital to keep the heat low here; high heat can cause the cheese to grain or separate. Stir constantly as the cubes begin to soften and transform into a liquid gold consistency.
- Pour in both cans of RoTel. Do not drain the cans! The liquid from the tomatoes and chiles is essential for achieving that iconic, pourable texture. Stir in the garlic powder and cumin, ensuring the spices are evenly distributed throughout the mixture.
- Continue to simmer on low for another 5-10 minutes, stirring occasionally. You are looking for a perfectly homogenous, silky texture where the cheese and tomato juices have fully emulsified. If the dip feels too thick, add a splash of whole milk or heavy cream.
- Transfer the dip to a small slow cooker on the ‘warm’ setting or a pre-heated ceramic bowl. Garnish with a handful of fresh, chopped cilantro and serve immediately in the center of a large board surrounded by heaps of crispy chips.
The Garden Host’s Hummingbird Food Secret

Why we love this
While not for us to eat, adding a hummingbird feeder to your outdoor dining area is the ultimate lifestyle hack for creating a vibrant, living backdrop. There is a serene beauty in watching these tiny, iridescent creatures dart through the air, their wings humming a gentle rhythm that complements the sound of laughter at the table. This simple sugar water recipe ensures your garden becomes a sanctuary, filling the space with movement and the sweet, delicate energy of nature that delights guests of all ages.
Ingredients
- 1 cup Granulated White Sugar
- 4 cups Filtered Water
- Glass Hummingbird Feeder
- Small pot
How to make it
- Measure out 4 cups of filtered water and pour it into a clean saucepan. Place the pan over high heat and bring the water to a rolling boil. Boiling the water is a critical step as it helps neutralize any impurities and ensures the sugar dissolves completely for a clear solution.
- Once the water is boiling, stir in 1 cup of granulated white sugar. Use a whisk to stir vigorously until the water becomes perfectly clear again and no sugar crystals are visible at the bottom. This 1:4 ratio mimics the natural nectar found in flowers and is safest for the birds’ digestion.
- Remove the pan from the heat immediately. Never add red dye or food coloring, as this can be harmful to the hummingbirds’ health; the red accents on the feeder itself are enough to attract them.
- Allow the mixture to cool completely to room temperature. This is non-negotiable, as hot liquid can warp plastic feeders or harm the birds. You can speed this up by placing the pot in an ice bath if you are in a hurry.
- Once cool, fill your clean feeder and hang it in a shaded area near your outdoor seating. Store any extra nectar in a sealed glass jar in the refrigerator for up to two weeks, ensuring you have a fresh supply ready to go.
The Refreshing Zesty Summer Pasta Board
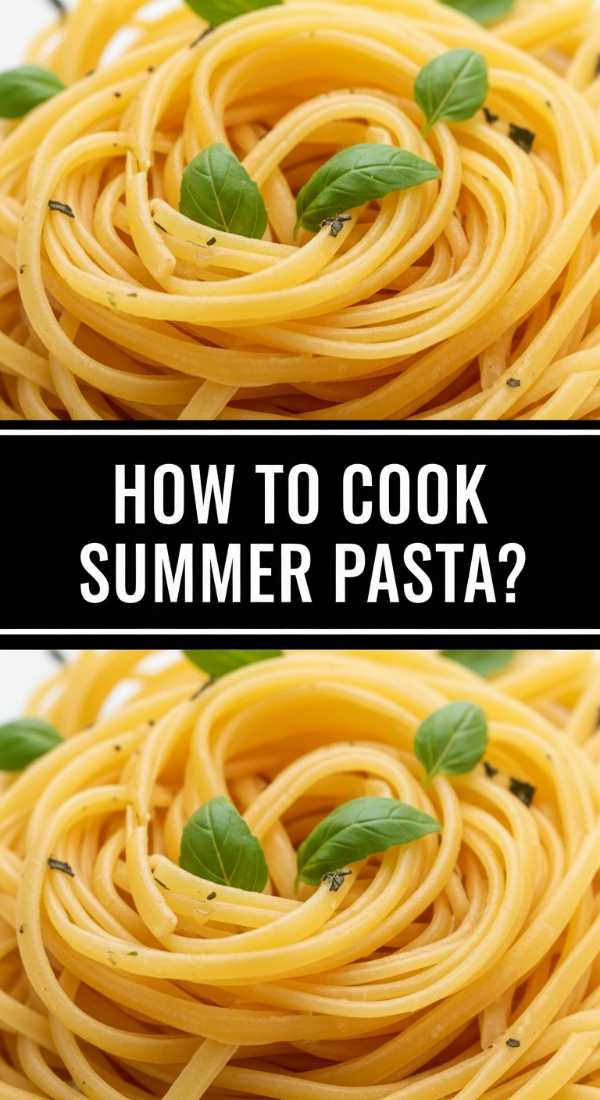
Why we love this
This summer pasta is the definition of sunshine on a plate, featuring a bright, citrusy profile that feels incredibly light despite its satisfying heartiness. The aroma of freshly torn basil leaves hitting warm noodles is intoxicating, while the zing of lemon zest cuts through the richness of high-quality olive oil. Each forkful offers a medley of textures—from the tender pasta to the slight crunch of toasted pine nuts—making it a sophisticated addition to a Mediterranean-style grazing board.
Ingredients
- 1 lb Linguine or Angel Hair pasta
- 1/4 cup Extra Virgin Olive Oil
- 3 cloves Garlic, thinly sliced
- 2 large Lemons (zest and juice)
- 1/2 cup Grated Parmesan Cheese
- 1 bunch Fresh Basil
- Red pepper flakes
How to make it
- Bring a large pot of heavily salted water to a boil. Use at least 2 tablespoons of salt; the water should taste like the sea to properly season the pasta from the inside out. Add the pasta and cook until it is ‘al dente’—usually 1-2 minutes less than the package instructions suggest—as it will finish cooking in the sauce.
- While the pasta boils, heat the olive oil in a wide skillet over medium-low heat. Add the thinly sliced garlic and a pinch of red pepper flakes. Sauté gently for 3-4 minutes until the garlic is fragrant and translucent, but be careful not to let it brown, which can introduce a bitter taste.
- Before draining the pasta, reserve exactly 1 cup of the starchy pasta water. This ‘liquid gold’ is the secret to a silky sauce that clings to every strand. Drain the pasta and immediately transfer it into the skillet with the garlic oil.
- Pour in the lemon juice and half of the reserved pasta water. Increase the heat to medium and toss the pasta vigorously with tongs. The agitation helps the starch and oil emulsify into a light, creamy coating. If it looks dry, add more pasta water a tablespoon at a time.
- Remove from heat and fold in the lemon zest, grated Parmesan, and a generous handful of torn basil. Serve the pasta in a low, wide bowl nestled on a board alongside crusty bread and roasted tomatoes for a stunning visual display.
The Viral Crisp Cucumber Salad
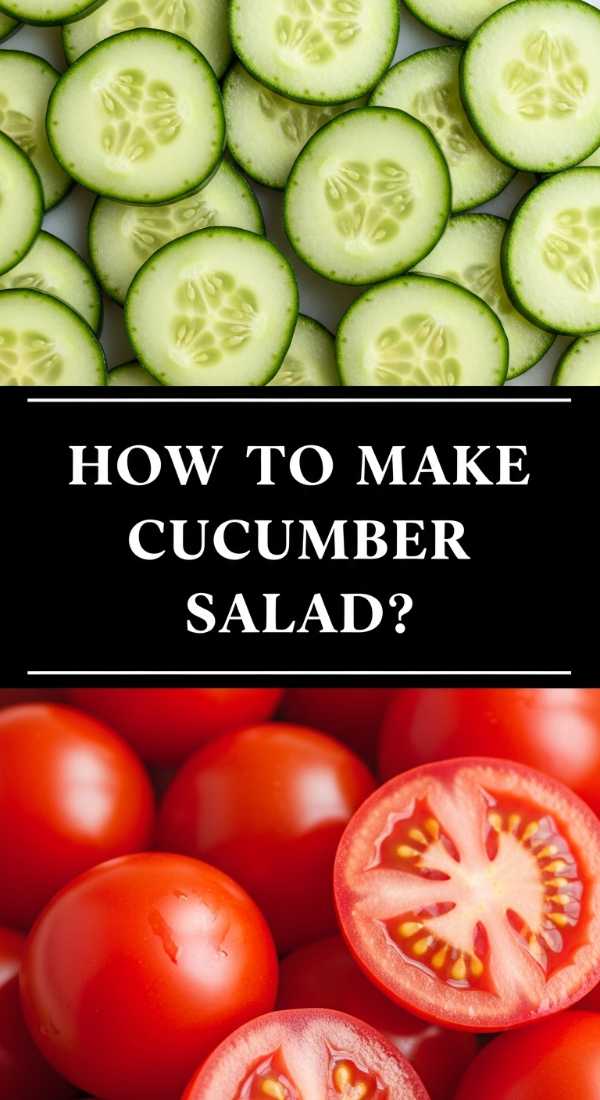
Why we love this
There is nothing more refreshing on a sweltering day than the cool, crisp snap of a perfectly chilled cucumber salad. This dish is a sensory delight, combining the watery crunch of thin cucumber slices with the sharp, acidic tang of rice vinegar and the earthy punch of fresh dill. The vibrant green hues look stunning against a white platter, and the light, clean scent of the dressing acts as a palate cleanser, making it the ideal sidekick for heavier grilled items on your food board.
Ingredients
- 3 English Cucumbers, thinly sliced
- 1/2 Red Onion, paper-thin half-moons
- 1/2 cup Rice Vinegar
- 2 tbsp Honey or Sugar
- 1/4 cup Fresh Dill, chopped
- Salt and cracked Black Pepper
How to make it
- Using a mandoline or a very sharp chef’s knife, slice the English cucumbers into paper-thin rounds. Using English cucumbers is preferred because their skin is thin and their seeds are minimal, providing a much better texture than standard field cucumbers.
- Place the sliced cucumbers in a colander and sprinkle with a teaspoon of salt. Let them sit for about 15 minutes. This ‘sweating’ process draws out excess moisture, ensuring your salad stays crunchy and the dressing doesn’t become watered down. Pat them dry with a clean kitchen towel afterward.
- In a small glass bowl, whisk together the rice vinegar, honey, and a generous amount of cracked black pepper. Whisk until the honey is completely dissolved. The rice vinegar provides a softer acidity than white vinegar, which complements the delicate cucumbers perfectly.
- In a large mixing bowl, combine the dried cucumber slices, the thinly sliced red onion, and the fresh dill. Pour the dressing over the vegetables and toss gently with your hands or large spoons to ensure every slice is coated.
- For the best flavor, let the salad marinate in the refrigerator for at least 30 minutes before serving. This allows the onions to mellow and the cucumbers to soak up the zesty brine. Serve it in a shallow bowl on your board to catch all those delicious juices.
Efficiency Hack: Summer Meal Prep Mastery
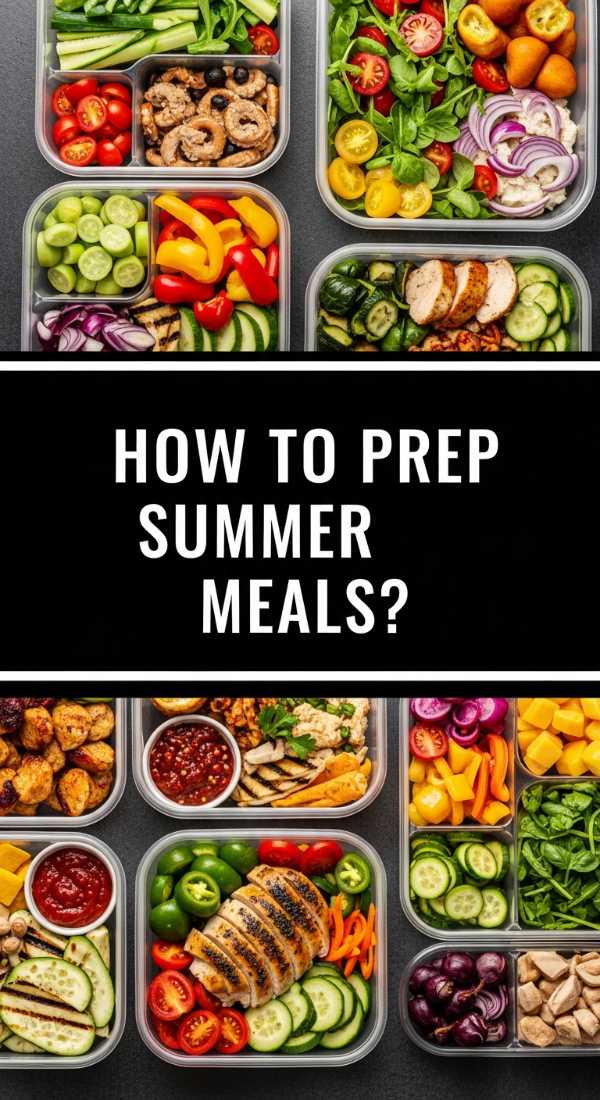
Why we love this
Mastering summer meal prep is the ultimate gift to your future self, allowing you to spend less time in a hot kitchen and more time enjoying the sunset. The beauty of this hack lies in the organized, colorful rows of glass containers that promise a week of healthy, vibrant eating without the daily stress of ‘what’s for dinner?’ The aroma of pre-roasted vegetables and the sight of freshly washed berries ready to grab make the whole process feel like a luxurious act of self-care rather than a chore.
Ingredients
- 4-5 lbs Mixed Proteins (Chicken breast, Shrimp, Tofu)
- Large batch of Quinoa or Brown Rice
- Assorted seasonal veggies (Bell peppers, Zucchini, Asparagus)
- 3-4 Homemade Vinaigrettes
- Glass airtight containers
How to make it
- Start by preheating your oven to 400°F (200°C). Prepare two large sheet pans with parchment paper. On one pan, toss your chopped seasonal vegetables with olive oil, salt, and pepper. Roast for 20-25 minutes until the edges are slightly charred and tender, which brings out their natural sweetness.
- On the second pan, arrange your chosen proteins. If using chicken, ensure they are even in thickness for uniform cooking. Season liberally with a versatile rub like lemon-herb or garlic-paprika. Roast until the internal temperature reaches 165°F for chicken or until shrimp are opaque and pink.
- While the oven does the work, cook a large pot of your base grain (quinoa or rice) using vegetable broth instead of water for extra depth of flavor. Once cooked, fluff with a fork and let it cool completely; storing warm grains can lead to sogginess and faster spoilage.
- The ‘Mason Jar’ Layering Trick: For salads, always put the dressing at the very bottom, followed by hard vegetables (carrots, chickpeas), then grains, then proteins, and finally the leafy greens on top. This specific order keeps the greens from touching the dressing, ensuring they stay crisp for up to 4 days.
- Portion everything into your glass containers. Keep one container ‘deconstructed’ on a board for a DIY lunch assembly when you’re working from home. Label everything with dates and store in the coldest part of your fridge for a stress-free week of gourmet summer eating.
Sizzling Summer Kabobs Board Hack
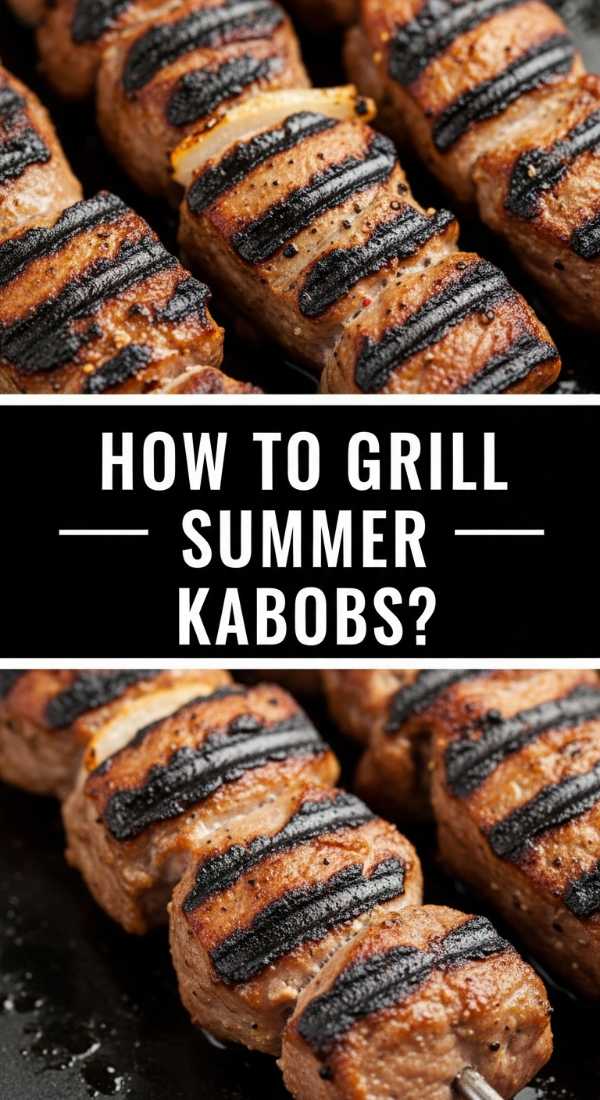
Why we love this
There is an inherent playfulness to kabobs that turns a standard dinner into an interactive feast, especially when served on a giant wooden board. The smell of charred meat and caramelized onions wafting from the grill is the quintessential scent of summer, evoking memories of backyard parties and bare feet in the grass. The smoky, tender texture of the grilled protein paired with the juicy burst of a roasted cherry tomato creates a flavor explosion that is as fun to eat as it is beautiful to look at.
Ingredients
- 2 lbs Sirloin Steak or Chicken Thighs, cubed
- 1 Red Bell Pepper, 1 Green Bell Pepper
- 1 large Red Onion
- Whole Button Mushrooms
- Balsamic Glaze or Teriyaki Sauce
- Wooden or Metal Skewers
How to make it
- If using wooden skewers, soak them in cold water for at least 30 minutes prior to threading. This prevents them from catching fire or splintering on the grill. Cut your protein and vegetables into uniform 1.5-inch chunks to ensure they all cook at the same rate.
- Thread the ingredients onto the skewers, alternating between meat and vegetables. Pro tip: Don’t pack the pieces too tightly together. Leaving a tiny bit of space allows the heat to circulate around each piece, resulting in better browning and preventing ‘steaming.’
- Preheat your grill to medium-high (about 400°F). Lightly oil the grates using a brush or a rolled-up paper towel dipped in vegetable oil. Season the assembled kabobs with salt and pepper just before they hit the heat to keep the meat juicy.
- Place the kabobs on the grill. Let them sear undisturbed for 4-5 minutes per side. You want to see those distinct, dark grill marks which indicate the Maillard reaction—this is where the deep, savory flavor comes from. Use tongs to flip them carefully.
- In the final 2 minutes of cooking, brush your favorite glaze or sauce onto the kabobs. This prevents the sugars in the sauce from burning while still creating a sticky, delicious coating. Remove from heat, let rest for 3 minutes, and pile them high on a board garnished with grilled lemon halves.
The Ultimate Summer Dessert Board

Why we love this
A dessert board is the ultimate viral hack for people who want to wow their guests without spending hours baking a complicated cake. It’s a visual masterpiece of vibrant berries, creamy dips, and buttery shortbreads that invites everyone to graze and customize their perfect sweet bite. The scent of ripe strawberries and the sight of fluffy whipped cream are enough to make anyone feel like a kid again, making it the most photogenic and socially-shared part of any summer party.
Ingredients
- Fresh Berries (Strawberries, Blueberries, Raspberries)
- Sliced Stone Fruits (Peaches, Plums)
- Shortbread Cookies or Graham Crackers
- 1 tub Mascarpone or Sweetened Cream Cheese
- Honey and Crushed Pistachios
- Dark Chocolate pieces
How to make it
- Start with your ‘anchors’—these are usually small bowls containing dips or soft components. Place a bowl of whipped mascarpone (lightened with a bit of honey and vanilla) and a bowl of melted dark chocolate in the center or at opposite corners of a large round board.
- Wash and thoroughly dry all your fruit. Moisture is the enemy of a good dessert board, as it can make cookies soggy. Leave the stems on some strawberries for a rustic, organic look and slice the peaches into elegant wedges.
- Arrange the fruit in ‘rivers’ flowing around the bowls. Use the largest items first, like the peach slices and large strawberries, then fill in the gaps with smaller berries like blueberries and raspberries. This creates a sense of abundance and flow.
- Nestle your ‘vessels’—the cookies and crackers—into the remaining spaces. Fan out shortbread cookies so they are easy to grab. Add a few sprigs of fresh mint between the fruit for a pop of bright green color and a refreshing aroma.
- For the final touch, drizzle a little extra honey over the mascarpone and sprinkle with crushed pistachios. This adds a professional, ‘viral-style’ finish that provides a necessary crunch. Set it in the middle of the table and watch your guests’ eyes light up!
Picnic Sides: The Portable Board Hack
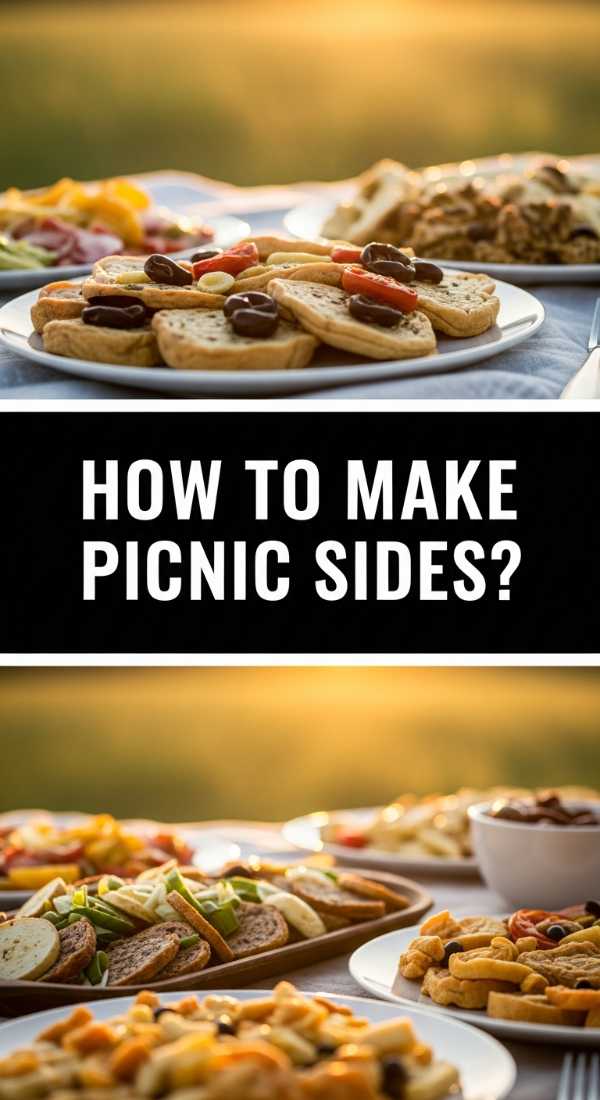
Why we love this
Taking the board concept on the road for a picnic requires a bit of strategy, but the payoff is a chic, alfresco dining experience that feels much more elevated than standard sandwiches. These sides are designed to be sturdy, flavorful, and beautiful even after a short trip to the park. The cool, creamy texture of a classic potato salad mixed with the snap of fresh corn creates a comforting, rustic vibe that perfectly complements the sound of wind in the trees and the relaxation of a day outdoors.
Ingredients
- 2 lbs Baby Potatoes, halved
- 3 ears of Corn, shucked
- 1/2 cup Mayonnaise or Greek Yogurt
- 1 tbsp Dijon Mustard
- Fresh Chives and Parsley
- Smoked Paprika
How to make it
- Place the halved baby potatoes in a large pot of cold, salted water. Bring to a boil and cook for 10-12 minutes until fork-tender. Pro tip: Always start potatoes in cold water to ensure the outside doesn’t turn to mush before the inside is cooked through. Drain and let them cool slightly.
- While the potatoes cook, char the corn. You can do this on a grill or directly over a gas stove flame for a few minutes until some kernels are blackened. This adds a smoky depth that elevates the entire side dish. Once cool, shear the kernels off the cob with a sharp knife.
- In a large bowl, whisk together the mayo (or yogurt for a lighter version), Dijon mustard, and a pinch of smoked paprika. The mustard provides a necessary ‘bite’ that cuts through the creaminess of the potatoes.
- Fold the warm potatoes and corn into the dressing. Doing this while the potatoes are still slightly warm allows them to absorb more of the flavor. Fold in a generous amount of chopped chives and parsley for freshness.
- To make this ‘board-style’ for a picnic, use a shallow, lidded wooden box or a sturdy tray. Place the salad in a central container and surround it with related picnic essentials like hard-boiled eggs, pickles, and artisanal crackers, ensuring everything is packed tightly so it doesn’t shift during transport.
Chilled Summer Soup: The Gazpacho Board

Why we love this
When the heat is truly on, a chilled summer soup board is the refreshing hack you didn’t know you needed. Gazpacho is a celebration of peak-season produce, blended into a vibrant, ruby-red soup that tastes like a garden in a glass. The cool, liquid texture is incredibly soothing, while the complex layers of garlic, vinegar, and sweet tomatoes dance on the tongue. Serving it with a variety of toppings on a board allows guests to customize their bowl, making it a fun and light dinner option.
Ingredients
- 3 lbs Ripe Tomatoes, cored
- 1 Red Bell Pepper, 1 Cucumber
- 2 cloves Garlic
- 1/4 cup Extra Virgin Olive Oil
- 2 tbsp Sherry Vinegar
- Toppings: Diced avocado, croutons, microgreens
How to make it
- Roughly chop your tomatoes, bell pepper, and cucumber. Place them in a high-powered blender. Add the garlic cloves, sherry vinegar, and a generous pinch of sea salt. The sherry vinegar is traditional and provides a complex, nutty acidity that is far superior to plain white vinegar.
- Blend on high until the mixture is completely smooth. While the blender is running on low, slowly drizzle in the extra virgin olive oil. This creates a stable emulsion, turning the soup from a watery juice into a creamy, luxurious velouté.
- For a truly viral-worthy, professional result, pass the blended soup through a fine-mesh sieve into a large glass pitcher. This removes any bits of skin or seeds, leaving you with a silky-smooth liquid that feels incredible on the palate.
- Chill the soup in the refrigerator for at least 4 hours—or better yet, overnight. Gazpacho must be served ice-cold to be truly refreshing. As it sits, the flavors of the garlic and vinegar will meld and mellow beautifully.
- To serve, place the pitcher of soup on a board surrounded by small bowls of toppings like diced avocado, toasted sourdough croutons, and fresh sprouts. Pour the soup into small glasses or bowls and let guests garnish their own for an interactive summer meal.
The One-Skillet Summer Dinner Hack
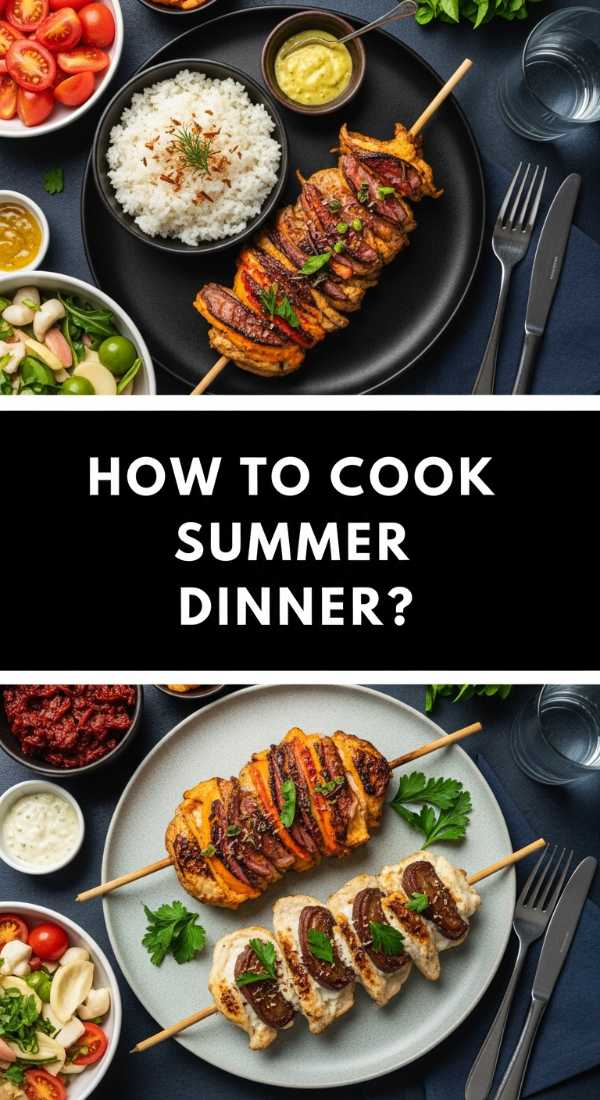
Why we love this
Nothing says ‘summer ease’ like a one-skillet dinner that transitions perfectly from the stove to a serving board. This dish focuses on high-quality ingredients treated simply—think succulent chicken or flaky fish nestled among blistered cherry tomatoes and tender asparagus. The sight of the vibrant juices mingling in the pan and the sound of the final sizzle create an atmosphere of rustic elegance. It is a hearty, wholesome meal that feels special enough for a Saturday night but is easy enough for a Tuesday.
Ingredients
- 1.5 lbs Chicken Thighs (skin-on) or Salmon Fillets
- 1 pint Cherry Tomatoes
- 1 bunch Asparagus, trimmed
- 4 cloves Garlic, smashed
- Fresh Thyme or Rosemary
- Lemon slices
How to make it
- Pat your protein completely dry with paper towels. This is the most important step for achieving a crispy skin; moisture is the enemy of browning. Season both sides generously with salt and pepper.
- Heat a large cast-iron skillet over medium-high heat with a tablespoon of high-heat oil (like avocado oil). Place the protein in the pan, skin-side down. Press down slightly with a spatula. Cook for 6-8 minutes without moving it until the skin is golden brown and releases easily from the pan.
- Flip the protein and immediately toss the cherry tomatoes, asparagus, and smashed garlic into the spaces around it. The vegetables will cook in the rendered fat from the protein, absorbing incredible flavor. Add a few sprigs of fresh thyme and lemon slices on top.
- Transfer the entire skillet into a preheated 400°F oven for 8-10 minutes. This finishes the cooking process gently, ensuring the meat stays juicy while the tomatoes burst and create a natural, jammy sauce in the bottom of the pan.
- To serve board-style, place the skillet directly onto a large wooden board (use a trivet!). Surround the skillet with a sliced baguette to soak up the pan juices and a big pile of dressed arugula. It’s a complete, stunning dinner served with zero fuss.
Conclusion: Embracing the Art of the Summer Board
As we have explored, the ‘food board’ is so much more than just a trend—it is a philosophy of hosting that prioritizes connection, variety, and visual joy. By taking these simple ingredients and applying a few viral techniques, you can transform a standard meal into a memorable event. Whether you are serving a sizzling skillet dinner or a chilled, refreshing gazpacho, the key is to lean into the abundance of the season and let the natural colors and textures do the heavy lifting. So, grab your favorite board, gather your loved ones, and start creating your own viral food moments this summer. Happy hosting!