
Make a Wish: Trending Birthday Nail Designs for Your Next Salon Visit
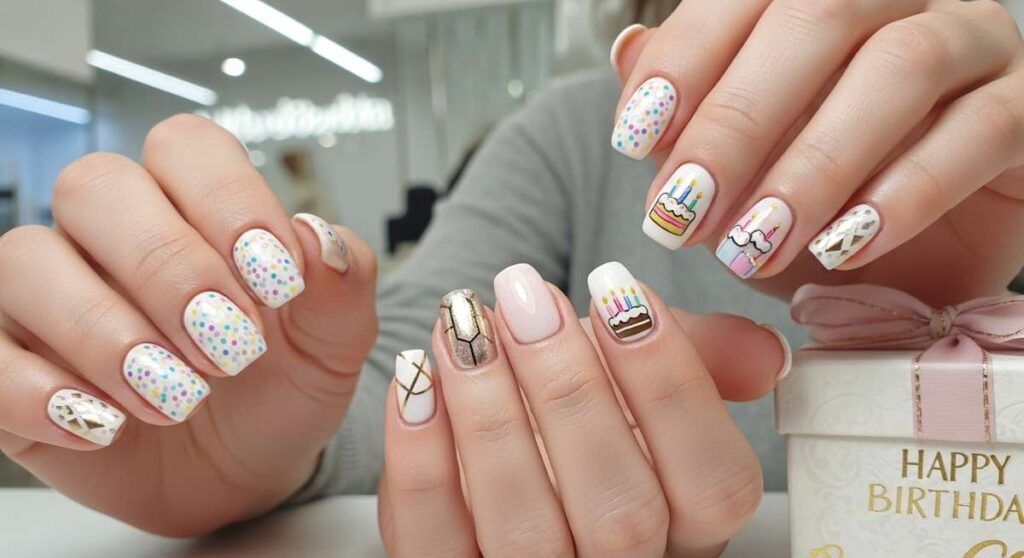
Hello, my absolute loves! Is there anything more magical than the countdown to your birthday? It’s that one day a year where the universe seems to give you a soft, warm hug, and you deserve to feel like the radiant queen you truly are. As your birthday approaches, I know your mind is racing with outfit ideas and party plans, but let’s talk about the ultimate accessory that ties it all together: your nails. Your hands are going to be holding champagne flutes, opening thoughtful gifts, and blowing out candles—they deserve their own moment in the spotlight.
Think of your birthday manicure as a little love letter to yourself. It’s a chance to manifest exactly how you want your new year to feel. Whether you’re craving the grounded energy of a Taurus season earth tone or the high-octane sparkle of a golden birthday, I’ve curated a list of the dreamiest designs trending right now. Let’s dive into these cloud-soft inspirations and find the set that makes your heart skip a beat.
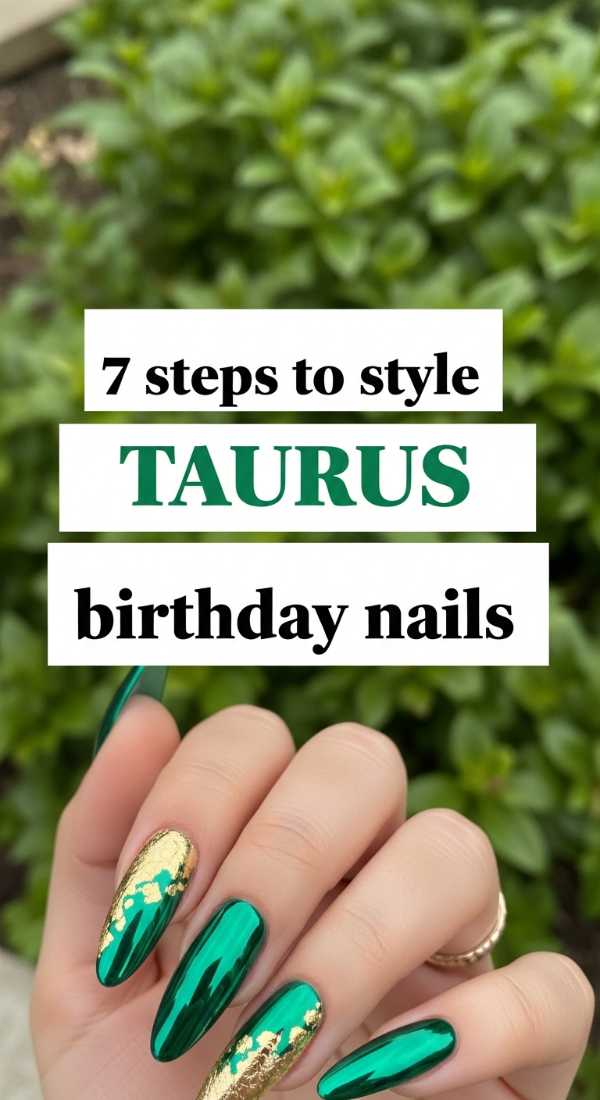
7 Steps to Style Taurus Birthday Nails
Why to love these Nails:
Taurus loves, these are for you—grounded, luxurious, and timelessly elegant. Earthy greens paired with rich gold accents reflect your steady nature and your appreciation for the finer things in life. It’s a look that feels like a walk through a sun-drenched forest.
Essential Items:
- Moss green gel polish
- Gold leaf foil flakes
- Fine detailing brush
- Nail buffer
- Non-wipe top coat
How to Prepare:
- Gently shape your nails into a soft almond or oval.
- Apply a transparent base coat to protect the natural nail.
- Paint two thin layers of moss green polish for a rich pigment.
- Using tweezers, carefully place gold leaf flakes near the cuticle or tip.
- Press the foil down gently with a silicone tool to ensure it’s flat.
- Apply a thick layer of top coat to encapsulate the texture.
- Finish with a nourishing lavender cuticle oil.
Budget Range
- OPI ‘Suited for Business’ Green – $11.49
- Makartt Gold Nail Foil Set – $8.99
- Beetles Gel Top Coat – $7.99
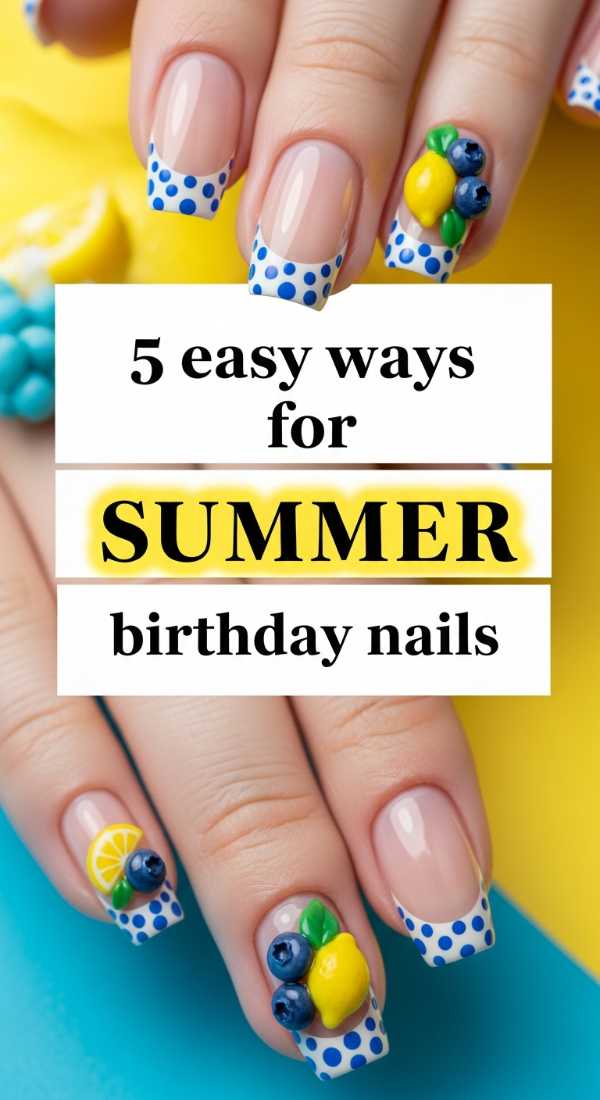
5 Easy Ways for Summer Birthday Nails
Why to love these Nails:
Summer birthdays are all about that sun-kissed glow and vibrant energy. These nails capture the essence of a beachside sunset, making your hands look bright, playful, and ready for a tropical getaway or a backyard pool party with your besties.
Essential Items:
- Neon coral or hot pink polish
- Daisy or hibiscus nail stickers
- High-gloss top coat
- Buffer block
How to Prepare:
- Shorten and square off your nails for a clean, sporty summer look.
- Apply a bright neon base color—two coats for maximum pop.
- Place a single flower sticker on the ring finger for a sweet accent.
- Seal everything with a high-shine top coat to reflect the summer sun.
- Massage in a coconut-scented lotion to keep skin glowing.
Budget Range
- Essie ‘Sizzling Hot’ – $10.00
- Moon Sugar Floral Decals – $6.50
- Sally Hansen Insta-Dri Top Coat – $5.99
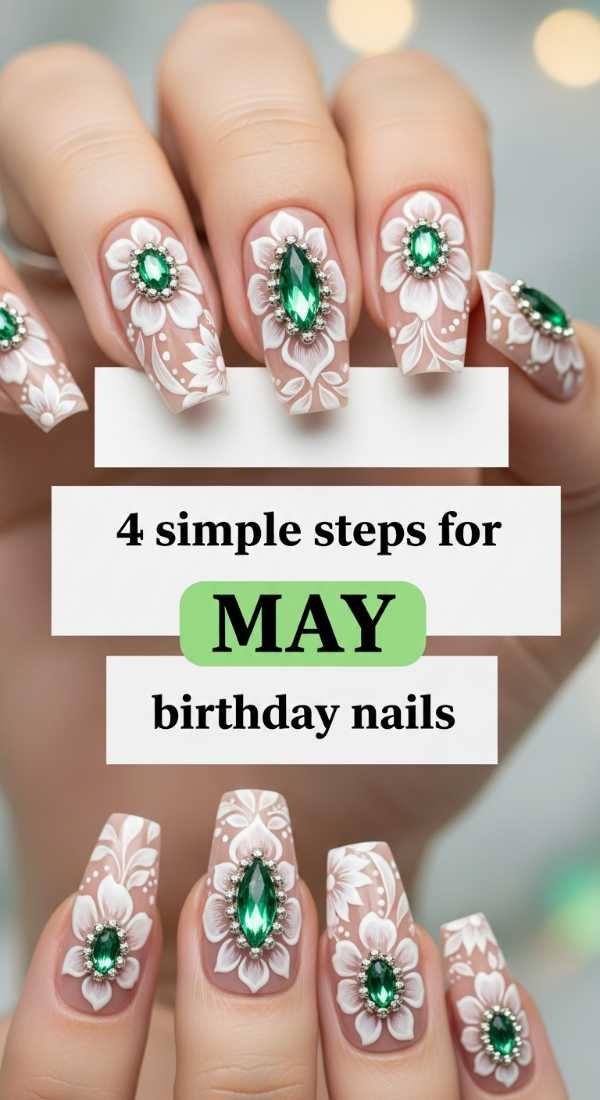
4 Simple Steps for May Birthday Nails
Why to love these Nails:
May is the heart of spring, and your nails should bloom just like the flowers outside. These designs lean into soft sages and delicate pearls, offering a sophisticated but ethereal vibe that feels like a fresh start for your new age.
Essential Items:
- Sage green or lilac polish
- Tiny flat-back pearls
- Nail glue
- Tweezers
How to Prepare:
- Apply a soft sage green base to all fingers.
- Use a tiny dot of nail glue to place a single pearl at the base of each nail.
- Wait for the glue to set completely before moving.
- Apply a clear top coat around the pearls to secure them without losing their luster.
Budget Range
- Zoya ‘Sage’ Polish – $12.00
- Mixed Pearl Nail Art Kit – $7.50
- Kupa Ultra Gloss – $15.00
6 Tips to Get Trendy Birthday Nails
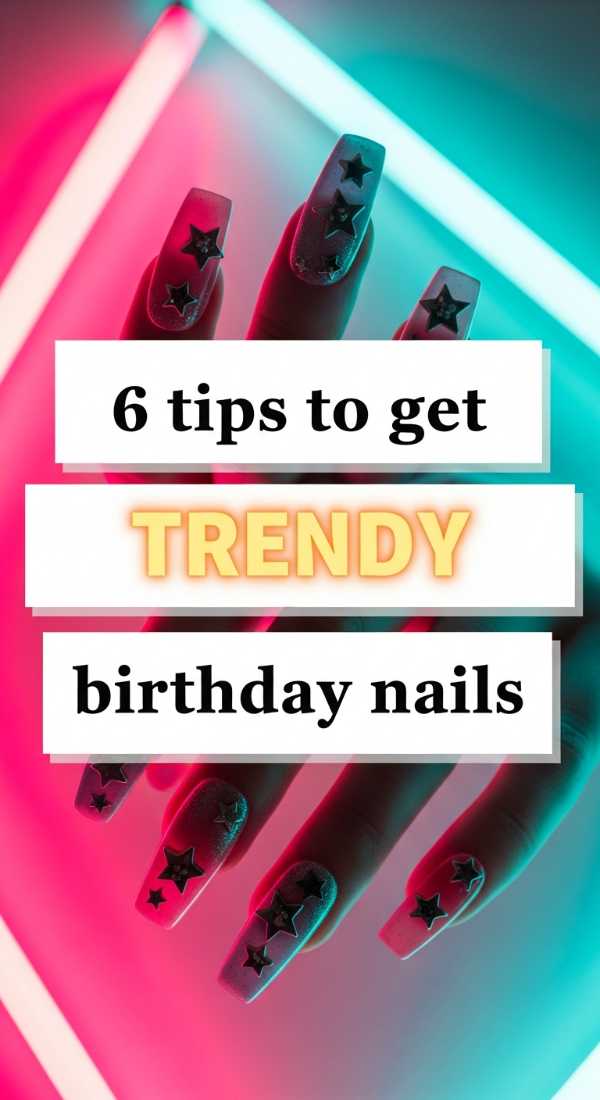
Why to love these Nails:
Staying ahead of the curve is a mood, and trendy birthday nails are all about mixing textures. Think velvet finishes and 3D ‘water droplets’ that make everyone ask, ‘Where did you get those done?’ It’s the ultimate cool-girl aesthetic.
Essential Items:
- Magnetic ‘Cat Eye’ polish
- Magnet wand
- Clear builder gel
- UV lamp
How to Prepare:
- Choose a deep velvet shade like burgundy or midnight blue.
- Apply the cat-eye polish and hold the magnet for 10 seconds to create depth.
- Cure under the UV lamp immediately to lock in the shimmer.
- Use a dotting tool with builder gel to create ‘water drops’ on the surface.
- Cure the droplets for a 3D effect.
- Avoid buffing the drops to keep them crystal clear.
Budget Range
- Mizhse Cat Eye Gel Kit – $16.99
- Saviland Builder Base Gel – $9.99
- SUNUV LED Nail Lamp – $24.99
8 Unique Birthday Nails Ideas to Try
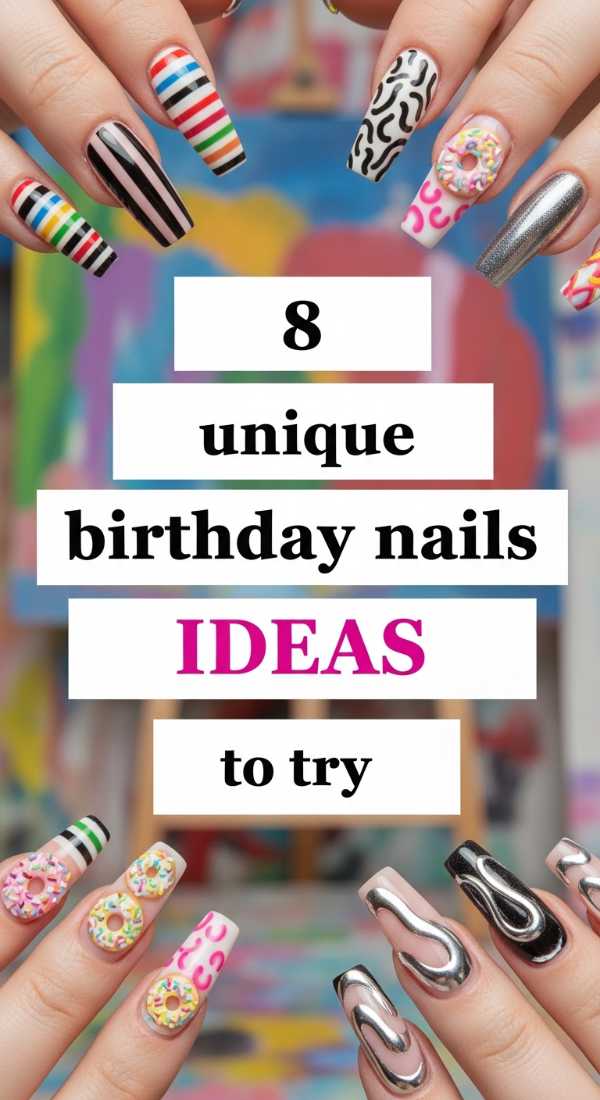
Why to love these Nails:
You aren’t like anyone else, so why should your nails be? This approach uses mismatched ‘aura’ designs and negative space to create a miniature art gallery on your fingertips. It’s expressive, bold, and entirely unique to your personality.
Essential Items:
- Sponge for gradient effects
- Assorted pastel polishes
- Black stripping tape
- Star-shaped glitter
How to Prepare:
- Start with a sheer nude base to create a ‘negative space’ look.
- Sponge a circular ‘aura’ of color in the center of the nail.
- Apply a single star glitter in the middle of the aura.
- Use stripping tape to create geometric borders on two nails.
- Paint a different pastel shade on each fingertip for a skittle effect.
- Add a matte top coat to one or two nails for texture contrast.
- Clean up edges with a brush dipped in acetone.
- Seal with a long-wear top coat.
Budget Range
- Holler and Glow Nail Stickers – $5.00
- Modelones Pastel Gel Set – $19.99
- Pure Acetone Clean Up – $4.00
5 Steps to Achieve Baddie Birthday Nails
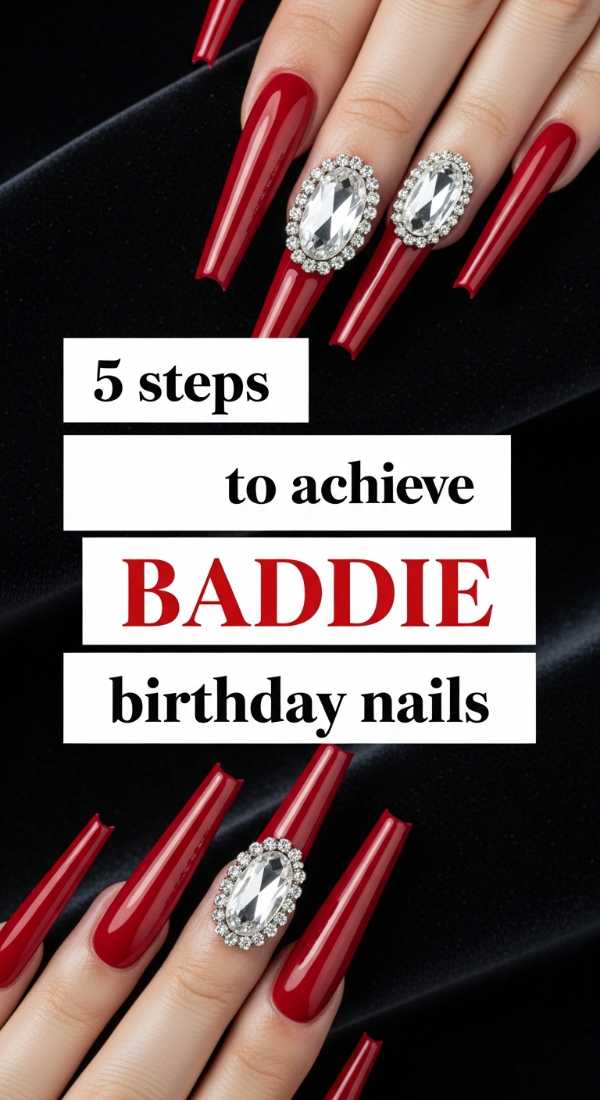
Why to love these Nails:
For my loves who want to walk into the room and own it, the baddie birthday look is a non-negotiable. It’s about length, drama, and luxury. These nails say you’re confident, powerful, and ready to celebrate in style.
Essential Items:
- Extra-long coffin nail tips
- Deep red or black polish
- Over-sized rhinestones
- Strong nail adhesive
How to Prepare:
- Apply and shape extra-long coffin tips.
- Paint with a high-pigment deep red for a classic ‘baddie’ look.
- Apply a cluster of rhinestones on the ring and thumb.
- Use a thick top coat to bridge the gap between gems and the nail.
- Cure thoroughly to ensure no stones are lost during the party.
Budget Range
- Aprés Gel-X Coffin Tips – $25.00
- Swarovski Nail Crystal Mix – $14.00
- IBD 5-Second Nail Glue – $6.00
3 Secrets to Perfect Golden Birthday Nails
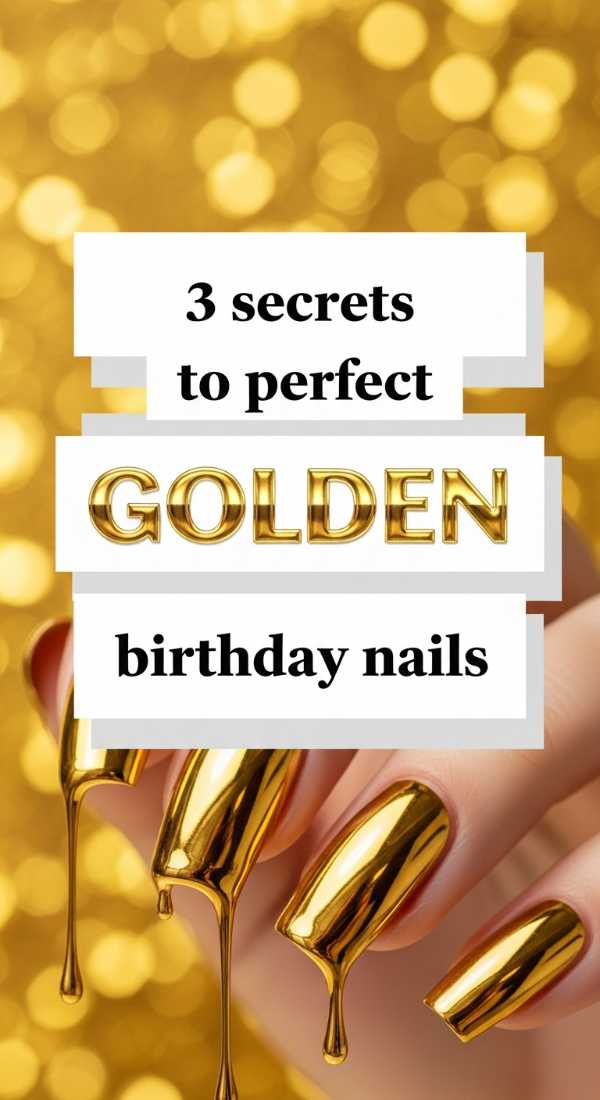
Why to love these Nails:
If you’re turning the age of the day you were born, it’s your Golden Birthday! This requires a level of shine that can be seen from space. These secrets will give you a mirror-like finish that looks like real molten gold.
Essential Items:
- Gold chrome powder
- Silicone applicator
- Non-wipe black gel polish
How to Prepare:
- Secret 1: Always use a black base color; it makes the gold chrome look deeper and more realistic.
- Secret 2: Apply a non-wipe top coat and cure for only 30 seconds so it’s still slightly ‘tacky’ for the powder.
- Secret 3: Rub the chrome powder in circular motions with a silicone tool until it turns into a mirror finish.
Budget Range
- Artdone Chrome Powder – $8.99
- Gelish Black Shadow Polish – $13.00
- Born Pretty No-Wipe Top Coat – $7.00
4 Ways to Design 3D Birthday Nails

Why to love these Nails:
3D nails are the ultimate conversation starter. They add a whimsical, tactile element to your birthday look. From cute heart charms to ‘jelly’ textures, this style is for the girl who loves to play with fashion and art.
Essential Items:
- 3D nail charms (bows or hearts)
- Solid nail glue
- Sheer ‘jelly’ polish
- Dotting tool
How to Prepare:
- Apply two coats of sheer jelly polish for a translucent, glass-like base.
- Apply a small bead of solid nail glue where you want your charm.
- Press the 3D charm (like a cute bow) into the glue and hold.
- Use a dotting tool to add tiny clear gel ‘bubbles’ around the charm for extra dimension.
Budget Range
- Daily Charme Bow Collection – $10.00
- Gaoy Jelly Gel Polish Set – $15.99
- Makartt Rhinestone Glue – $9.00
6 Steps to Metallic Birthday Nails
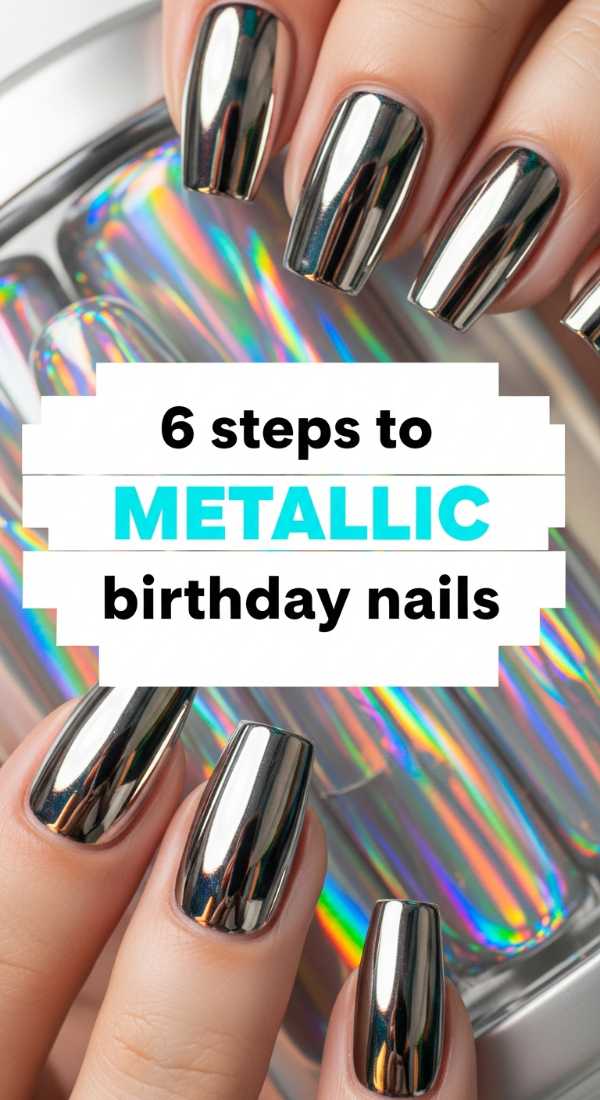
Why to love these Nails:
Metallic nails are sleek, futuristic, and incredibly chic. They offer a ‘cool girl’ edge that works perfectly with a minimalist birthday outfit. This silver-leaf inspired look is both edgy and sophisticated.
Essential Items:
- Silver metallic polish or foil
- Base coat
- Tweezers
- Smoothing tool
- Matte and Glossy top coats
How to Prepare:
- Apply a smoothing base coat to ensure a flat surface.
- Apply a silver metallic polish in thin, even strokes.
- If using foil, apply foil glue and wait until it turns clear.
- Press the metallic foil firmly across the entire nail.
- Peel back quickly for a solid metallic finish.
- Contrast the look by using a matte top coat on all nails except the ring finger.
Budget Range
- ILNP ‘Mega’ Silver Holo – $12.50
- Nail Foil Transfer Glue – $6.50
- OPI Matte Top Coat – $11.50
5 Ways to Glam Your Birthday Nails
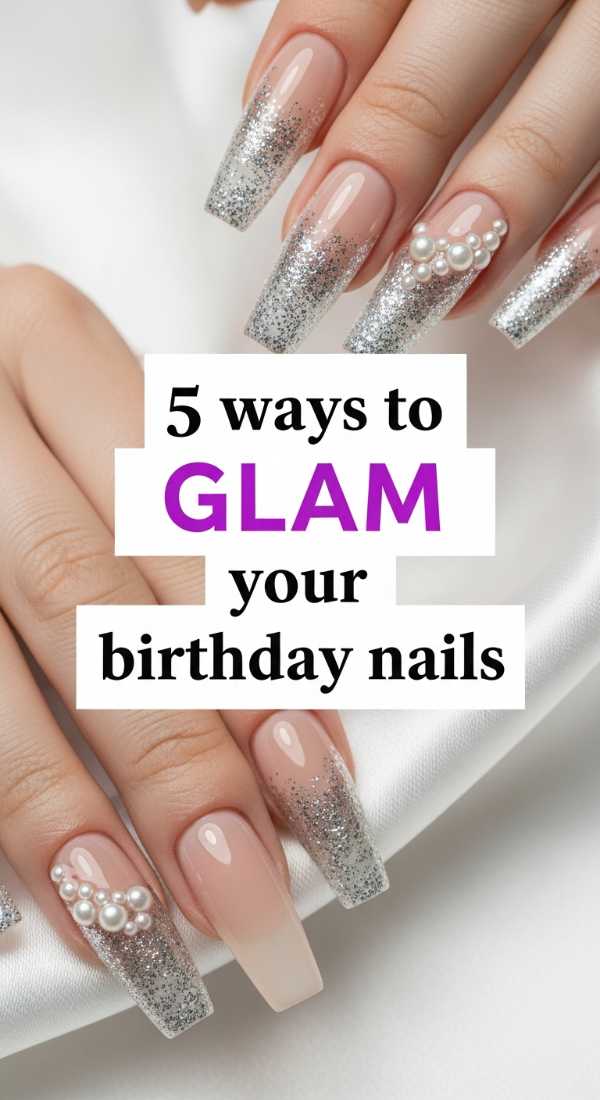
Why to love these Nails:
Sometimes, more is just more! Glam birthday nails are for the maximalists who love glitter gradients and Swarovski crystals. It’s about feeling like a Hollywood star on your special day, with every finger catching the light.
Essential Items:
- Loose holographic glitter
- Fine glitter polish
- Crystal pixie dust
- Tack-free top coat
How to Prepare:
- Apply a neutral pink base.
- Sponge fine glitter onto the tips, fading toward the middle for a gradient.
- Sprinkle loose holographic glitter over the wet polish for extra sparkle.
- Cover one accent nail completely in ‘crystal pixie’ dust for a textured diamond effect.
- Seal the gradients with two layers of top coat for a smooth-as-glass finish.
Budget Range
- Swarovski Crystal Pixie – $25.00
- Revlon ‘Chic’ Glitter Polish – $6.00
- Kiara Sky Non-Wipe Top Coat – $14.99
Go Forth and Sparkle, My Loves
Your birthday is a celebration of the incredible person you are and all the beauty you bring into the world. I hope these designs inspire you to treat yourself to that salon visit you’ve been dreaming of. Remember, the best part of any manicure is the confidence it gives you when you look down at your hands. Whether you chose the earthy Taurus tones or the high-glam glitter, wear them with pride. Happy birthday, sweets—may this year be your most beautiful one yet!
Frequently Asked Questions
How long will these birthday designs last?
Most of these designs, especially those using gel or builder gel, will last 2-3 weeks. If you’re using charms or heavy rhinestones, be a bit more careful when styling your hair or opening packages!
Should I get acrylics or gel for my birthday?
If you want extra length and drama (like the ‘baddie’ look), acrylics or Gel-X are your best friends. If you prefer a more natural feel with high shine, a gel manicure on your natural nails is perfect.
How far in advance should I book my salon appointment?
I always recommend booking 2-3 days before your actual birthday or party. This ensures they are fresh and chip-free for the big day, but gives you a little buffer time just in case!