
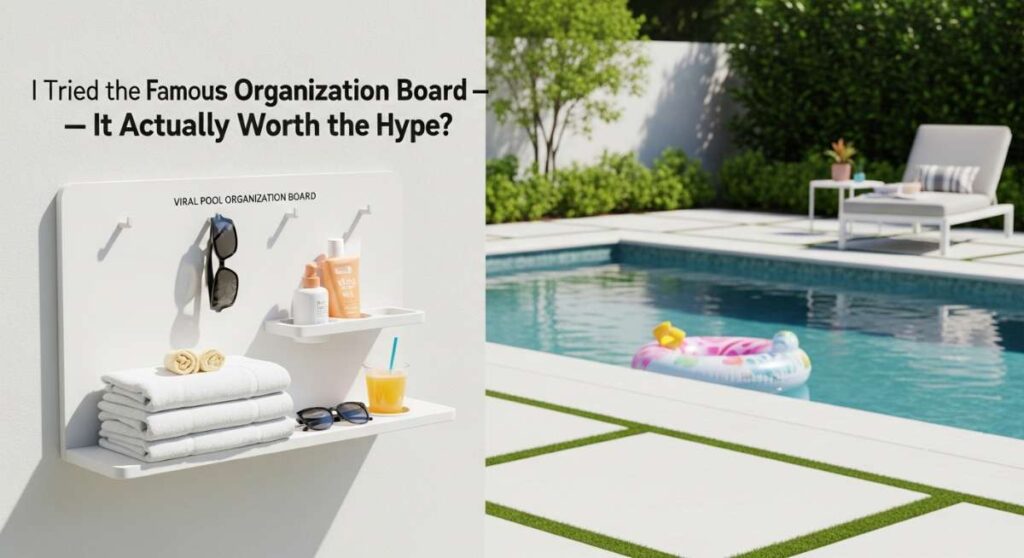
We have all been there: you step out onto your patio, ready to dive into the crystal-clear water, only to be met with a chaotic graveyard of deflated flamingos, soggy towels, and sunscreen bottles scattered like confetti. It was exactly this frustration that led me down the rabbit hole of the ‘Pool Organization Board’ that’s been blowing up on social media. I wanted that Pinterest-perfect backyard oasis, but I wasn’t sure if these elaborate setups were actually functional or just a lot of aesthetic fluff.
After spending a full weekend transforming my backyard from a cluttered mess into a streamlined sanctuary, I can finally share the truth. It’s not just about the look; it’s about the feeling of peace you get when everything has a home. There is a specific kind of magic that happens when you can find a fresh, dry towel in seconds or tuck away a massive inflatable without breaking a sweat, and today, I’m breaking down every single step of the famous board so you can recreate it too.
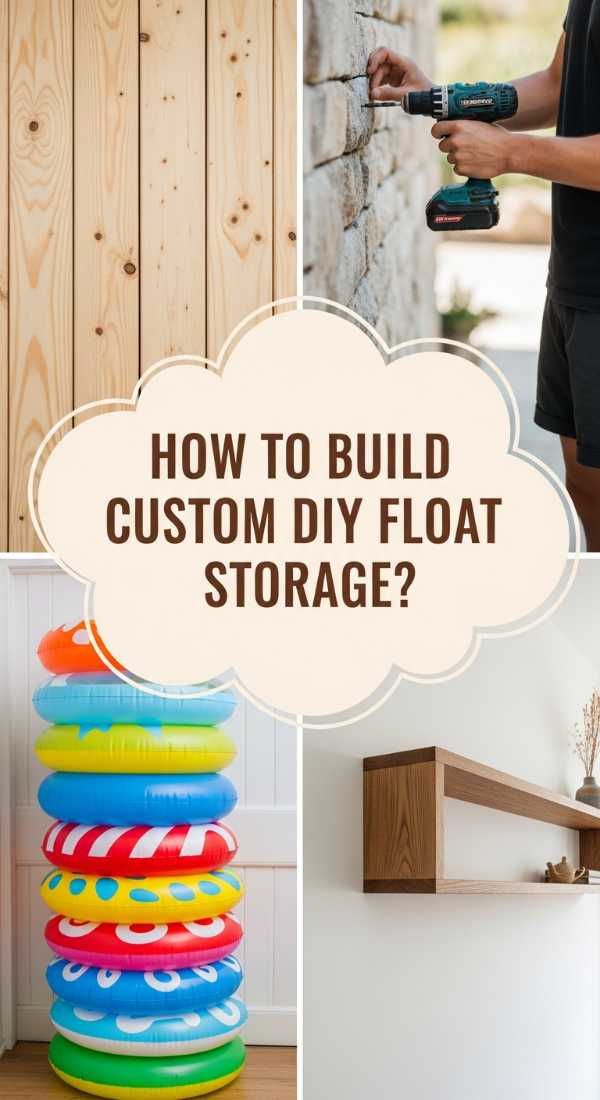
How to Build Custom Floating Shelves for Effortless Pool Float Storage
Why we love this
There is something incredibly satisfying about seeing oversized pool floats neatly tucked away rather than drifting aimlessly across the lawn. These floating shelves provide a sleek, minimalist silhouette that makes your pool area feel more like a high-end boutique hotel and less like a chaotic toy store. The smooth, weather-treated wood feels cool to the touch even in the midday sun, and the sight of colorful inflatables lined up like art pieces adds a vibrant pop of personality to your outdoor walls. It creates a sense of airy lightness that instantly upgrades the visual weight of your backyard fence or cabana wall.
Essential Elements:
- Pressure-treated cedar or redwood planks (2×10 size recommended)
- Heavy-duty L-brackets with a rust-proof powder coating
- Stainless steel outdoor wood screws
- Waterproof wood sealant or stain
- Level and power drill
How to make it
- Begin by measuring your largest pool floats to determine the depth and spacing of your shelves; typically, a 12-inch gap between shelves accommodates most standard rings.
- Sand your wood planks thoroughly to prevent splinters, focusing on the edges to create a soft, rounded finish that won’t puncture delicate vinyl floats.
- Apply two coats of high-quality waterproof sealant, allowing at least 4 hours of drying time between coats to ensure the wood is fully protected against splashes and humidity.
- Locate the studs in your wall or the support posts in your fence; use a level to mark perfectly straight horizontal lines where each bracket will sit.
- Secure the L-brackets to the wall using heavy-duty anchors, then place the wood planks on top and screw them into the brackets from the underside for a clean, ‘floating’ appearance.
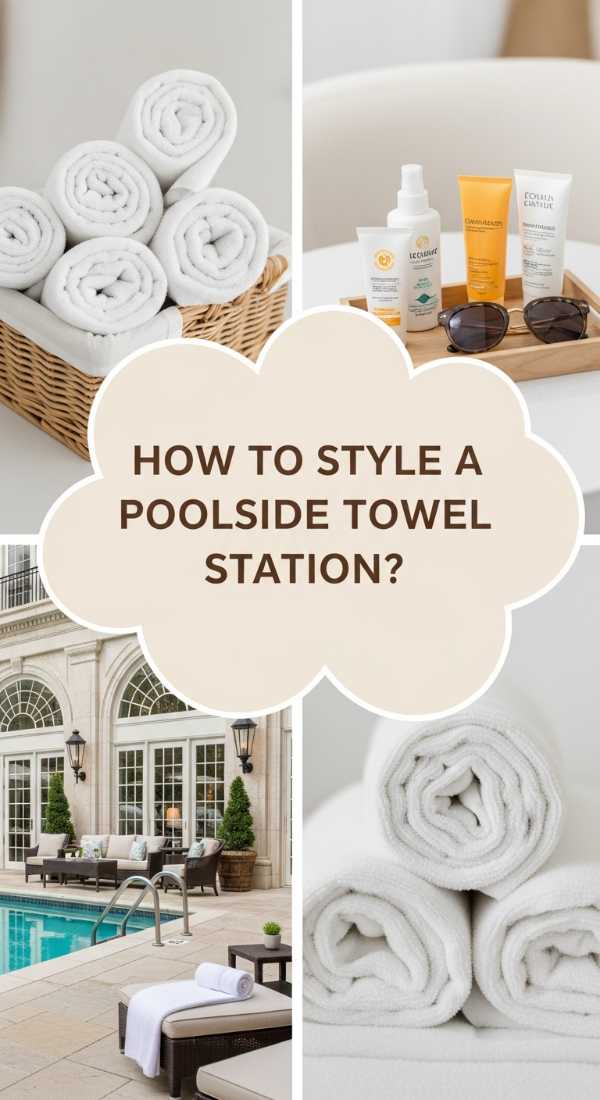
How to Curate a Stylish Towel Station for Ultimate Poolside Comfort
Why we love this
A dedicated towel station is the heart of poolside hospitality, offering a warm, tactile invitation to relax and stay a while. Imagine the scent of fresh cotton mingling with a hint of lavender or citrus from a nearby candle, creating a sensory experience that rivals a luxury spa. The visual appeal of neatly stacked, plush towels in a curated color palette brings a sense of order and intentionality to the deck. It’s about more than just drying off; it’s about the convenience of having everything you need within arm’s reach, wrapped in an aesthetic that feels both cozy and sophisticated.
Essential Elements:
- Weather-resistant side table or console
- Large acrylic or galvanized metal tray
- Plush, high-GSM cotton towels
- Outdoor-safe candle or diffuser
- Small basket for sunscreens and goggles
How to make it
- Select a location for your station that is at least five feet from the pool edge to prevent splashing while remaining easily accessible for wet swimmers.
- Position your console table and place the large tray on top to define the ‘active’ zone of the station, ensuring the surface is level and stable.
- Stack your freshly laundered towels in the center of the tray, alternating the direction of the folds to create a sturdy, professional-looking pile that won’t topple.
- Add a decorative basket to one side to house smaller essentials like sunblock, hair ties, and goggles, keeping the visual clutter contained.
- Finish the setup by placing a citronella candle or an outdoor-safe fragrance element at the back of the table to set the mood and keep pests away during evening swims.
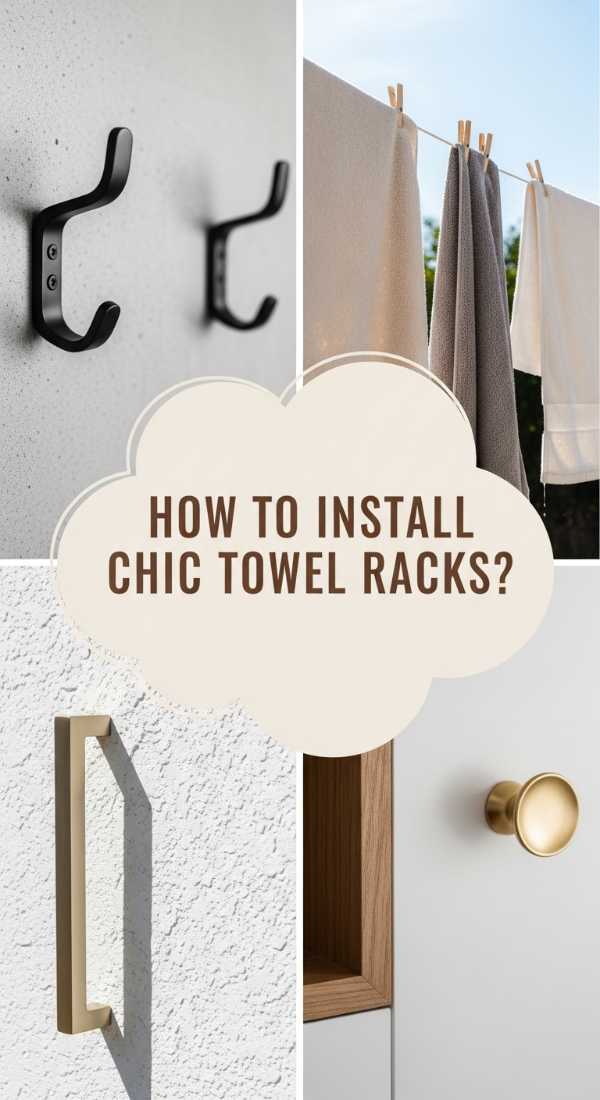
How to Install Modern Wall Racks for Better Pool Towel Organization
Why we love this
Modern wall racks are the unsung heroes of a tidy pool deck, offering a crisp and industrial-chic way to manage the endless cycle of wet linens. The sturdy metal hooks provide a satisfying clink as you hang a towel, and the open-air design allows the breeze to naturally whisk away moisture, leaving your towels smelling fresh rather than musty. There’s a beautiful rhythm to the repetitive lines of a well-installed rack, turning a functional necessity into a graphic design element that breaks up the monotony of a plain exterior wall. It feels efficient, clean, and undeniably contemporary.
Essential Elements:
- Matte black or brushed nickel multi-hook racks
- Concrete or wood-piercing drill bits (depending on wall type)
- Wall anchors rated for at least 20 lbs each
- Measuring tape and painter’s tape
- Rust-oleum protective spray (optional for extra salt-air protection)
How to make it
- Determine the height of your rack; aim for 48 to 54 inches from the ground to ensure long beach towels don’t drag on the floor.
- Use painter’s tape to mark the wall where the rack will go, then use a level to ensure the tape is perfectly horizontal before you start drilling.
- Pre-drill your holes using the appropriate bit for your siding—masonry bits for brick or stone, and standard bits for wood or vinyl.
- Insert the wall anchors into the holes, tapping them gently with a hammer until they are flush with the surface of the wall.
- Align the rack with the anchors and drive the screws in tightly, ensuring there is no wiggle room to prevent the rack from sagging under the weight of heavy, wet towels.
How to Design a Hidden Storage Bench for Seamless Backyard Aesthetics
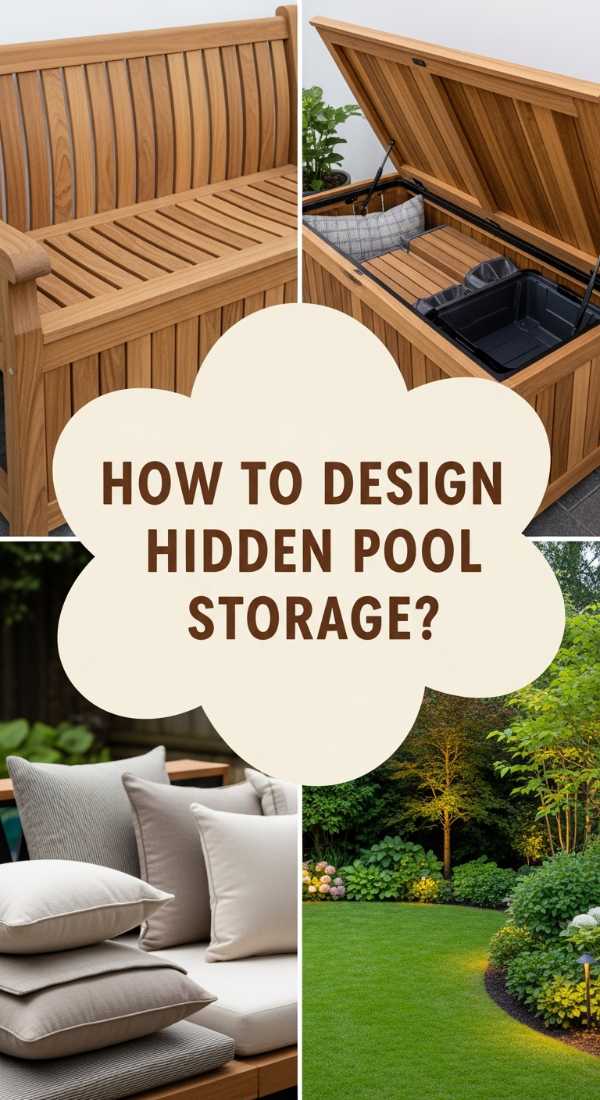
Why we love this
The hidden storage bench is the ultimate ‘now you see it, now you don’t’ solution for bulky pool equipment like vacuums, nets, and chemical kits. Sitting on the smooth, sun-warmed surface of a well-built bench feels like a natural extension of the landscape, providing extra seating for parties while secretly housing the less-than-glamorous side of pool maintenance. The scent of stained timber and the solid, heavy thud of the lid closing provide a tactile sense of quality and permanence. It’s a brilliant way to maintain a minimalist aesthetic without sacrificing the necessary tools for a sparkling pool.
Essential Elements:
- Outdoor-rated plywood or composite decking boards
- 2×4 pressure-treated lumber for the internal frame
- Heavy-duty stainless steel piano hinge
- Waterproof interior liner or plastic bin
- Outdoor bench cushions
How to make it
- Construct a rectangular box frame using your 2×4 lumber, securing joints with deck screws and ensuring the frame is reinforced at the corners for seating weight.
- Clad the exterior of the frame with your choice of composite or wood boards, leaving a 1/8-inch gap between slats for ventilation to prevent mold growth inside.
- Cut a solid piece of wood for the lid, ensuring it overhangs the base by half an inch on all sides for easy gripping.
- Attach the lid to the back of the base using a full-length piano hinge, which provides more durability and a smoother opening motion than individual butt hinges.
- Line the interior with a removable plastic tub to catch any drips from wet nets, and top the bench with weather-resistant cushions for a finished, inviting look.
How to Arrange Woven Baskets for a Tidy Poolside Retreat
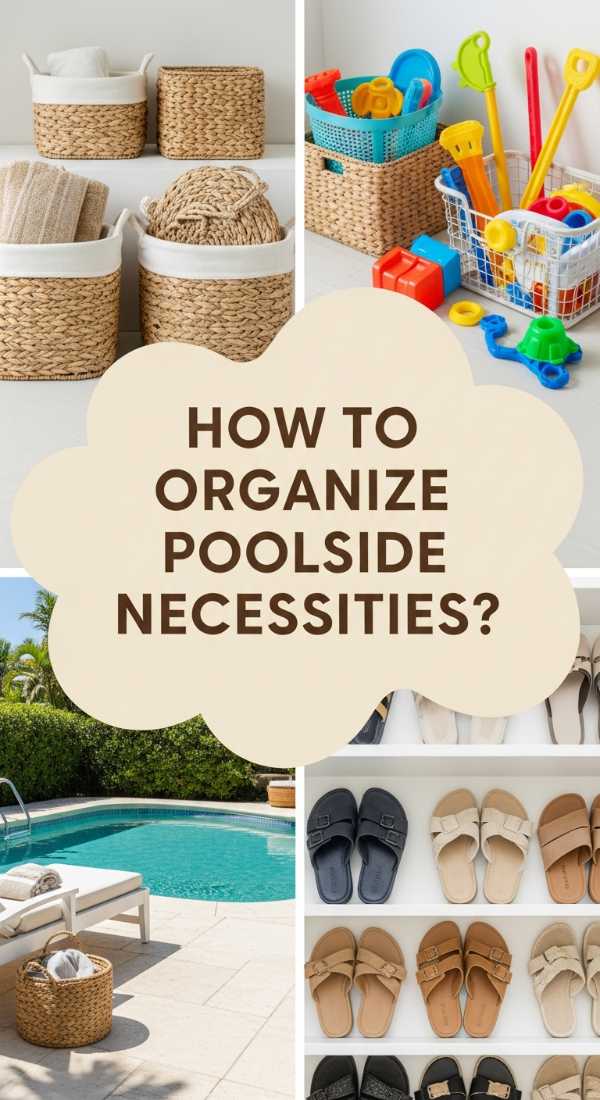
Why we love this
Woven baskets bring an earthy, organic texture to the poolside that softens the hard lines of concrete and tile. The intricate weave of seagrass or synthetic wicker catches the light beautifully, creating a play of shadows that adds depth to your storage nooks. These baskets are incredibly versatile, offering a ‘catch-all’ solution that feels intentional rather than messy, and the natural fibers provide a warm, neutral backdrop for colorful pool toys. There is a gentle, rustic charm to tossing a handful of diving rings into a beautiful basket and watching the clutter disappear into a sea of texture.
Essential Elements:
- Set of graduated synthetic wicker or resin-coated baskets
- Removable fabric liners (optional)
- Small chalkboard tags for labeling
- UV-resistant clear spray
How to make it
- Select baskets made of synthetic materials or treated natural fibers to ensure they can withstand the moisture and sun exposure common in pool areas.
- Apply a coat of UV-resistant clear spray to the exterior of the baskets to prevent the fibers from becoming brittle and bleaching in the direct sun.
- Group the baskets in odd numbers (sets of three work best) near entry points to the pool to encourage kids and guests to tidy up as they exit.
- Designate each basket for a specific category—one for ‘Diving Toys,’ one for ‘Goggles,’ and one for ‘Small Inflatables’—to make finding items easier later.
- If using natural fibers, elevate the baskets slightly off the ground on a tray or low shelf to allow air to circulate underneath, preventing rot and dampness.
How to Create Vertical Wall Mounts for Space Saving Pool Float Storage
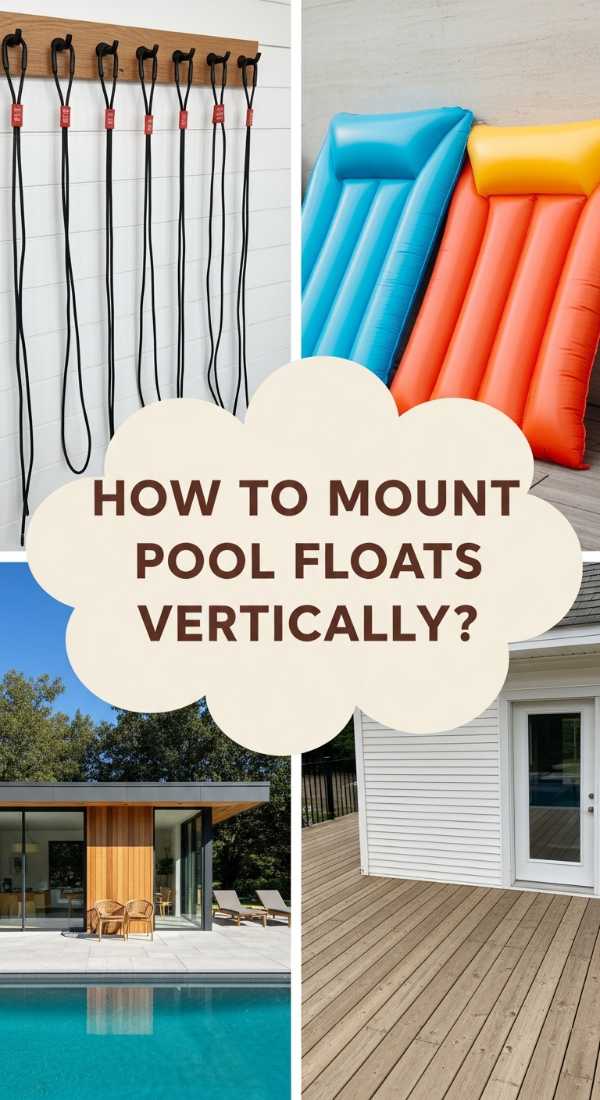
Why we love this
Vertical wall mounts are a game-changer for smaller backyard spaces, turning your fence into a functional storage wall without encroaching on your walking path. This setup keeps the floats upright and organized, mimicking the look of a professional surf shop or a high-end coastal rental. The sight of large, colorful rafts standing tall creates a sense of height and drama, while the ease of sliding a float out from behind a bungee cord makes cleanup feel effortless. It’s a smart, vertical solution that maximizes every square inch of your outdoor real estate with a clean, modern vibe.
Essential Elements:
- PVC pipes or wooden dowels (1-inch diameter)
- Heavy-duty bungee cords or nylon webbing
- Eye-bolt screws
- Wall anchors
How to make it
- Mark two vertical lines on your wall or fence, spaced about 3 feet apart, which will serve as the boundaries for your float ‘bay.’
- Install eye-bolt screws at three different heights along these lines: one set at the bottom, one in the middle, and one near the top (approx. 5 feet up).
- Thread heavy-duty bungee cords through the eye-bolts horizontally, creating three ‘tension bands’ that will hold the floats against the wall.
- For added stability, you can install a small wooden ledge at the base for the floats to rest on, preventing them from sliding down over time.
- Slide your floats vertically behind the bungee cords; the tension will keep them securely in place even during moderate winds, keeping the deck floor completely clear.
How to Fold Luxury Linens for a High End Pool Towel Display
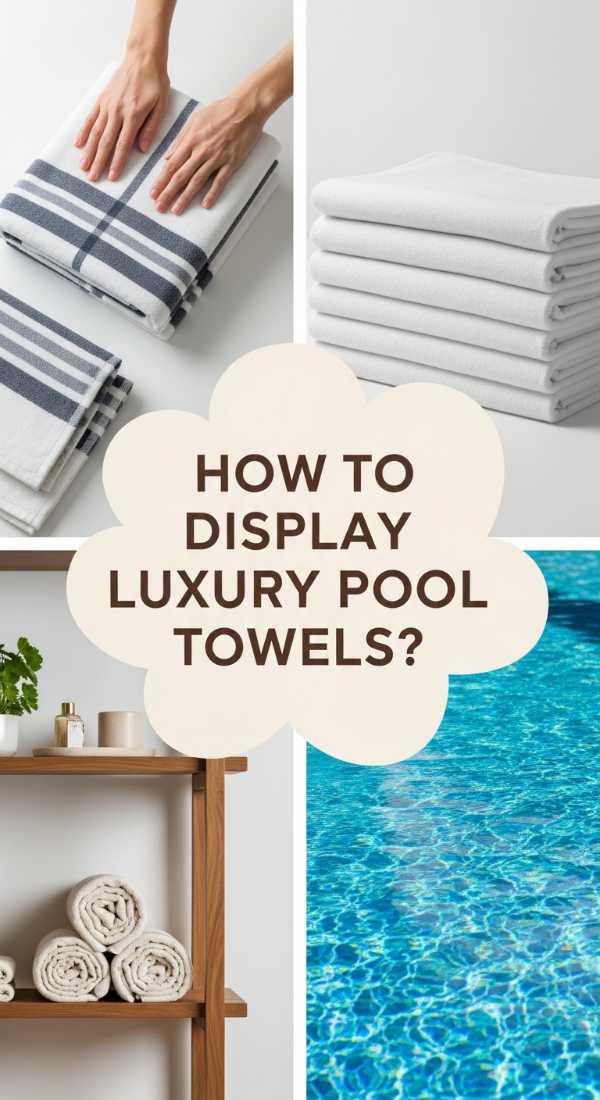
Why we love this
The way a towel is folded can completely change the energy of a space, moving it from ‘laundry day’ to ‘five-star resort’ in a matter of seconds. A perfectly executed roll or a crisp ‘hospital fold’ feels indulgent and plush, showcasing the quality of the fabric and the care put into the home. When you run your hands over a stack of precisely folded luxury linens, you feel a sense of calm and order that sets the tone for a relaxing day. It’s a small, zero-cost detail that provides a massive visual payoff, making your pool organization board look professional and polished.
Essential Elements:
- Thick, high-quality beach towels
- Flat folding surface (like a clean patio table)
- Fabric stiffening spray (optional for high-wind areas)
How to make it
- Lay the towel flat on a clean surface and smooth out any wrinkles with your palms, ensuring the edges are perfectly aligned.
- Fold the towel in half lengthwise, then fold it in half lengthwise once more to create a long, narrow strip of fabric.
- Starting from one of the short ends, begin rolling the towel tightly and evenly, keeping the edges aligned as you go to prevent a ‘coned’ look.
- Once rolled, tuck the loose end firmly into the fold or place it face-down on the shelf to ensure the roll stays tight and doesn’t unravel.
- For a flat stack, fold the towel into thirds width-wise after the initial lengthwise fold, ensuring all the ‘open’ edges face the back of the shelf for a seamless front view.
How to Optimize Your Pool Cabana for Maximum Summer Functionality
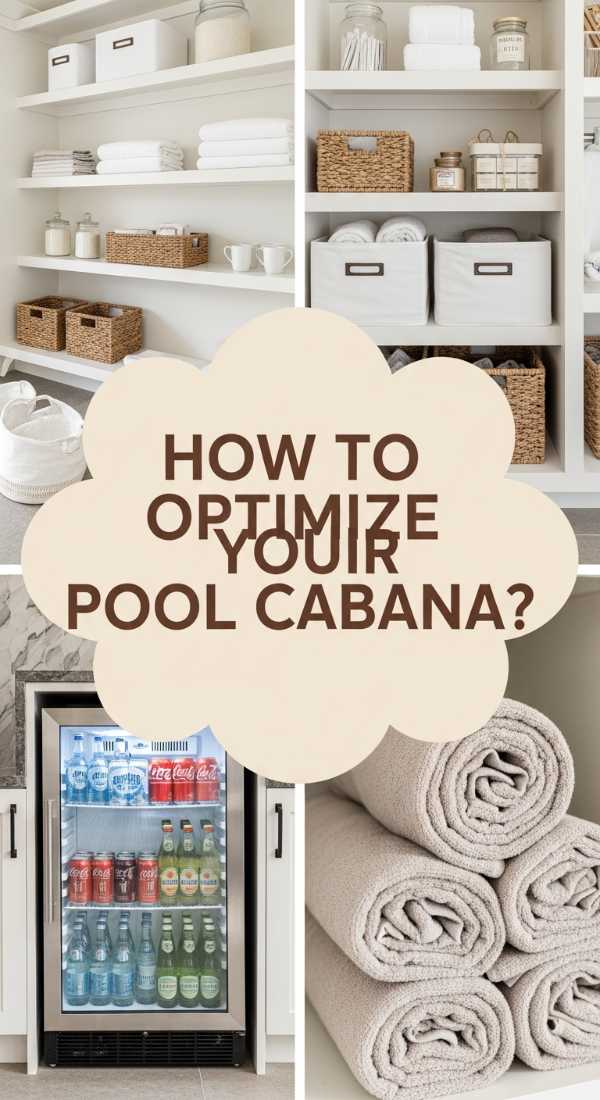
Why we love this
An optimized cabana is the crown jewel of backyard living, acting as a fully functional hub for summer fun and relaxation. It’s the place where the air feels slightly cooler under the shade, the scent of tropical coconut oil lingers, and every convenience is at your fingertips. By zoning your cabana into storage, lounge, and refreshment areas, you create a seamless flow that allows you to spend more time in the water and less time running back and forth to the house. It feels like having a private club in your own backyard, where everything is curated for your personal comfort.
Essential Elements:
- Zoned shelving units
- Small outdoor refrigerator or high-end cooler
- Overhead fan or misting system
- Ambient lighting (string lights or lanterns)
- Comfortable seating with performance fabrics
How to make it
- Divide your cabana into three distinct zones: the ‘Dry Zone’ for towels and electronics, the ‘Wet Zone’ for gear and toys, and the ‘Social Zone’ for seating.
- Install a tall shelving unit in the Dry Zone to keep items off the ground and away from potential puddles, using clear bins for easy visibility.
- Position your cooling element (fridge or cooler) in a shaded corner to maximize its efficiency and provide easy access for thirsty swimmers.
- Mount an outdoor-rated ceiling fan to keep air circulating, which not only keeps guests cool but also helps dry out the space and prevent mildew.
- Layer your lighting by hanging string lights across the ceiling and placing battery-operated lanterns on low tables to create a warm, inviting glow for nighttime use.
How to Assemble Weatherproof Storage Boxes for Durable Pool Float Protection
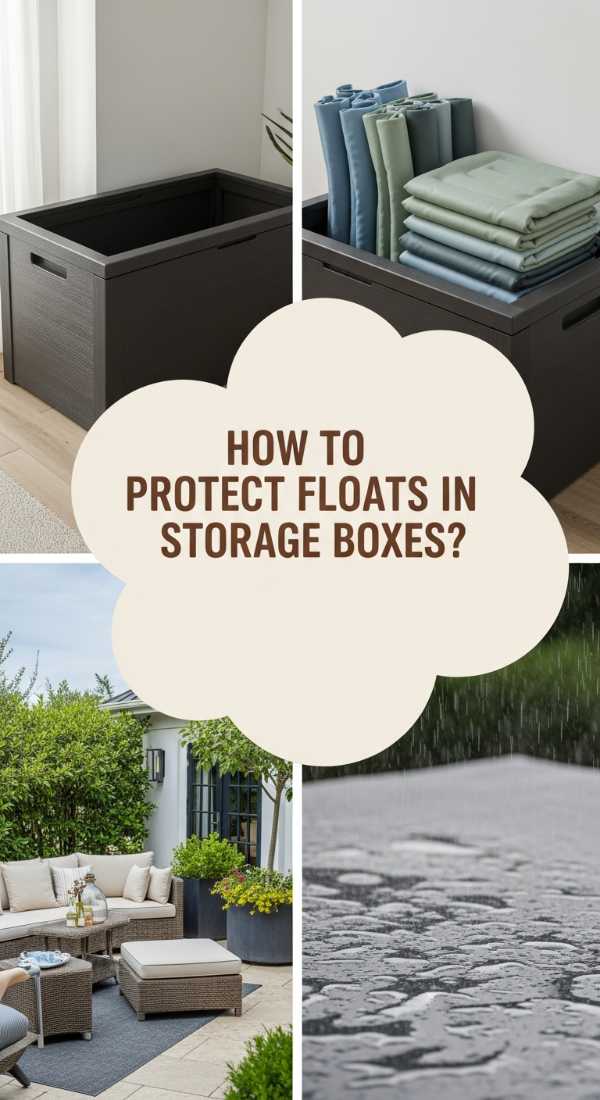
Why we love this
Weatherproof storage boxes are the ultimate insurance policy for your expensive pool inflatables, keeping them safe from the damaging effects of UV rays and heavy rain. The sound of a heavy, sealed lid clicking shut provides an immense sense of security, knowing your favorite rafts won’t be bleached or brittle by the end of the season. These boxes offer a clean, monolithic look that hides the vibrant (and sometimes clashing) colors of pool toys, maintaining a sophisticated aesthetic for your deck. It’s the perfect blend of rugged durability and understated style that keeps your backyard looking ‘company-ready’ at all times.
Essential Elements:
- Heavy-duty resin or galvanized steel deck box
- Silica gel packets or moisture absorbers
- Lock or latch system
- Internal dividers or mesh bags
How to make it
- Select a deck box with a double-wall resin construction, which provides superior insulation and prevents the interior from becoming an oven in the sun.
- Before filling, place a few large moisture-absorbing packets at the bottom of the box to prevent any trapped humidity from causing mold.
- Group smaller items like arm floaties and beach balls into mesh bags before placing them in the box to prevent them from getting lost at the bottom.
- Store larger floats by folding them loosely—never tight—to prevent the vinyl from sticking together or cracking at the fold lines over time.
- Ensure the box is positioned on a flat, slightly elevated surface (like a concrete pad or deck) to ensure water drains away from the base during storms.
How to Position Freestanding Bamboo Rails for Elegant Pool Towel Drying
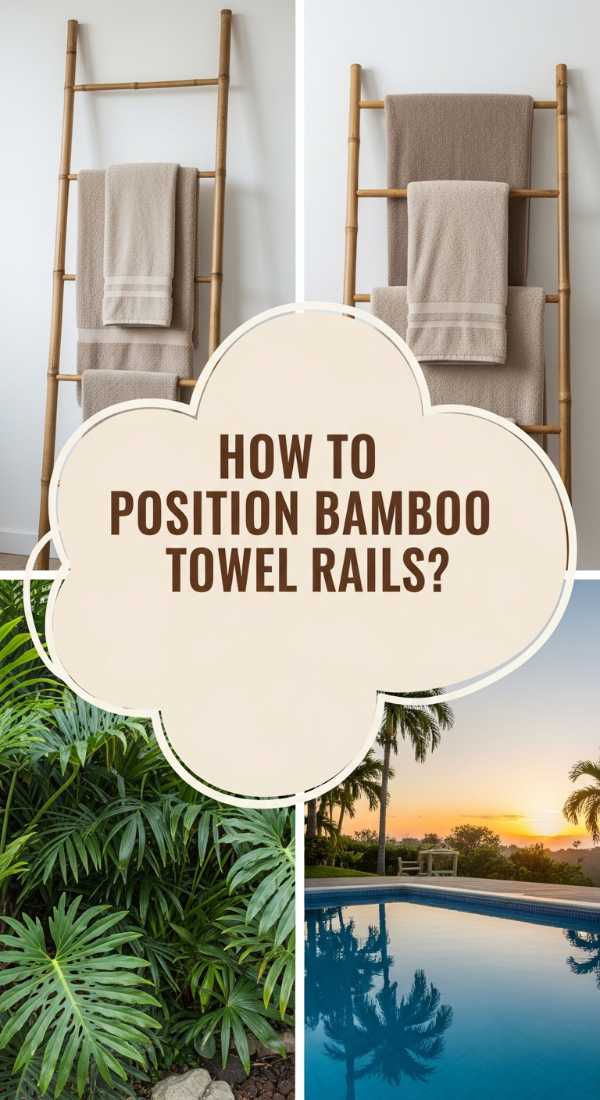
Why we love this
Bamboo rails offer a breezy, bohemian elegance that makes your pool deck feel like a tropical getaway. The natural, variegated tones of the wood bring a warmth and softness to the space, while the lightweight design allows you to move the rack to follow the sun for the fastest drying times. There’s a beautiful, relaxed aesthetic to seeing towels draped over bamboo—it feels less like a chore and more like a part of the summer lifestyle. It’s eco-friendly, visually light, and adds a vertical element of height that draws the eye upward, making your outdoor space feel larger and more open.
Essential Elements:
- Three to four 6-foot bamboo poles (2-inch diameter)
- Heavy-duty jute twine or outdoor adhesive
- Sandpaper (fine grit)
- Weather-resistant clear coat
How to make it
- Sand the bamboo poles thoroughly, particularly around the ‘nodes’ (the raised rings), to ensure there are no sharp bits that could snag towel fibers.
- Create an A-frame structure by leaning two poles against each other at the top and securing them with a ‘square lashing’ technique using jute twine.
- Connect the two A-frames with a horizontal cross-pole at the top, securing the joints with both outdoor adhesive and decorative twine wraps for maximum stability.
- Apply a clear, weather-resistant outdoor finish to the bamboo to prevent it from graying or splitting due to sun exposure and water splashes.
- Position the rail in a sunny, high-traffic area of the deck, ensuring the feet are stable; you can add rubber caps to the bottom of the poles to prevent them from sliding on wet tile.
The Verdict: Is the Board Worth It?
After living with my organized pool board for a few weeks, the answer is a resounding yes. The initial effort of building shelves and installing racks pays off every single time you step outside and see a clean, inviting space instead of a cluttered mess. It changes the way you use your backyard; it becomes a place of true relaxation rather than a place of constant tidying. Whether you go for the full custom build or just start with a few woven baskets, organizing your pool area is the ultimate gift you can give your summer self.