
From Clutter to Cool: Essential Tips for an Organized Backyard Pool
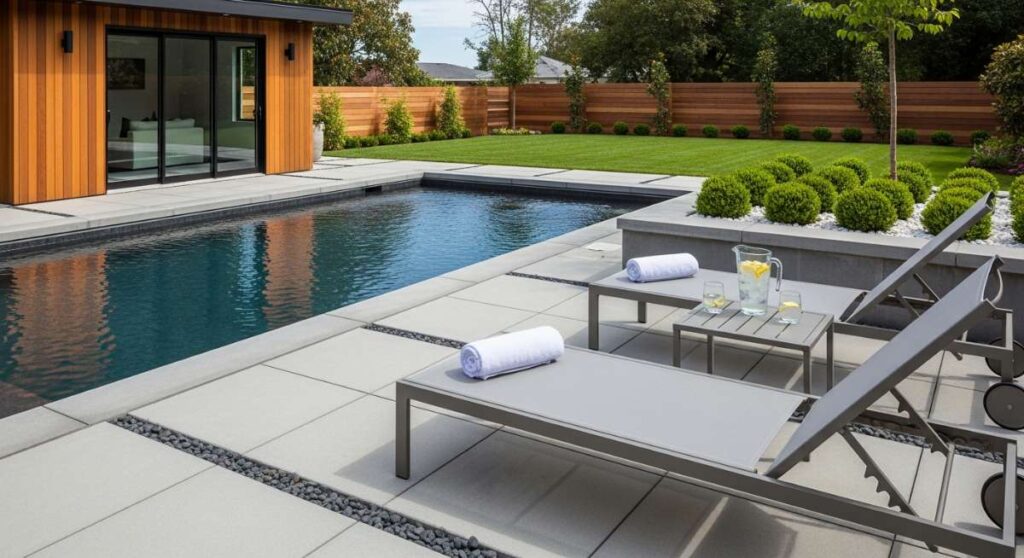
There is nothing quite like the first step onto a sun-drenched patio, the air thick with the nostalgic scent of sunscreen and the gentle melody of water lapping against the tiles. We spend all winter dreaming of these blue-water days, yet so often, our serene escape turns into an obstacle course of rogue noodles, soggy towels, and giant inflatable flamingos. I’ve been there—tripping over a mesh bag while carrying a tray of iced tea isn’t exactly the ‘resort life’ I had in mind.
Transforming your pool area from a chaotic splash zone into a high-end retreat doesn’t require a massive renovation; it just takes a little bit of organizational magic. When everything has a dedicated home, the energy of the space shifts. You stop scanning for chores and start focusing on the sparkle of the water. It’s about creating a flow that allows you to transition from a refreshing dip to a poolside nap without a single stressor in sight.
In this guide, we are diving deep into the art of poolside styling. From DIY storage solutions that save your budget to aesthetic towel displays that rival a five-star spa, we are covering it all. Let’s reclaim your backyard and turn it into the perfectly organized, ultra-cool oasis you deserve this summer.
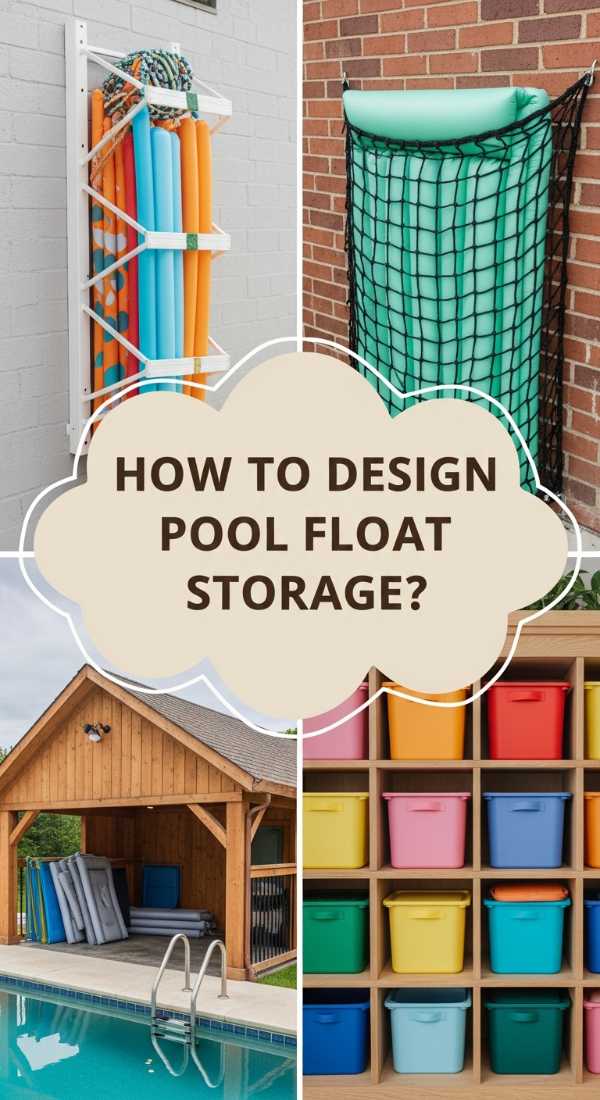
How to Build Pool Float Storage for a Clutter-Free Summer
Why we love this
There is a profound sense of relief that comes with seeing those giant, colorful floats standing at attention rather than scattered across the grass like confetti. We love this setup because it treats your backyard like a curated gallery; the smooth texture of the PVC or cedar frame provides a sturdy contrast to the soft, squishy vinyl of the floats. You can practically smell the fresh-cut grass and the clean, chlorinated breeze as you easily slide a tube out of its custom slot, feeling the organized harmony of a space where every oversized swan has its place.
Essential Elements:
- Furniture-grade PVC pipes or treated 2×4 cedar wood
- PVC cement or exterior-grade wood screws
- Heavy-duty mesh fabric or bungee cords
- All-weather casters for mobility
- Measuring tape and a miter saw
How to make it
- Begin by measuring your largest floats, typically the double-riders or oversized loungers, to determine the width of your bays; generally, 24 inches wide is a safe bet for most standard inflatables.
- Cut your vertical support posts to a height of 4 feet, ensuring they are tall enough to lean floats against without them tipping over, yet low enough to remain unobtrusive.
- Assemble the base frame by connecting your horizontal beams to the vertical posts using T-joints for PVC or pocket holes for wood, creating a rectangular floor footprint that provides a stable center of gravity.
- Install horizontal dividers every 20-24 inches along the length of the base to create individual ‘slots’, which prevents the floats from sticking together and allows for better air circulation and drying.
- Secure heavy-duty mesh to the bottom of the frame using zip ties or staples; this creates a ‘floor’ that allows water to drain away from the floats rather than pooling at the base.
- Finish by attaching locking casters to the four corners of the base, allowing you to wheel the entire unit into the garage or a shaded corner when the sun sets.
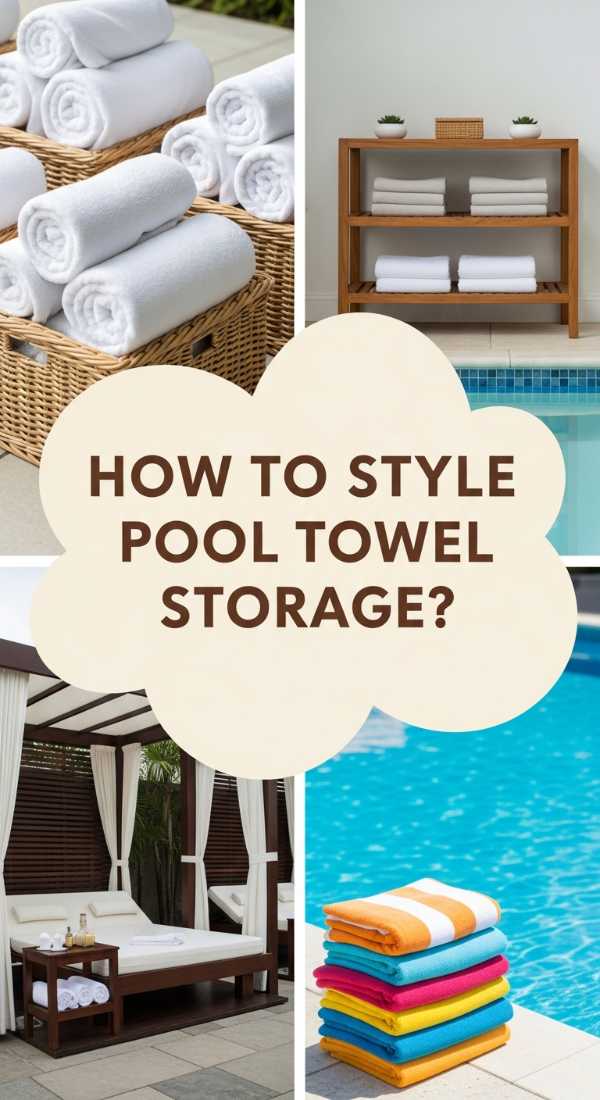
How to Style Pool Towel Storage for a Five-Star Resort Vibe
Why we love this
Walking out to a perfectly styled towel station feels like checking into a luxury boutique hotel in Cabo. We adore the visual feast of neatly rolled, plush cotton in shades of Mediterranean blue and crisp white, stacked with mathematical precision. The aroma of clean laundry mingling with the salty air creates an intoxicating sensory experience, while the tactile softness of a warm, dry towel against damp skin is the ultimate poolside indulgence. This setup turns a basic necessity into a focal point of sophisticated outdoor decor.
Essential Elements:
- Open-shelving weather-resistant console or a multi-tiered wicker stand
- Plush, high-GSM Turkish or Egyptian cotton towels
- Scented drawer liners or cedar blocks (hidden)
- Decorative stone weights to keep towels from blowing away
- A large, lidded hamper for used linens
How to make it
- Select a storage unit that matches your patio furniture—teak for a natural look or powder-coated aluminum for a modern edge—and place it in a shaded area to prevent sun-fading of the fabrics.
- Master the ‘Resort Roll’ by folding each towel in half lengthwise, then again, and rolling it tightly from one end to the other to create a uniform cylinder that resists unravelling.
- Stack the rolled towels in a pyramid or honeycomb pattern on the middle shelves, ensuring the edges face inward for a clean, seamless visual appearance across the front of the unit.
- Incorporate a ‘freshness kit’ by tucking small cedar blocks or moisture-wicking sachets behind the towel stacks to ensure they smell like a spa and stay crisp despite the humidity.
- Dedicate the bottom shelf to a ‘utility basket’ containing sunscreens and goggles, using a coordinated woven bin to hide the plastic bottles and keep the aesthetic elevated.
- Position a stylish, breathable wicker hamper with a removable canvas liner nearby, clearly labeled ‘Used Towels,’ to ensure the ‘dirty’ pile never disrupts the beauty of your ‘clean’ display.
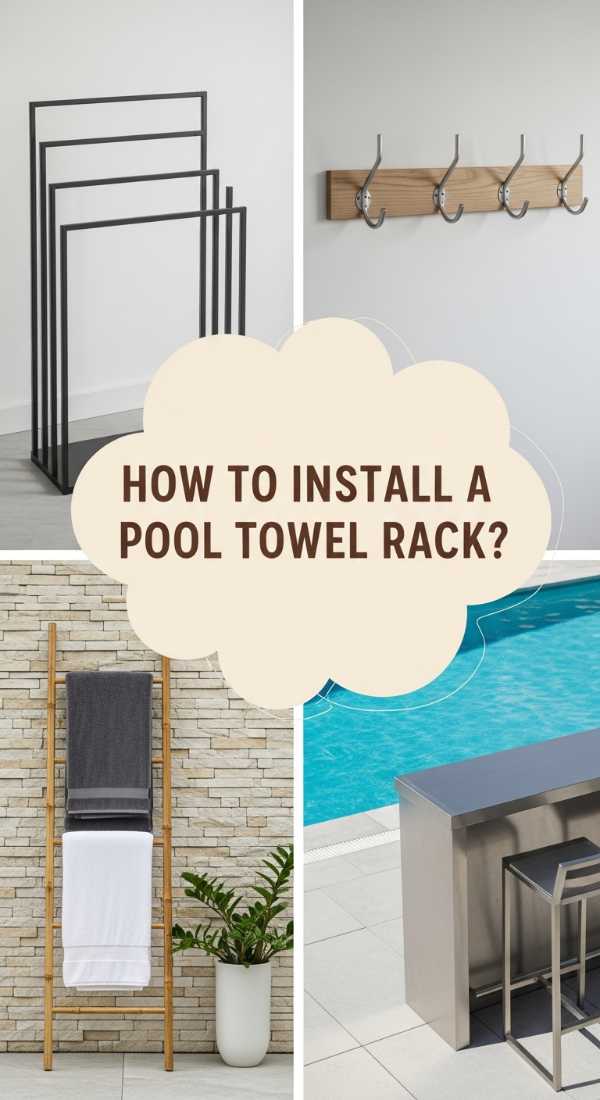
How to Install a Pool Towel Rack for Instant Backyard Sophistication
Why we love this
There is a specific, rustic charm to a wall-mounted rack that breathes life into an empty fence or pool house wall. We love how the vertical lines of a well-crafted rack draw the eye upward, making the outdoor space feel larger and more intentional. Imagine the feeling of the sun on your back as you reach for a towel that has been warmed by the light, the wood of the rack feeling smooth and grounded under your fingers. It’s a simple addition that whispers ‘order’ and ‘elegance’ in every breeze.
Essential Elements:
- Weatherproof backing board (Reclaimed wood or Polywood)
- Heavy-duty marine-grade hooks (Stainless steel or brass)
- Level and power drill
- Outdoor construction adhesive
- Stainless steel mounting screws
How to make it
- Choose a location that is close enough to the pool exit to be convenient, but far enough away to avoid constant splashing, such as a sturdy fence post or the side of a shed.
- Prepare your backing board by sanding it smooth and applying a UV-resistant sealant to prevent the wood from silvering or cracking under the harsh summer sun.
- Mark your hook placements with a pencil, spacing them at least 8 to 10 inches apart to allow heavy, wet towels enough room to hang without overlapping and molding.
- Pre-drill holes for your hooks to prevent the wood from splitting, then secure each marine-grade hook firmly using stainless steel screws that won’t rust when exposed to moisture.
- Apply a bead of outdoor construction adhesive to the back of the board before positioning it against the wall; use a level to ensure it is perfectly horizontal before driving the main mounting screws into the studs.
- Test the weight capacity by hanging a soaked beach towel on the furthest hook; the rack should remain flush against the wall without any bowing or movement.
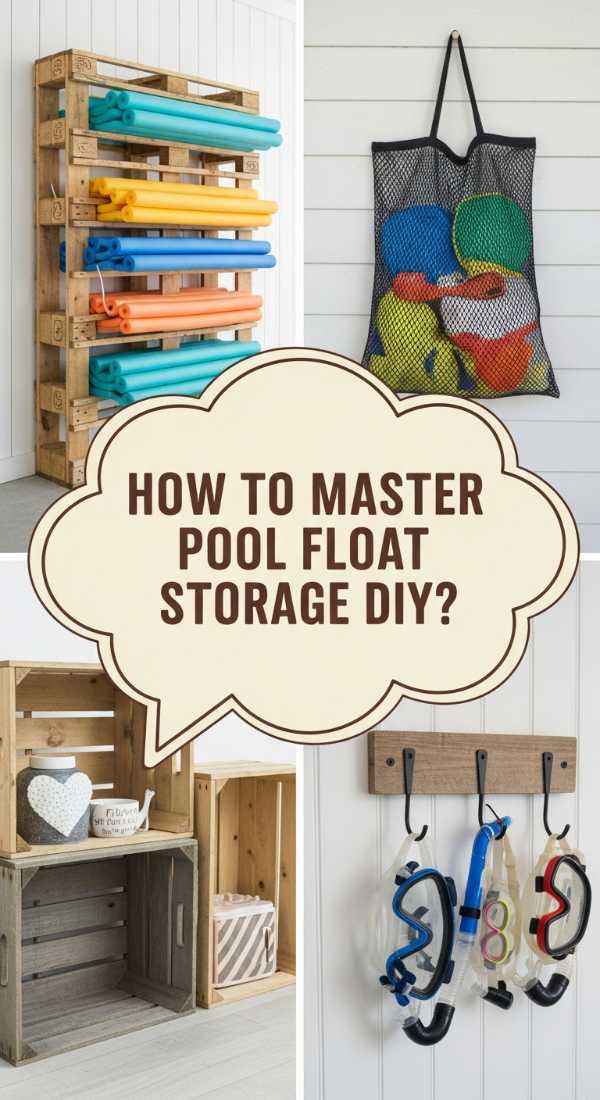
How to Master Pool Float Storage DIY Style for Budget Savvy Families
Why we love this
This is the ultimate ‘life hack’ that feels like a victory for every parent who has ever wrestled with a slippery inflatable. We love the ingenuity of using vertical space to clear the floor, creating a ‘float wall’ that looks like a vibrant piece of pop art. The smell of the outdoors—sun, air, and earth—circulates perfectly through this open-air design, ensuring your gear stays fresh and dry. It’s a tactile, hands-on solution that proves you don’t need a huge budget to achieve a high-functioning, playful backyard.
Essential Elements:
- Cargo netting or heavy-duty bungee cords
- Wall-mounted J-hooks
- Outdoor-rated carabiners
- PVC pipe sections (optional for spacers)
- Zip ties
How to make it
- Identify an unused vertical surface, like the back of the house or a sturdy section of the perimeter fence, and clear any debris or low-hanging branches from the area.
- Install a series of J-hooks in a wide rectangular pattern that matches the dimensions of your cargo net, ensuring the hooks are anchored deeply into the structure.
- Stretch the cargo net across the hooks, using carabiners to clip the corners into place so that the net forms a flexible ‘pocket’ against the wall.
- For larger rafts, create ‘tension bays’ by running bungee cords horizontally between two vertical posts, allowing you to slide the rafts behind the cords where they are held flat by pressure.
- Use zip ties to create smaller compartments within the cargo net for diving rings, goggles, and small noodles, preventing them from sinking to the bottom of the ‘pocket.’
- Tension the bottom of the net slightly higher than the ground to ensure that any water dripping off the floats can evaporate quickly and doesn’t create a slippery puddle.
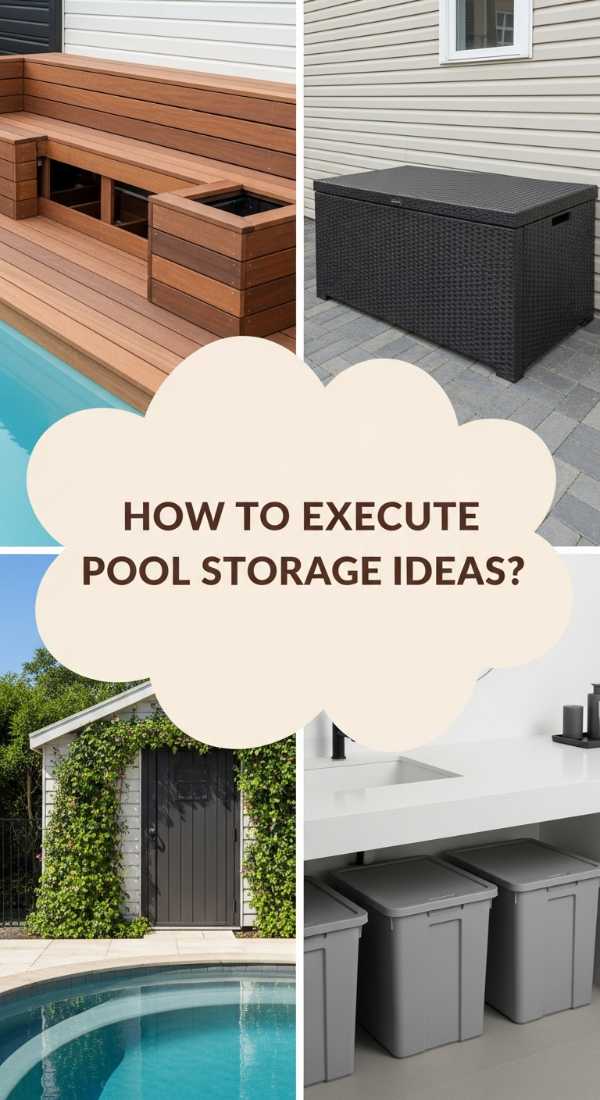
How to Execute Pool Storage Ideas for a Perfectly Serene Oasis
Why we love this
True serenity is found in the things you *don’t* see. We love this approach because it’s about ‘invisible’ organization—hiding the clutter inside beautiful, multi-functional furniture that blends into the landscape. The smooth, cool touch of a stone-topped storage bench or the rich aroma of a resin-wicker deck box filled with clean cushions creates an environment of total peace. It allows the natural beauty of your landscaping and the crystalline blue of the water to take center stage, free from the visual noise of plastic toys.
Essential Elements:
- Dual-purpose storage benches or ottomans
- Extra-large weather-resistant deck boxes
- In-ground storage canisters (for umbrellas/poles)
- Discreet corner shelving
- Neutral-toned bins with lids
How to make it
- Select storage containers that double as seating or side tables; choose materials like high-density polyethylene (HDPE) that mimic the look of wood but require zero maintenance.
- Place the largest deck box in a ‘dead corner’ of the patio, ensuring it is level and has a slight clearance from the wall to allow for lid movement and airflow.
- Organize the interior of the box by using smaller, clear plastic bins to categorize items: one for chemicals (kept in the back), one for toys, and one for cleaning equipment.
- Install a ‘hidden’ PVC sleeve in the ground or within your decking to act as a holster for the pool skimmer and brush poles, keeping them upright and out of the walking path.
- For a truly high-end look, line the interior of your storage benches with cedar planks; this naturally repels insects and adds a glorious, woody fragrance every time you open the lid.
- Apply weather-stripping to the lids of your storage boxes to ensure they are completely watertight, protecting your expensive cushions and electronics from sudden summer downpours.
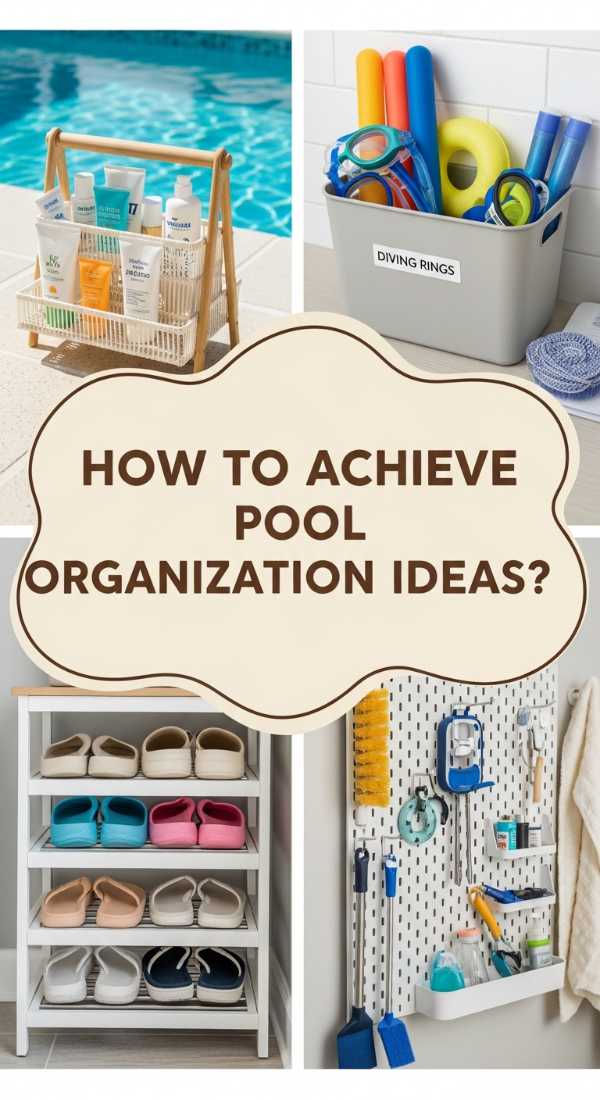
How to Achieve Pool Organization Ideas for Stress-Free Sunny Days
Why we love this
This method is all about the ‘flow’ of a perfect afternoon—where you never have to stop the music to go hunting for a spare pair of goggles. We love the intentionality of ‘zoning’ your backyard; it creates a psychological sense of order that settles the mind. The scent of coconut oil and the feeling of warm pavers underfoot are enhanced when you know exactly where everything is. It’s the difference between ‘coping’ with a backyard and truly ‘dwelling’ in it with ease and grace.
Essential Elements:
- Labeling kit (waterproof stickers or chalk tags)
- Clear stacking bins
- Over-the-door organizers (for the pool house)
- Color-coded baskets
- Dedicated ‘Sunscreen Station’ tray
How to make it
- Divide your pool area into three functional zones: the ‘Active Zone’ (floats/toys), the ‘Comfort Zone’ (towels/pillows), and the ‘Maintenance Zone’ (chemicals/tools).
- Implement a color-coding system where each family member has a specific color basket for their personal gear, reducing the time spent sorting through piles of goggles and fins.
- Set up a ‘Sunscreen Station’ on a side table using a revolving lazy Susan; populate it with various SPFs, lip balms, and aloe vera so guests can help themselves easily.
- Use an over-the-door shoe organizer inside your pool shed or on a fence to hold small items like diving bricks, sunglasses, and waterproof speakers, keeping them at eye level.
- Label every bin with waterproof vinyl lettering; when the kids know exactly where the ‘Noodles’ go versus the ‘Diving Rings,’ the cleanup process becomes an effortless habit rather than a chore.
- Perform a ‘sunset sweep’ each evening, where you spend five minutes returning items to their designated zones, ensuring every morning starts with a fresh, organized canvas.
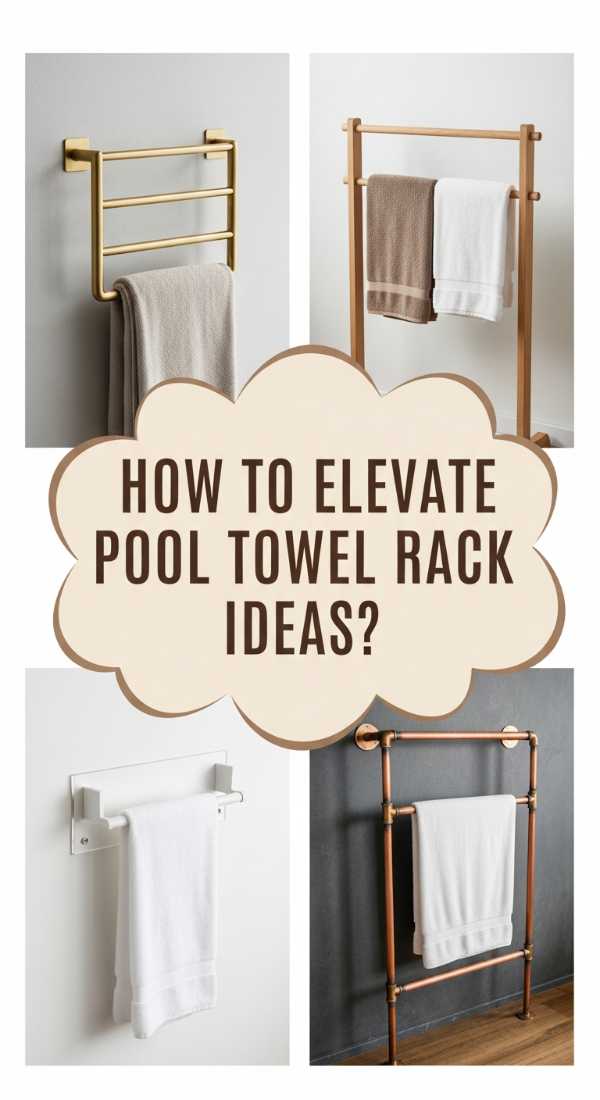
How to Elevate Pool Towel Rack Ideas for a Chic Outdoor Aesthetic
Why we love this
This is where utility meets high-fashion design. We love the way a sculptural towel rack can serve as a piece of outdoor art—think sleek copper pipes or matte black iron standing boldly against a greenery-filled backdrop. The visual texture of the metal against the soft, looped pile of the towels is incredibly satisfying. It’s a sensory delight to see your towels swaying gently in the wind, catching the golden hour light, while the sturdy, cool metal of the rack promises durability and timeless style.
Essential Elements:
- Freestanding towel ‘tree’ or ladder rack
- Industrial copper piping or black iron rods
- Epoxy coating (to prevent rust)
- Weighted base (if freestanding)
- Decorative finials
How to make it
- For a modern DIY ladder rack, source two 6-foot lengths of 1-inch thick copper piping and four cross-bars, cleaning the metal with white vinegar to make it shine.
- Join the sections using copper elbows and T-joints, applying a small amount of rapid-set epoxy inside the joints for a permanent, waterproof bond that won’t wiggle.
- If building a freestanding ‘tree’ style rack, pour a small concrete base inside a decorative planter and set the main vertical pole into it, ensuring it is perfectly plumb.
- Apply a clear, outdoor-rated spray sealant over the metal to preserve the ‘new penny’ look of copper or to prevent black iron from developing rust spots over time.
- Position the rack in a spot that receives maximum airflow; this ensures that even the thickest towels dry rapidly between uses, preventing that dreaded damp-towel smell.
- Accent the top of the rack with a decorative finial or a solar-powered lantern, turning your towel storage into a beautiful light feature once the sun goes down.
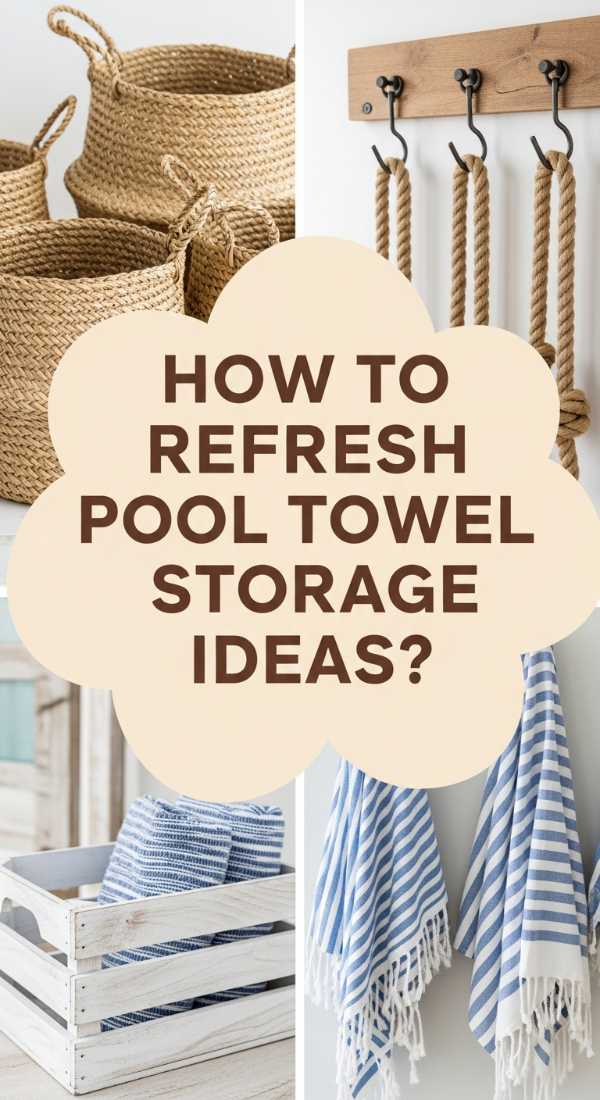
How to Refresh Pool Towel Storage Ideas for a Coastal Dream Home
Why we love this
There’s a breezy, salt-air magic to coastal storage that instantly lowers your heart rate. We love the use of natural materials like seagrass, jute, and weathered driftwood that look like they were plucked right from the shoreline. The tactile experience of grabbing a towel from a coarse, woven basket, combined with the faint, earthy aroma of the dried fibers, creates a grounding connection to nature. It’s a design language that speaks of effortless summer days, sandy toes, and the timeless beauty of life by the water.
Essential Elements:
- Large seagrass or hyacinth baskets
- Driftwood branch (for a hanging rod)
- Manila rope or nautical twine
- Whitewashed wooden crates
- Linen liners for baskets
How to make it
- Select baskets with a tight weave to prevent snagging on towel threads, and look for those with reinforced handles for easy transport from the laundry room to the pool.
- Create a ‘floating’ towel bar by suspending a sturdy, cleaned piece of driftwood from two lengths of thick manila rope tied to the rafters of a porch or pergola.
- Whitewash several wooden crates by mixing white exterior paint with water (1:1 ratio) and brushing it lightly over the wood to create a weathered, ‘beached’ appearance.
- Stack the crates on their sides to create a modular shelving unit, securing them together with small wood screws to ensure the structure is safe and stable.
- Insert breathable linen liners into your baskets; this adds a layer of softness and allows you to easily wash the liners if they get dusty or sandy over time.
- Style the area with a few large seashells or a jar of sea glass tucked among the towels to lean into the coastal theme and create a cohesive, dream-home vignette.
How to Design Pool Float Storage for Maximum Backyard Playfulness
Why we love this
Summer is for fun, and your storage should reflect that vibrant energy! We love this approach because it turns storage into a ‘toy shop’ experience for kids and adults alike. Using bright colors and easy-access designs, it celebrates the joy of the pool rather than hiding it away. The sight of a ‘rainbow’ of noodles and the squeaky, smooth texture of freshly rinsed floats waiting for action creates an atmosphere of pure excitement. It’s a playful, high-energy solution that keeps the ‘wow factor’ of your pool gear front and center.
Essential Elements:
- Primary-colored PVC or painted wood
- Tall, vertical ‘noodle bins’ (like tall laundry hampers)
- Oversized wall hooks for large rings
- Labeling with fun, bubbly fonts
- Nylon mesh bags with drawstrings
How to make it
- Build or buy a series of tall, thin cylindrical bins (wire or plastic mesh) and label them by toy type: ‘Noodles,’ ‘Kickboards,’ and ‘Water Guns.’
- Paint your storage frame in a bold, summery hue like turquoise or sunny yellow using a multi-surface outdoor spray paint that won’t chip or peel.
- Install ‘giant’ hooks—the kind used for garage bikes—high up on a fence to hang the largest, most colorful floats like they are prizes at a summer fair.
- Group toys by color or shape within the storage unit to create a ‘rainbow’ effect that is visually stunning and makes it easy for kids to find exactly what they want.
- Attach a low-hanging mesh bag to the side of the unit specifically for ‘wet’ toys like dive sticks and balls, allowing them to drip dry without getting lost in the larger bins.
- Add a ‘Safety Station’ sign near the storage area with a fun illustration of pool rules, making the organization area a central hub for both fun and backyard responsibility.
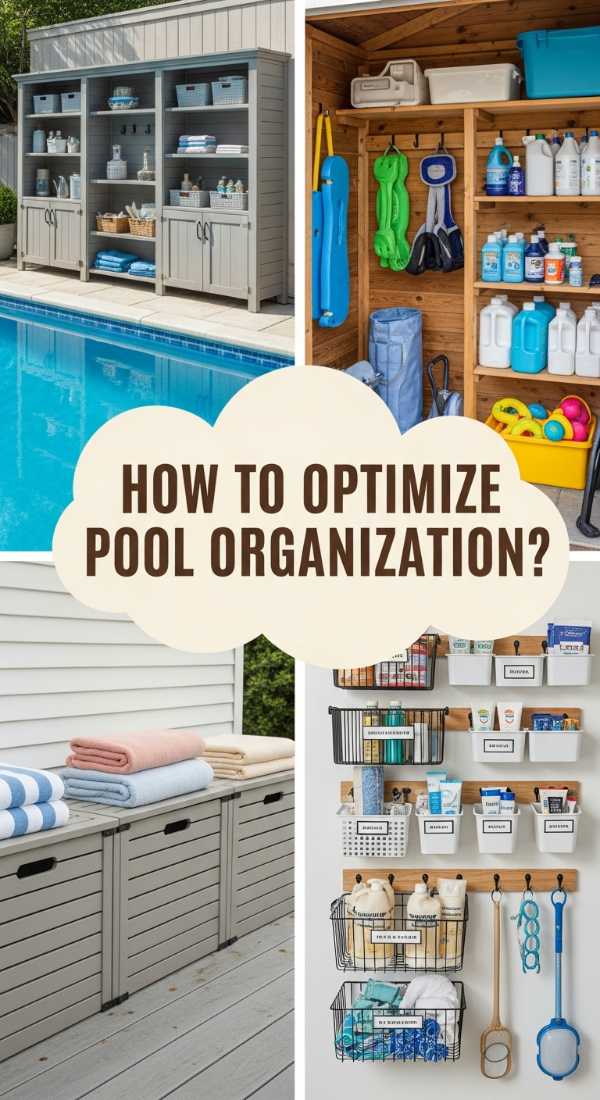
How to Optimize Pool Organization for a Seamless Summer Flow
[IMAGE_10]
Why we love this
This is the ‘Grand Finale’ of pool styling—the point where logic meets luxury to create a truly frictionless experience. We love how a well-optimized flow anticipates your needs before you even have them. The aroma of citrus-infused water at a hydration station and the feeling of a clear, wide-open patio path under your feet make the backyard feel like a true sanctuary. It’s the ultimate expression of the ‘modern host,’ where everything is organized so perfectly that the host can actually sit down and enjoy the sun along with their guests.
Essential Elements:
- Mobile beverage cart
- Zone-specific lighting (Solar LEDs)
- Towel-return signage
- All-weather floor mats
- Central ‘Command Center’ (for music/temp control)
How to make it
- Map out the ‘traffic patterns’ of your backyard, ensuring that the path from the pool steps to the towel rack is unobstructed and covered with non-slip mats.
- Set up a ‘Hydration Station’ on a rolling cart, featuring a large glass dispenser of ice water and a stack of reusable cups, placed halfway between the pool and the lounge chairs.
- Install motion-activated solar lights near the storage bins and towel racks to ensure that late-night swims are just as organized and safe as daytime ones.
- Place a small, weather-resistant ‘Instruction Card’ in a frame near the pool pump or heater, so any guest (or the teenager next door) knows how to operate the basics without stress.
- Ensure the ‘Comfort Zone’ (seating) has small baskets nearby containing magazines, extra sunglasses, and hand fans, creating a multi-layered relaxation experience.
- Conduct a ‘weekly audit’ every Sunday evening to hose down the storage units, restock the sunscreen, and ensure the ‘flow’ remains uninterrupted for the week ahead.
Conclusion
Stepping out to your pool should feel like a deep exhale, not a reason to start tidying up. By implementing these organization strategies—whether it’s building a custom float rack or simply styling your towels with resort-level precision—you are doing more than just cleaning. You are designing a lifestyle. A well-organized backyard pool area invites you to stay longer, laugh louder, and truly soak in every precious drop of summer. So, grab your level, pick a project, and get ready to enjoy the most serene, clutter-free season of your life. Your oasis is waiting!