
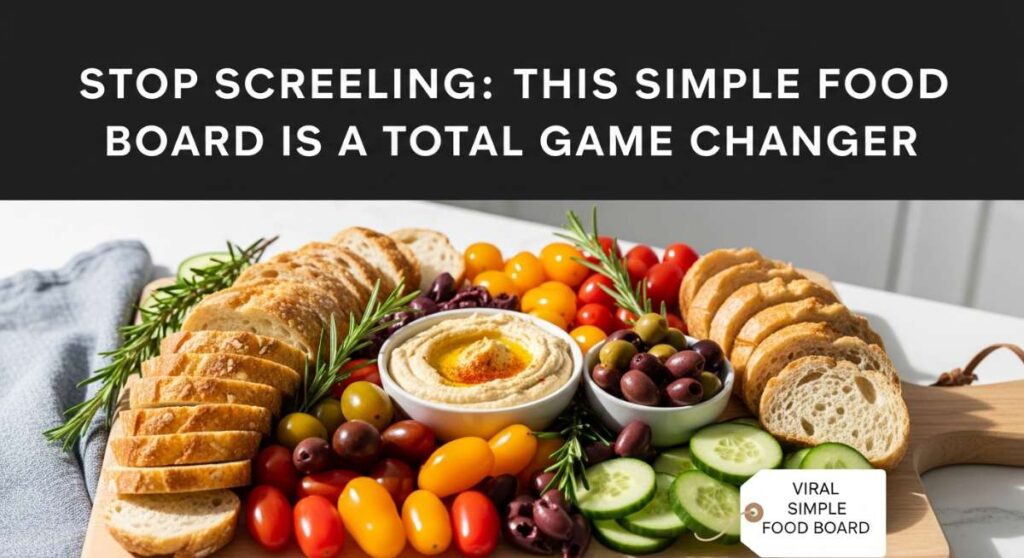
We’ve all been there—scrolling through endless feeds of unattainable perfection, feeling like we need a professional catering team just to host a simple Friday night hangout. But what if I told you that the secret to the ultimate viral ‘food board’ isn’t about expensive imported cheeses or edible gold leaf? It’s about those nostalgic, crowd-pleasing favorites that actually make people reach for seconds. This simple food board is a total game changer because it turns basic comfort foods into a stunning, interactive centerpiece that feels curated but is secretly so easy to pull off.
There is something magical about the way a shared board brings people together. It breaks down the formality of a sit-down dinner and invites everyone to graze, chat, and linger over their favorite bites. Whether you’re hosting a backyard bash or a cozy indoor movie night, this collection of recipes is designed to be the heart of your gathering. From the gooey warmth of a classic dip to the refreshing crunch of summer veggies, every element on this board is a love letter to easy, joyful living.
I’ve spent weeks testing these specific components to ensure they hit all the right notes: salty, sweet, savory, and fresh. The best part? You can prep most of this in advance, leaving you more time to actually enjoy your guests instead of being stuck in the kitchen. Let’s dive into the components that will make your next food board the talk of the town!
How to make cheesy Rotel dip

Why we love this
There is nothing quite like the nostalgic, molten embrace of a classic cheesy Rotel dip. It’s the ultimate comfort food that bridges the gap between sophisticated hosting and pure, unadulterated indulgence. When you lift a salty tortilla chip through that velvety, orange pool of cheese, you get the perfect contrast of smooth texture and the spicy, zesty pop of diced tomatoes and green chilies. The aroma alone—savory, slightly smoky, and rich—is enough to bring everyone running to the table the moment the bowl is set down.
Ingredients
- 1 lb Velveeta cheese, cubed
- 1 can (10 oz) Ro-Tel Diced Tomatoes and Green Chilies
- 1 lb ground sausage or lean ground beef
- 1/2 cup whole milk (optional, for creaminess)
- Fresh cilantro for garnish
- Tortilla chips for serving
How to make it
- Begin by browning your ground meat in a large skillet over medium-high heat. Use a wooden spoon to break the meat into very small crumbles; you want a fine texture so the dip is easy to scoop. Cook until no pink remains and the edges are slightly crispy.
- Carefully drain the excess fat from the skillet. If using sausage, you may want to pat the crumbles with a paper towel to ensure the dip doesn’t become oily.
- In a slow cooker or a heavy-bottomed pot over low heat, add the cubed Velveeta cheese. Cubing the cheese into 1-inch squares ensures it melts evenly without scorching.
- Pour the can of Ro-Tel (including the liquid!) directly over the cheese. The juices from the tomatoes provide the necessary acidity to balance the richness of the cheese.
- Add the cooked meat to the pot. Stir gently with a silicone spatula to combine the ingredients.
- Keep the heat on low, stirring every 5 to 10 minutes. If the dip feels too thick, stir in a splash of whole milk until you reach a silky, pourable consistency.
- Once fully melted and bubbling slightly at the edges, transfer to a serving bowl and garnish with fresh cilantro.
How to bake strawberry pie
Why we love this
A fresh strawberry pie is the crowning jewel of any summer dessert spread. It captures the very essence of sunshine in a flaky, buttery crust, offering a burst of ruby-red sweetness that feels both elegant and rustic. The texture is a delightful play between the soft, macerated berries and the crisp, golden layers of pastry, while the aroma of baking fruit and vanilla fills the entire house. It’s the kind of dish that tastes like a childhood memory, especially when topped with a dollop of cold, unsweetened whipped cream.
Ingredients
- 2 pints fresh strawberries, hulled and sliced
- 1 cup granulated sugar
- 3 tablespoons cornstarch
- 1 tablespoon lemon juice
- 1 teaspoon vanilla extract
- Double pie crust (homemade or store-bought)
- 1 egg (for egg wash)
How to make it
- Preheat your oven to 425°F (220°C). Place a baking sheet on the middle rack to catch any drips, ensuring a mess-free oven.
- Roll out your bottom pie crust and fit it into a 9-inch pie plate. Trim the edges, leaving a 1-inch overhang. Chill the crust in the fridge while you prepare the filling to ensure the fat stays cold for a flakier result.
- In a large mixing bowl, toss the sliced strawberries with sugar, cornstarch, lemon juice, and vanilla. Let them sit for about 15 minutes; this allows the juices to release and the cornstarch to begin its thickening magic.
- Pour the strawberry mixture into the chilled bottom crust, mounding them slightly in the center.
- Top with the second crust. You can do a solid top with vents cut in it, or a lattice design for a more viral-worthy aesthetic. Crimp the edges tightly to seal.
- Whisk the egg with a tablespoon of water and brush the top crust thoroughly. Sprinkle with a little extra sugar for a sparkling, crunchy finish.
- Bake at 425°F for 15 minutes, then reduce the heat to 375°F and bake for another 35-40 minutes until the crust is deep golden brown and the filling is bubbling thick juices.
- Crucial Step: Let the pie cool completely (at least 4 hours) before slicing. This allows the gelatinous structure to set so you get perfect, clean slices.
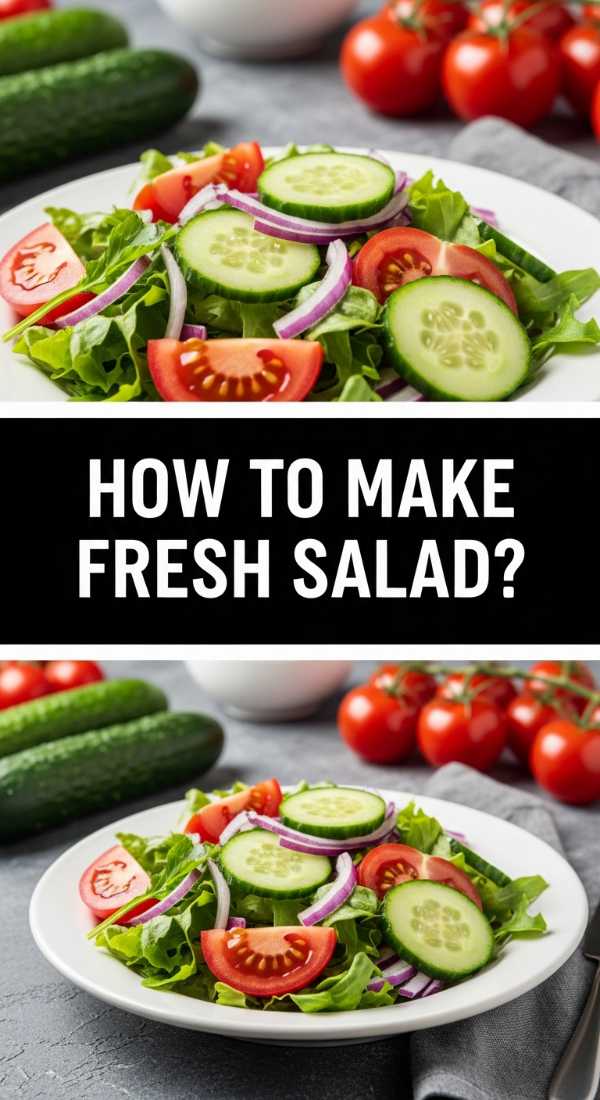
How to make fresh salad
Why we love this
In a world of heavy appetizers, a truly fresh salad acts as the ultimate palate cleanser. It’s a vibrant explosion of color on your food board, offering a satisfying crunch that makes every other bite taste better. We love this because it’s infinitely customizable, using whatever is peak-season at the farmer’s market. The cold, crisp greens combined with a zesty, bright dressing provide a refreshing counterpoint to the richer items on the board, making the entire meal feel balanced and light.
Ingredients
- 5 cups mixed power greens (arugula, spinach, kale)
- 1 cucumber, thinly sliced
- 1 pint cherry tomatoes, halved
- 1/2 red onion, shaved thin
- 1/4 cup toasted sunflower seeds
- Dressing: 3 parts olive oil, 1 part lemon juice, salt, pepper, and a touch of honey.
How to make it
- Start by washing your greens in ice-cold water. This shocks the leaves and ensures they are maximum-level crisp. Spin them completely dry in a salad spinner; dressing won’t stick to wet leaves.
- Prep your vegetables with intention. Slice the cucumbers into thin rounds and the red onion into translucent slivers. Soaking the red onion in ice water for 5 minutes can remove the harsh “bite” if you prefer a milder flavor.
- In a small mason jar, combine the olive oil, lemon juice, honey, salt, and pepper. Shake vigorously until the dressing is emulsified and looks slightly creamy.
- In a large chilled bowl, layer the greens first, then scatter the tomatoes, cucumbers, and onions on top.
- Do not dress the salad until the very moment you are ready to serve. This prevents wilting. Pour the dressing around the edges of the bowl and toss gently with large tongs.
- Finish with a generous sprinkle of toasted sunflower seeds for a nutty, earthy crunch that rounds out the flavors.
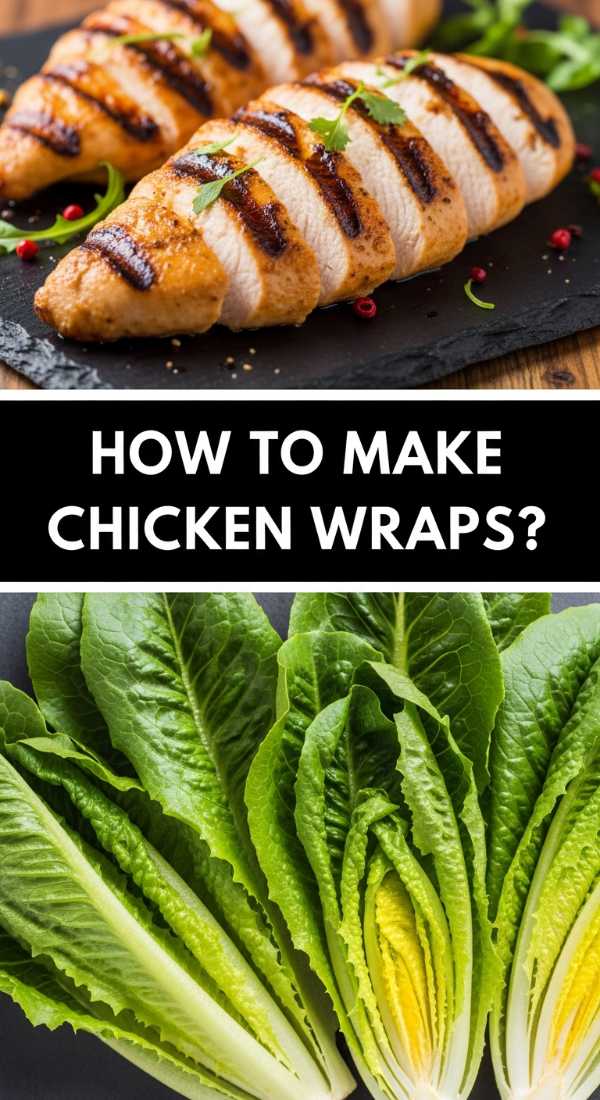
How to make chicken wraps
Why we love this
Chicken wraps are the unsung heroes of the food board because they are incredibly easy to handle and packed with lean protein. They offer a clean, handheld eating experience that doesn’t require a fork or a plate, making them perfect for mingling. The combination of tender, seasoned chicken nestled against crisp lettuce and a creamy sauce inside a soft flour tortilla is pure satisfaction. They feel light but substantial, providing enough energy to keep the party going without the post-dinner slump.
Ingredients
- 2 lbs chicken breast, thinly sliced into strips
- Large flour tortillas
- Romaine lettuce leaves, shredded
- Sliced avocado
- Ranch or Caesar dressing
- Seasoning: Smoked paprika, garlic powder, onion powder, salt, and pepper.
How to make it
- Season the chicken strips generously on all sides. Heat a large cast-iron skillet over medium-high heat with a drizzle of avocado oil.
- Sear the chicken strips for about 3-4 minutes per side. You are looking for a golden-brown crust and an internal temperature of 165°F. Do not overcrowd the pan, or the chicken will steam instead of sear.
- Let the chicken rest for 5 minutes after cooking. This allows the juices to redistribute, ensuring the meat stays moist inside the wrap.
- To assemble, warm the tortillas for 10 seconds in the microwave or on a dry pan. A warm tortilla is more pliable and won’t tear.
- Spread a tablespoon of your chosen dressing down the center of the tortilla. Layer the shredded romaine, two slices of avocado, and 3-4 strips of chicken.
- Fold the sides of the tortilla inward, then roll from the bottom up, tucking the filling tightly as you go.
- Slice the wraps on a diagonal. This makes them look professional and reveals the beautiful layers of ingredients inside for your board.
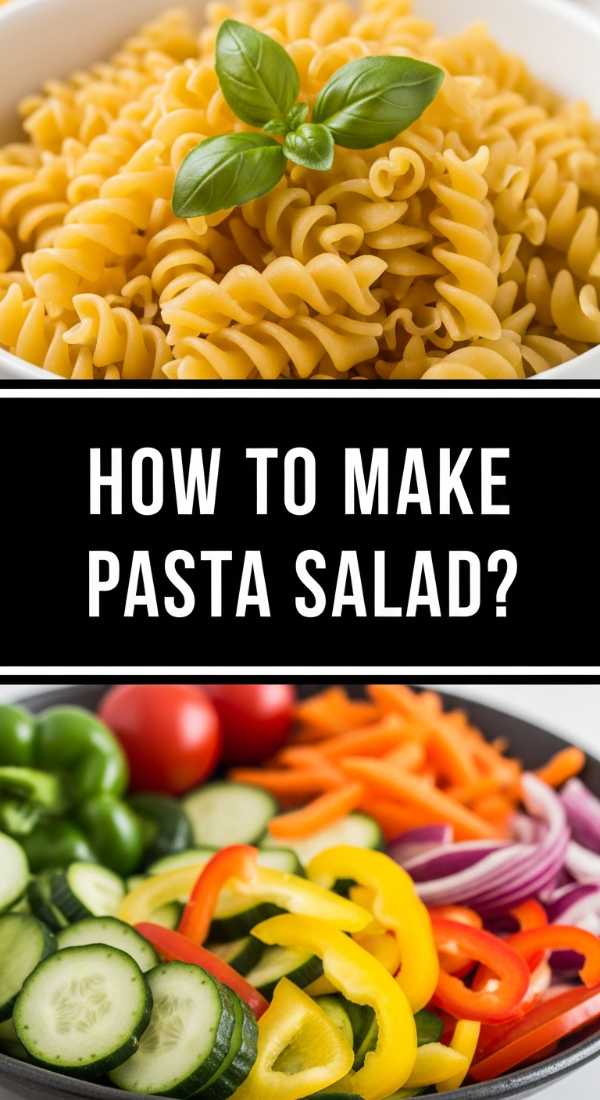
How to make pasta salad
Why we love this
Pasta salad is the ultimate make-ahead dish that actually tastes better the longer it sits. It’s a riot of textures—chewy pasta, crunchy peppers, and creamy cheese—all tied together by a tangy vinaigrette that seeps into every nook and cranny. We love it because it’s sturdy; it can sit out on a food board for an hour and still look and taste fantastic. It’s hearty enough to be a main but versatile enough to act as a side, making it a mandatory addition to any viral food spread.
Ingredients
- 1 lb Rotini or Farfalle pasta
- 1 cup Italian dressing (zesty)
- 1 cup cubed salami or pepperoni
- 1 cup fresh mozzarella pearls
- 1/2 cup black olives, sliced
- 1 bell pepper, finely diced
How to make it
- Boil a large pot of heavily salted water. Cook the pasta according to the package directions, but aim for “al dente.” You want the pasta to have a slight bite because it will soften as it absorbs the dressing later.
- Drain the pasta and immediately rinse it under cold running water. This stops the cooking process and removes excess starch, preventing the pasta from sticking together in a clump.
- In a massive mixing bowl, combine the cooled pasta with the diced bell peppers, olives, mozzarella pearls, and meat.
- Pour half of the Italian dressing over the mixture and toss thoroughly to coat.
- Cover the bowl and refrigerate for at least 2 hours. This is the “marinating phase” where the pasta drinks in the flavors.
- Just before serving, pour the remaining half of the dressing over the salad and toss again. This ensures the salad looks glossy and tastes fresh rather than dry.
- Garnish with a sprinkle of dried oregano or fresh parsley for a pop of green color.
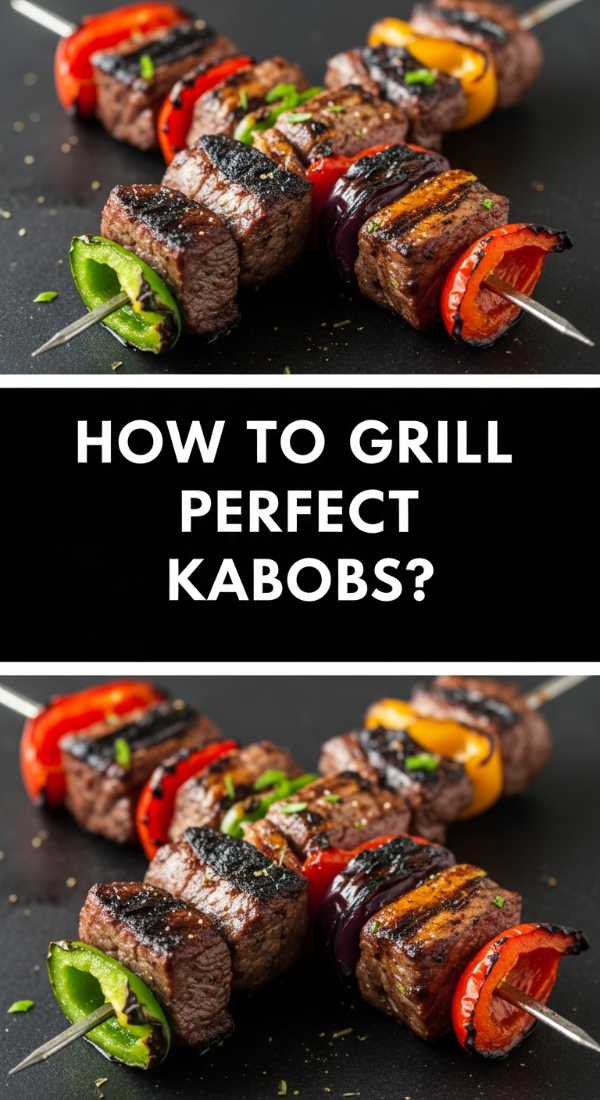
How to grill perfect kabobs

Why we love this
Kabobs bring a sense of drama and fire to your food board. There is something primal and exciting about food cooked over an open flame, and the charred, smoky aroma of grilled meat and vegetables is universally enticing. We love how the high heat caramelizes the natural sugars in the onions and peppers, creating a sweet and savory harmony that is hard to replicate any other way. Plus, they look stunning arranged in a fan shape on a platter, showcasing a rainbow of grilled goodness.
Ingredients
- 1.5 lbs top sirloin beef or chicken thighs, cut into 1.5-inch cubes
- 1 red bell pepper, 1 green bell pepper, cut into chunks
- 1 red onion, cut into wedges
- Whole button mushrooms
- Marinade: Soy sauce, olive oil, minced garlic, and rosemary.
How to make it
- If using wooden skewers, soak them in water for at least 30 minutes. This prevents them from catching fire on the grill.
- Whisk your marinade together and toss your meat cubes in it. Let them marinate in the fridge for at least 1 hour (up to 4 hours) to tenderize the fibers and infuse deep flavor.
- Thread the skewers, alternating between meat and vegetables. Pro tip: Don’t pack them too tightly. Leave a tiny bit of space between items so the heat can circulate and cook everything evenly.
- Preheat your grill to medium-high heat (about 400°F). Clean the grates and oil them lightly to prevent sticking.
- Place the kabobs on the grill. Let them sear undisturbed for 4-5 minutes until they release easily from the grate with a nice char.
- Flip and cook for another 4-5 minutes. For beef, aim for an internal temp of 135°F for medium-rare; for chicken, 165°F.
- Remove from heat and let them rest on a plate covered with foil for 5 minutes before adding to your board. This keeps the meat incredibly juicy.
How to mix summer cocktails
Why we love this
No lifestyle board is complete without a signature drink to wash it all down. Summer cocktails are all about brightness, effervescence, and the cooling sensation of ice against a warm afternoon. We love how a well-crafted drink uses fresh herbs and citrus to elevate the spirits, creating a sophisticated sipping experience. The visual of condensation on a glass and the clinking of ice cubes adds a sensory layer to the gathering that makes everything feel a little more celebratory and special.
Ingredients
- 2 oz Vodka or Gin
- 1 oz fresh lime juice
- 1/2 oz simple syrup
- 4-5 fresh mint leaves
- Club soda or sparkling water
- Ice cubes
How to make it
- Start by “slapping” your mint leaves between your palms. This bruises the leaves just enough to release the essential oils without making them bitter.
- Drop the mint and simple syrup into a sturdy cocktail shaker. Use a muddler to gently press the mint into the syrup—don’t shred it, just a few firm presses will do.
- Add the lime juice and your spirit of choice. Fill the shaker halfway with large, solid ice cubes.
- Shake vigorously for about 15 seconds. You want the outside of the shaker to feel frosty and cold to the touch. This dilutes the drink slightly and chills it perfectly.
- Strain the mixture into a highball glass filled with fresh ice. Straining ensures you don’t get tiny bits of leaves stuck in your teeth.
- Top with a splash of club soda for that essential summer fizz.
- Garnish with a fresh sprig of mint and a lime wheel. Serve immediately while the bubbles are active.
How to make hummingbird food
Why we love this
While the humans eat inside, why not host the local wildlife too? Making your own hummingbird food is a beautiful way to bring nature closer to your living space. We love the simple chemistry of it—just sugar and water—and the pure joy of watching these tiny, iridescent creatures dart around your garden. It adds a peaceful, whimsical atmosphere to your backyard hosting, turning a simple lunch into a full-sensory experience where you’re connected to the environment around you.
Ingredients
- 1 cup white granulated sugar
- 4 cups water
- Note: Never use red dye, honey, or artificial sweeteners, as these are harmful to the birds.
How to make it
- In a medium saucepan, combine the 4 cups of water and 1 cup of sugar. This 4:1 ratio most closely mimics the natural nectar found in flowers.
- Bring the mixture to a low boil over medium heat. Stir constantly until the sugar is completely dissolved and the liquid is perfectly clear.
- Boil for 2 minutes. This helps to slow down the growth of mold and bacteria once the food is outside in the feeder.
- Remove the pan from the heat and allow the nectar to cool to room temperature. This is vital; hot nectar can warp plastic feeders or harm the birds.
- Pour the cooled nectar into a clean hummingbird feeder. Store any leftovers in a sealed jar in the refrigerator for up to two weeks.
- Hang your feeder in a shaded area to prevent the sugar water from fermenting too quickly in the sun. Clean the feeder and replace the nectar every 3-5 days.
How to grill fresh veggies
Why we love this
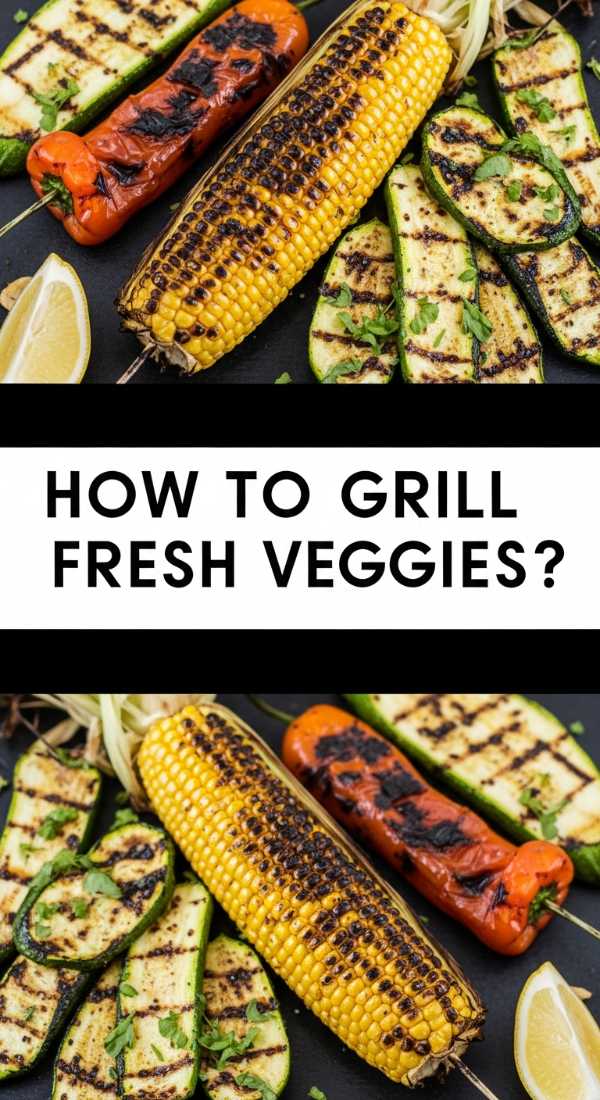
Grilled vegetables are the vibrant, earthy backbone of a healthy food board. When veggies hit those hot grates, they transform from simple produce into smoky, caramelized treats. We love the contrast of the charred exterior and the tender, juicy interior of a perfectly grilled zucchini or asparagus spear. It’s a way to celebrate the season’s harvest that feels indulgent yet totally nourishing, providing those essential fibers and vitamins in the most delicious format possible.
Ingredients
- 2 Zucchini, sliced into long planks
- 1 bunch Asparagus, woody ends trimmed
- 2 Bell peppers, cut into wide strips
- Olive oil
- Balsamic glaze
- Sea salt and cracked black pepper
How to make it
- Prep your vegetables by cutting them into large, flat pieces. Larger surface areas create better grill marks and prevent small pieces from falling through the grates.
- Place all the veggies on a large baking sheet and drizzle generously with high-quality olive oil. Toss with your hands to ensure every inch is lightly coated. Season heavily with sea salt and black pepper.
- Get your grill hot—medium-high heat is best. You want to hear a distinct sizzle the moment the vegetables touch the metal.
- Lay the vegetables across the grates, perpendicular to the bars. For zucchini and peppers, grill for 3-4 minutes per side. For asparagus, 2-3 minutes total, rolling them occasionally.
- Look for deep, dark grill marks as your visual cue. The veggies should be tender-crisp—not mushy.
- Remove to a platter and immediately drizzle with a thick balsamic glaze. The heat from the veggies will thin the glaze slightly, allowing it to coat them in a sweet-tart finish.
How to cook summer dinner
[IMAGE_10]
Why we love this
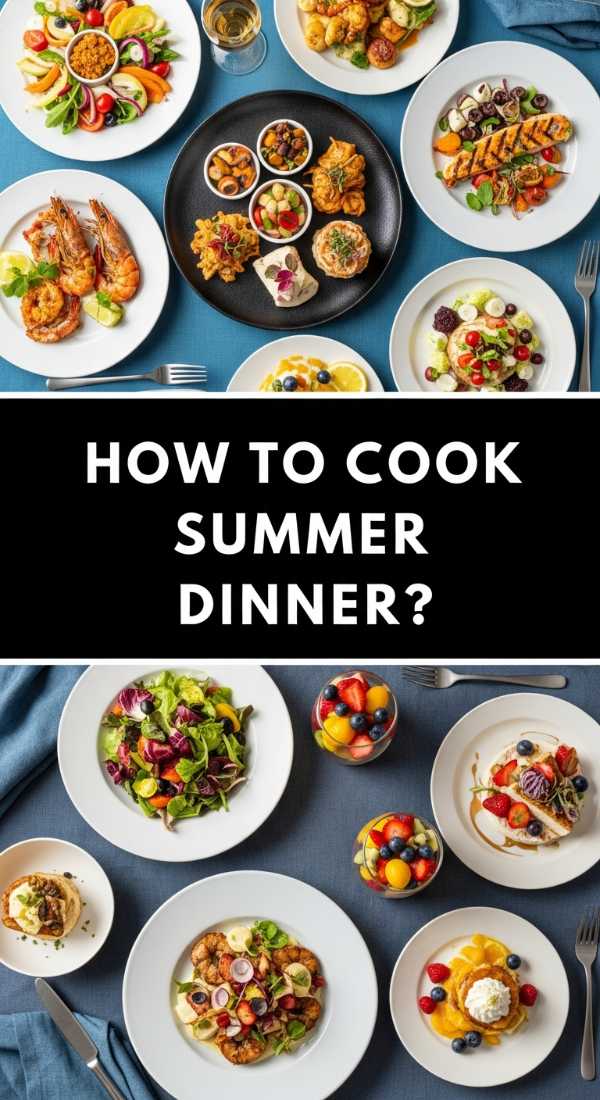
Cooking a full summer dinner is about embracing ease and high-quality ingredients. It’s the culmination of all these board elements into a cohesive, relaxed meal that celebrates the long days and warm nights. We love this approach because it’s less about being a “chef” and more about being a curator of flavors. It’s a style of dining that encourages slowing down, sharing stories, and savoring the fleeting beauty of the season with the people who matter most.
Ingredients
- Marinated proteins (chicken or fish)
- Seasoned grains (couscous or quinoa)
- Fresh herbs (basil, mint, cilantro)
- Selection of chilled fruits (watermelon or peaches)
- Assorted nuts and cheeses
How to make it
- The key to a successful summer dinner is the “Prep and Platter” method. Start by grilling your main protein (like a lemon-herb chicken) and let it rest so it can be served at room temperature.
- While the meat rests, cook a quick grain like couscous. Fluff it with a fork and stir in a handful of chopped fresh herbs and a squeeze of lemon to keep it light and bright.
- Arrange your food board starting with the largest items first (the meat and the bowls of pasta salad or dip).
- Fill in the large gaps with your grilled vegetables and wraps.
- Use the smallest items—the nuts, cheese cubes, and fresh fruit—to fill in every remaining empty space. This creates that lush, “viral” look where the board looks overflowing with abundance.
- Set out your summer cocktails and chilled water nearby so guests can serve themselves.
- The final touch: scattered fresh basil leaves over everything. It adds a professional garnish look and a heavenly scent to the whole table.
Conclusion
Creating a viral-worthy food board isn’t about stress; it’s about the art of assembly. By focusing on these reliable, delicious components, you’re not just serving food—you’re creating an experience. From the first scoop of cheesy Rotel dip to the last slice of strawberry pie, your guests will feel the warmth and effort you put into the evening. So, put down the phone, stop scrolling, and start building your own masterpiece. Your table is ready!