

We have all been there: you step out onto your patio, iced coffee in hand, ready to soak in the morning sun, only to be met with a mountain of damp towels and a neon-green dinosaur float blocking your path. It is the ultimate summer buzzkill. Your pool deck should be a sanctuary, a place where the water sparkles and the atmosphere feels like a five-star Mediterranean escape, not a cluttered garage overflow area. Transforming your backyard into a cohesive, stylish cabana isn’t just about the furniture you choose; it’s about how you manage the ‘stuff’ that comes with pool life.
The secret to that elusive ’boutique hotel’ vibe lies in intentional organization. When every float has its place and every towel is tucked away in a chic receptacle, the energy of the space shifts. You stop focusing on the chores and start focusing on the relaxation. In this guide, we are diving deep into the most creative, durable, and downright beautiful ways to reclaim your deck. From DIY projects that add a touch of custom charm to luxury-inspired storage racks, we are going to turn that clutter into a curated cabana that will be the envy of the neighborhood.
How to Master Pool Float Storage for a Serene Backyard
Why we love this
There is a specific kind of magic that happens when the visual noise of oversized inflatables is replaced by the clean lines of a well-organized deck. We love this approach because it treats your floats like the fun accessories they are, rather than eye-sores. Imagine the sun reflecting off a clear, unobstructed deck while the faint scent of jasmine wafts through the air, and you can finally hear the gentle lap of the water without the rustle of plastic. It creates a sensory experience of pure, unadulterated calm, where the textures of your outdoor rug and the smoothness of the pavers can finally shine through.
Essential Elements:
- High-grade 1-inch PVC pipes and connectors
- UV-resistant white spray paint
- Heavy-duty PVC cement
- Rubber mallet
- Measuring tape and hand saw
How to make it
- Begin by measuring your largest pool floats to determine the necessary width of your storage bin; typically, a 3-foot by 4-foot footprint works best for most family collections.
- Cut your PVC pipes into four 4-foot lengths for the base and top frame, and four 3-foot lengths for the vertical supports, ensuring all cuts are perfectly square for stability.
- Use a piece of medium-grit sandpaper to smooth out any burrs or rough edges at the cut sites to ensure the connectors fit snugly and won’t snag your delicate inflatables.
- Lay out your base frame on a flat surface, apply a thin, even layer of PVC cement to the inside of the elbow connectors, and press the pipes in firmly, holding for 30 seconds to create a permanent bond.
- Once the base is set, insert the vertical supports into the corner connectors, then attach the top frame using the same cementing technique, using a rubber mallet to gently tap the joints into a locked position.
- After the structure is fully assembled and the cement has cured for at least one hour, apply two coats of UV-resistant spray paint in a crisp white or slate gray to protect the plastic from sun damage and give it a professional, high-end finish.
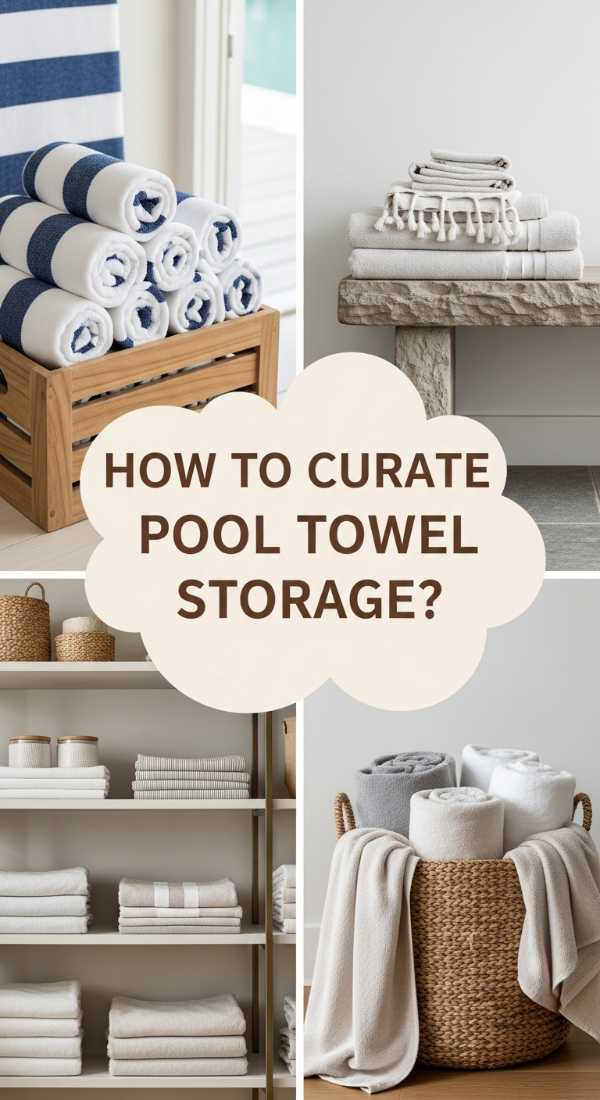
How to Curate Pool Towel Storage Ideas for a Boutique Hotel Feel

Why we love this
This method is all about the tactile luxury of a five-star resort brought right to your backdoor. We love the way a stack of perfectly rolled, plush cotton towels looks against a weathered teak or woven wicker backdrop; it immediately signals to your brain that it’s time to relax. There’s a wonderful aroma of clean laundry and sun-warmed cotton that elevates the entire poolside experience. The softness of the fabric against your skin after a cool dip, combined with the organized, repetitive aesthetic of the rolls, creates a visual and physical comfort that is truly hard to beat.
Essential Elements:
- Large, weather-resistant oversized wicker baskets
- Teak or cedar shelving unit
- Essential oil-infused linen spray (eucalyptus or citrus)
- Uniform, high-GSM Turkish or cotton towels
How to make it
- Select towels in a monochromatic color palette, such as crisp white, navy, or sand, to ensure a cohesive and sophisticated look that mimics luxury hotel branding.
- To achieve the perfect ‘hotel roll,’ lay each towel flat on a clean surface, fold it in half lengthwise, and then fold one corner over to form a triangle before tightly rolling from the opposite end.
- Before placing the towels into your storage unit, lightly mist them with a DIY linen spray made of distilled water and three drops of eucalyptus oil to provide a refreshing sensory pop when guests dry off.
- Arrange the rolled towels vertically in a deep wicker basket for easy grabbing, or stack them horizontally on a teak shelf, ensuring the ‘seams’ are tucked underneath for a clean visual appearance.
- Position the storage unit in a shaded area of the deck to prevent sun-bleaching and to keep the towels cool to the touch for maximum comfort during hot afternoons.
- Inspect the towels weekly; any that show signs of fraying should be rotated out of the ‘display’ stock to maintain the premium, curated aesthetic of your poolside oasis.
How to Build Pool Towel Rack Ideas for Maximum Deck Efficiency
Why we love this
Efficiency has never looked so good; this setup is the ultimate solution for those who want their deck to work hard and look beautiful. We love the sturdy, grounding feel of a wall-mounted rack made from natural wood and industrial metal, which adds a touch of modern rustic charm to the exterior of your home. There is a satisfying ‘click’ and ‘clack’ of the towel loops hitting the hooks, and the way the towels sway gently in the summer breeze allows them to air-dry naturally, releasing a fresh, outdoor scent that you just can’t get from a dryer.
Essential Elements:
- Pressure-treated 1×6 cedar board
- Heavy-duty matte black coat hooks
- Exterior-grade wood stain or sealant
- Stainless steel mounting screws and anchors
- Power drill and level
How to make it
- Measure the available wall space near your pool exit and cut your cedar board to length, typically between 3 and 5 feet depending on the size of your family.
- Sand the board thoroughly, moving from 80-grit to 220-grit sandpaper, until the surface feels as smooth as glass to prevent any splinters from catching on the towels.
- Apply a generous coat of exterior-grade wood sealer to protect the cedar from moisture and UV rays; let it dry for at least 24 hours until it is no longer tacky to the touch.
- Mark the placement for your hooks every 8 to 10 inches along the board, using a level to ensure the line is perfectly horizontal across the wood surface.
- Pre-drill pilot holes for the hook screws to prevent the wood from splitting, then secure each matte black hook firmly using your power drill.
- Mount the completed rack to your exterior wall (stucco, wood, or brick) using the appropriate anchors and stainless steel screws, ensuring it is at a height reachable by both adults and children for maximum utility.
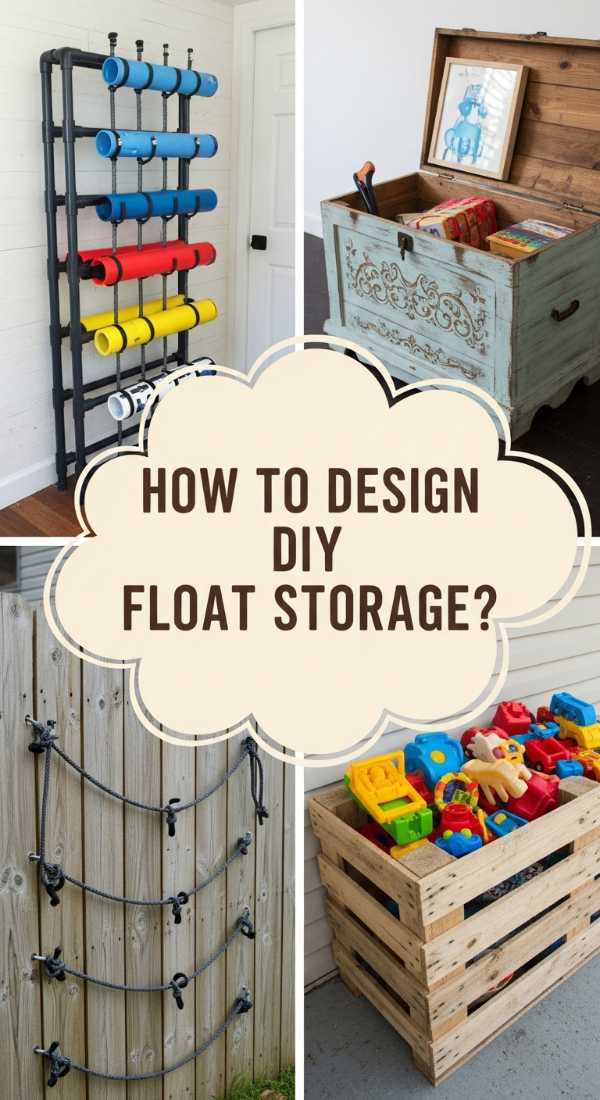
How to Design Pool Float Storage Ideas DIY for Custom Outdoor Charm
Why we love this
There is nothing quite as satisfying as a custom DIY project that fits your space like a glove. We love this design because it combines functionality with a whimsical, handmade aesthetic that adds personality to your patio. The texture of the mesh netting and the sturdy frame create a coastal, nautical vibe that makes you feel like you’re at a beach house. It’s the perfect way to display your colorful floats like art while keeping them securely contained, and the sound of the wind through the mesh provides a gentle, ambient white noise that enhances your backyard relaxation.
Essential Elements:
- Cargo netting or heavy-duty outdoor mesh
- Wooden lattice panels or a wooden frame
- Outdoor staple gun and staples
- Decorative nautical rope
- Solar-powered fairy lights (optional)
How to make it
- Construct a basic rectangular frame using pressure-treated 2×2 lumber, sizing it to fit into an unused corner or alongside a fence line where floats can be ‘corralled.’
- Apply a coat of outdoor paint in a fun, pop-of-color shade like turquoise or coral, or leave it natural and seal it for a more organic look.
- Stretch your cargo netting or mesh across the back and sides of the frame, ensuring it is taut but has enough ‘give’ to hold the bulk of the floats without tearing.
- Secure the mesh using an outdoor staple gun, spacing the staples every 2 inches along the frame for maximum durability against wind and weight.
- Wrap the top edges of the frame with decorative nautical rope, using a hot glue gun or small finishing nails to secure it, creating a finished, professional ‘beachy’ look.
- For an extra touch of charm, weave solar-powered fairy lights through the mesh so that your ‘float station’ glows beautifully once the sun goes down, adding safety and ambiance to your night swims.
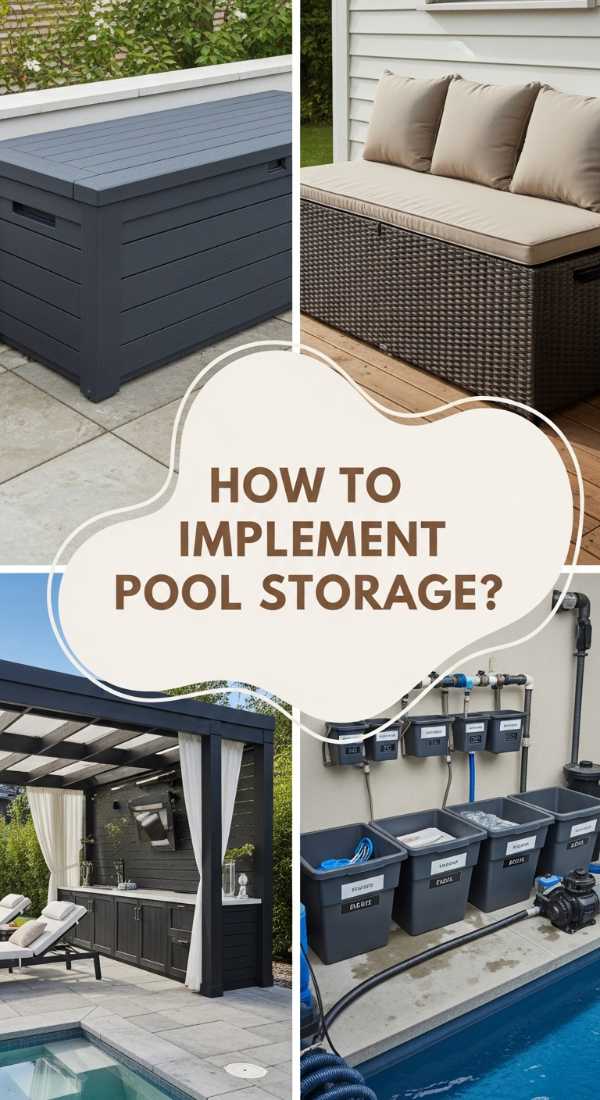
How to Implement Pool Storage Ideas for an Organized Summer Oasis

Why we love this
This is all about creating a ‘home base’ for all the small essentials that usually clutter up the tables and ledges. We love how this system brings a sense of order to the chaos of goggles, sunscreen, and diving rings. The smell of coconut-scented sunblock and the sight of neatly labeled bins creates a functional beauty that makes every pool day feel seamless. There is a tactile joy in opening a weather-proof bin and finding exactly what you need without a frantic search, allowing the flow of your summer afternoon to remain uninterrupted and peaceful.
Essential Elements:
- All-weather resin deck box with a seating lid
- Smaller plastic insert bins for categorization
- Waterproof label maker or vinyl decals
- Silica gel packets (to absorb moisture)
How to make it
- Select a high-quality resin deck box that features a reinforced lid so it can double as extra seating when you have guests over for a pool party.
- Clean the interior of the box thoroughly and place several large silica gel packets at the bottom to prevent mildew and that ‘musty’ outdoor smell from developing over time.
- Purchase a set of smaller, stackable clear bins that fit inside the deck box to separate items by category: one for goggles, one for diving toys, and one for sunscreen and lotions.
- Use a waterproof label maker to clearly mark each bin; this ensures that even the youngest swimmers know exactly where to return their items when they are finished.
- Organize the bins so that the most frequently used items (like sunscreen) are at the very top, while seasonal items or extra filters are stored at the bottom.
- Check the seals on the deck box lid monthly to ensure they remain airtight and free of debris, which keeps your supplies dry and protected from spiders or insects.
How to Execute Pool Organization Ideas for Stress-Free Family Fun

Why we love this
Family fun shouldn’t mean a messy deck, and we love this approach because it empowers everyone—especially the kids—to be part of the cleanup process. It creates an environment where the transition from ‘play time’ to ‘nap time’ is smooth and stress-free. The sight of a tidy deck at the end of a long, sun-drenched day is incredibly rewarding. You can practically feel the stress melting away as the last toy is put in its place, leaving the deck ready for a quiet adult evening under the stars, accompanied by the gentle aroma of citronella candles and the cool night air.
Essential Elements:
- Rolling multi-bin storage cart
- Color-coded baskets for each family member
- Mesh toy bags with drawstring tops
- Wall-mounted ‘lost and found’ basket
How to make it
- Designate a specific ‘drop zone’ near the pool entrance where kids can place their wet gear immediately upon exiting the water.
- Assign each family member a specific color-coded basket for their personal items like flip-flops, sunglasses, and hats, reducing the ‘where is my stuff?’ morning panic.
- Use mesh toy bags for all small pool toys; these can be dunked directly into the pool to rinse off chlorine or salt and then hung to drip-dry, preventing slime and mold.
- Set up a rolling cart that can be moved from the pool’s edge to a storage shed, making it easy to clear the deck in under five minutes at the end of the day.
- Implement a ‘one-in, one-out’ rule for floats and large toys to ensure the water never becomes too crowded or dangerous for younger swimmers.
- Conduct a ‘five-minute sweep’ every evening before dinner where the whole family works together to return items to their designated zones, turning organization into a quick, shared habit.
How to Simplify Pool Float Storage for a Minimalist Patio Aesthetic
Why we love this
Minimalism is about the luxury of space, and we love how this method clears the floor to let your architecture and landscaping take center stage. This isn’t just storage; it’s a design choice that emphasizes the ‘less is more’ philosophy. The sleek, vertical orientation of the floats against a dark fence or a stone wall creates a modern, sculptural look. You’ll love the feeling of an open, airy patio where the only things you see are the shimmering water and the green of your garden, creating a high-end, sophisticated vibe that feels incredibly intentional and calm.
Essential Elements:
- Heavy-duty bungee cords with coated hooks
- Discreet wall-mounted anchors
- Neutral-toned floats (white, tan, or clear)
- Power drill with masonry bits (if mounting to stone)
How to make it
- Identify a ‘dead zone’ on your patio, such as the space behind a lounge chair or an empty wall segment, that is hidden from the main view of the house.
- Install two discreet wall anchors about 4 feet apart at chest height, ensuring they are screwed into studs or secured with masonry anchors for maximum weight capacity.
- Deflate your pool floats slightly—just enough so they aren’t ‘rock hard’—which allows them to be compressed and stacked more easily against the wall.
- Thread a high-quality, neutral-colored bungee cord through the anchors, stretching it across the front of the stacked floats to pin them securely against the wall.
- Arrange the floats by size, with the largest at the back and the smallest at the front, to maintain a clean, layered silhouette that doesn’t feel bulky.
- Wipe down the floats with a microfiber cloth once a week to remove dust and maintain that pristine, ‘hidden’ look that defines the minimalist aesthetic.
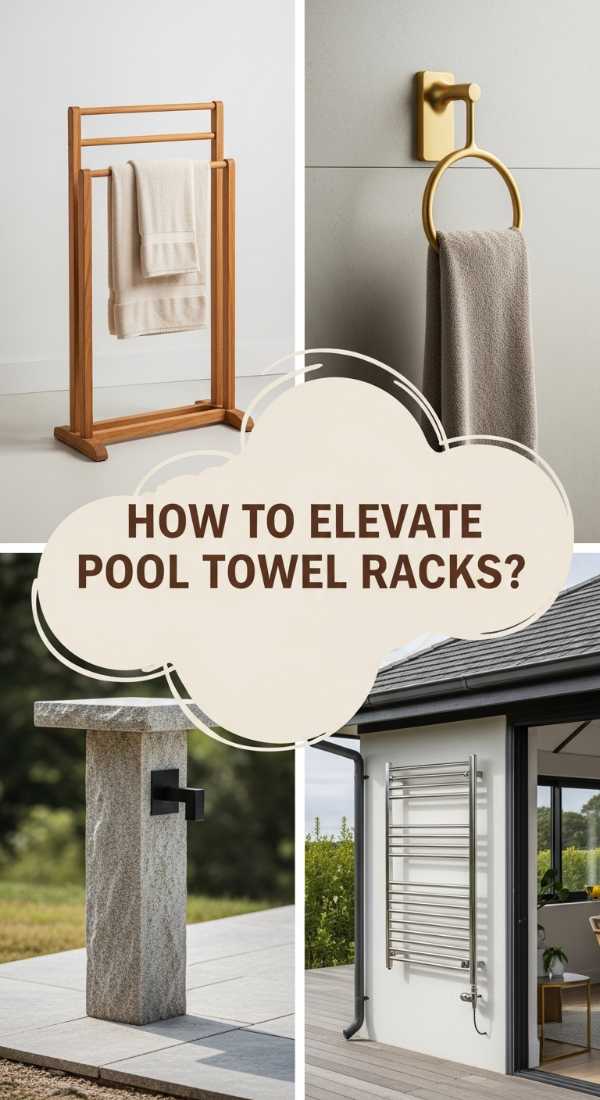
How to Elevate Pool Towel Rack Ideas for a Luxurious Spa Atmosphere
Why we love this
This is the ultimate ‘treat yourself’ storage solution. We love the organic, warm feeling of a bamboo ladder rack that brings a spa-like texture to your outdoor space. It’s all about the details: the smooth grain of the wood, the sight of draped linen towels, and the inclusion of a small bundle of dried eucalyptus hanging from the side. This setup doesn’t just hold towels; it creates a destination. The scent of the eucalyptus activated by the steam of the pool area makes every exit from the water feel like a rejuvenating spa treatment for your senses.
Essential Elements:
- 6-foot bamboo or teak leaning ladder
- Outdoor-safe wood oil
- Dried eucalyptus bundles
- S-hooks for hanging accessories
How to make it
- Purchase a high-quality bamboo or teak ladder; these woods are naturally resistant to moisture and will not rot or warp when exposed to wet towels.
- Apply a light coat of outdoor wood oil to enhance the natural grain and provide an extra layer of protection against the sun’s harsh rays.
- Lean the ladder against a sturdy wall near your outdoor shower or pool steps, ensuring the base is on a non-slip surface to prevent it from sliding.
- Drape your most aesthetic towels over the rungs, alternating colors or textures for a layered, professional look that feels effortlessly chic.
- Use metal S-hooks on the lower rungs to hang wet bathing suits or goggles, keeping them off the floor and allowing them to dry in the breeze.
- Tie a bundle of dried eucalyptus to the top rung with a piece of twine; the natural oils will release a therapeutic scent that transforms your deck into a true wellness retreat.
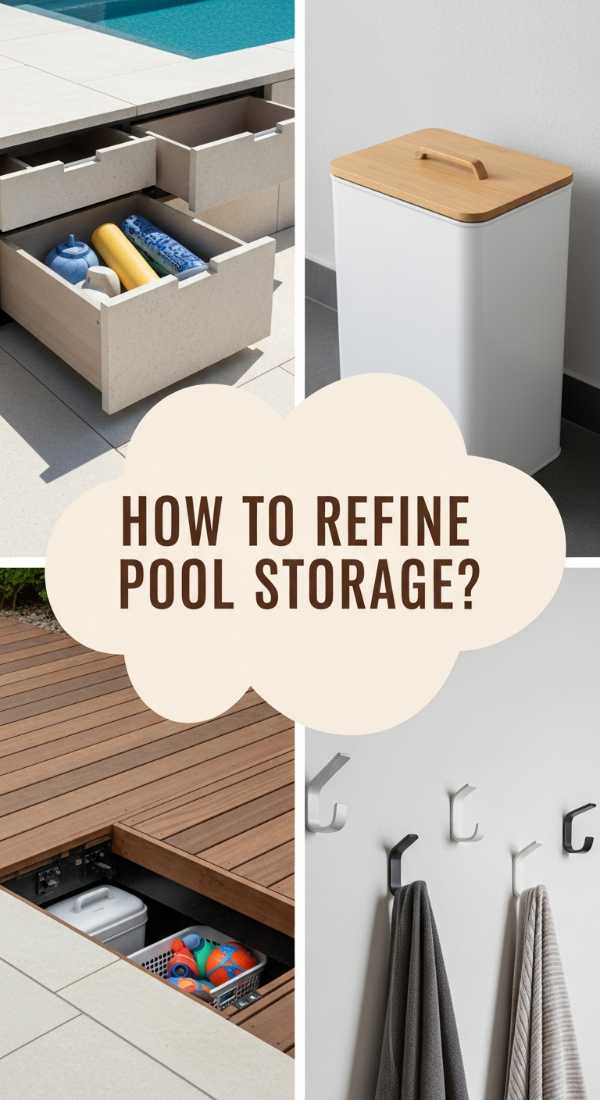
How to Refine Pool Storage Ideas for a Clutter-Free Poolside Retreat
Why we love this
Refinement is the name of the game here, and we love how this strategy focuses on ‘stealth storage.’ It’s about pieces that serve a dual purpose, hiding the practical necessities within beautiful furniture. There is something so satisfying about a deck that looks completely empty of ‘gear’ until you flip a lid or slide a drawer. The texture of a high-quality resin weave or the cool touch of a stone-topped storage table adds to the premium feel, ensuring that your retreat remains focused on luxury and leisure rather than the logistics of pool maintenance.
Essential Elements:
- Storage-integrated ottomans or benches
- Hidden compartment side tables
- Under-deck sliding drawers (if applicable)
- Coordinated furniture covers
How to make it
- Audit your current patio furniture and identify pieces that can be replaced with storage-integrated versions, such as a hollow ottoman that can hold your pool cover or extra cushions.
- For a cohesive look, ensure the material of your storage pieces matches your existing lounge chairs, whether it’s dark synthetic wicker, light teak, or modern aluminum.
- Utilize the ‘dead space’ under your raised deck by installing sliding plastic drawers on tracks to store bulky items like pool vacuums and extra hoses out of sight.
- Place a stone-topped storage side table between your sun loungers to provide a surface for drinks while hiding away small items like magazines and sunglasses inside.
- Organize the interior of your ‘hidden’ storage with moisture-wicking mats to ensure that any damp items tucked away don’t damage the furniture or create odors.
- Consistently clear the tops of your storage furniture at the end of the day, as keeping these surfaces empty is the key to maintaining that refined, clutter-free look.
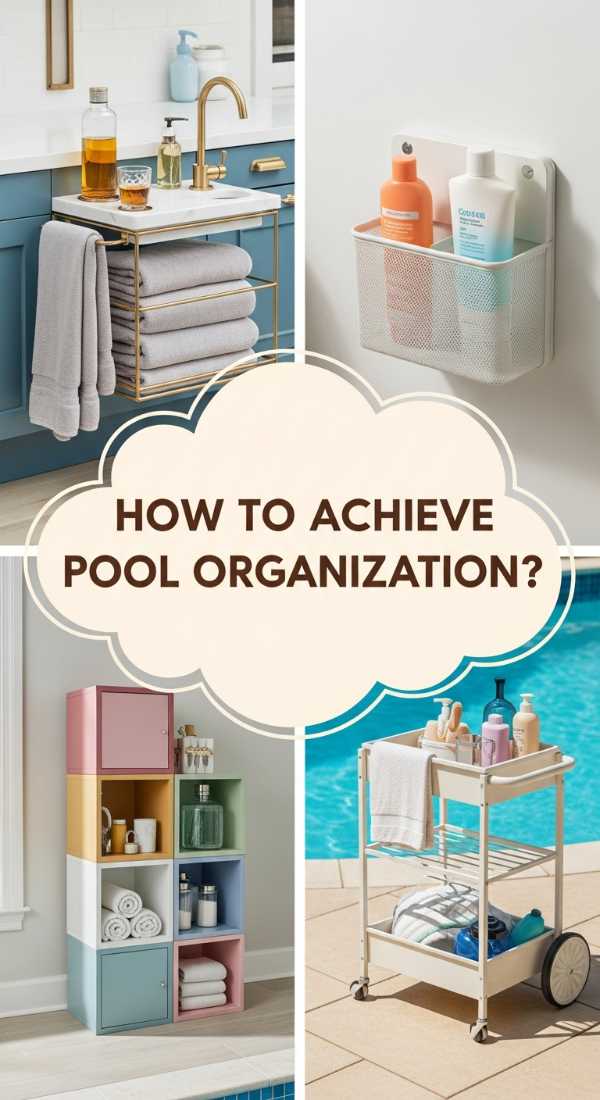
How to Achieve Pool Organization Ideas for the Ultimate Backyard Party
[IMAGE_10]
Why we love this
When the party starts, the last thing you want to do is hunt for a clean towel or a spare drink. We love this organization style because it turns your storage into a hospitality station. The sight of a well-stocked bar cart and a dedicated ‘towel station’ makes your guests feel immediately welcomed and cared for. The sound of ice clinking in a galvanized tub and the vibrant colors of perfectly arranged poolside snacks create a festive, high-energy atmosphere. It’s organization with a purpose: to facilitate joy, connection, and the best backyard party of the summer.
Essential Elements:
- Three-tiered rolling bar cart
- Galvanized metal buckets for ice and drinks
- A dedicated ‘Guest Towel’ basket
- Outdoor-safe glassware and serving trays
How to make it
- Set up a rolling bar cart in a central, shaded location to serve as the ‘hub’ for drinks and snacks, keeping the main dining table clear for food.
- Fill the bottom shelf with extra rolled towels in a large basket so guests don’t have to ask where to find one after their swim.
- Use the middle shelf for ‘sun essentials’ like a variety of sunscreen SPF levels, bug spray, and a small first-aid kit, arranged in a pretty acrylic tray.
- On the top shelf, place a galvanized bucket filled with ice and a variety of beverages, ensuring you have both alcoholic and non-alcoholic options clearly visible.
- Add a small ‘discard bin’ nearby specifically for wet towels and trash to ensure the party area stays clean and inviting throughout the entire event.
- Decorate the station with a small potted plant or a bowl of citrus fruits to add a pop of color and a fresh, inviting aroma that rounds out the ‘ultimate host’ experience.
Conclusion
Stepping out onto your pool deck should always feel like a vacation, and with these chic storage solutions, it finally can. By blending functionality with high-end design, you’ve turned a cluttered outdoor area into a curated cabana that serves your family’s needs while satisfying your aesthetic soul. Whether it’s the spa-like tranquility of a bamboo ladder or the hidden efficiency of a deck box, these changes prove that organization is the ultimate luxury. So, grab your favorite book, dive into the crystal-clear water, and enjoy your new, serene backyard oasis—you’ve certainly earned it!