
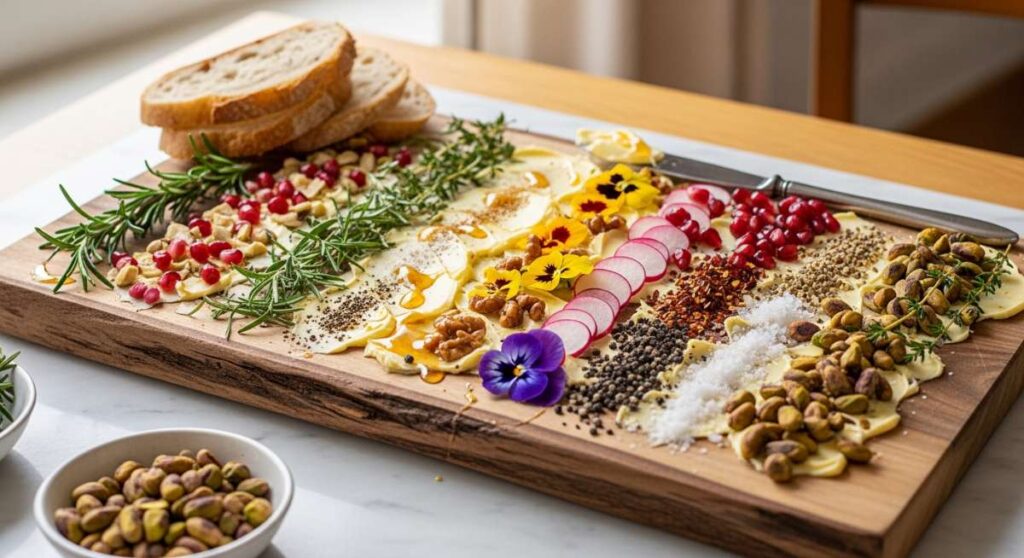
Why Everyone is Obsessed with This Simple Butter Board Hack
There is something inherently magical about a communal table where the food isn’t just a meal, but a conversation piece. I remember the first time I set down a wooden board adorned with swirls of salted butter, wildflower honey, and vibrant herbs; the room went quiet for a split second before everyone dove in with warm bread and laughter. It reminded me that the best parts of life aren’t found in complicated recipes, but in those simple, shared moments that feel like a warm hug for the soul.
The viral butter board trend has opened a door to a whole new world of ‘board-style’ hosting, where the focus is on texture, color, and ease. Whether you’re prepping for a sun-drenched beach day or a cozy evening by the campfire, these hacks are all about reclaiming your time while elevating your aesthetic. Today, I’m sharing my favorite ways to bring that effortless, viral charm into every corner of your kitchen and lifestyle, from the perfect strawberry pie to the ultimate beach snack strategy.
How to bake strawberry pie?

Why we love this
There is nothing quite like the aroma of a strawberry pie wafting through a sunlit kitchen, promising a slice of pure summer bliss. We love this because the filling transforms into a jammy, ruby-red nectar that perfectly contrasts with a buttery, flaky crust that shatters upon impact. Each bite is a symphony of sweet and slightly tart notes, evoking memories of berry picking and afternoon picnics under old oak trees. It’s the kind of dessert that feels both nostalgic and sophisticated, making it the crowning jewel of any gathering.
Ingredients
- 2 1/2 cups all-purpose flour
- 1 cup cold unsalted butter, cubed
- 1 teaspoon salt
- 1 tablespoon sugar
- 6-8 tablespoons ice water
- 2 lbs fresh strawberries, hulled and halved
- 3/4 cup granulated sugar
- 3 tablespoons cornstarch
- 1 tablespoon lemon juice
- 1 teaspoon vanilla extract
- 1 egg (for egg wash)
How to make it
- Begin by preparing the crust: Combine flour, salt, and sugar in a large bowl. Use a pastry cutter to work the cold butter into the flour until the mixture resembles coarse crumbs with pea-sized bits of butter remaining. This cold butter is the secret to a flaky texture.
- Gradually add ice water, one tablespoon at a time, mixing gently with a fork until the dough just starts to come together. Divide the dough into two disks, wrap them tightly in plastic, and let them chill in the refrigerator for at least one hour to allow the gluten to relax.
- Preheat your oven to 400°F (200°C). On a floured surface, roll out one disk of dough and fit it into a 9-inch pie plate. Trim the edges, leaving a small overhang.
- In a large bowl, toss the halved strawberries with 3/4 cup sugar, cornstarch, lemon juice, and vanilla extract. Ensure the cornstarch is evenly distributed to prevent a runny filling; it acts as the thickening agent as the berries release their juices.
- Pour the strawberry mixture into the bottom crust. Roll out the second dough disk and place it over the top, or cut it into strips for a lattice design. Crimp the edges to seal the two layers together.
- Brush the top of the pie with a beaten egg wash and sprinkle with a little extra sugar for a golden, sparkling finish. Cut a few slits in the top crust to allow steam to escape.
- Bake for 45-55 minutes. You are looking for a deep golden-brown crust and filling that is bubbling thick through the vents. Allow the pie to cool completely for at least 4 hours before slicing so the filling sets properly.
How to make rotel dip?
Why we love this
Rotel dip is the ultimate crowd-pleaser that brings a punch of bold, savory flavor to any game night or casual hangout. We love the way the velvety, melted cheese wraps around the spicy, zesty tomatoes and green chilies, creating a dip that is as comforting as it is addictive. The aroma of browned meat mixed with melted cheddar notes fills the room, signaling that the party has officially started. It’s warm, gooey, and has just enough kick to keep you coming back for one more chip-full of cheesy goodness.
Ingredients
- 1 lb ground beef or bulk sausage
- 1 block (32 oz) Velveeta or processed cheese, cubed
- 2 cans (10 oz each) Ro-Tel Diced Tomatoes and Green Chilies, undrained
- 1/2 teaspoon garlic powder
- 1/2 teaspoon onion powder
- Tortilla chips for serving
How to make it
- Place a large skillet or Dutch oven over medium-high heat. Add your ground beef or sausage and cook until it is completely browned and no longer pink. Break the meat into small, uniform crumbles using a wooden spoon to ensure every bite of dip has an even distribution of protein.
- Once the meat is cooked, drain off the excess fat carefully. This step is crucial to prevent the dip from becoming oily or separated.
- Reduce the heat to low and add the cubed cheese. Using cubes rather than a whole block ensures the cheese melts evenly and quickly without burning. Stir frequently as it begins to liquefy into a smooth, yellow river.
- Pour in both cans of Ro-Tel, including the liquid. The juice from the tomatoes provides the necessary acidity and moisture to create the perfect dipping consistency. Add the garlic and onion powder at this stage.
- Continue to stir over low heat until the mixture is completely homogenous and steaming hot. If the dip is too thick, you can add a splash of milk or heavy cream to thin it out to your liking.
- Transfer the dip to a slow cooker set to the ‘warm’ setting for serving. This keeps the cheese from hardening, ensuring it stays perfectly dippable for the duration of your event.
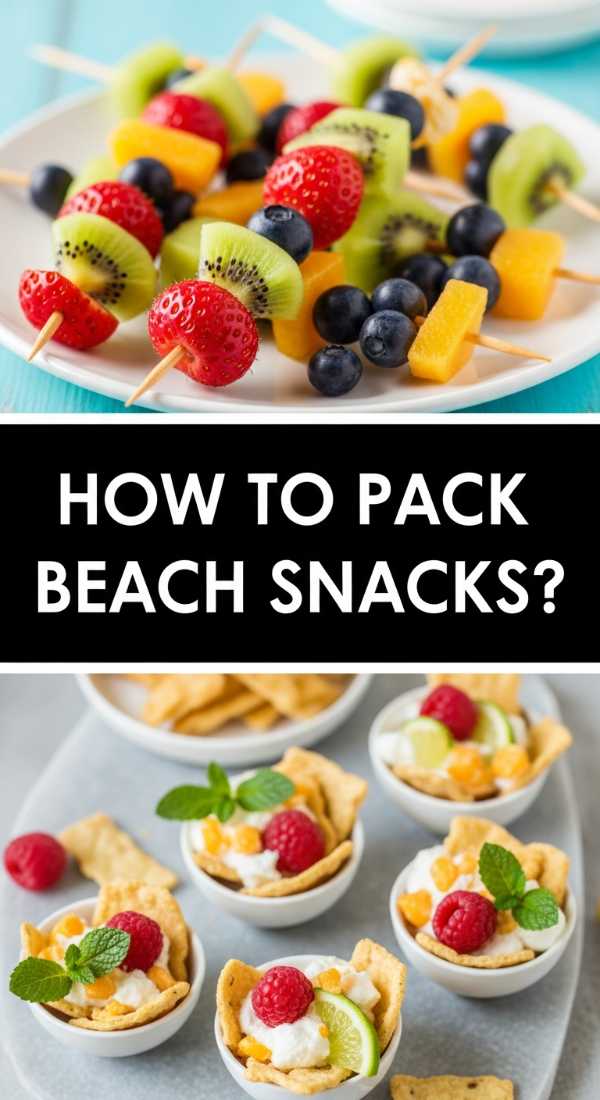
How to pack beach snacks?

Why we love this
Nothing ruins a beach vibe faster than sandy sandwiches or lukewarm drinks, which is why a well-packed snack kit is a total game-changer. We love the feeling of opening a crisp, cool cooler to find perfectly organized treats that stay fresh despite the blazing sun. There’s a sensory delight in biting into a chilled, crunchy grape or a salty pretzel while listening to the rhythmic crashing of the waves. It’s about being prepared so you can spend more time in the water and less time worrying about where the napkins went.
Ingredients
- Hard-sided cooler
- Frozen water bottles (serve as ice packs)
- Reusable airtight containers
- Individual portions of hummus or dip
- Sliced cucumbers and bell peppers
- Grapes or melon chunks
- Pretzels or hardy crackers
- Wet wipes and hand sanitizer
How to make it
- Start with a foundation of frozen water bottles at the bottom of your cooler. This acts as your primary cooling source and provides cold drinking water as the day progresses, saving space on traditional ice packs.
- Layer your heaviest and most temperature-sensitive items, like meats or dairy-based dips, directly on top of the frozen bottles. Ensure everything is in airtight, leak-proof containers to prevent any ‘cooler soup’ from ruining your food if the ice melts.
- Use vertical organization: place sturdy fruits and veggies in the middle layer. Avoid soft fruits like bananas or berries unless they are at the very top, as they bruise easily under the weight of other snacks.
- Keep dry snacks like pretzels or crackers in a separate, dry bag or a compartment at the top of the cooler. Moisture is the enemy of crunch, so keeping them away from the direct cold surfaces is key.
- Pack individual servings. This prevents cross-contamination and limits the amount of time the cooler lid stays open, which helps maintain the internal temperature for much longer.
- Place a clean towel on top of everything before closing the lid. This adds an extra layer of insulation and gives you a clean surface to wipe your hands on before eating.
How to make squishy butter?
Why we love this
The secret to the viral butter board is ‘squishy’ butter—that perfectly aerated, silky texture that spreads like a dream across a piece of crusty sourdough. We love how this simple technique transforms a basic pantry staple into a luxury experience that coats the palate in rich, creamy decadence. The sight of those soft, buttery peaks topped with flaky sea salt and zesty lemon is enough to make anyone’s mouth water. It’s the ultimate sensory hack, turning a humble ingredient into the centerpiece of the table.
Ingredients
- 2 sticks high-quality unsalted butter (European style is best)
- 1/2 teaspoon flaky sea salt
- Fresh herbs (thyme, rosemary, or chives)
- Lemon zest
- Optional: Honey or chili flakes
How to make it
- Remove the butter from the refrigerator at least 2-3 hours before you plan to prepare the board. The butter needs to reach a true room temperature where it is soft to the touch but not melting or oily.
- Place the softened butter in a bowl and use a small offset spatula or the back of a spoon to whip it manually for about 2 minutes. This incorporates air, making it lighter and more ‘squishy’ in texture.
- Using your spatula, swirl the butter onto a clean wooden board or slate. Use a sweeping, circular motion to create ‘wells’ and ‘peaks.’ These little valleys are perfect for catching honey, oils, or herbs.
- Once spread, sprinkle your flaky sea salt evenly across the surface. The crunch of the salt against the soft butter is a vital textural component.
- Finely chop your fresh herbs and scatter them over the butter, followed by a generous zest of lemon. The citrus oils cut through the richness of the fat beautifully.
- Serve immediately with warm, toasted bread. The butter should be soft enough that it requires no effort to scoop, providing a smooth, velvety mouthfeel with every bite.
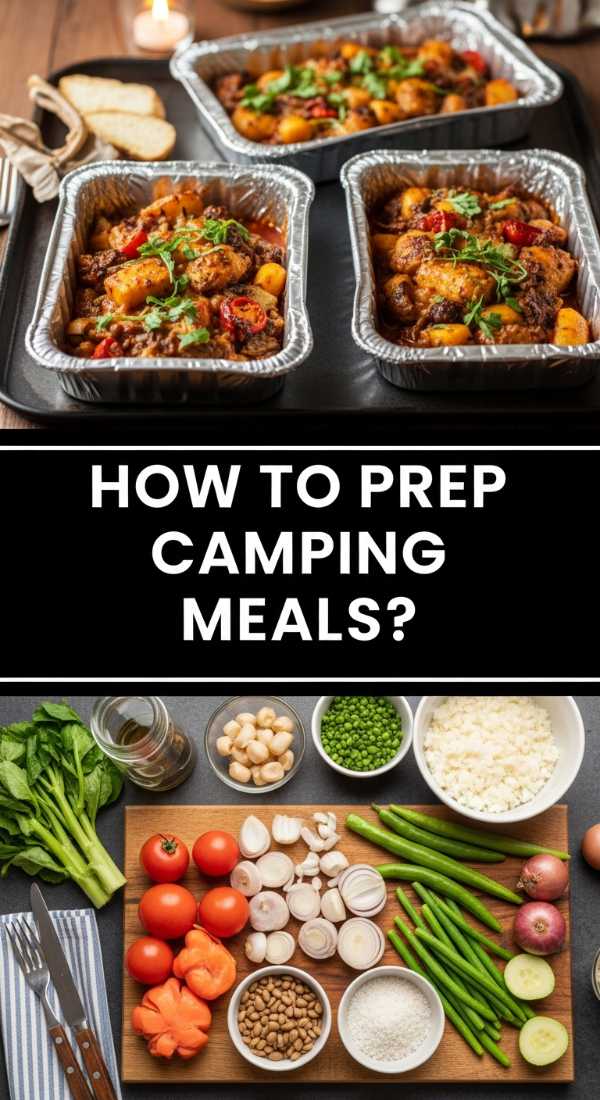
How to prep camping meals?
Why we love this
Camping meals are all about the primal joy of cooking over an open flame, but the real secret to success is the preparation done in the comfort of your home kitchen. We love the peace of mind that comes with knowing dinner is already chopped, seasoned, and ready to hit the grill while the sun sets behind the trees. The smoky aroma of a foil packet meal sizzling on the embers creates a rugged, earthy dining experience that tastes better than any five-star restaurant. It’s about simplifying the process so you can focus on the stars and the crackle of the fire.
Ingredients
- Pre-marinated chicken or steak
- Chopped hardy vegetables (potatoes, carrots, onions)
- Heavy-duty aluminum foil
- Spices and oil
- Ziploc bags or vacuum-seal bags
- Reusable silicone bags
How to make it
- Create your ‘meal plan’ for each day of the trip. Prep each meal entirely at home: chop all vegetables into uniform sizes to ensure they cook at the same rate over the unpredictable heat of a campfire.
- Place proteins in marinade at least 12 hours before leaving. Vacuum-sealing these marinated meats prevents leaks in your cooler and allows the flavors to penetrate deeply into the fibers.
- Assemble ‘foil packets’ for easy cleanup. Place a portion of meat and veggies on a large square of heavy-duty foil, drizzle with oil, season generously, and fold the edges tightly to create a steam-sealed pouch.
- Freeze any meals that aren’t intended for the first night. These frozen packets will help keep your cooler cold and will thaw perfectly in time for their designated mealtime.
- Pack a ‘spice kit’ in a small pill organizer or tiny jars so you don’t have to bring full-sized bottles into the woods. Salt, pepper, garlic powder, and smoked paprika are essentials.
- Label every bag with the meal name and the date it should be eaten. When you arrive at your campsite, all you have to do is place a packet on the grate or in the coals and wait for that familiar, delicious sizzle.
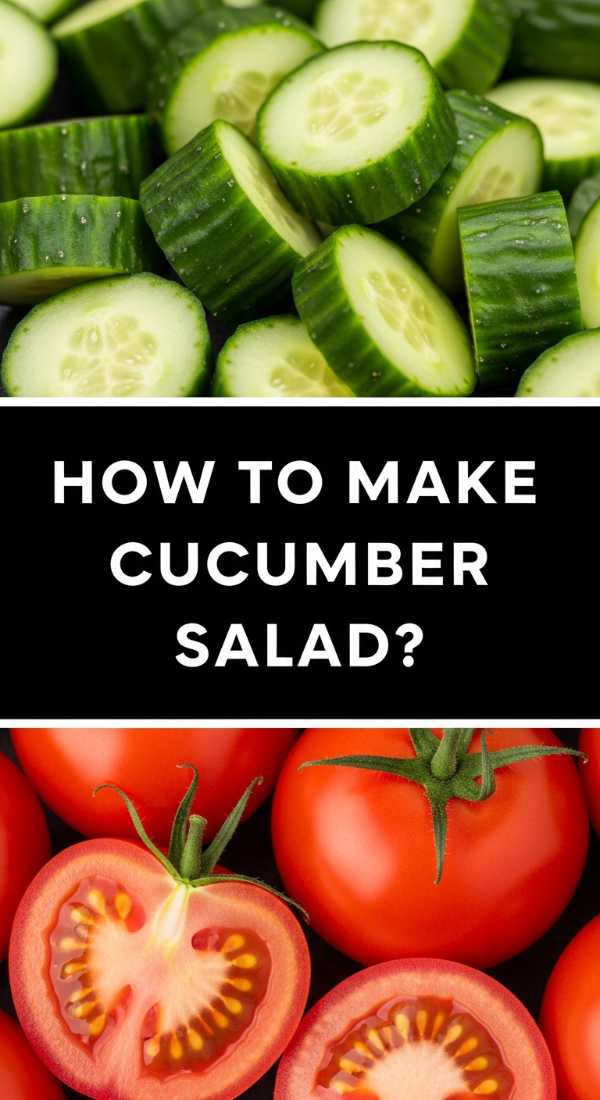
How to make cucumber salad?
Why we love this
A crisp cucumber salad is the ultimate refresher, providing a cool, crunchy contrast to heavy grilled meats or spicy dishes. We love how the thin, translucent slices soak up the tangy vinegar dressing, creating a vibrant pop of flavor that cleanses the palate with every bite. The scent of fresh dill and sharp red onion is invigorating, making this dish feel like a breath of fresh air on a humid afternoon. It’s simple, elegant, and provides that satisfying snap that only the freshest garden produce can offer.
Ingredients
- 2 large English cucumbers (seedless)
- 1/2 red onion, thinly sliced
- 1/2 cup white vinegar or apple cider vinegar
- 2 tablespoons sugar
- 1/4 cup fresh dill, chopped
- 1 teaspoon salt
- 1/2 teaspoon black pepper
How to make it
- Slice the cucumbers as thinly as possible. Using a mandoline slicer is recommended to achieve those paper-thin, uniform rounds that absorb the dressing most effectively.
- Place the sliced cucumbers in a colander and sprinkle with the salt. Let them sit for about 15-20 minutes. This process, called ‘sweating,’ draws out excess moisture, ensuring your salad stays crunchy rather than watery.
- While the cucumbers rest, whisk together the vinegar, sugar, pepper, and chopped dill in a small bowl until the sugar is completely dissolved. The sugar balances the sharp acidity of the vinegar.
- Pat the cucumbers dry with a paper towel to remove the excess salt and moisture, then place them in a large mixing bowl with the thinly sliced red onions.
- Pour the dressing over the vegetables and toss gently to coat every slice. Ensure the red onions are separated so their bite is distributed throughout the salad.
- Let the salad chill in the refrigerator for at least 30 minutes before serving. This ‘marinating’ period allows the flavors to meld and the cucumbers to become slightly pickled and incredibly flavorful.
How to grill fresh veggies?

Why we love this
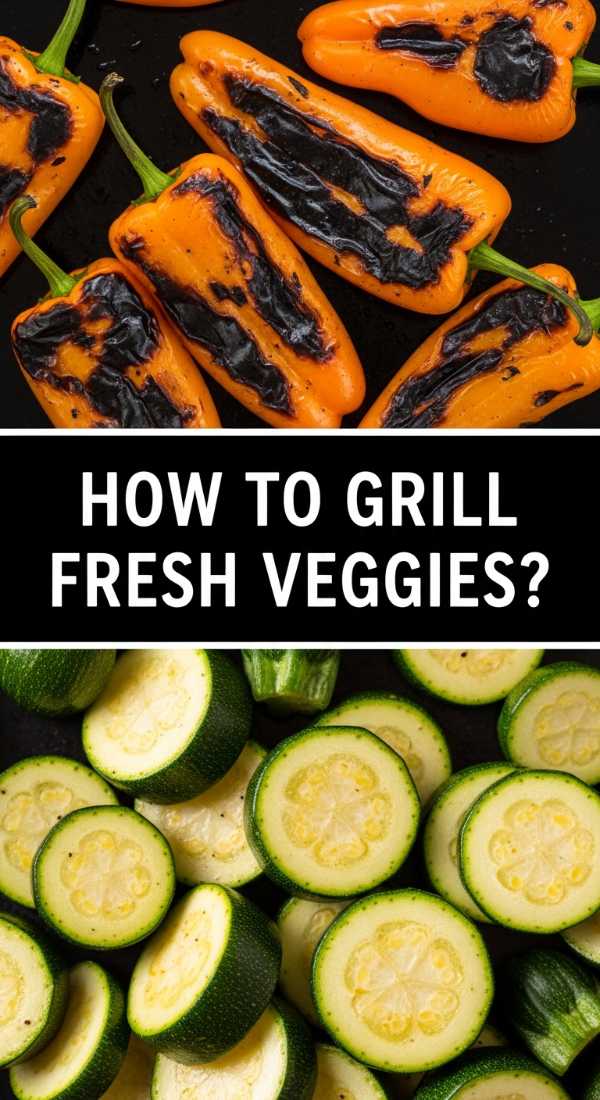
Grilling vegetables transforms them from simple side dishes into charred, caramelized stars of the show. We love the way the intense heat of the grill coaxes out the natural sugars, creating a smoky sweetness that is impossible to achieve in an oven. The sight of those dark, defined grill marks on a bright green asparagus stalk or a vibrant bell pepper is incredibly appetizing. It’s a sensory experience that combines the crunch of fresh produce with the deep, earthy aroma of charcoal and fire.
Ingredients
- Assorted vegetables (zucchini, bell peppers, asparagus, corn)
- 3 tablespoons olive oil
- 1 tablespoon balsamic vinegar
- 2 cloves garlic, minced
- Salt and cracked black pepper
- Fresh lemon wedges
How to make it
- Preheat your grill to medium-high heat. A hot grate is essential for creating those beautiful grill marks and preventing the vegetables from sticking.
- Prepare the vegetables by cutting them into large, flat pieces. For zucchini, slice lengthwise into planks; for peppers, cut into wide strips. Keeping the pieces large prevents them from falling through the grates.
- In a large bowl, whisk together the olive oil, balsamic vinegar, minced garlic, salt, and pepper. Toss the vegetables in this mixture until they are thinly and evenly coated. Don’t over-saturate them, as excess oil can cause flare-ups on the grill.
- Clean and oil your grill grates using a folded paper towel dipped in oil held with tongs. This creates a non-stick surface for the delicate vegetables.
- Place the vegetables on the grill. Cook denser vegetables like corn and peppers first, as they take longer. Asparagus and zucchini only need about 3-4 minutes per side. Flip only once you see dark grill marks and the edges start to char.
- Remove the veggies once they are tender-crisp. Overcooking will make them mushy. Squeeze fresh lemon juice over the top immediately after removing them from the heat to brighten the smoky flavors.
How to cook summer meals?
Why we love this
Summer cooking is all about minimalism and letting the seasonal harvest do the heavy lifting. We love this approach because it keeps the house cool and the spirit light, focusing on quick sears, raw preparations, and bright, citrusy finishes. The kitchen becomes a place of vibrant colors—deep greens, sunny yellows, and rich reds—all coming together with very little effort. It’s the season of ease, where a meal can be as simple as a piece of grilled fish and a handful of garden herbs, tasting like pure sunshine on a plate.
Ingredients
- Light proteins (shrimp, white fish, or chicken breast)
- Seasonal greens (arugula, spinach)
- Fresh citrus (lemons, limes, oranges)
- Quality olive oil
- Soft cheeses (feta or goat cheese)
- Fresh herbs
How to make it
- Adopt the ‘low-heat’ rule: on particularly hot days, utilize your outdoor grill or a quick-heating stovetop griddle rather than the oven to keep your living space comfortable.
- Focus on high-impact, short-duration cooking. For example, shrimp only require 2 minutes of heat to become perfectly opaque and succulent. Searing a chicken breast quickly over high heat preserves its moisture.
- Incorporate raw elements into every meal. A base of fresh arugula or thinly shaved fennel provides crunch and hydration, reducing the amount of ‘cooked’ components needed.
- Use ‘acid-based’ marinades. Citrus juices and light vinegars not only tenderize proteins quickly but also provide the bright flavor profile that defines summer cuisine.
- Master the ‘one-pan’ or ‘sheet-pan’ method for the grill. Toss protein and veggies together and cook them in a grill basket; it saves time on prep and cleanup, giving you more time to enjoy the evening.
- Finish every dish with a handful of torn fresh herbs and a crumble of cold cheese. This adds layers of texture and temperature contrast that make even a 10-minute meal feel luxurious.
How to make tomato salad?

Why we love this
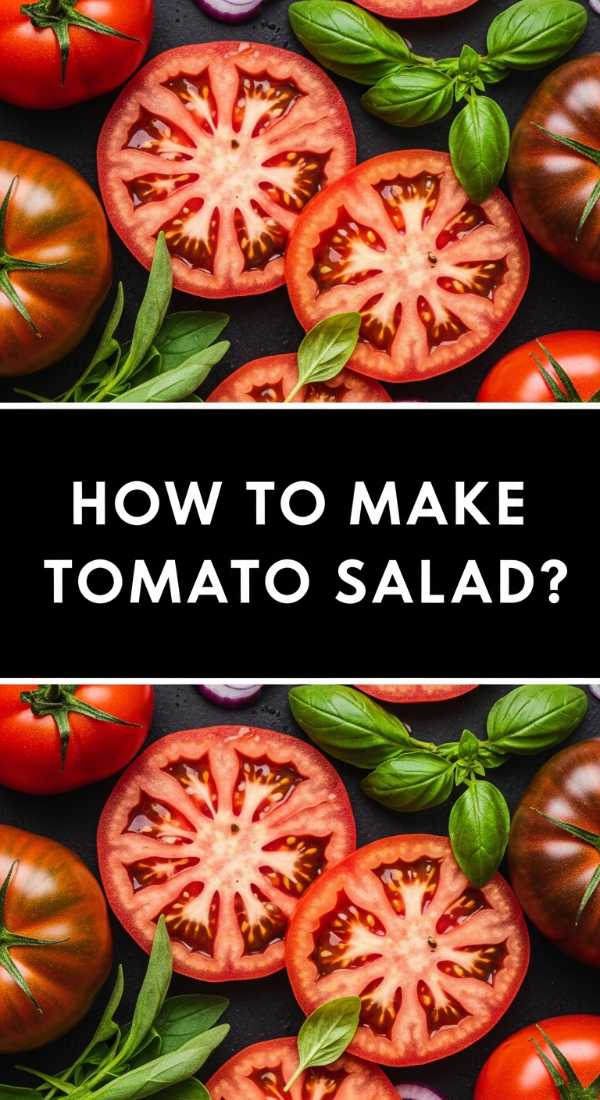
A true tomato salad is a celebration of the earth’s bounty, especially when using heirloom varieties that look like jewels on a plate. We love the way the tomatoes release their sweet, slightly acidic ‘liquid gold’ juices, which mingle with the olive oil to create the world’s best natural dressing. The smell of fresh basil leaves being torn over the warm, sun-ripened fruit is the quintessential scent of summer. It’s a dish that demands you slow down, grab a piece of bread to soak up the juices, and savor the fleeting perfection of peak season.
Ingredients
- 3-4 large heirloom tomatoes (different colors)
- 1 pint cherry tomatoes, halved
- 1/2 cup fresh basil leaves
- 4 oz fresh mozzarella pearls or burrata
- 2 tablespoons high-quality extra virgin olive oil
- 1 tablespoon balsamic glaze
- Flaky sea salt and cracked pepper
How to make it
- Selection is everything: ensure your tomatoes are at room temperature. Cold tomatoes have a muted flavor and a mealy texture. They should feel heavy for their size and have a slight give when pressed.
- Slice the large heirloom tomatoes into thick wedges or rounds of varying thicknesses. Halve the cherry tomatoes to provide a mix of shapes and sizes, which adds visual interest and different texture points.
- Arrange the tomatoes on a shallow platter rather than a bowl. This prevents the tomatoes on the bottom from being crushed and allows the dressing to touch every piece.
- Tuck the mozzarella pearls or torn pieces of burrata into the gaps between the tomatoes. The creamy, mild cheese is the perfect foil for the acidic tomato juice.
- Tear the basil leaves by hand rather than chopping them with a knife. Tearing prevents the edges from bruising and darkening, and it releases the aromatic oils more effectively.
- Drizzle the olive oil and balsamic glaze in a zigzag pattern across the plate. Finish with a generous pinch of flaky sea salt and cracked black pepper. Let the salad sit for 5 minutes before serving so the salt can draw out those delicious juices.
How to make easy dinners?
[IMAGE_10]
Why we love this
Easy dinners are the unsung heroes of a busy week, providing a sense of accomplishment without the exhaustion. We love the clever use of pantry staples and ‘mise en place’ that turns a frantic evening into a calm, culinary flow. There is a deep satisfaction in sitting down to a home-cooked meal that took less than thirty minutes to prepare but tastes like a labor of love. It’s about being kind to yourself while still nourishing your body and soul with warm, comforting flavors that bring the day to a peaceful close.
Ingredients
- Pantry proteins (canned chickpeas, tuna, or frozen shrimp)
- Quick-cook grains (couscous or thin pasta)
- Frozen vegetable blends
- Store-bought pesto or jarred marinara
- Garlic and onions
- Pre-washed salad greens
How to make it
- Start with ‘the prep’: spend 10 minutes at the beginning of the week chopping onions and garlic. Having these aromatics ready to go saves the most tedious part of cooking every single night.
- Utilize the ‘boil and sauté’ method. While your pasta or grains are boiling, sauté your protein and veggies in a single pan. By the time the grains are tender, the rest of the meal is cooked and ready to be tossed together.
- Embrace high-quality shortcuts. A jar of premium pesto or a rotisserie chicken can be the foundation of a 5-star meal. Shred the chicken into a salad or toss it with pesto and pasta for an instant dinner.
- Think in ‘bowls.’ A base of greens, a scoop of grain, a protein, and a drizzle of dressing is a formula that never fails. It requires minimal cooking and allows for endless variety based on what you have in the fridge.
- Keep the heat high and the pieces small. Smaller cuts of meat and vegetables cook significantly faster, meaning you can get a stir-fry or a hash on the table in under 15 minutes.
- Cleanup as you go. Spending the 2 minutes while something is searing to wash the cutting board means that when you finish eating, your kitchen is already clean, allowing you to actually relax.
Conclusion
Bringing these viral food trends into your own home isn’t about perfection; it’s about the joy of the process and the delight of the people sitting at your table. Whether you’re whipping up a squishy butter board or packing the perfect cooler for a day at the shore, these simple hacks are designed to make your life more delicious and your hosting more effortless. I hope these recipes and tips inspire you to get into the kitchen and create your own sun-drenched memories this season. Happy cooking!