
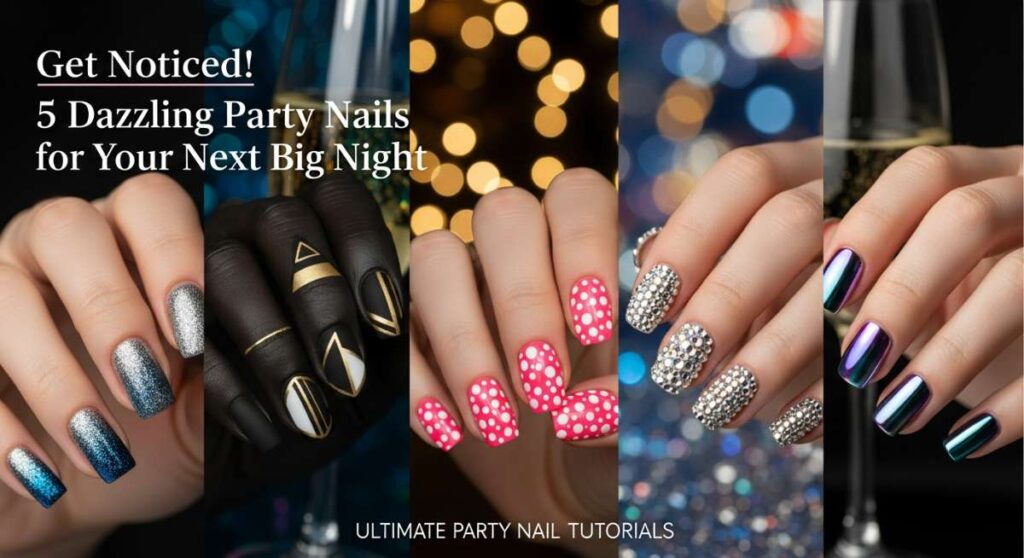
Get Noticed! 5 Dazzling Party Nail Tutorials for Your Next Big Night
Hey there, my loves! There is something so incredibly magical about the ritual of getting ready for a big night out, isn’t there? It’s that quiet moment in front of the mirror, the soft hum of your favorite playlist, and the feeling of transformation as you add those final touches. I always say that our hands tell our stories—they hold our champagne flutes, they wave hello across a crowded room, and they deserve to feel just as radiant as the soul behind them.
I’ve spent so many late nights experimenting with colors and textures just to find that perfect ‘glow’ for my fingertips. Today, I am so excited to wrap you in a warm, cloud-soft embrace and share my absolute favorite tutorials. Whether you’re celebrating a beautiful bride-to-be or sipping Earl Grey at a garden gathering, these looks are designed to make you feel like the most luminous version of yourself.
5 Easy Steps to Glam Bachelorette Nails
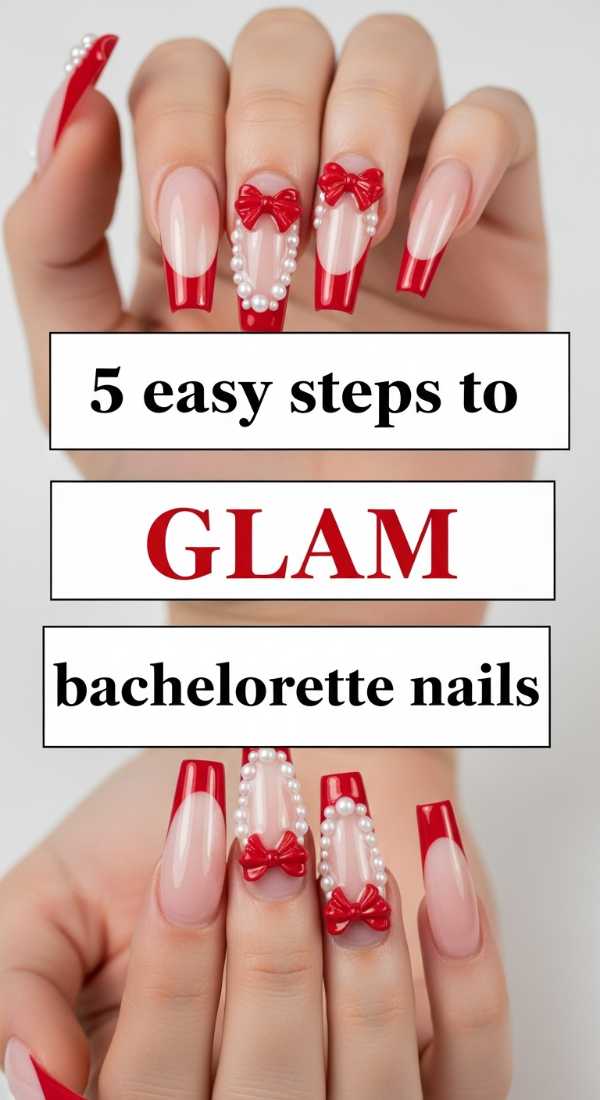
Why to love these Nails:
Oh, sweetness, these glam bachelorette nails are like a celebration in a bottle! They strike that perfect balance between sophisticated elegance and ‘let’s dance all night’ energy. You’ll love how the light catches the metallic accents every time you reach for a toast.
Essential Items:
- Base coat and high-shine top coat
- Soft nude polish
- Gold or silver leaf flakes
- Fine detailing brush
- Tweezers
How to Prepare:
- Cleanse your nails thoroughly with alcohol to remove any natural oils.
- Apply one thin layer of base coat to protect your natural nail.
- Paint two coats of your favorite soft nude polish and let dry until tacky.
- Using tweezers, gently press small pieces of gold leaf onto the tips.
- Seal everything with a thick, plush layer of high-shine top coat.
Budget Range
- Essie Skinny Dip Polish – $10
- Beetles Nail Art Gold Leaf – $7
- Seche Vite Dry Fast Top Coat – $9
4 Simple Ways to Style Tea Party Nails
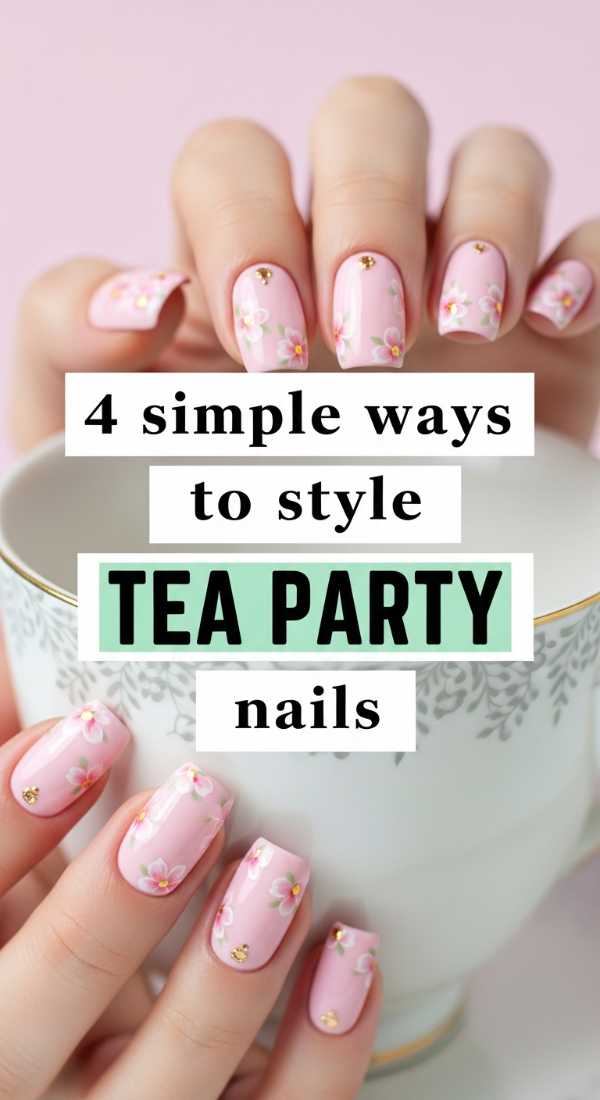
Why to love these Nails:
There is a gentle, poetic beauty in tea party nails that just warms my heart. They are soft, understated, and evoke the feeling of a sun-drenched afternoon in a blooming garden. It’s the kind of style that makes you feel instantly poised and graceful.
Essential Items:
- Creamy white polish
- Matte top coat
- Pearl stickers or small flat-back pearls
- Nail glue
How to Prepare:
- Shape your nails into a soft oval or almond for a feminine look.
- Apply two coats of creamy white polish for a solid, clean base.
- Apply a matte top coat to give the nails a velvety, porcelain-like finish.
- Place a single pearl at the base of your ring finger and thumb using a tiny dot of glue.
Budget Range
- OPI Funny Bunny Polish – $11
- Sally Hansen Big Matte Top Coat – $6
- Amazon Nail Art Pearl Set – $5
6 Quick Tricks for Sparkly Party Nails
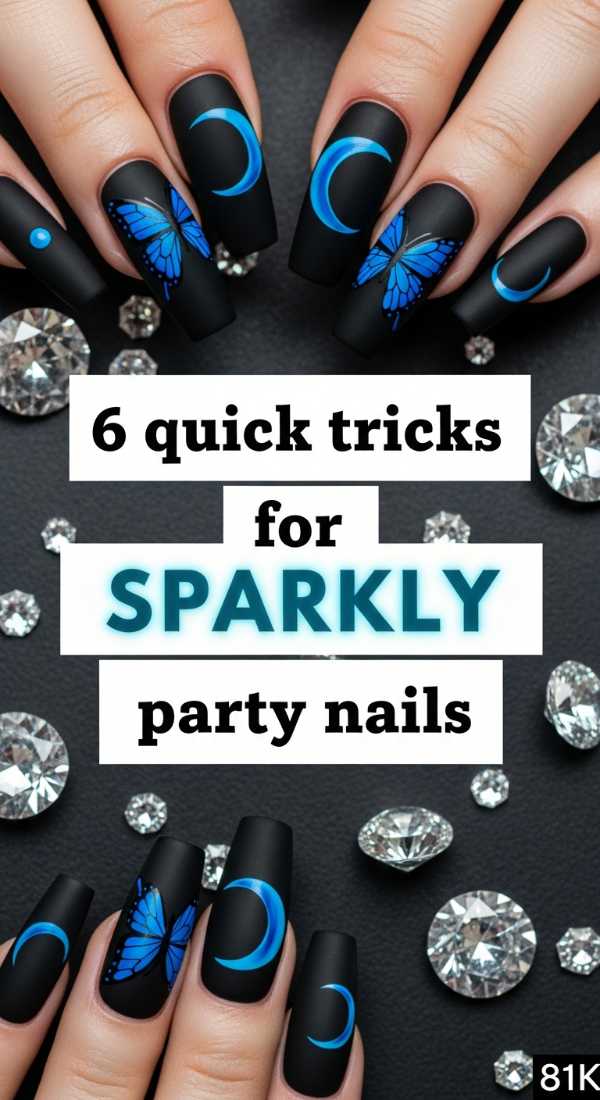
Why to love these Nails:
Darling, sometimes we just need to shine! These sparkly party nails are my go-to when I want to feel extra bold and confident. They aren’t just nails; they are tiny disco balls for your fingers that instantly lift your mood and the mood of everyone around you.
Essential Items:
- Holographic glitter polish
- Sponge wedges
- Peel-off cuticle guard
- Clear gel-effect top coat
- Nail file
How to Prepare:
- Apply a cuticle guard around your skin to keep things tidy.
- Paint the glitter polish directly onto the corner of a sponge wedge.
- Dab the sponge onto the nail to build up dense, opaque glitter coverage.
- Peel away the cuticle guard once the glitter is slightly set.
- File the edges of the tips to ensure a smooth finish without snags.
- Apply two coats of top coat to smooth out the glitter texture.
Budget Range
- ILNP Holographic Nail Polish – $10
- Beauty Secrets Latex Tape – $8
- Wedge Sponges (Bulk Pack) – $4
4 DIY Methods for Pink Bachelorette Nails
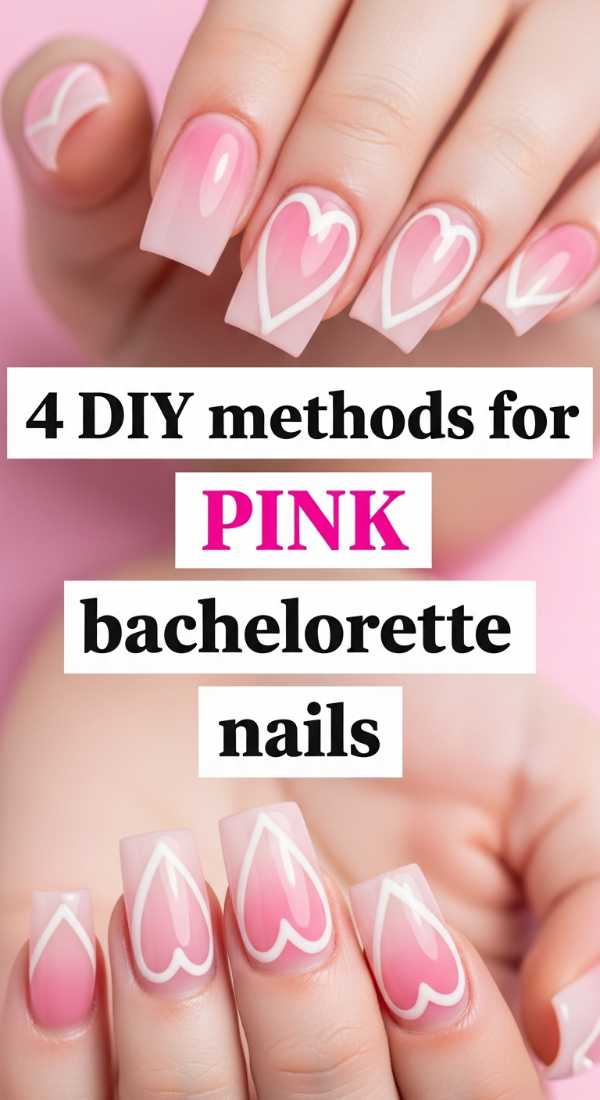
Why to love these Nails:
Pink isn’t just a color, it’s a whole vibe of joy and sisterhood. These DIY pink bachelorette nails are so dreamy because they play with different shades of blush and rose, creating a soft ombre effect that feels like a sunset on your hands. It’s pure, unadulterated fun!
Essential Items:
- Three shades of pink (light, medium, deep)
- Clear mixing plate or foil
- Makeup sponge
- Clean-up brush and acetone
How to Prepare:
- Paint your nails with the lightest pink shade as your foundation.
- Strip the three pink colors onto a makeup sponge in horizontal lines.
- Lightly bounce the sponge onto the nail to create a seamless gradient.
- Use a clean-up brush dipped in acetone to tidy the edges around your skin.
Budget Range
- Zoya Pink Palette Polish Trio – $30
- Pure Acetone – $5
- Nail Art Clean-up Brush – $7
5 Pastel Hacks for Vintage Tea Party Nails
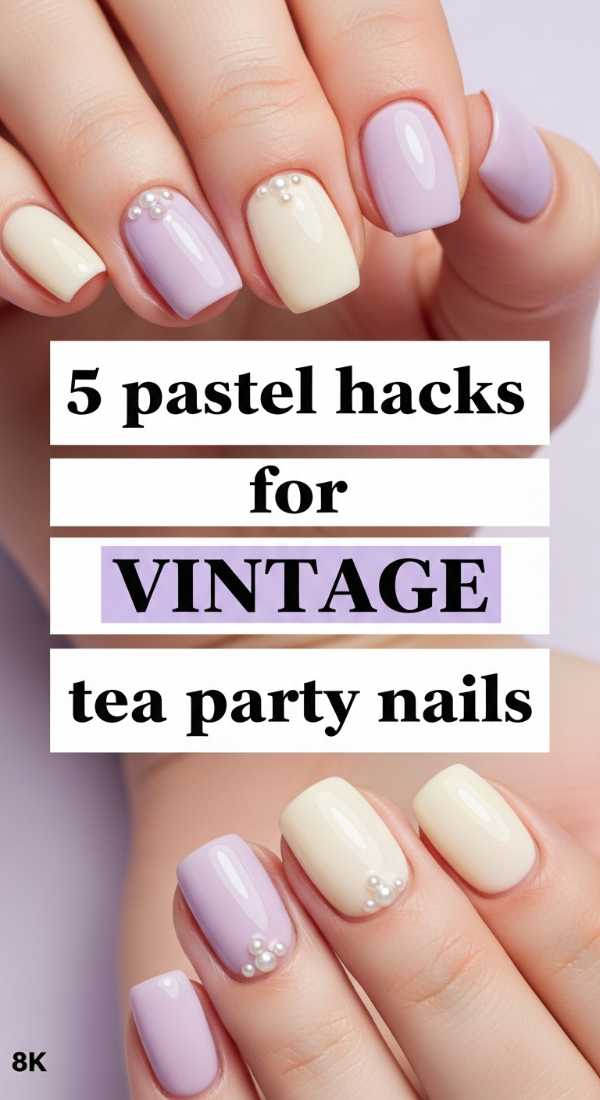
Why to love these Nails:
These vintage tea party nails feel like a hug from the past. Using pastels with a slightly dusty undertone creates a nostalgic, romantic look that pairs perfectly with lace and floral prints. They are sweet, modest, and utterly timeless.
Essential Items:
- Dusty blue or sage green pastel polish
- Dotting tool
- White acrylic paint or polish
- Buffer block
How to Prepare:
- Gently buff the nail surface to ensure a smooth, vintage-canvas feel.
- Apply two coats of your chosen dusty pastel shade.
- Use the small end of a dotting tool to create tiny ‘Swiss dots’ across the nail.
- Let the dots dry completely to avoid any smearing.
- Finish with a satin-finish top coat for that aged, soft-focus look.
Budget Range
- Olive & June Pastel Polish – $9
- Double-ended Dotting Tool Set – $6
- Revlon Satin Top Coat – $8
Embrace Your Inner Glow
Sweethearts, I hope these tutorials inspire you to take a little time for yourself before your next big event. Remember, the most beautiful thing you can wear is your confidence, but a stunning manicure certainly helps! Whether you’re dancing the night away or enjoying a quiet tea, let your hands reflect the light you carry inside. I can’t wait to see which look you choose!