
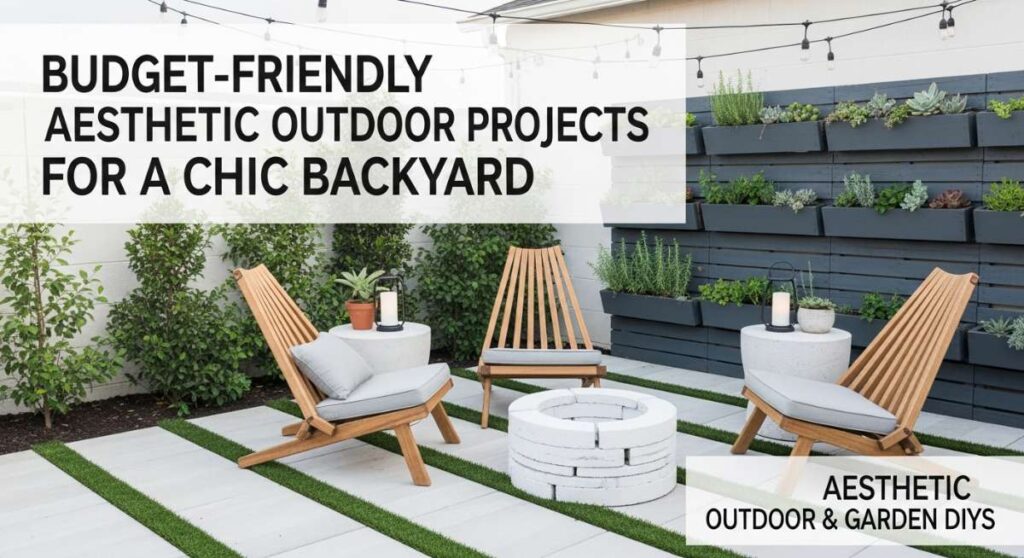
There is something truly magical about that golden hour glow hitting your backyard, turning even the simplest corner into a sanctuary. I remember sitting on my back porch last summer with a lukewarm coffee, looking at a patch of weeds and thinking, “I deserve a space that feels like a retreat, not a chore.” We often see those high-end landscape reveals on social media and assume they cost a fortune, but I’ve learned that the secret to a chic outdoor space isn’t a huge bank account—it’s a bit of creativity and a weekend of elbow grease.
Transforming your garden into an aesthetic oasis is about more than just aesthetics; it’s about creating a backdrop for memories. Whether it’s the sound of birds splashing in a handmade bath or the sight of your kids lost in sensory play at a mud kitchen, these projects bring soul to your home. In this guide, I’m sharing ten budget-friendly, high-impact DIYs that will take your outdoor space from basic to breathtakingly designer, one step at a time.
How to Create a Dollar Store Bird Bath for Your Garden Sanctuary
Why we love this
There is a rhythmic, meditative quality to watching birds flit in and out of a garden, and this bird bath provides the perfect stage for that nature show. The shimmer of the glass catches the morning light, reflecting soft prisms onto your flowers, while the gentle sound of water provides a calming auditory backdrop for your morning tea. It feels like an expensive antique find, yet it’s made from simple, everyday items that look sophisticated when stacked with intention and grace. The cool touch of the glass and the sight of clear water offer a refreshing sensory escape during the height of a humid summer afternoon.
Essential Elements:
- 3-4 Glass bowls or vases of varying sizes
- 1 Decorative glass plate or shallow basin
- Clear industrial-strength waterproof adhesive (like E6000)
- Rubbing alcohol and a microfiber cloth
- Decorative river stones or glass beads
How to make it
- Begin by thoroughly cleaning all glass pieces with rubbing alcohol; this is a critical professional tip to ensure the adhesive creates a permanent bond by removing all oils and manufacturing residues.
- Dry fit your components by stacking the vases and bowls upside down to create a stable pedestal, placing the largest at the bottom and the smallest at the top, topped finally by the shallow basin.
- Apply a generous, continuous bead of the waterproof adhesive to the rim of the bottom vase, then firmly press the next piece onto it, checking from all angles to ensure it is perfectly centered.
- Continue this layering process, allowing each joint to sit for at least 10 minutes before adding the next level to prevent shifting; ensure the final basin is level so water doesn’t spill out one side.
- Wait a full 24 to 48 hours for the adhesive to cure completely in a dry area before moving it outside; once cured, place it in a shaded garden spot, add river stones to the basin to give birds a place to perch, and fill with fresh, cool water.
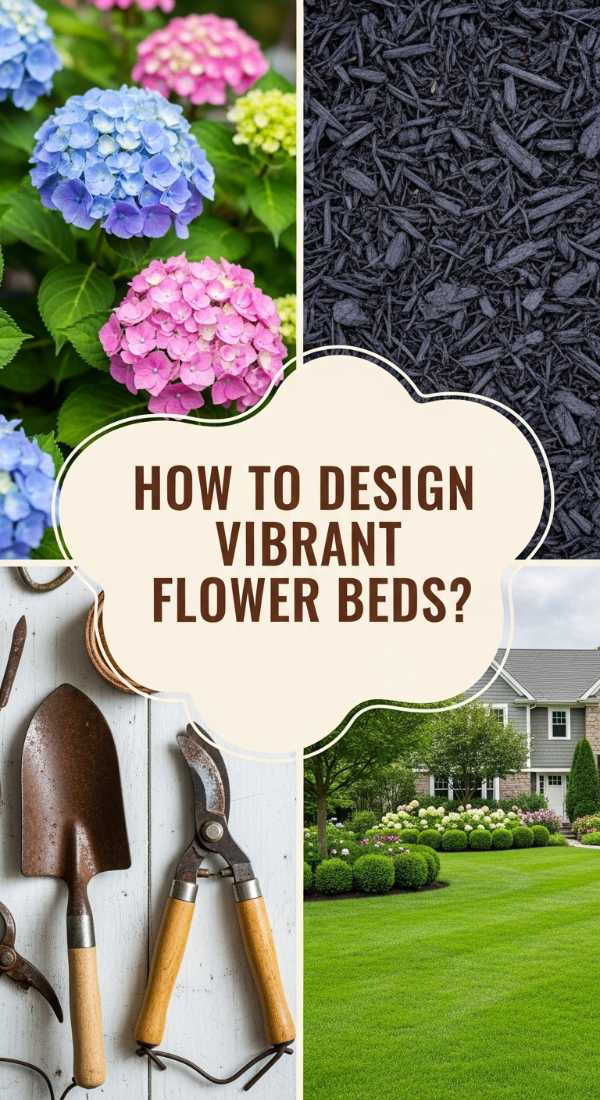
How to Design a Front Yard Flower Bed for Instant Curb Appeal
Why we love this
Walking up to a home framed by a lush, well-designed flower bed feels like receiving a warm hug before you even reach the front door. The combination of velvety petals, structural greenery, and the earthy aroma of fresh mulch creates a multi-layered experience that signals care and hospitality. It’s the visual “wow factor” that stops neighbors in their tracks, offering a palette of colors that change with the seasons. There’s a profound sense of pride in seeing a formerly bare patch of dirt erupt into a symphony of textures that dance in the breeze.
Essential Elements:
- Bags of high-quality garden soil and dark organic mulch
- Landscape edging (stone, brick, or composite)
- Assorted plants: Thrillers (tall), Fillers (mounded), and Spillers (trailing)
- Hand trowel and garden rake
- Slow-release fertilizer granules
How to make it
- Define the shape of your bed using a garden hose to map out organic, flowing curves; avoid straight lines for a more natural, designer look, then use a spade to cut a crisp edge along the hose line.
- Remove all existing grass and weeds from the area, ensuring you get the roots, then tilt the soil to a depth of 6 inches and mix in 2-3 inches of fresh garden soil to provide a nutrient-rich foundation.
- Arrange your plants while they are still in their nursery pots—place “Thrillers” like ornamental grasses in the back, “Fillers” like hostas or petunias in the middle, and “Spillers” like creeping jenny near the front edge.
- Dig holes twice as wide as the root ball, sprinkle a bit of fertilizer in the bottom, and plant each item at the same depth it was in the pot, firming the soil gently to remove air pockets.
- Apply a 3-inch layer of dark mulch over the entire bed, keeping it an inch away from the plant stems to prevent rot, and water deeply immediately after planting to settle the roots and activate the fertilizer.
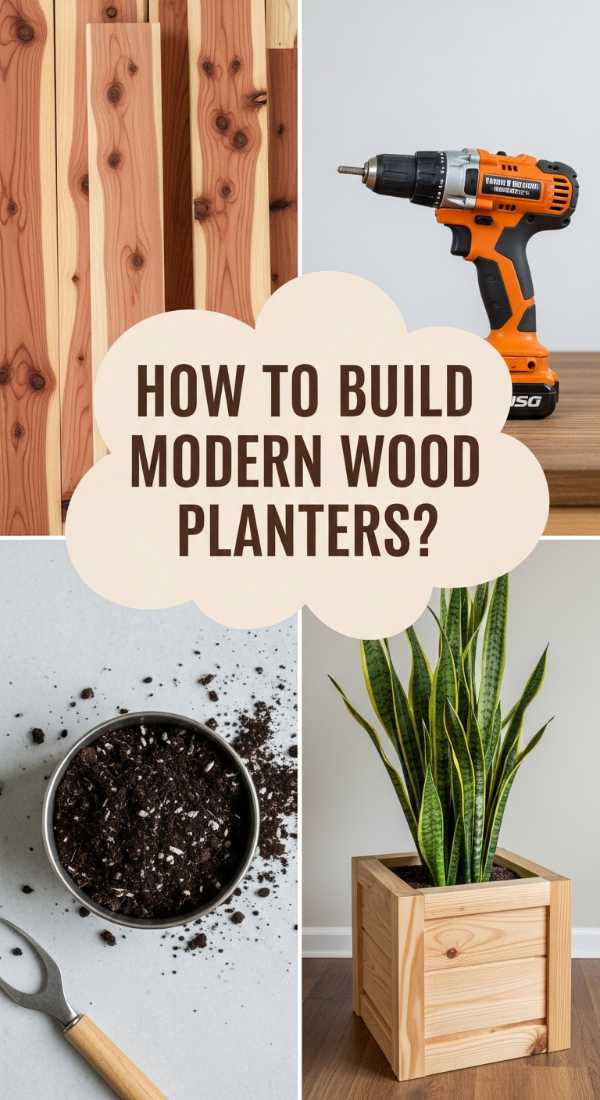
How to Build a Wood Planter Box for Modern Porch Decor

Why we love this
These modern planter boxes offer a crisp, architectural contrast to the organic shapes of the plants they hold, instantly elevating a porch from standard to high-end. The warmth of the natural wood grain against a concrete or brick backdrop provides a timeless aesthetic that feels both cozy and sophisticated. As the wood weathers or takes on a rich stain, it tells a story of craftsmanship and home. There is something deeply satisfying about the sturdy, heavy feel of a well-built planter that serves as a permanent anchor for your favorite seasonal blooms.
Essential Elements:
- Cedar or pressure-treated 2×4 and 1×6 boards
- Exterior-grade wood screws (Kreg screws if using pocket holes)
- Waterproof wood glue
- Power drill and miter saw
- Landscape fabric or plastic liner
How to make it
- Cut four 2×4 posts to your desired height (usually 18-24 inches) and cut the 1×6 side slats to length; for a modern square look, aim for 16-inch slats on all sides.
- Build two ladder-style frames by connecting two posts with your side slats using pocket-hole screws or pre-drilled pilot holes to prevent the wood from splitting.
- Connect the two ladder frames with the remaining slats to form a box, ensuring every corner is square by measuring diagonally from corner to corner; the measurements should be identical.
- Install supports inside the box about 6 inches from the top if you want a false bottom (to save on soil), then screw in slats to form the floor of the planter, leaving small gaps for drainage.
- Sand the entire exterior with 120-grit sandpaper for a professional finish, apply a coat of exterior stain or sealant, and line the inside with landscape fabric before filling with soil to protect the wood from direct moisture.
How to Construct an Outdoor Play Area for Childhood Memories
Why we love this
An outdoor play area is more than just a designated spot for toys; it is a landscape of imagination where the ground is lava and the trees are castle walls. By using natural materials like wood and stone, you create a space that feels integrated with the garden rather than an eyesore of bright plastic. The smell of cedar chips underfoot and the cool shade of a DIY pergola create a comfortable microclimate for hours of exploration. It’s a dedicated zone that honors the messiness of childhood while maintaining the chic, intentional vibe of your overall backyard design.
Essential Elements:
- Play-grade cedar mulch or pea gravel
- Timber borders or large landscaping rocks
- Natural elements: Log rounds, boulders, or a small wooden deck
- Sun shade sail or canvas canopy
- Outdoor-rated storage bins
How to make it
- Select a level area that is visible from the house but tucked away from the main entertaining zone; mark the perimeter and excavate the grass to a depth of about 4 inches.
- Lay down a heavy-duty professional-grade weed barrier fabric, overlapping the seams by at least 6 inches and securing them with landscape staples to ensure no grass pokes through the play surface.
- Install your border using 4×4 pressure-treated timbers secured with rebar stakes driven through pre-drilled holes, or use large natural boulders for a more whimsical, woodland appearance.
- Fill the area with a 4-inch layer of certified play-grade mulch, which is specifically processed to be splinter-free and provides the necessary impact cushioning for safety.
- Incorporate “loose parts” like smooth log rounds of different heights for balance beams or stepping stones, and install a sun sail overhead by anchoring it to 4×4 posts or the house to provide UV protection during peak sun hours.
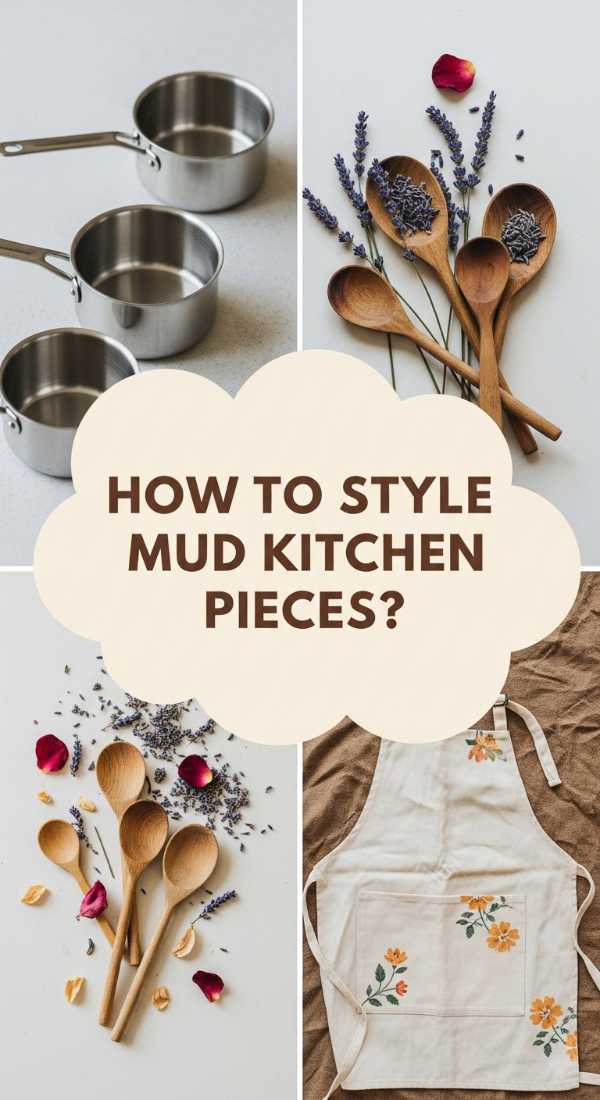
How to Curate Mud Kitchen Accessories for Sensory Play
Why we love this
Curating accessories for a mud kitchen is an exercise in tactile joy, blending the utility of the kitchen with the raw beauty of the outdoors. The clinking of vintage metal whisks against old tin pots creates a nostalgic soundtrack, while the varied textures of dried beans, pinecones, and rosemary sprigs invite little hands to explore. It’s a sensory feast where “mud pies” are garnished with marigolds and served on wooden slabs. This aesthetic approach turns a simple play station into a beautiful garden feature that looks like a miniature, rustic chef’s kitchen.
Essential Elements:
- Stainless steel or enamel pots and pans
- Wooden spoons, ladles, and whisks
- Glass jars filled with “nature ingredients” (acorns, dried petals)
- A functional water dispenser or metal pitcher
- Chalkboard for the “Daily Menu”
How to make it
- Source your accessories from thrift stores or yard sales, looking specifically for stainless steel, wood, or cast iron; avoid plastic to maintain the chic, timeless aesthetic and ensure durability against the elements.
- Install small brass hooks or a magnetic tool strip along the back of the mud kitchen to hang spoons and strainers, which keeps the workspace tidy and allows items to air dry after a “cooking” session.
- Organize “dry ingredients” like gravel, sand, and wood chips into clear, shatterproof jars with lids to keep them dry and visually appealing on the shelves.
- Incorporate a “herb garden” nearby with hardy plants like mint or sage that children are allowed to harvest and use in their concoctions for a real olfactory experience.
- Set up a cleaning station with a simple metal basin and a scrub brush, teaching kids that the “cleanup” is part of the play process, which keeps the accessories looking pristine for years.
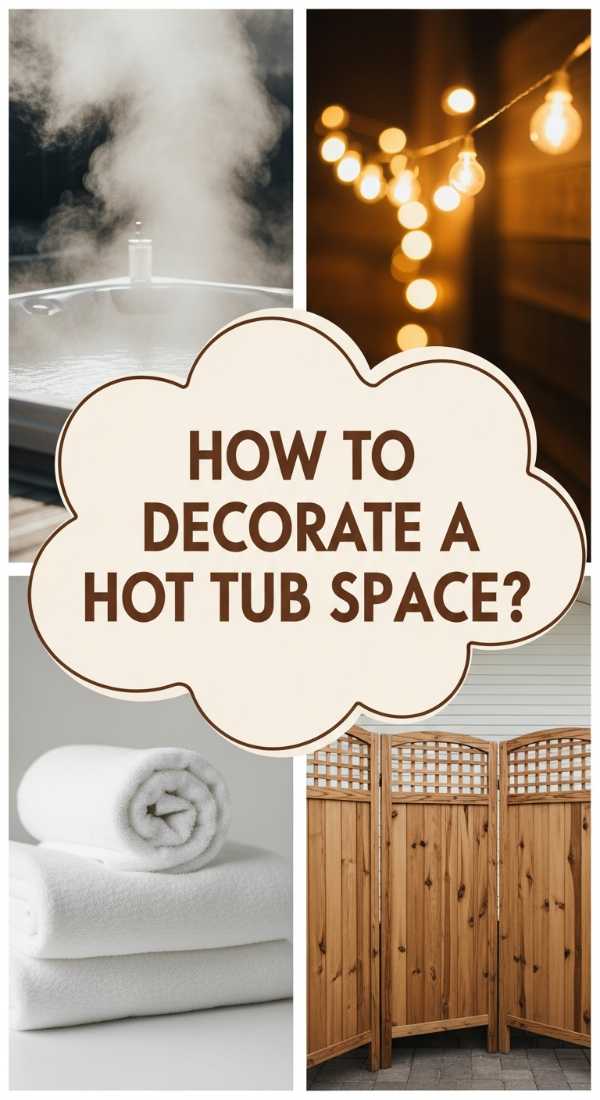
How to Arrange a Relaxing Hot Tub Area for Ultimate Serenity
Why we love this
Stepping into a curated hot tub area should feel like entering a private boutique spa, where the world outside the fence simply ceases to exist. The soft glow of string lights reflecting off the bubbling water, the scent of lavender planted nearby, and the plush touch of a rolled Turkish towel create a sanctuary for the soul. It’s about creating layers of privacy and comfort that make the soak feel intentional and luxurious. This space becomes a nighttime destination, a place to decompress under the stars while surrounded by the whispering leaves of your garden.
Essential Elements:
- Privacy screens or tall potted plants (like bamboo)
- Weather-proof outdoor rug
- Subtle solar-powered path lighting and string lights
- Side table for drinks and a towel rack
- Aromatherapy options (potted jasmine or eucalyptus)
How to make it
- Position the tub on a reinforced, level surface; if using a deck, ensure the joists are rated for the heavy weight of water, or use a level concrete pad for maximum stability.
- Create an “enclosure” feel by installing 6-foot tall cedar lattice panels or arranging a row of large planters with fast-growing privacy greens to block the view from neighbors.
- Lay a high-quality outdoor rug leading from the house to the tub to provide a soft, clean path for bare feet, preventing grass and dirt from being tracked into the water.
- Install a sturdy wall-mounted towel rack or a freestanding wooden towel tree within arm’s reach of the tub so you stay warm the moment you exit the water.
- Layer your lighting by hanging dimmable Edison-style string lights overhead and placing low-voltage spotlights at the base of your privacy plants to create a sophisticated, resort-like ambiance.
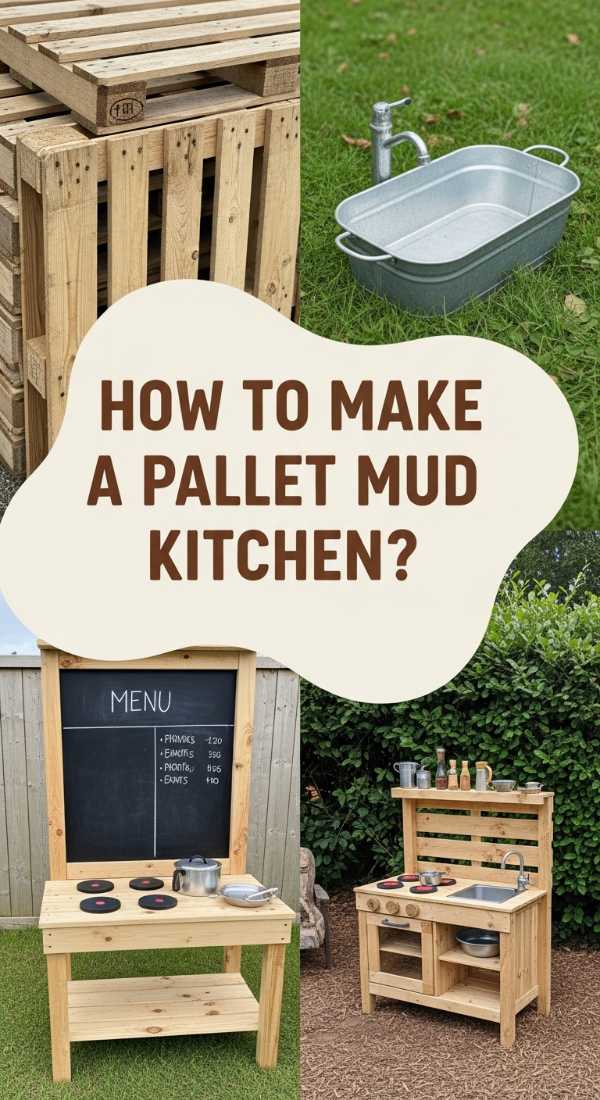
How to Craft a Rustic Pallet Mud Kitchen for Sustainable Fun
Why we love this
The rustic pallet mud kitchen is a masterpiece of sustainable design, proving that “upcycled” can also mean “utterly charming.” The rough-hewn texture of the wood, combined with the patina of age, gives the piece an instant history and a farmhouse-chic vibe that fits perfectly in a garden setting. It’s a sturdy, hardworking station that invites children to get their hands dirty while teaching the value of repurposing materials. There is a rugged beauty in its simple construction, especially when topped with a shiny metal sink that reflects the afternoon sun.
Essential Elements:
- 2-3 Heat-treated pallets (look for the “HT” stamp)
- Recycled stainless steel mixing bowl (for the sink)
- Outdoor wood screws and wood glue
- Jigsaw and power sander
- Exterior paint or clear wood sealer
How to make it
- Inspect your pallets for the “HT” (Heat Treated) stamp, which ensures the wood hasn’t been treated with harmful chemicals; remove any protruding nails and sand the wood aggressively with 60-grit followed by 120-grit sandpaper to eliminate splinters.
- Use one pallet as the back frame and take the second pallet apart to use its slats for the countertop and shelving, ensuring you pre-drill every hole to prevent the dry pallet wood from cracking.
- Measure the diameter of your stainless steel bowl and use a jigsaw to cut a circular hole in the countertop slats so the bowl can drop in and sit securely by its rim.
- Attach the countertop to the back frame at a height of about 20-24 inches (standard toddler height), using L-brackets underneath for extra weight support.
- Finish the project with a high-quality exterior-grade clear sealer to protect the wood from the inevitable water and mud, ensuring the rustic character of the grain is preserved while making the surface easy to wipe down.
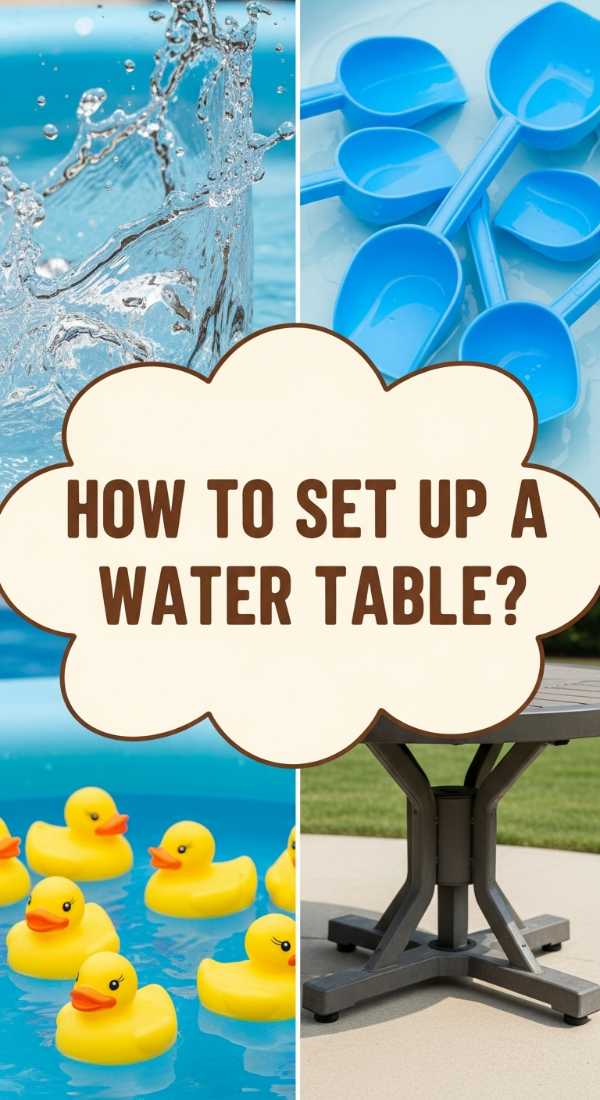
How to Assemble a Splashy Water Table for Cooling Summer Days
Why we love this
A DIY water table is a refreshing oasis on a sweltering July day, offering endless opportunities for cooling down and exploring fluid dynamics. The sight of clear water cascading over smooth stones and the rhythmic sound of a small hand-pump or pouring cups create a tranquil play environment. Unlike bright plastic versions, a custom-built wooden water table feels like a piece of high-end patio furniture. It’s a focal point of joy where the splash of water and the laughter of children become the soundtrack of the season, all while keeping the aesthetic of your backyard cohesive and sophisticated.
Essential Elements:
- Deep plastic storage bin or galvanized metal tub
- Pressure-treated 2x4s for the frame
- Battery-operated water pump (optional)
- Floating toys, scoops, and silicone funnels
- Drain plug kit
How to make it
- Build a simple rectangular frame using 2x4s that is slightly smaller than the lip of your plastic bin, so the bin can hang securely inside the frame without falling through.
- Add 2×4 legs to the frame, bracing them with cross-beams at the bottom for stability; a height of 20 inches is usually perfect for most young children to play comfortably while standing.
- Install a basic boat drain plug kit into the bottom of the plastic bin by drilling a hole and sealing the flange with marine-grade silicone; this allows you to empty the water easily without lifting a heavy, full tub.
- If adding a pump, create a “waterfall” feature by securing a small PVC pipe or bamboo trough above the main bin, using a low-voltage fountain pump to circulate the water from the bin back to the top.
- Smooth all edges of the wood with a sander to prevent scrapes and apply a bright, waterproof outdoor paint in a chic neutral like sage green or charcoal grey to make it a stylish garden addition.
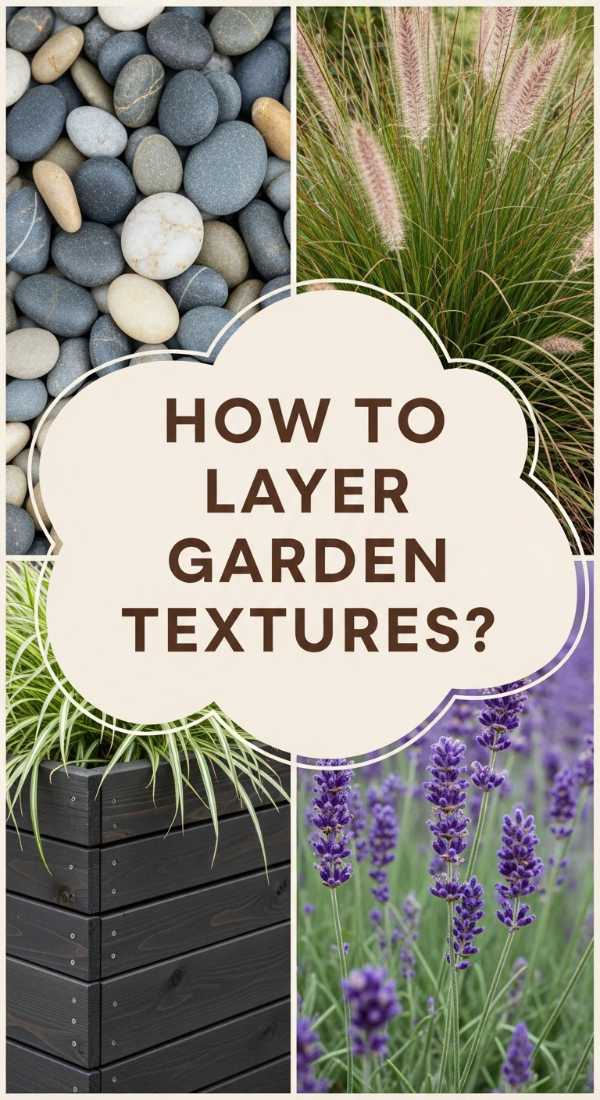
How to Layer Garden Textures for a Designer Look
Why we love this
Mastering the art of layering textures is what separates a basic garden from a professional landscape design. It’s the contrast between the feathery softness of ornamental grasses, the waxy shine of hosta leaves, and the rugged, cold surface of slate or river rock. When these elements collide, they create a visual richness that feels expensive and curated, providing interest even when nothing is in bloom. The way the light plays differently off a jagged rock versus a velvety lamb’s ear leaf creates a dynamic, ever-changing landscape that rewards close observation and brings a sophisticated depth to your outdoor home.
Essential Elements:
- Soft foliage (Ferns, Grasses)
- Broad-leaf plants (Hostas, Bergenia)
- Hardscape materials (River rock, Pea gravel, Wood mulch)
- Vertical elements (Trellises, Obelisks)
- Varying heights of plants
How to make it
- Start with your “hard” textures by placing large anchor stones or a gravel path first; these provide a permanent, structural contrast to the soft plants that will grow around them.
- Plant in “drifts” rather than single units—grouping 3-5 of the same plant together creates a much stronger textural impact and looks more intentional than a scattered approach.
- Contrast your leaf shapes: place a fine-textured plant like Lavender next to a bold, large-leafed plant like a Hosta; the juxtaposition makes both plants “pop” visually.
- Incorporate vertical texture using a wooden trellis or a black metal obelisk, which draws the eye upward and adds a different geometric layer to the soft, rounded forms of the garden.
- Use different types of ground cover; for example, use dark wood mulch in the planting beds but transition to a light grey pea gravel for a seating area to create a clear, textural boundary between zones.
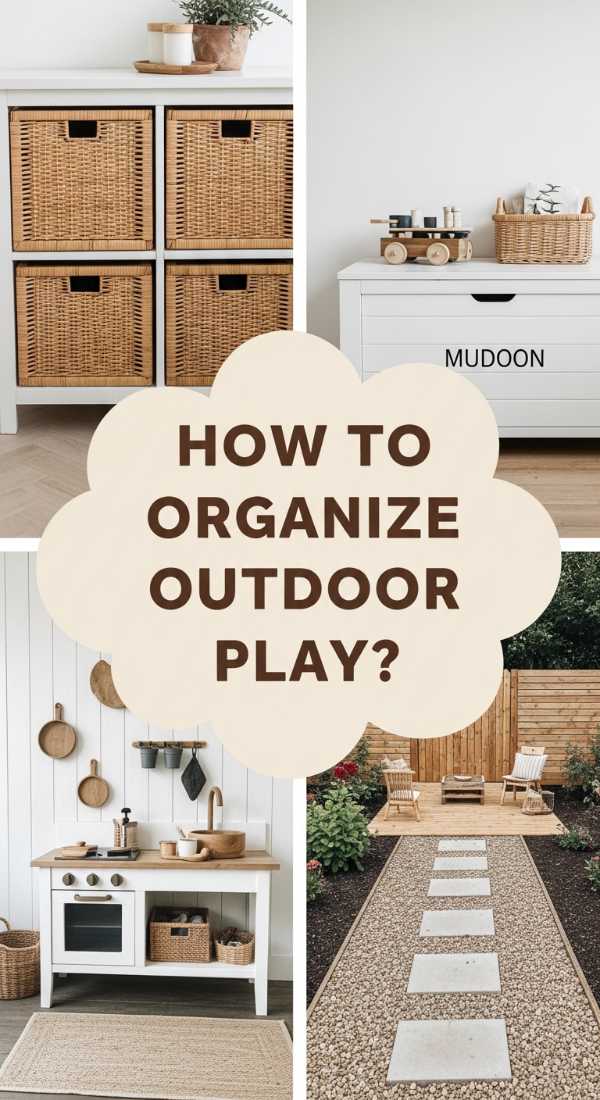
How to Organize Outdoor Play Zones for a Tidy Backyard
[IMAGE_10]
Why we love this
An organized backyard is the ultimate luxury, providing a sense of calm and order that allows you to truly relax. By creating specific “zones” for play, you contain the inevitable chaos of toys, allowing the rest of your garden to remain a serene adult retreat. There is a profound visual relief in seeing everything in its place—buckets tucked into chic wicker baskets and balls stored in a sleek wooden bin. It turns a cluttered yard into a multifunctional estate where every family member has a dedicated space, proving that you don’t have to sacrifice style for family-friendliness.
Essential Elements:
- Large weather-proof deck boxes
- Aesthetic storage baskets (synthetic wicker or heavy-duty plastic)
- Clear labels for bins
- Outdoor shelving unit
- Defined borders (hedges or low fences)
How to make it
- Divide your yard into “rooms” using physical cues like a change in ground material (e.g., grass for the lounge zone, wood chips for the play zone) or a low hedge of boxwoods to create visual separation.
- Invest in high-quality, UV-resistant deck boxes that match the color of your patio furniture; these serve as a “catch-all” for large toys and cushions while providing extra seating when needed.
- Install a vertical shelving unit on a shaded wall or fence to keep smaller items like bubbles, chalk, and gardening tools off the ground and organized at eye level.
- Use a “one-in, one-out” rule for outdoor toys and conduct a seasonal purge to ensure you aren’t storing broken items that detract from the beauty of the space.
- Implement a nightly 5-minute “sweep” where every family member returns items to their designated zone, ensuring the backyard is a tidy, welcoming sanctuary for your morning coffee the next day.
Creating Your Outdoor Haven
Building a chic, aesthetic backyard doesn’t happen overnight, but each project you complete adds a layer of soul and personality to your home. By focusing on natural materials, intentional organization, and sensory details, you transform a simple patch of grass into an extension of your living room. Whether you start with a simple bird bath or take on the challenge of a modern planter box, the result is a space that reflects your care and creativity. So, grab your gloves, pick a project, and start creating the sanctuary you’ve always dreamed of.
Frequently Asked Questions
- What is the most cost-effective way to start landscaping? Focusing on “hardscaping” with mulch and defined edges provides the biggest visual impact for the lowest cost, instantly making a yard look professionally designed.
- How do I ensure my wood projects last outdoors? Always use cedar or pressure-treated wood and apply a high-quality exterior sealant or stain every 1-2 years to protect against moisture and UV damage.
- Can I make a mud kitchen if I have a very small yard? Absolutely! A “mini” mud kitchen can be built using a single pallet or even a small repurposed side table, making it perfect for balconies or small patios.
- What plants are best for low-maintenance curb appeal? Perennials like Hostas, Lavender, and Ornamental Grasses are fantastic because they return every year and require minimal upkeep once established.