
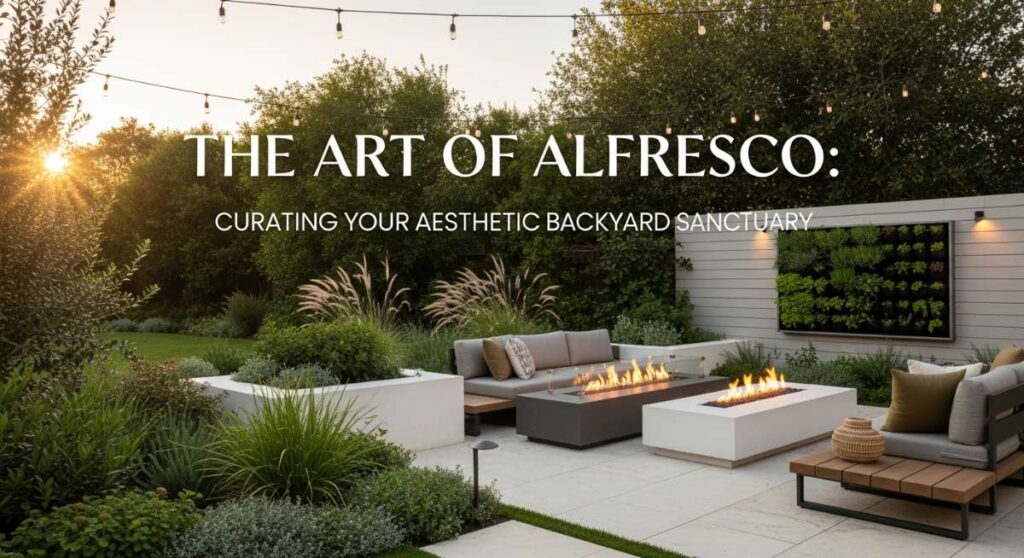
There is a specific kind of magic that happens when the late afternoon sun filters through the trees, casting long, golden shadows across a backyard that feels like a true extension of the soul. For me, the outdoors has always been more than just a plot of land; it is a canvas where we paint our memories of slow mornings with coffee and boisterous evening dinner parties under the stars. Creating an aesthetic sanctuary isn’t about spending a fortune, but about intentionality—finding that perfect balance between nature’s wild beauty and the handcrafted touches that make a space feel like home.
I remember the first time I sat in my unfinished yard, eyes closed, listening to the rustle of the leaves and realizing that I wanted to create a place that invited me to linger. It’s about the tactile sensation of rough-hewn cedar under your fingertips, the fragrance of crushed rosemary as you brush past a planter, and the visual peace of a well-layered garden bed. In this guide, I am sharing my favorite ways to transform your outdoor space into a curated haven that celebrates the art of alfresco living.
How to Craft a Budget Bird Oasis for Your Garden Sanctuary

Why we love this
There is nothing quite as serene as the melody of songbirds greeting the dawn right outside your window. This budget bird oasis brings a rhythmic life to your garden, inviting colorful visitors like goldfinches and chickadees to bathe and feed in a setting that feels organic and integrated. We love the way the terracotta textures play against the vibrant greens of the garden, creating a rustic focal point that costs next to nothing but provides endless hours of peaceful observation and a deep connection to the local ecosystem.
Essential Elements:
- Two large terracotta saucers (one 12-inch, one 14-inch)
- A sturdy wooden post or an upcycled tree stump
- Weatherproof outdoor adhesive
- Assorted smooth river stones
- Wildflower bird seed mix
- A solar-powered fountain insert
How to make it
- Begin by prepping your base; if using a wooden post, ensure it is anchored at least 12 inches into the ground to prevent tipping, or level a flat tree stump in a shaded area of the garden.
- Clean the terracotta saucers thoroughly to remove any dust, then apply a generous bead of high-strength, weatherproof adhesive to the top of your post or stump.
- Press the larger 14-inch saucer onto the adhesive, ensuring it is perfectly level so the water doesn’t spill over one side; allow this to cure for 24 hours.
- Place the smaller 12-inch saucer inside the first, or on a separate shorter pedestal nearby to serve as the feeding station, keeping it dry and clear of the water area.
- Fill the bottom of the water saucer with smooth river stones to provide various depths for different bird species, allowing them to perch safely while they drink.
- Add the solar-powered fountain insert to the center of the water saucer, ensuring the pump is submerged, which will keep the water moving to prevent mosquitoes and attract birds with the sound of trickling water.
How to Design a Dreamy Entrance with Lush Flower Beds

Why we love this
First impressions are everything, and a lush, flower-filled entrance acts as a fragrant hug for every guest who walks through your gate. This design focuses on a romantic, English-cottage aesthetic, layering heights and textures to create a sense of abundance and whimsy. The aroma of lavender and roses swirling in the breeze as you walk toward the front door creates an immediate transition from the stress of the world to the sanctuary of the home, making every homecoming feel like a special occasion.
Essential Elements:
- Dwarf Boxwood shrubs for structure
- Perennial Lavender and Salvia
- Climbing roses or Clematis
- High-quality organic compost and mulch
- Decorative garden edging (stone or willow)
- A mix of spring and summer bulbs (Tulips, Alliums)
How to make it
- Start by mapping out a curved path to your door, using a garden hose to mark the lines, then remove all grass and weeds within the designated bed area using a sharp spade.
- Amend the soil deeply by tilling in four to six inches of organic compost, ensuring the earth is fluffy and nutrient-rich for your new plant arrivals.
- Position your tallest elements, such as climbing roses on an obelisk or trellis, toward the back or center of the bed to create a vertical anchor.
- Plant your evergreen Boxwoods at regular intervals to provide year-round structure, then fill the mid-ground with lavender and salvia, spacing them according to their mature width to avoid overcrowding.
- Tuck bulbs in between the perennials for seasonal surprises, then finish the bed with a two-inch layer of dark bark mulch to retain moisture and suppress weeds.
- Install your edging material along the curve, ensuring it is tucked low enough to allow for easy lawn mowing but high enough to keep the mulch contained within the dreamy floral display.
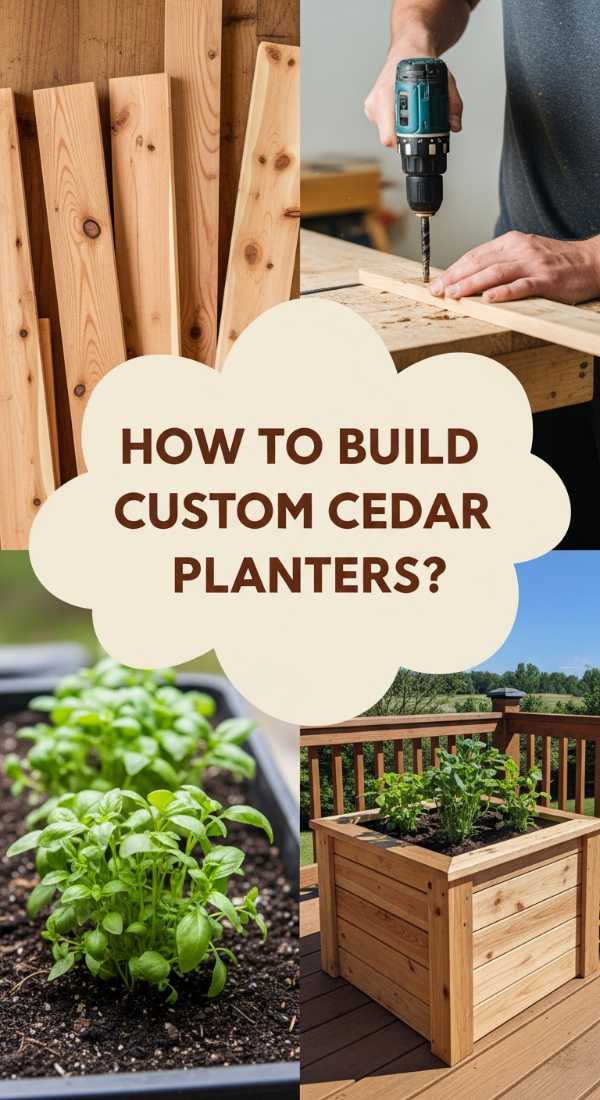
How to Build Custom Cedar Planters for a Modern Herb Garden
Why we love this
There is a sophisticated, clean-lined beauty in raw cedar that elevates any patio or deck instantly. These custom planters aren’t just functional vessels for your basil and mint; they are architectural statements that smell divine when the sun hits the wood. We love the accessibility of having a kitchen garden right at arm’s reach, and the way the silvering cedar patinas over time, blending perfectly with the organic greens of the herbs to create a professional, chef-inspired outdoor culinary nook.
Essential Elements:
- Rot-resistant Cedar fence pickets or boards
- Exterior-grade pocket hole screws
- Geotextile fabric liner
- Power drill and miter saw
- Organic potting mix specialized for herbs
- Assorted herb starts (Rosemary, Thyme, Basil)
How to make it
- Measure and cut your cedar boards into four equal sides and four vertical corner posts using a miter saw, ensuring all edges are square for a clean, modern look.
- Use a pocket hole jig to create hidden joinery on the inside of the side panels, then screw them into the corner posts to form a sturdy rectangular box.
- Cut slats for the bottom of the planter, leaving 1/4-inch gaps between them to allow for essential drainage, and secure them with galvanized nails.
- Lightly sand the exterior of the cedar to remove any splinters, but leave it unstained if you prefer the natural graying look, or apply a food-safe sealant to preserve the warm reddish tones.
- Line the interior of the box with geotextile fabric, stapling it to the top edges to protect the wood and keep the soil from washing out of the drainage gaps.
- Fill the planter with high-quality organic potting soil and plant your herbs, placing the tallest (like Rosemary) in the back and trailing varieties (like Oregano) near the edges.
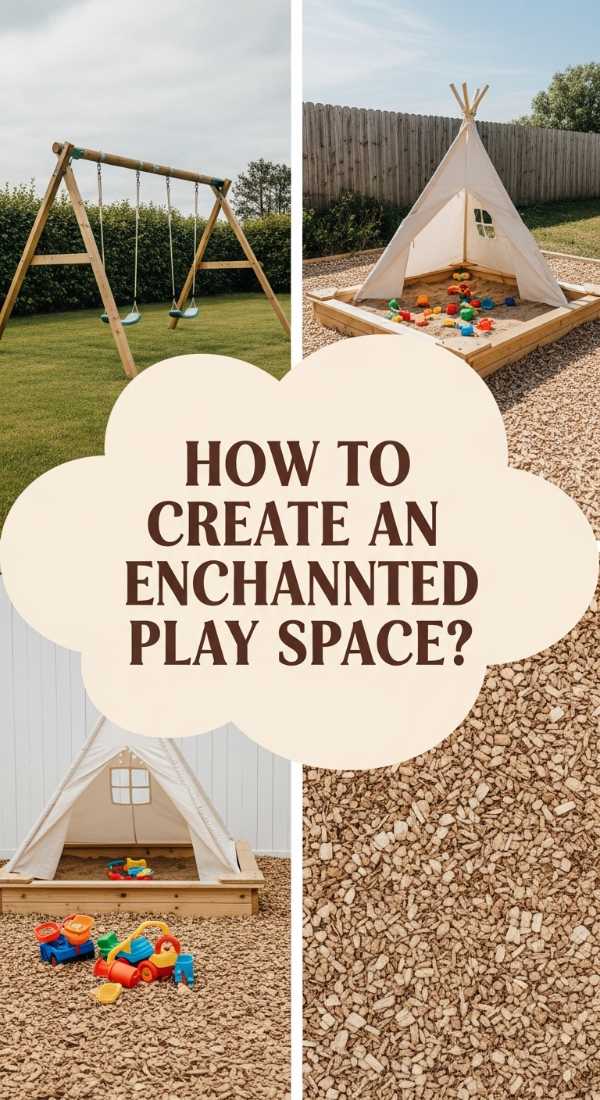
How to Create an Enchanting Outdoor Play Space for Endless Joy
Why we love this
Childhood is defined by the adventures found in the backyard, and this enchanting play space is designed to spark the imagination while remaining aesthetically pleasing. Gone are the days of bright plastic eyesores; instead, we embrace natural textures like cotton canvas, smooth wood, and soft clover. This space feels like a secret woodland clearing where children can retreat into books or make-believe, surrounded by the rustling leaves and the dappled sunlight of a well-tended garden.
Essential Elements:
- Weather-resistant cotton canvas teepee
- Large outdoor floor cushions
- Solar-powered fairy lights (warm white)
- Heavy-duty jute rug
- Low-profile wooden crate for book storage
- Soft-touch landscaping like Irish Moss or Clover
How to make it
- Choose a level, well-drained spot under the shade of a tree or in a quiet corner of the yard to serve as the foundation for the play zone.
- Clear the area of any sharp rocks or debris and lay down a heavy-duty jute rug to define the space and provide a soft, natural barrier from the ground.
- Erect the canvas teepee, securing the poles firmly and using ground stakes if necessary to ensure it remains stable during active play.
- Wrap warm white solar fairy lights around the exterior poles or drape them through the nearby branches to create an ambient glow that turns the space into a fairy tale at dusk.
- Arrange oversized outdoor cushions inside the teepee, layering different textures and muted colors to create a cozy reading nook.
- Add a weather-sealed wooden crate filled with nature-themed books and magnifying glasses, encouraging quiet exploration and a love for the great outdoors.
How to Style a Whimsical Mud Kitchen for Creative Play

Why we love this
The mud kitchen is the ultimate marriage of messy play and backyard charm, providing a dedicated space for “botanical soups” and “mud pies.” We love how this project encourages children to engage with sensory materials—the cool slickness of mud, the grit of sand, and the fragrance of fallen petals. Styled with vintage-looking metal bowls and wooden spoons, it looks less like a toy and more like a whimsical, miniature potting shed that adds character and life to your garden’s footprint.
Essential Elements:
- A small wooden workbench or upcycled potting table
- Stainless steel mixing bowls and old ladles
- A functional hand pump or a large water dispenser
- Small buckets filled with sand and potting soil
- Assorted jars for “spices” (dried lavender, pebbles, seeds)
- Chalkboard paint for the backsplash
How to make it
- Source or build a simple wooden table at waist-height for a child, ensuring the wood is sanded smooth and treated with a non-toxic outdoor sealer.
- Cut two circular holes in the countertop using a jigsaw to perfectly fit the lips of your stainless steel bowls, creating “sinks” for mixing and washing.
- Paint a section of the backboard with chalkboard paint so the “little chefs” can write out the daily menu of flower petal stews and mud cakes.
- Install a series of small brass hooks across the backboard to hang whisks, spoons, and measuring cups, keeping the space organized and looking curated.
- Position a large glass water dispenser or a hand-operated pump to one side, allowing for a controlled flow of water that makes the mud-making process interactive.
- Fill small, clear jars with various natural materials like acorns, dried leaves, and pebbles, arranging them on a shelf to serve as the “pantry” for their creative concoctions.
How to Arrange a Spa Quality Hot Tub Retreat for Relaxation

Why we love this
Transforming a standard hot tub into a spa-quality retreat is all about the atmosphere you build around the water. We love the transition from the daily grind to a steaming soak surrounded by the scent of eucalyptus and the soft flicker of lanterns. By focusing on privacy and sensory details, you turn a piece of equipment into a true destination—a place where the warm water melts away tension while you stare up at the canopy of trees, feeling entirely secluded from the outside world.
Essential Elements:
- Large-scale cedar lattice or bamboo privacy screens
- Potted palms or tall ornamental grasses
- Weatherproof outdoor rug in a neutral tone
- Towel rack with oversized, plush white towels
- Outdoor Bluetooth speakers for ambient sound
- Battery-operated LED candles and lanterns
How to make it
- Position the hot tub on a reinforced, level pad and install tall privacy screens or a cedar trellis on at least two sides to create an intimate, room-like feel.
- Surround the base of the tub with large, dark-toned planters filled with tall grasses or Bamboo to soften the hard edges of the unit and add movement in the wind.
- Lay a soft, neutral outdoor rug at the entrance of the tub to provide a comfortable, clean place for bare feet to land when exiting the water.
- Install a sturdy wooden towel rack or a series of hooks nearby, stocking them with high-gsm white towels to mimic the luxury of a high-end resort.
- Place various lanterns at different heights—some on the ground, some on side tables—filled with flickering LED candles to provide safe, atmospheric lighting for night soaks.
- Set up a small side table with a waterproof tray for holding herbal tea or infused water, completing the transformation into a holistic wellness zone.
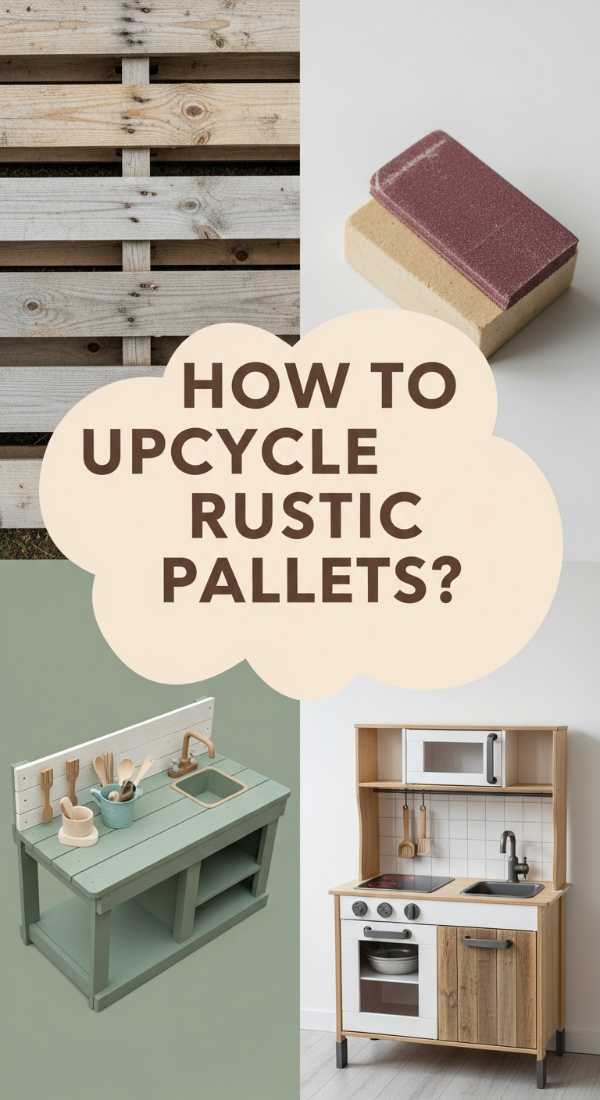
How to Upcycle Rustic Pallets into a Functional Culinary Station
Why we love this
There is a rugged, industrial charm to upcycled pallets that perfectly suits a backyard barbecue area. This culinary station is the ultimate weekend DIY, providing a dedicated prep space for the grill master without the high cost of custom outdoor cabinetry. We love the textured, sun-bleached look of the wood combined with black hardware, giving your patio a functional, modern-farmhouse vibe that makes outdoor hosting feel effortless and organized.
Essential Elements:
- Two heat-treated (HT) wooden pallets
- A solid wood or concrete remnant for the countertop
- Black heavy-duty S-hooks
- Outdoor wood stain or clear sealant
- Power sander and heavy-duty screws
- Magnetic tool strip for grill utensils
How to make it
- Select pallets marked with “HT” (Heat Treated) to ensure they are safe for use around food, then sand the wood aggressively to remove splinters and smooth the grain.
- Stand the two pallets vertically and secure them together using 4×4 posts in the corners for stability, creating a sturdy H-frame or rectangular base.
- Apply two coats of a high-quality outdoor stain in a color like weathered gray or deep walnut to protect the wood from the elements and give it a premium finish.
- Secure a solid countertop—such as a thick butcher block or a pre-poured concrete slab—to the top of the pallet frame using construction adhesive and L-brackets.
- Install a magnetic strip along the front or side of the station to hold metal tongs, spatulas, and knives, keeping your essential tools within easy reach while cooking.
- Attach black S-hooks to the pallet slats to hang aprons and oven mitts, and use the internal pallet cavities as shelves for storing charcoal, wood chips, or serving trays.
How to Construct a Sensory Water Table for Cool Afternoon Fun

Why we love this
When the summer heat becomes thick and heavy, a sensory water table is a refreshing oasis for little ones. This isn’t just about splashing; it’s a beautifully designed station that invites tactile exploration with floating corks, smooth stones, and cool water. We love the minimalist wooden design that looks sophisticated in a garden setting, providing a focused, calming activity that keeps children engaged and cool during those long, humid afternoons.
Essential Elements:
- Pressure-treated lumber for the frame
- Two deep plastic bins with lids
- Assorted sensory items (river rocks, corks, plastic funnels)
- A drain plug kit (optional)
- Non-toxic wood sealer
- Soft towels in a nearby basket
How to make it
- Build a simple rectangular frame from 2×4 lumber that is specifically sized to support the lips of your plastic bins, ensuring it sits at a comfortable height for a kneeling or standing child.
- Attach sturdy legs to the frame, using cross-bracing to ensure the table can handle the significant weight of several gallons of water without wobbling.
- Sand every inch of the wood to a buttery-smooth finish and apply a heavy-duty, non-toxic waterproof sealer to prevent the wood from rotting or warping due to constant splashes.
- Drop the bins into the frame; you can use one side for water and the other for sand or kinetic foam to create a multi-sensory experience.
- Add a variety of natural “toys” like hollow bamboo stalks, large seashells, and smooth stones that provide different weights and sounds when dropped into the water.
- Install a simple umbrella mount to the side of the table to provide shade, ensuring the water stays cool and the children stay protected from the sun while they play.
How to Maximize Exterior Beauty with Layered Garden Planting

Why we love this
Layered planting is the secret to that “professional designer” look, creating a sense of depth and lushness that makes even small gardens feel like expansive estates. By thoughtfully arranging plants from ground covers to towering specimens, you create a visual tapestry of colors and textures. We love how this technique mimics the natural edges of a forest, drawing the eye upward and creating a rich, immersive environment that changes beautifully with every passing season.
Essential Elements:
- Structural evergreens (Yew or Cypress)
- Mid-height flowering shrubs (Hydrangeas or Peonies)
- Perennial fillers (Hostas or Ferns)
- Ground covers (Creeping Thyme or Sedum)
- Organic mulch and slow-release fertilizer
- A clear plan for sun/shade requirements
How to make it
- Divide your planting bed into three zones: the background (tall), the mid-ground (medium), and the foreground (low/ground cover).
- Plant your tallest structural elements first against a fence or wall, such as tall evergreens or ornamental grasses that provide a consistent green backdrop throughout the year.
- Stagger your mid-height shrubs in front of the background layer, using a zig-zag pattern rather than a straight line to create a more natural, voluminous appearance.
- Incorporate “fillers” with interesting foliage—like the large, waxy leaves of hostas or the delicate fronds of ferns—to bridge the gaps between the flowering shrubs.
- Finish the front edge of the bed with low-growing ground covers that will eventually spill over your garden edging, softening the transition between the bed and the lawn or path.
- Water deeply and apply a thick layer of mulch, ensuring you leave a small gap around the stems of each plant to prevent rot while maintaining the moisture needed for a lush look.
How to Elevate Backyard Living with Handmade Wooden Accents
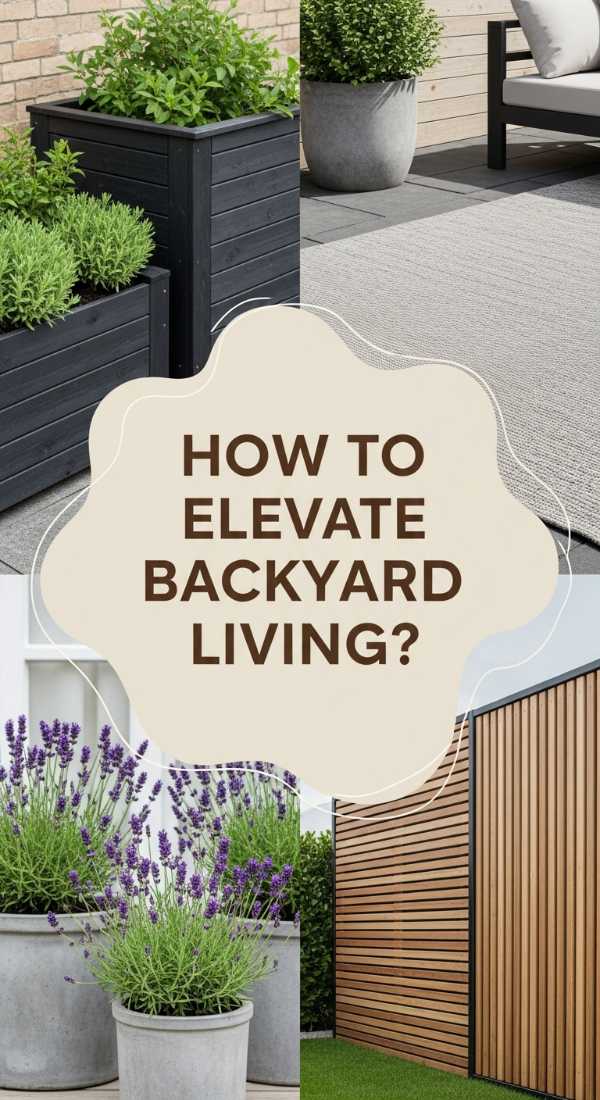
Why we love this
The difference between a generic yard and an aesthetic sanctuary often lies in the custom details. Handmade wooden accents—like a simple bench, a minimalist birdhouse, or a rustic lantern post—bring a human touch to the landscape. We love the warmth and soul that wood adds to the garden; it’s a material that ages with grace, developing a storied character that tells the tale of seasons past, while providing functional beauty that anchors your outdoor living areas.
Essential Elements:
- Cedar or Teak scraps for smaller projects
- Outdoor-rated wood glue and stainless steel nails
- Varying grits of sandpaper
- Linseed oil or eco-friendly exterior stain
- Copper sheeting for birdhouse roofs (optional)
- Hemp rope for hanging accents
How to make it
- Identify small gaps in your garden that need a focal point, such as an empty spot under a tree for a small bench or a fence post that could hold a decorative lantern.
- For a simple garden bench, use thick 2×10 cedar planks for the seat and sturdy 4×4 blocks for the legs, securing them with heavy-duty lag bolts for a chunky, modern look.
- Craft minimalist birdhouses using clean lines and no decorative “perches” (which can actually aid predators), adding a copper roof detail for a touch of elegance.
- Sand all projects thoroughly, starting with 80-grit and moving to 220-grit for a professional, touchable finish that highlights the natural beauty of the wood grain.
- Apply a coat of linseed oil or a transparent stain to enhance the wood’s natural hue and provide a layer of protection against UV rays and moisture.
- Scatter these accents throughout the yard to create a cohesive design language, ensuring the handmade quality is visible and serves as a conversation starter during garden gatherings.
Creating Your Forever Sanctuary
As you embark on these projects, remember that the most beautiful gardens aren’t built in a single weekend. They are curated over time, growing alongside you and your family. Each cedar planter, each layered flower bed, and every handmade accent is a piece of a larger puzzle that represents your unique style. I hope these ideas inspire you to step outside, get your hands a little dirty, and craft a sanctuary that brings you peace and joy for years to come. Happy gardening!
Frequently Asked Questions
Q: What is the best wood for outdoor DIY projects?
A: Cedar, Teak, and Redwood are the gold standards because they contain natural oils that resist rot and insects. If you’re on a budget, pressure-treated pine is a great alternative, though it should be stained or sealed.
Q: How can I make my backyard look aesthetic on a very small budget?
A: Focus on lighting and greenery. String lights (Edison bulbs) and a few well-placed, oversized planters can transform a space instantly. Upcycling pallets or using found stones for garden edges are also cost-effective ways to add character.
Q: How do I maintain my wooden outdoor furniture so it doesn’t rot?
A: Clean your wooden accents annually with mild soap and water. Re-apply a UV-protectant sealer or oil every 1-2 years to keep the wood hydrated and prevent graying and cracking.