

We have all been there—scrolling through our feeds and coming across that one image that makes our hearts (and stomachs) skip a beat. Lately, it’s been the rise of the ‘Ultimate Viral Food Board.’ It’s more than just a meal; it’s a celebration of textures and flavors laid out in a way that feels both luxurious and completely approachable. There is something so deeply comforting about a table filled with golden hues and vibrant greens, inviting everyone to dig in and share a moment of pure, culinary bliss.
Creating this kind of magic in your own kitchen isn’t about being a professional chef; it’s about the love you put into the details. It’s the sound of the crunch when you bite into a roasted potato, the way a creamy sauce coats a noodle perfectly, and the aroma of garlic butter wafting through the hallway. These are the recipes that bring people together, sparking conversations and creating memories that last long after the last bite is gone. Let’s dive into the components that make this board a viral sensation.
How to make the crispiest roasted potatoes
Why we love this
There is nothing quite like the sensory explosion of a perfectly roasted potato. Imagine a crust so golden and shatteringly crisp that it crackles with every bite, giving way to a center that is as fluffy and light as a cloud. The earthy aroma of rosemary and thyme infuses every crevice, while the salt enhances the natural buttery sweetness of the starch. It is the ultimate comfort food, providing a satisfying weight and a warm, rustic feeling that grounds the entire food board experience.
Ingredients
- 2 lbs Yukon Gold potatoes
- 1/2 cup extra virgin olive oil
- 3 sprigs fresh rosemary
- 4 cloves smashed garlic
- 1 tsp sea salt
- 1/2 tsp cracked black pepper
How to make it
- Start by peeling and cutting your potatoes into even 2-inch chunks; uniformity is key to ensuring they all finish at the same time.
- Place the potatoes in a large pot of cold salted water and bring to a boil. Parboil them for exactly 8-10 minutes until the edges are just tender but the centers are firm.
- Drain the potatoes and let them steam dry in the colander for 2 minutes. Give the colander a vigorous shake to ‘rough up’ the edges—this creates the starchy mash that turns into that signature crispy crust.
- Preheat your oven to 425°F (220°C) and place a heavy rimmed baking sheet inside to get screaming hot.
- Carefully toss the roughed-up potatoes with olive oil, salt, pepper, garlic, and rosemary in a bowl until thickly coated.
- Spread the potatoes onto the hot baking sheet in a single layer, ensuring they aren’t touching so they roast rather than steam.
- Bake for 45-50 minutes, turning them every 20 minutes with a metal spatula, until they are deep mahogany brown and sound hollow when tapped.
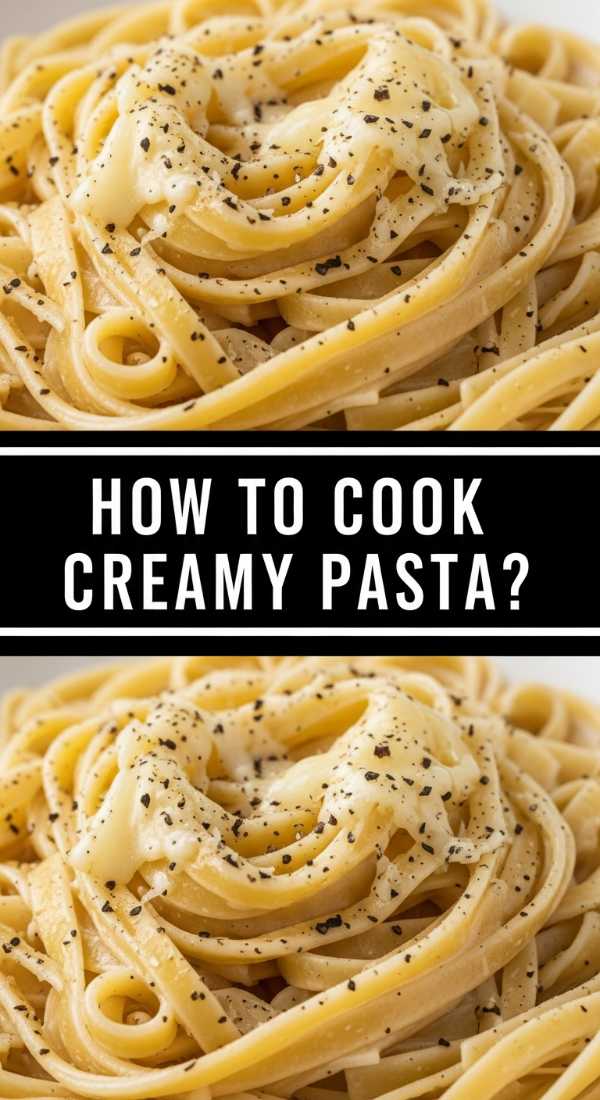
How to cook restaurant quality creamy pasta
Why we love this
A truly great creamy pasta is like a warm hug for your soul. The texture is velvety and smooth, coating each strand of pasta in a rich, silken embrace that feels decadent without being heavy. As you twirl your fork, the aroma of aged parmesan and subtle hints of nutmeg or garlic rise from the steam, promising a bite that is balanced and deeply savory. It provides a luxurious contrast to the crunchier elements on the board, offering a melt-in-your-mouth experience that everyone craves.
Ingredients
- 1 lb Fettuccine or Pappardelle
- 2 cups heavy cream
- 1 cup freshly grated Parmigiano-Reggiano
- 2 tbsp unsalted butter
- 2 cloves minced garlic
- Fresh parsley and lemon zest for garnish
How to make it
- Boil a large pot of water and salt it heavily—it should taste like the sea to properly season the pasta from within.
- Cook your pasta until it is ‘al dente,’ which usually means 1-2 minutes less than the package instructions. Crucially, reserve 1 cup of starchy pasta water before draining.
- In a wide skillet over medium-low heat, melt the butter and gently sauté the minced garlic until fragrant but not browned, about 1 minute.
- Pour in the heavy cream and bring it to a gentle simmer. Let it reduce by about a third until it slightly thickens, whisking occasionally.
- Turn the heat to the lowest setting and slowly whisk in the grated cheese until smooth. If the sauce looks too thick, whisk in a splash of the reserved pasta water.
- Add the hot pasta directly into the sauce. Use tongs to toss vigorously, allowing the starch in the water to emulsify with the fat in the cream and cheese.
- Finish with a sprinkle of fresh parsley and a touch of lemon zest to brighten the richness before serving immediately.
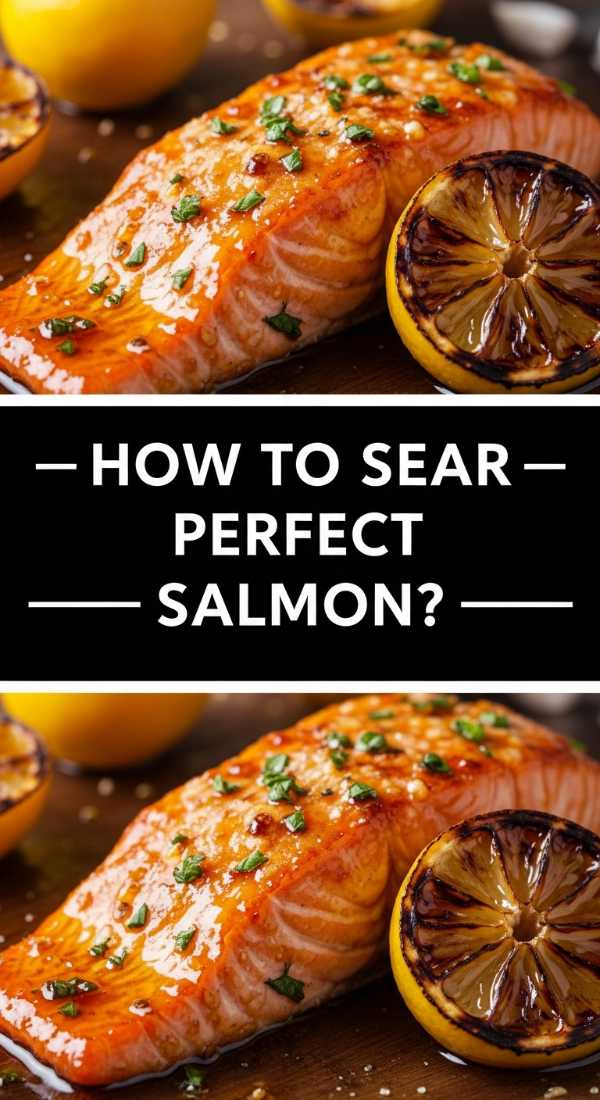
How to sear the perfect honey salmon

Why we love this
Honey-seared salmon is a masterclass in the balance of sweet and savory. The exterior develops a stunning, caramelized glaze that is slightly tacky and deeply flavorful, while the interior remains succulent, flaky, and pink. The aroma of bubbling honey and soy sauce hitting a hot pan is intoxicating, signaling a dish that is as healthy as it is indulgent. It adds a sophisticated, protein-rich centerpiece to your food board that looks like it was plated in a high-end bistro.
Ingredients
- 4 salmon fillets (skin-on)
- 3 tbsp honey
- 2 tbsp soy sauce
- 1 tbsp lemon juice
- 1 tbsp avocado oil (high smoke point)
- Flaky sea salt and red pepper flakes
How to make it
- Pat the salmon fillets completely dry with paper towels; moisture is the enemy of a good sear and will cause the fish to stick or steam.
- Season the flesh side generously with salt and pepper. In a small bowl, whisk together the honey, soy sauce, and lemon juice.
- Heat a cast-iron or stainless steel skillet over medium-high heat. Add the avocado oil and wait until it is shimmering and just starting to wisps smoke.
- Place the salmon skin-side down in the pan. Press down gently with a spatula for 30 seconds to ensure the skin makes full contact and doesn’t curl.
- Sear for 4-5 minutes without moving it until the skin is crispy and releases easily from the pan.
- Flip the fillets and immediately pour the honey mixture into the pan. Let the sauce bubble and reduce for 2-3 minutes while basting the salmon continuously with a spoon.
- Remove once the internal temperature reaches 125°F for medium-rare, allowing the carry-over heat to finish the cooking process.
How to make authentic loaded beef tacos
Why we love this
Loaded beef tacos are a riot of color and flavor that bring an instant sense of festivity to any gathering. The savory, spiced beef provides a warm, hearty base that contrasts beautifully with the cool crunch of shredded lettuce and the zing of fresh lime. Each bite is a complex journey of textures—from the soft tortilla to the creamy avocado and the sharp bite of pickled onions. It’s a customizable experience that encourages everyone to build their own perfect bite, making it a social highlight of the meal.
Ingredients
- 1 lb lean ground beef
- 2 tbsp taco seasoning (cumin, chili powder, garlic powder)
- 1/2 cup beef broth
- Corn or flour tortillas
- Toppings: Cotija cheese, cilantro, pickled onions, lime wedges, avocado
How to make it
- Place a large skillet over medium-high heat and add the ground beef, breaking it apart with a wooden spoon into small, uniform crumbles.
- Cook until the beef is deeply browned and slightly crispy in spots, which develops the ‘maillard reaction’ for better flavor. Drain any excess fat.
- Add the taco seasoning and stir for 1 minute to ‘bloom’ the spices in the remaining fat.
- Pour in the beef broth and turn the heat to medium-low. Let it simmer for 5-7 minutes until the liquid has reduced into a thick, glossy sauce that coats the meat.
- While the meat simmers, char your tortillas directly over a gas flame or in a dry pan for 30 seconds per side until they have toasted spots and are pliable.
- Assemble the tacos by layering the beef first, followed by a heavy hand of fresh toppings like cilantro and lime.
- Serve with a side of salsa verde to provide a bright, acidic finish that cuts through the richness of the beef.
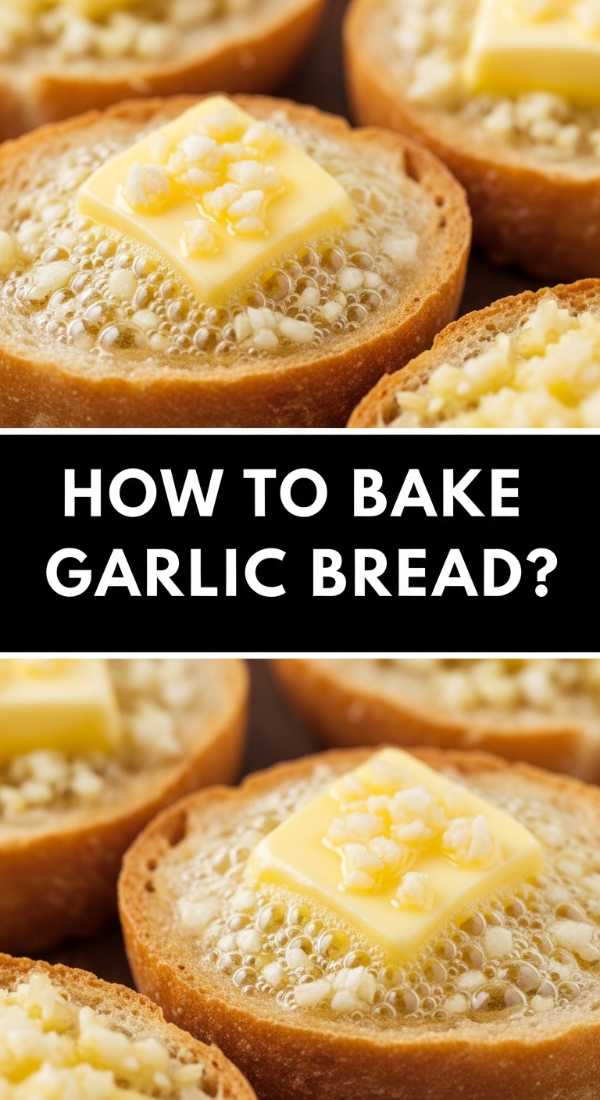
How to bake the best garlic bread

Why we love this
The scent of garlic bread baking is perhaps the most welcoming aroma in the culinary world. It’s that perfect combination of a crusty exterior that shatters upon entry and a soft, pillowy interior soaked in melted, herb-flecked butter. The sharp, pungent bite of garlic is mellowed by the heat, turning sweet and fragrant, while the melted cheese creates those irresistible pulls of joy. It’s the ultimate vessel for mopping up sauces and ensuring not a single drop of flavor is left behind on the board.
Ingredients
- 1 large loaf of French bread or Baguette
- 1/2 cup softened unsalted butter
- 4 cloves roasted garlic (mashed)
- 2 tbsp chopped fresh parsley
- 1/2 cup shredded mozzarella or parmesan
- Pinch of salt
How to make it
- Preheat your oven to 375°F (190°C). Slice the bread in half lengthwise, opening it up like a book.
- In a small bowl, combine the softened butter, mashed roasted garlic, chopped parsley, and a pinch of salt. Mix until it forms a smooth, uniform paste.
- Spread the garlic butter generously over both cut sides of the bread, making sure to reach all the way to the very edges.
- Place the bread on a baking sheet and bake for 10-12 minutes until the edges are golden and the butter has soaked deep into the crumb.
- Remove from the oven, sprinkle the shredded cheese over the top, and switch the oven to the ‘Broil’ setting.
- Place the bread back under the broiler for 1-2 minutes, watching it like a hawk, until the cheese is bubbly and has small brown charred spots.
- Let it cool for 2 minutes before slicing into thick batons to maintain the internal steam and soft texture.
How to cook savory stir fry noodles
Why we love this
Stir fry noodles bring a wonderful umami depth and a playful, bouncy texture to the spread. The way the noodles capture the glossy, dark sauce ensures that every forkful is packed with a savory punch of ginger, garlic, and soy. There’s a beautiful contrast between the tender noodles and the crisp-tender snap of fresh vegetables like bok choy or snap peas. It’s a fast-paced, high-energy dish that feels vibrant and alive, adding an international flair that rounds out the board’s global appeal.
Ingredients
- 10 oz chow mein or udon noodles
- 2 tbsp toasted sesame oil
- 3 tbsp soy sauce
- 1 tbsp oyster sauce
- 1 tbsp brown sugar
- 2 cups sliced vegetables (carrots, peppers, scallions)
How to make it
- Prepare the noodles according to the package instructions, ensuring you rinse them in cold water immediately after draining to stop the cooking and remove excess starch.
- In a small jar, whisk together the soy sauce, oyster sauce, brown sugar, and a splash of water to create your stir-fry base.
- Heat a wok or large heavy skillet over high heat until a drop of water flicked onto it evaporates instantly. Add the sesame oil.
- Toss in the harder vegetables (like carrots) first, stir-frying for 2 minutes, then add the softer aromatics like scallions and garlic for 30 seconds.
- Add the cold noodles to the pan. Use tongs to spread them out and let them sear against the hot metal for 1 minute before tossing.
- Pour the sauce over the noodles and vegetables. Continue to stir-fry over high heat for 2-3 minutes, tossing constantly until the sauce has reduced and forms a sticky glaze.
- Finish with a sprinkle of sesame seeds and a drizzle of chili oil if you like a bit of heat.
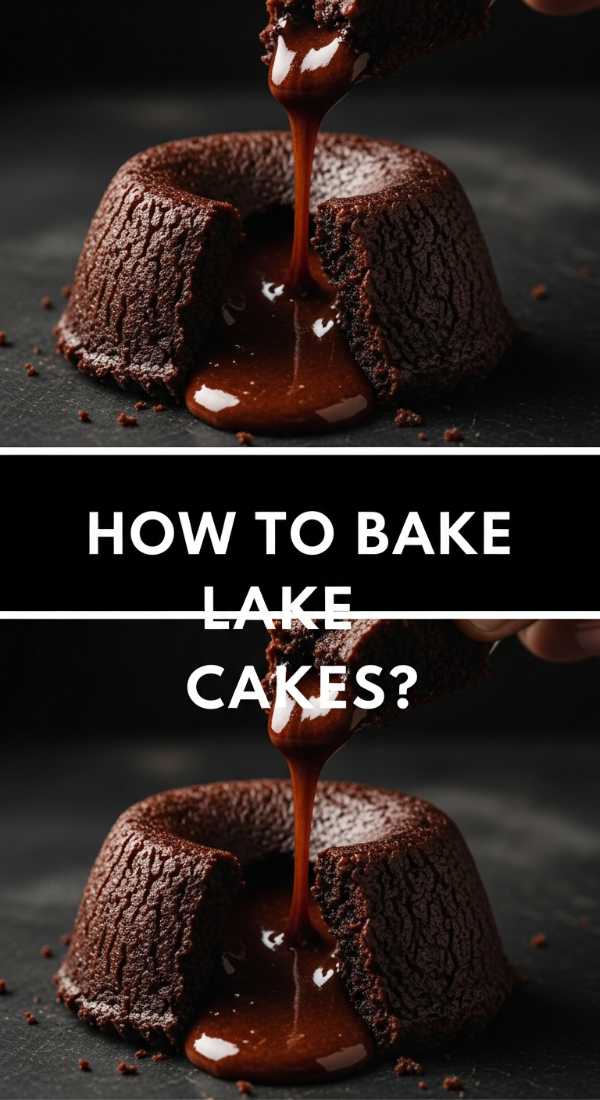
How to bake molten chocolate lava cakes
Why we love this
The molten lava cake is the ultimate dramatic finale. There is a specific kind of magic in piercing the delicate, cakey exterior only to have a river of warm, liquid chocolate flow out onto the plate. The richness is intense and sophisticated, hitting that deep cocoa note that satisfies even the most hardcore dessert lover. When served warm, the contrast between the hot cake and a scoop of cold vanilla bean ice cream creates a temperature play that is absolutely divine, making it the crowning jewel of the board.
Ingredients
- 6 oz high-quality semi-sweet chocolate
- 1/2 cup unsalted butter
- 2 large eggs + 2 egg yolks
- 1/4 cup sugar
- 2 tbsp all-purpose flour
- Pinch of espresso powder
How to make it
- Preheat your oven to 425°F (220°C). Generously grease four 6-ounce ramekins with butter and dust them with cocoa powder, tapping out any excess.
- Melt the chocolate and butter together in a double boiler or in the microwave in 30-second increments, stirring until completely smooth.
- In a separate bowl, beat the eggs, egg yolks, sugar, and espresso powder on high speed for about 5 minutes until the mixture is thick, pale, and leaves a ribbon trail.
- Gently fold the melted chocolate mixture into the egg mixture using a silicone spatula to keep as much air as possible.
- Sift the flour over the batter and fold it in very lightly until just combined—do not overmix.
- Divide the batter evenly among the ramekins and bake for exactly 10-12 minutes. The sides should be firm, but the centers should still look slightly soft and jiggly.
- Let them cool for 1 minute, then carefully run a knife around the edges and invert them onto small plates for the ‘big reveal.’
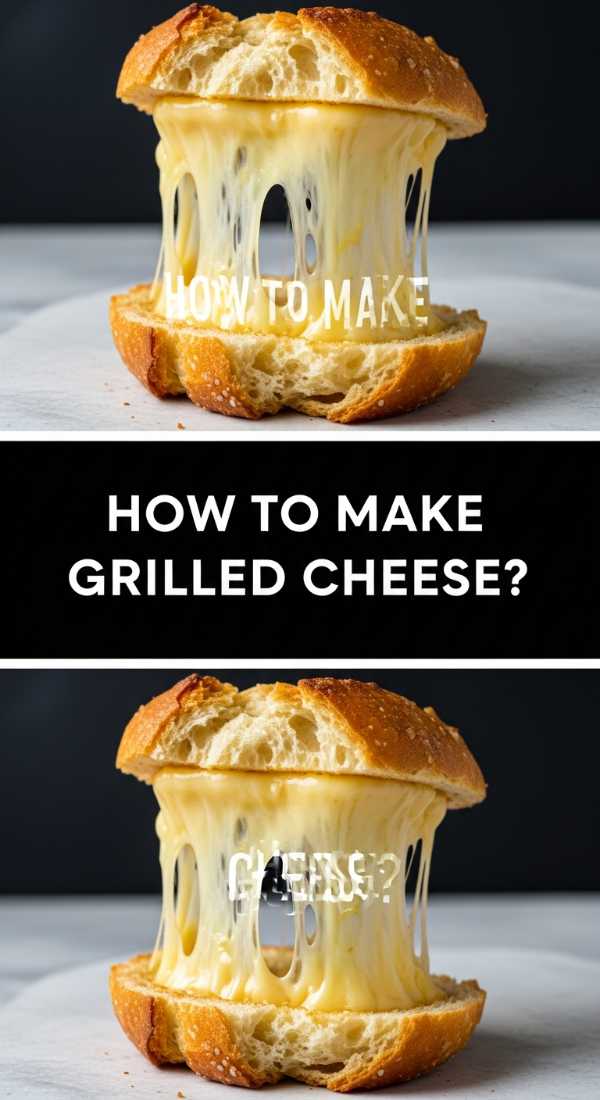
How to make the ultimate grilled cheese

Why we love this
The ultimate grilled cheese is a study in golden-brown perfection and gooey indulgence. It’s a childhood classic elevated to an art form, featuring bread that has been toasted to a buttery, uniform crispness that yields to a molten, multi-cheese center. The sound of the first cut—that sharp, clean crunch—is pure ASMR for foodies. It’s salty, fatty, and deeply nostalgic, providing a heavy, satisfying bite that anchors the lighter elements of the board with its pure, unadulterated comfort.
Ingredients
- 2 thick slices of Sourdough or Brioche
- 2 tbsp mayonnaise (for the crust)
- 2 slices sharp cheddar
- 2 slices Gruyère or Fontina
- 1 tbsp butter (for the pan)
How to make it
- Spread a thin, even layer of mayonnaise on the outside of both slices of bread. Mayo has a higher smoke point than butter and contains egg, resulting in a more even, golden-brown crust.
- Place one slice, mayo-side down, in a cold non-stick skillet. Layer your cheeses on top, alternating cheddar and Gruyère for the best flavor profile.
- Top with the second slice of bread, mayo-side up.
- Turn the heat to medium-low. The ‘low and slow’ method is the secret to a perfect melt without burning the bread.
- Cover the pan with a lid for 3 minutes; this traps the heat and ensures the cheese is fully melted by the time the bread is toasted.
- Remove the lid, flip the sandwich carefully, and increase the heat to medium. Cook for another 2-3 minutes until the bottom is mahogany and crisp.
- Let the sandwich rest for 60 seconds before slicing diagonally—this allows the cheese to set slightly so it doesn’t all run out immediately.
How to fry crispy buffalo chicken wings
Why we love this
Buffalo chicken wings are the quintessential crowd-pleaser, offering a bold explosion of spice and vinegar that wakes up the palate. The skin should be impossibly thin and glass-like in its crispness, giving way to juicy, tender meat that pulls easily from the bone. The bright orange hue of the sauce is visually striking, and the creeping heat is perfectly tempered by a side of cool ranch or blue cheese. They bring a messy, fun, and high-energy element to the food board that everyone loves to dive into.
Ingredients
- 2 lbs chicken wings (flats and drums)
- 1 tbsp baking powder (non-aluminum)
- 1 tsp salt
- 1/2 cup Frank’s RedHot sauce
- 1/3 cup melted unsalted butter
- 1 tsp honey
How to make it
- The day before or at least 4 hours prior, pat the wings extremely dry. Toss them in a bowl with the baking powder and salt until lightly coated.
- Place the wings on a wire rack over a baking sheet and refrigerate uncovered. This ‘air-chilling’ process dries out the skin for maximum crunch.
- Preheat your oven to 425°F (220°C). Bake the wings on the rack for 45-50 minutes, flipping halfway through. They should be golden and the skin should look bubbled and tight.
- While the wings bake, whisk together the hot sauce, melted butter, and honey in a large bowl. The honey adds just enough tackiness to help the sauce cling.
- Once the wings are out of the oven and still piping hot, toss them immediately in the sauce bowl.
- Use a folding motion to ensure every nook and cranny is coated without breaking the crispy skin.
- Serve immediately with celery sticks to provide a cooling, watery crunch between spicy bites.
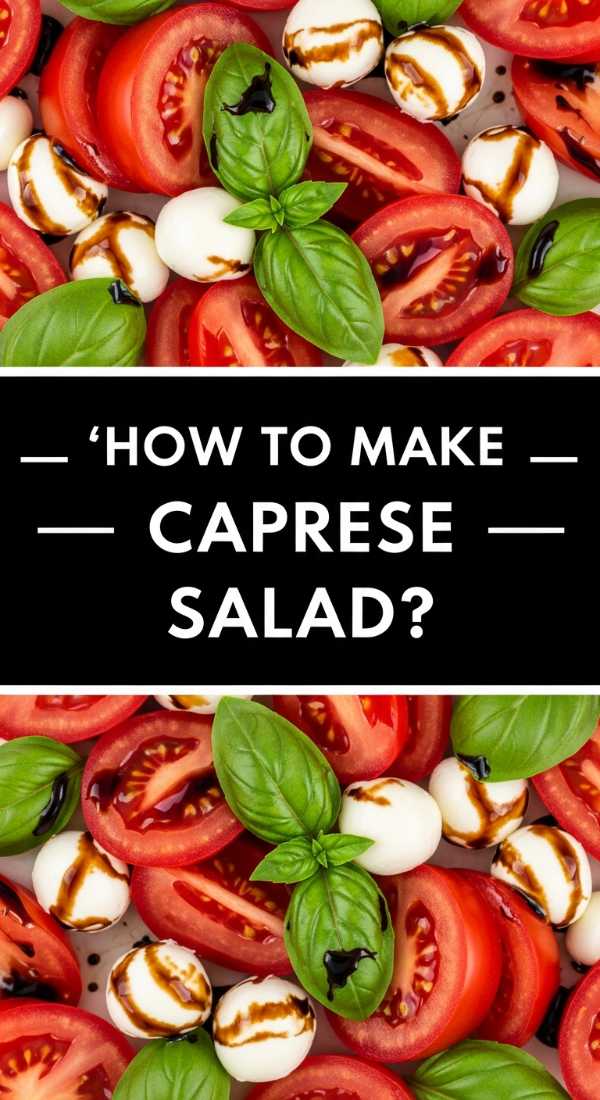
How to make a fresh caprese salad
[IMAGE_10]
Why we love this
A Caprese salad is the breath of fresh air that every rich food board needs. It’s a celebration of simplicity, relying on the quality of just a few ingredients to shine. The creamy, mild mozzarella provides a soft backdrop for the acidic, sun-ripened sweetness of garden tomatoes and the peppery punch of fresh basil. The finish of a thick, balsamic reduction and a drizzle of peppery olive oil adds a sophisticated touch of sweetness and depth. It’s light, vibrant, and visually stunning with its red, white, and green palette.
Ingredients
- 3 large heirloom tomatoes
- 8 oz fresh Mozzarella di Bufala or Bocconcini
- 1 bunch fresh Genovese basil
- 2 tbsp high-quality balsamic glaze
- 3 tbsp extra virgin olive oil
- Flaky sea salt (Maldon)
How to make it
- Slice your tomatoes into thick 1/2-inch rounds. If using heirloom varieties, try to pick different colors for a more beautiful presentation.
- Slice the mozzarella to match the thickness of the tomatoes. If using small bocconcini balls, simply tear them in half by hand for a rustic look.
- On a flat platter, alternate overlapping slices of tomato and mozzarella in a circular or linear pattern.
- Tuck whole, large basil leaves between each layer. If the leaves are very large, you can tear them to release more of their aromatic oils.
- Drizzle the extra virgin olive oil over the top in a slow, steady stream, ensuring every piece of cheese and tomato is kissed with oil.
- Follow with a zig-zag drizzle of the thick balsamic glaze, which should hold its shape on the plate.
- Finish with a generous sprinkle of flaky sea salt and freshly cracked black pepper right before serving to keep the tomatoes from weeping too much liquid.
The Joy of the Shared Board
As we wrap up this culinary journey, it’s clear why the viral food board has captured everyone’s imagination. It’s not just about the individual recipes—though each one is a star in its own right—it’s about the synergy of flavors and the communal spirit of sharing a meal. Whether you’re hosting a big party or just making a special Sunday dinner for the family, these dishes provide the perfect balance of indulgence and freshness. So, grab your biggest platter, fire up the stove, and get ready to create something that tastes even better than it looks on camera.