
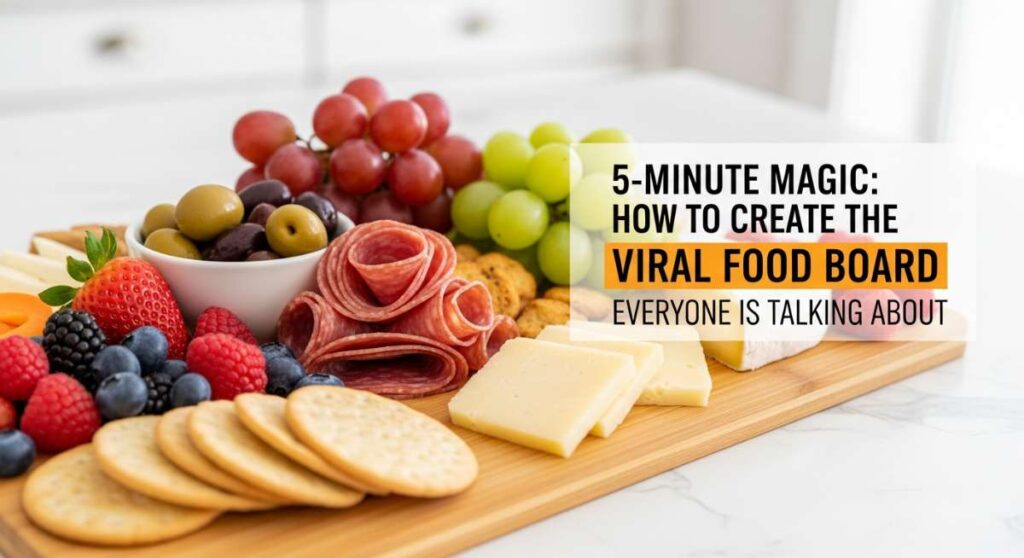
5-Minute Magic: How to Create the Viral Food Board Everyone Is Talking About
There is something inherently magical about a golden hour picnic, where the sun dips low and the world seems to slow down just for a moment. I remember the first time I tried to assemble a food board that actually looked like the ones on my Pinterest feed; it felt like a puzzle where none of the pieces fit. But after years of hosting, I’ve realized it isn’t about perfection—it’s about the feeling of sharing something beautiful with the people you love. That viral ‘aesthetic’ we all crave is really just a celebration of textures, colors, and the joy of effortless gathering.
Today, I’m sharing the secrets to creating that effortless, viral food board look using simple, accessible ingredients. We’re moving beyond just cheese and crackers into a full lifestyle experience. Whether you’re heading to the park with your best friend or setting up a backyard date night, these ten components will transform your simple snacks into a curated masterpiece that everyone will be talking about long after the last crumb is gone.
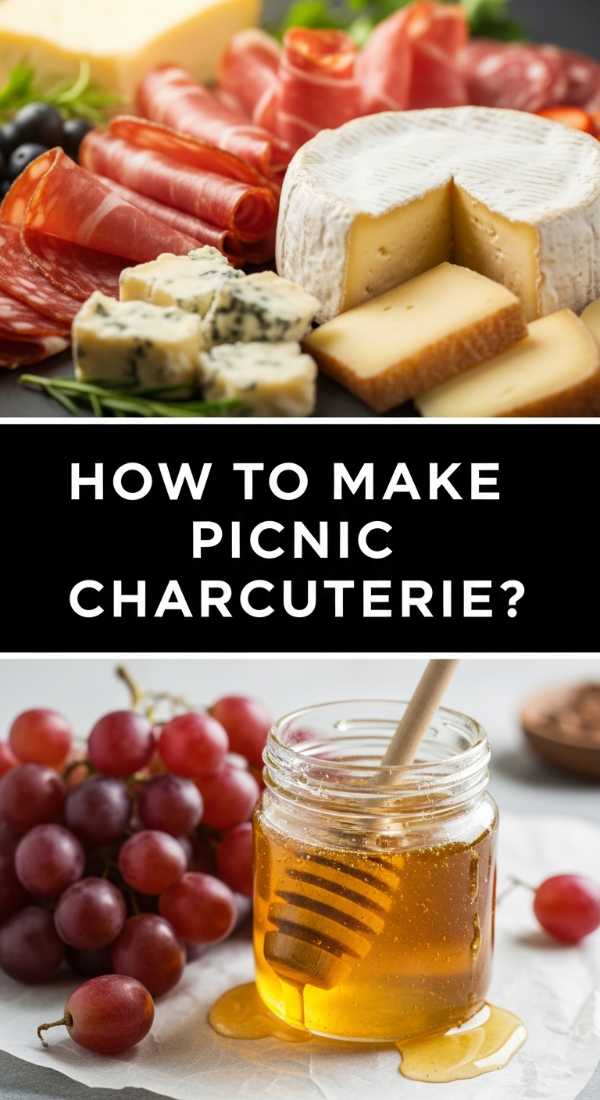
How to make aesthetic picnic charcuterie?
Why we love this
An aesthetic charcuterie board is more than just an appetizer; it is a visual symphony of textures and flavors that invites everyone to lean in and linger. Imagine the contrast of a creamy, velvet-like triple-crème brie sitting alongside the rugged, salty crunch of artisanal sourdough crisps. The aroma of rosemary-infused honey drifting through the air as you peel back a thin, translucent slice of salty prosciutto is enough to make anyone’s mouth water. It’s that perfect balance of sweet, salty, creamy, and crunchy that creates a sensory experience that feels both luxurious and approachable at the exact same time.
Ingredients
- Triple-crème Brie or Camembert
- Sharp Aged Cheddar wedges
- Prosciutto di Parma
- Salami rosettes
- Honeycomb or high-quality floral honey
- Marcona almonds
- Fresh figs or sliced pears
- Rosemary sprigs for garnish
How to make it
- Begin by placing your ‘anchors’ on the board, which are your cheeses. Place the Brie at one corner and the cheddar at the opposite to create visual balance. For the Brie, cut a small wedge out to show the creamy interior, which makes it look more inviting.
- Create ‘rivers’ of meat. Take your prosciutto and fold it accordion-style into ribbons, tucking them in a winding path between the cheeses. For salami, fold each slice into quarters and nestle them tightly together to create a ‘rosette’ effect that stays upright.
- Fill the larger gaps with your fruit. Slice figs in half to reveal their vibrant, seeded interiors, and fan out pear slices near the sharper cheeses. This adds height and organic shapes to the layout.
- Use small bowls for wet items like honey or olives. Placing a small wooden dipper in the honey adds a professional touch and prevents a sticky mess on the board.
- Fill the tiny remaining ‘micro-gaps’ with Marcona almonds and rosemary sprigs. These final touches ensure the board looks lush and abundant, leaving no empty space, which is the secret to that viral, ‘over-the-top’ aesthetic.
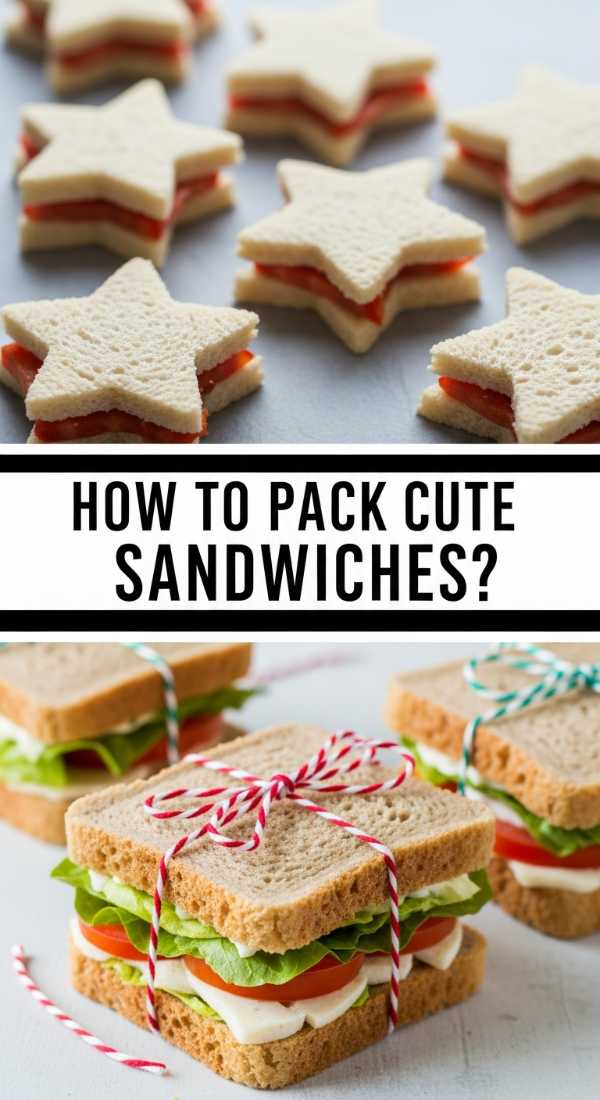
How to pack cute picnic sandwiches?
Why we love this
There is nothing quite as nostalgic and comforting as a perfectly packed picnic sandwich, but the ‘cute’ factor comes from the care put into the presentation. Think of a thick-cut, crusty baguette that crackles as you bite into it, giving way to layers of zesty pesto, sun-ripened heirloom tomatoes, and fresh mozzarella that smells of the Italian countryside. When wrapped in parchment paper and tied with a simple piece of rustic twine, these sandwiches become little gifts of flavor. The tactile experience of unwrapping a fresh, hand-held meal while sitting on a soft blanket is the epitome of a dream lifestyle moment.
Ingredients
- Fresh French Baguette or Ciabatta rolls
- Basil pesto (homemade or high-quality store-bought)
- Fresh Buffalo Mozzarella
- Heirloom tomatoes, thickly sliced
- Fresh basil leaves
- Balsamic glaze
- Parchment paper and twine
How to make it
- Slice your bread lengthwise but leave a ‘hinge’ on one side; this keeps the ingredients from sliding out during transport. If using a baguette, cut it into individual 6-inch portions first.
- Apply a generous layer of pesto to both the top and bottom interior. The oil in the pesto acts as a moisture barrier, preventing the bread from getting soggy from the tomato juices.
- Layer your ingredients starting with the mozzarella slices, followed by the heirloom tomatoes. Sprinkle a pinch of sea salt directly on the tomatoes to draw out their sweetness.
- Top with a handful of fresh basil leaves and a light drizzle of balsamic glaze. Close the sandwich and press down firmly to ‘marry’ the layers together.
- Wrap each sandwich tightly in a rectangle of parchment paper, folding the ends under like a gift. Secure the center with a double-knot of baker’s twine and tuck a small sprig of basil under the string for a professional, photo-ready finish.
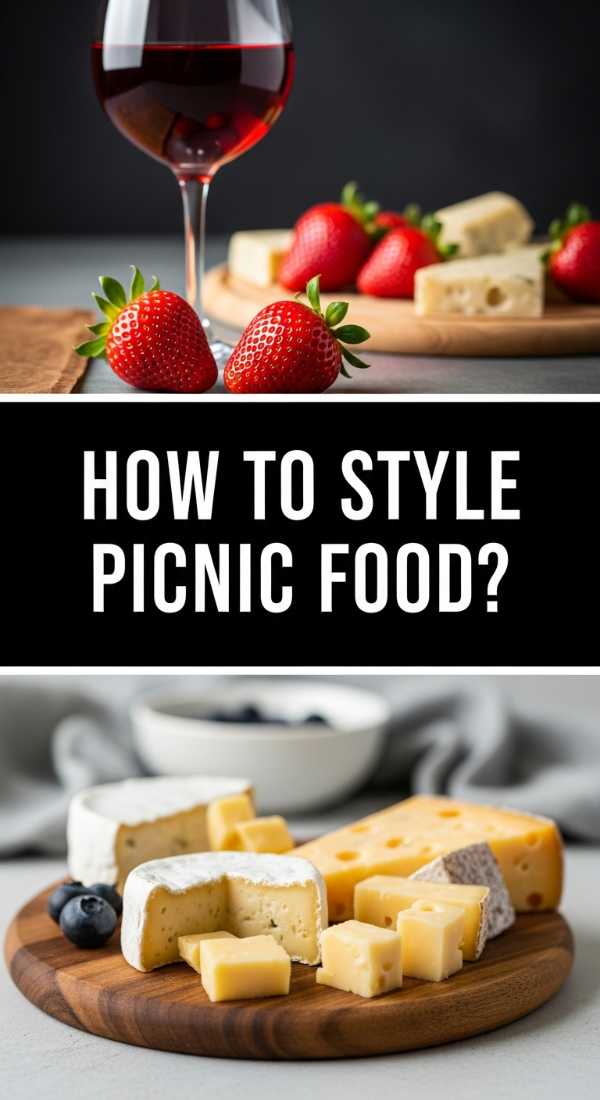
How to style picnic food for two?
Why we love this
Styling for two is all about intimacy and intentionality, turning a simple meal into a romantic or deep-bonding event. It’s the soft clinking of real glassware against a wooden board and the sight of small, curated portions that feel special rather than mass-produced. The scent of fresh-cut flowers placed in a small jar next to your spread adds a layer of elegance that transforms a patch of grass into a private dining room. When every element—from the napkins to the placement of the grapes—is chosen with care, the meal becomes a beautiful backdrop for conversation and connection.
Ingredients
- A small wooden board or marble slab
- Linen napkins
- Two real wine glasses or tumblers
- A small posy of wildflowers
- Grapes on the vine
- Small portions of chocolate truffles
How to make it
- Choose a small surface area. Styling for two looks best when the food is concentrated rather than spread thin. Use a board that is roughly 10×10 inches to ensure it looks ‘full.’
- Place your tallest items at the back. Put your wine glasses and a small jar of flowers in the upper corners to create a frame for the food.
- Keep the food symmetrical but not identical. Place a cluster of grapes on the left and a small stack of crackers on the right. This creates a balanced visual weight that is pleasing to the eye.
- Focus on the ‘shareable’ aspect. Place a small pot of spreadable cheese in the center with two spreading knives, signaling that this is a shared experience.
- Add a touch of sweetness with chocolate truffles or macarons placed near the center. These small, high-impact treats act as the ‘jewelry’ of the board, catching the light and adding a pop of color.
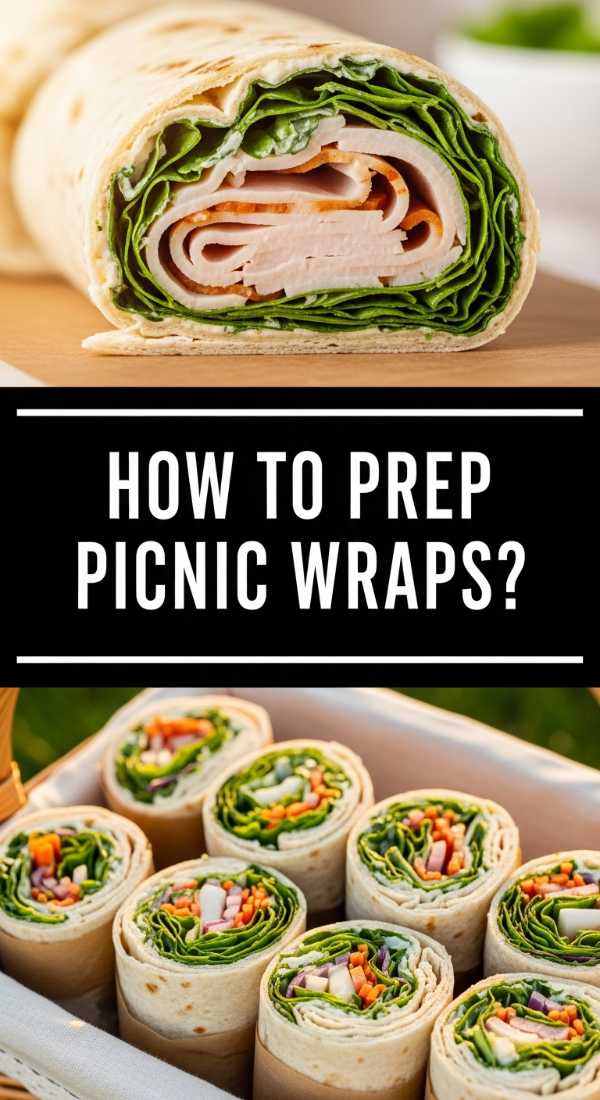
How to prep simple picnic wraps?
Why we love this
Simple picnic wraps are the unsung heroes of outdoor dining because they are incredibly versatile and mess-free. Imagine biting into a soft, herb-flecked tortilla that holds together a vibrant mix of crunchy rainbow veggies, creamy avocado, and zesty chickpeas. The aroma is fresh and clean, reminiscent of a summer garden, and the texture is a satisfying mix of soft and crisp. Because they are compact, they allow you to eat with one hand while holding a glass or a book with the other, making them the ultimate functional yet delicious lifestyle food.
Ingredients
- Large spinach or flour tortillas
- Hummus or herbed cream cheese
- Shredded carrots and purple cabbage
- Thinly sliced cucumbers
- Microgreens or baby spinach
- Cooked protein (like sliced chicken or seasoned chickpeas)
How to make it
- Lay the tortilla flat and spread a thick layer of hummus or cream cheese over the entire surface, leaving a half-inch border at the very edge. This ‘glue’ is essential for keeping the wrap tight.
- Place your greens in the center third of the tortilla. Layer the heavier ingredients—like the protein and cucumbers—on top of the greens to weigh them down.
- Add the shredded carrots and cabbage last; these provide the ‘crunch’ and the vibrant color when the wrap is sliced.
- Fold the left and right sides of the tortilla toward the center (about 1 inch in). Then, starting from the bottom, roll the tortilla upward as tightly as possible, using your fingers to tuck the filling in as you go.
- Wrap the finished roll tightly in wax paper. Let it sit for 5 minutes before slicing diagonally with a sharp serrated knife. The rest period allows the tortilla to set so it doesn’t unravel when you eat it.
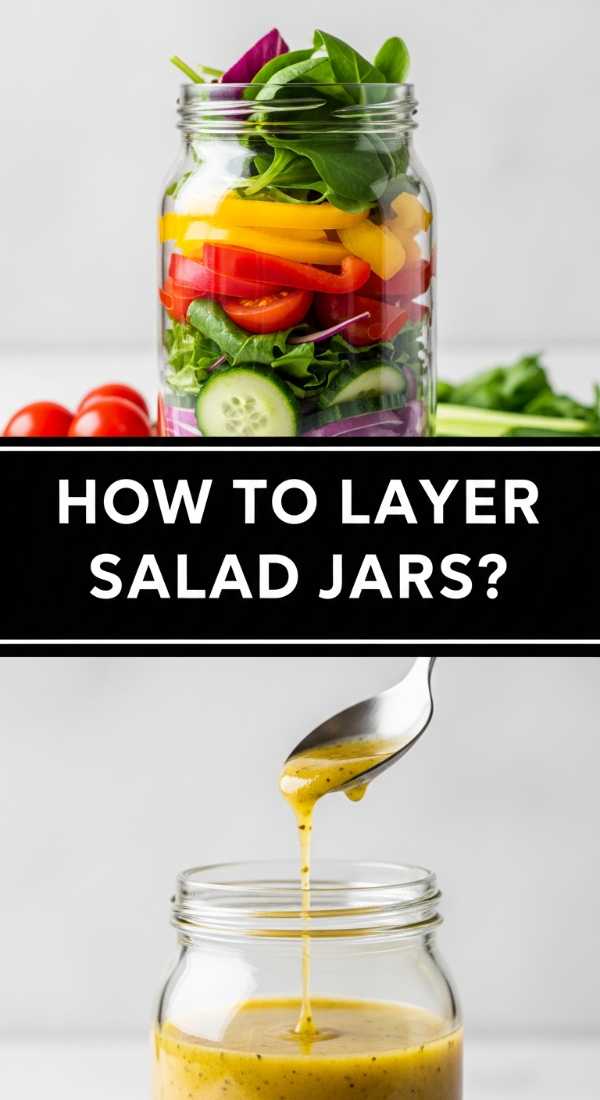
How to layer healthy salad jars?
Why we love this
Salad jars are a masterclass in both aesthetics and engineering, providing a stunning vertical display of colors that keeps your veggies perfectly crisp for hours. There is something deeply satisfying about seeing the distinct layers of ruby-red tomatoes, golden corn, and vibrant emerald kale through the clear glass of a Mason jar. The fresh, vinegary scent of the dressing stays trapped at the bottom, only releasing its aroma when you’re ready to shake and serve. It’s a healthy, beautiful way to dine that eliminates the dreaded ‘soggy salad’ syndrome common at outdoor events.
Ingredients
- Wide-mouth Mason jars (32 oz)
- Vinaigrette dressing
- Hard vegetables (carrots, bell peppers, chickpeas)
- Grains (quinoa or farro)
- Soft vegetables (tomatoes, cucumbers)
- Leafy greens (kale, arugula, or romaine)
- Seeds or nuts for topping
How to make it
- The Golden Rule: Dressing goes in first. Pour 2-3 tablespoons of your favorite vinaigrette into the bottom of the jar. This ensures no other ingredients touch the liquid until you’re ready.
- Layer your ‘barrier’ ingredients next. Add your sturdiest vegetables like chickpeas or sliced carrots directly into the dressing. They won’t get soggy; in fact, they’ll lightly marinate.
- Add your grains or pasta. These act as a second buffer, soaking up a little flavor while keeping the moisture away from the delicate items above.
- Layer in your softer items like tomatoes and cucumbers, followed by a layer of proteins like feta cheese or grilled chicken.
- Fill the remaining space to the very top with tightly packed leafy greens. The key is to pack them in so there is very little air left in the jar, which keeps the greens fresher for longer. Screw the lid on tight and keep upright until it’s time to shake and eat!
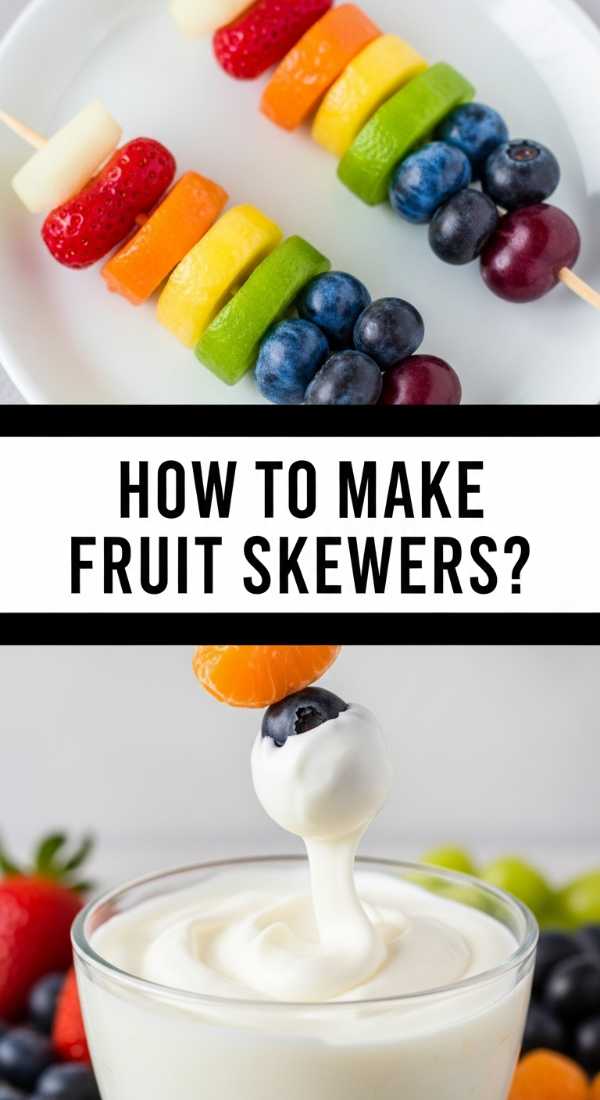
How to make fruit skewers for kids?
Why we love this
Fruit skewers are a playful, vibrant addition to any board that turns healthy eating into an interactive treat. The sight of a rainbow on a stick—bright red strawberries, orange melon, yellow pineapple, and deep purple grapes—is instantly appealing to kids and adults alike. The scent is pure summer: sweet, citrusy, and refreshing. They are easy to grab, fun to eat, and prevent the sticky-fingered mess that usually comes with fruit salads. It’s a simple way to bring a pop of natural color to your picnic spread while ensuring the little ones are just as excited about the menu as the adults.
Ingredients
- Wooden bamboo skewers (blunt ends preferred for kids)
- Strawberries (hulled)
- Cantaloupe or Mango chunks
- Pineapple wedges
- Green grapes
- Blueberries
- Optional: Mini marshmallows or mint leaves for spacing
How to make it
- Prepare all your fruit into uniform bite-sized pieces. Use a small melon baller or a star-shaped cookie cutter for the melon and pineapple to make them extra ‘viral’ and kid-friendly.
- Pat the fruit dry with a paper towel. Excess moisture makes the skewers slippery and can cause the colors to bleed into each other (like blueberry juice onto pineapple).
- Thread the fruit onto the skewers in ‘ROYGBIV’ rainbow order. Start with the heaviest fruit (like a strawberry) at the bottom to act as a base.
- Leave about an inch of space at the top and bottom of the skewer so it’s easy for small hands to hold without touching the fruit.
- For a pro-tip, dip the very tip of the skewer in a little lemon juice before threading the fruit; this helps keep light-colored fruits like apples or pears from browning if you decide to include them.
How to bake mini picnic tarts?

Why we love this
Mini picnic tarts are the ultimate sophisticated handheld dessert, offering a buttery, flaky pastry shell that shatters delightfully with every bite. Whether filled with a zesty lemon curd or a rich chocolate ganache, they provide a concentrated burst of flavor that feels much more special than a standard cookie. The aroma of toasted butter and vanilla wafting from the picnic basket is absolutely irresistible. Their small size makes them perfect for a board, as they tuck easily into corners, adding a ‘bakery-style’ elegance to your outdoor spread.
Ingredients
- Pre-made shortcrust pastry or puff pastry
- Fruit preserves or lemon curd
- Fresh berries (raspberries or blueberries)
- Egg wash (1 egg beaten with a splash of water)
- Powdered sugar for dusting
How to make it
- Preheat your oven to 375°F (190°C). Use a muffin tin or mini tart molds sprayed lightly with non-stick spray to ensure easy removal.
- Cut your pastry into circles slightly larger than the diameter of your tins. Press the pastry gently into the molds, ensuring it goes up the sides. Prick the bottom with a fork to prevent air bubbles from lifting the crust.
- Bake the empty shells (blind baking) for about 8-10 minutes until they are a very pale gold. This ensures the bottom doesn’t get ‘soggy’ once the filling is added.
- Remove from the oven and add a teaspoon of your chosen filling (curd or jam). Top with one or two fresh berries. Brush the exposed edges of the pastry with the egg wash for a high-gloss, professional finish.
- Return to the oven for another 5-7 minutes until the edges are deep golden brown and the filling is slightly bubbling. Let them cool completely before removing from the tin and dusting with a light snow of powdered sugar.
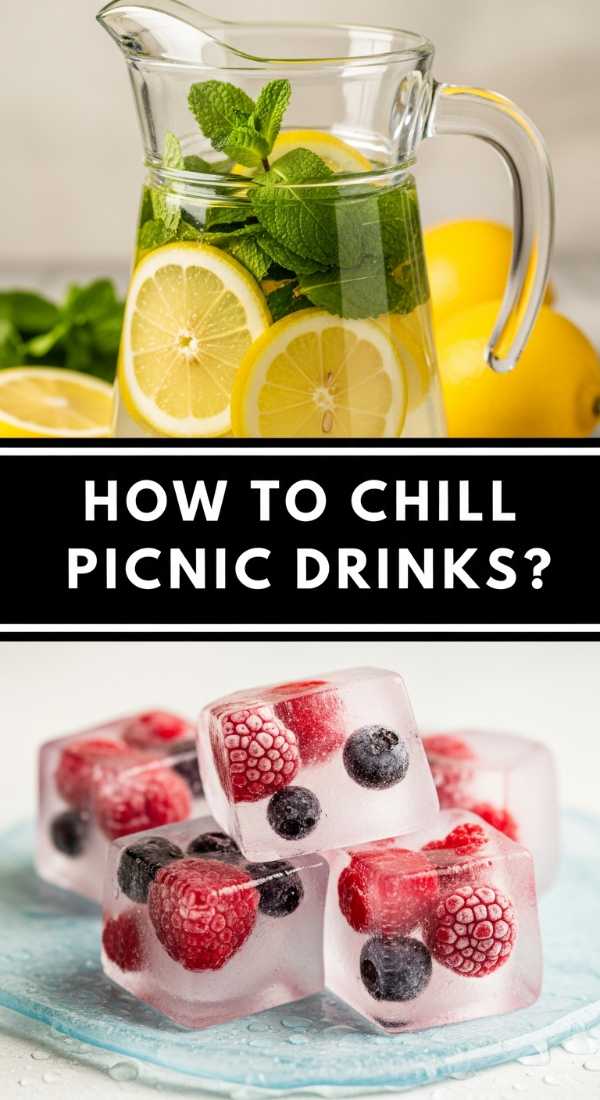
How to chill picnic drinks naturally?
Why we love this
Chilling drinks naturally is a lifestyle hack that adds both function and beauty to your picnic without the need for a clunky plastic cooler. Imagine a glass carafe filled with sparkling water, where frozen grapes and sprigs of mint bob gracefully, acting as ‘edible ice cubes.’ As they slowly thaw, they release a subtle, refreshing infusion of flavor and aroma into the water. The sight of condensation beading on a beautiful bottle, framed by natural greenery, creates a cooling visual effect that makes the whole experience feel more elevated and curated.
Ingredients
- Large grapes (red or green)
- Fresh berries (raspberries or blackberries)
- Fresh mint or basil sprigs
- Lemon or lime slices
- Sparkling or still mineral water
How to make it
- Wash and completely dry your fruit at least 4 hours before your picnic. Place them in a single layer on a baking sheet and freeze until rock hard.
- Freeze your herbs into actual ice cubes if you have time. Place a mint leaf in each section of an ice tray, fill with water, and freeze. This prevents the herbs from wilting and keeps them looking vibrant.
- Pre-chill your beverages in the refrigerator overnight. Natural chilling methods work best for maintaining temperature rather than cooling down a room-temperature liquid.
- When ready to pack, place the frozen fruit and herb ice cubes into a thermos or a well-insulated glass bottle.
- Wrap the bottle in a damp linen kitchen towel before placing it in your basket. As the water in the towel evaporates, it creates a natural cooling effect that keeps the bottle chilled for an extra 30-60 minutes.
How to prepare savory picnic pastries?
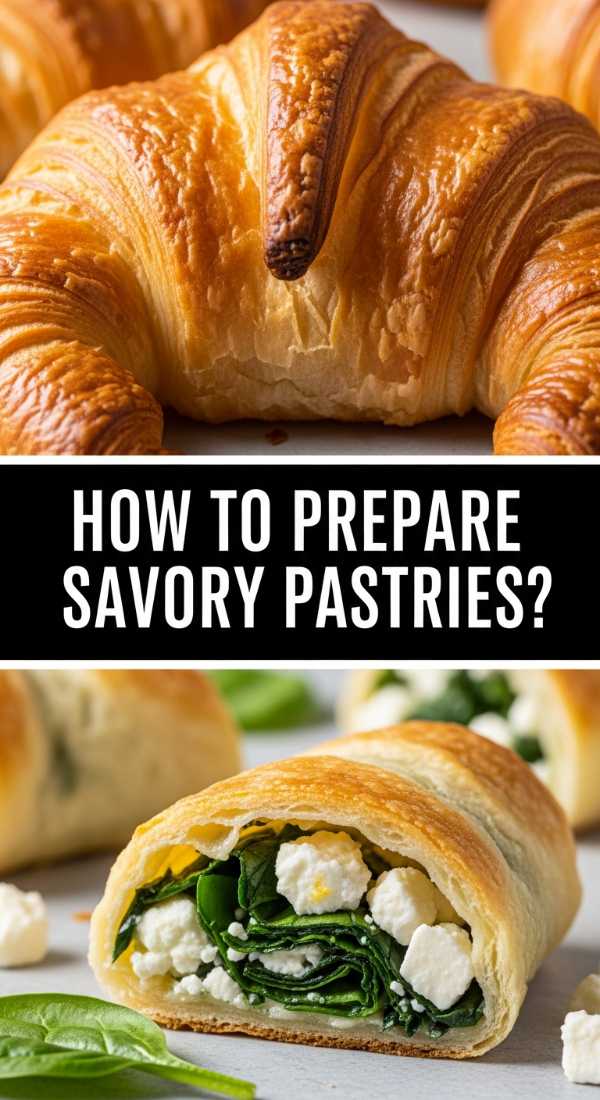
Why we love this
Savory pastries, like spinach and feta puffs or mushroom turnovers, bring a hearty, earthy element to a food board that balances out the lighter fruits and cheeses. There is nothing quite like the smell of golden, toasted sesame seeds and warm butter. The texture is a contrast of a crisp, shattered outer shell and a soft, savory interior that feels substantial and satisfying. These pastries are the ‘comfort food’ of the picnic world, providing a warm (or room temperature) savory bite that makes the meal feel complete and chef-prepared.
Ingredients
- Store-bought puff pastry sheets
- Crumbled feta and chopped spinach (squeezed dry)
- Caramelized onions
- Sesame seeds or poppy seeds
- 1 egg (for egg wash)
- Salt and cracked black pepper
How to make it
- Thaw your puff pastry just enough to work with; if it gets too warm, the butter layers will melt and it won’t puff. Keep it in the fridge until the exact moment you need to cut it.
- Cut the pastry into small 3-inch squares. Place a small dollop (about a teaspoon) of the spinach and feta mixture in the center. Do not overfill, or the pastry will burst in the oven.
- Fold the pastry over into a triangle and use the tines of a fork to crimp the edges shut tightly. This creates a beautiful decorative border and seals in the juices.
- Brush the tops generously with egg wash and sprinkle with sesame seeds and a pinch of cracked pepper. This adds texture and a professional ‘bakery’ look.
- Bake at 400°F (200°C) for 12-15 minutes. Watch for the ‘rise’—the pastry should triple in height and turn a deep, mahogany gold. Let them cool on a wire rack so the bottoms stay crispy.
How to make fresh picnic dips?
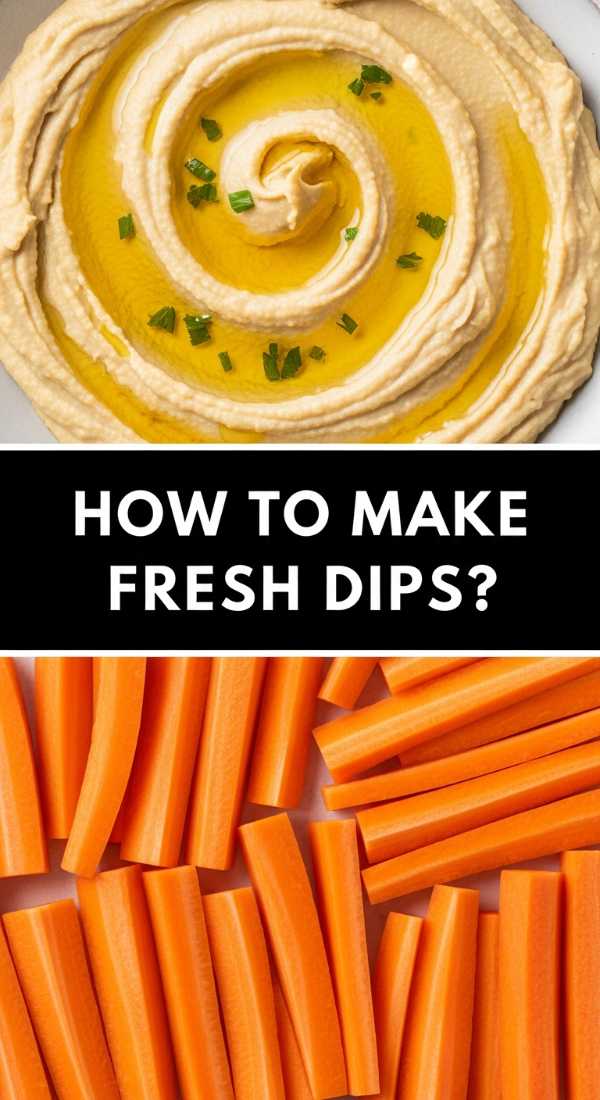
Why we love this
A fresh, homemade dip is the ‘glue’ that holds a food board together, offering a creamy, zesty landing spot for every cracker and veggie. Whether it’s a bright, lemony hummus or a whipped feta with honey, a good dip adds a layer of indulgence and moisture. The aroma of fresh garlic and cold-pressed olive oil is instantly appetizing. When served in a ceramic crock with a swirl of olive oil and a sprinkle of smoked paprika on top, it looks as good as it tastes, providing a central focal point that invites everyone to dig in.
Ingredients
- 1 can chickpeas (drained and rinsed)
- Tahini (sesame paste)
- Fresh lemon juice
- Garlic cloves (minced)
- Extra virgin olive oil
- Garnish: Smoked paprika, fresh parsley, or pine nuts
How to make it
- For the smoothest hummus, boil your canned chickpeas in water with a pinch of baking soda for 10 minutes before blending. This softens the skins and results in a ‘viral’ velvety texture.
- In a food processor, blend the tahini and lemon juice first for 1 minute. This ‘whips’ the tahini, making the dip lighter and fluffier.
- Add the softened chickpeas, garlic, and a pinch of salt. Stream in the olive oil slowly while the motor is running. This creates an emulsion, ensuring the dip is creamy and doesn’t separate.
- If the dip is too thick, add 1-2 tablespoons of ice-cold water while blending. The cold water reacts with the tahini to turn the dip a beautiful pale ivory color.
- To serve, use the back of a spoon to create a deep ‘swirl’ or well in the center of the dip. Fill the well with olive oil and garnish with a pinch of paprika and fresh parsley for a high-contrast, beautiful presentation.
Conclusion: The Art of the Viral Picnic
Creating a viral-worthy food board isn’t about spending hundreds of dollars at a gourmet shop; it’s about the small, intentional details that make a meal feel like an event. By focusing on contrasting textures, vibrant natural colors, and thoughtful packaging like parchment and twine, you turn simple ingredients into a lifestyle statement. The next time you head outdoors, remember that the most important ingredient is the company you keep—the beautiful food board is just the delicious backdrop to the memories you’re about to make. So grab your blanket, pack your jars, and go enjoy the magic of a meal shared under the open sky!