
Have you ever looked around your living space and felt a sense of stagnant energy, as if the walls were just waiting for a breath of fresh air? We often fall into the trap of thinking that a home transformation requires a massive budget and a team of contractors, but the truth is far more intimate. There is a profound, soul-deep satisfaction that comes from rolling up your sleeves and creating something beautiful with your own two hands, turning a house into a sanctuary one weekend at a time.
This weekend, let’s trade the screen time for tactile textures and the scent of fresh cedar. Minimalist makeovers aren’t about having less just for the sake of it; they are about making room for the things that truly spark joy and ease in our daily lives. Whether you’re looking to boost your curb appeal or create a whimsical corner for your little ones to create, these contemporary DIYs are designed to be approachable, stylish, and deeply rewarding. Let’s dive into the projects that will turn your home into the retreat you deserve.
How to Design Low Maintenance Flower Beds for Effortless Curb Appeal

Why we love this
There is nothing quite like pulling into your driveway and being greeted by the soft, silvery green of lambs’ ear and the structural elegance of perennial grasses. This project transforms a frantic gardening schedule into a peaceful ritual of observation rather than labor. Imagine the earthy, grounding scent of dark cedar mulch under the afternoon sun, providing a rich, chocolatey backdrop to pops of purple salvia. The texture of the smooth river rocks nestled against the soft foliage creates a sensory landscape that feels sophisticated yet entirely natural, offering a visual sigh of relief every time you return home.
Essential Elements:
- Pressure-treated landscape timbers or decorative stone edging
- Non-woven landscape fabric (heavy duty)
- Premium cedar or hemlock mulch
- Native perennial plants (like Lavender, Hostas, or Coneflowers)
- Slow-release organic fertilizer granules
- Soaker hoses for hidden irrigation
How to make it
- Begin by marking the perimeter of your bed using a garden hose or spray paint to create fluid, organic curves that lead the eye toward your front door. Avoid sharp 90-degree angles for a more contemporary, minimalist look.
- Excavate the area to a depth of 4 inches, ensuring you remove all grass and stubborn weed roots. Use a flat-head spade to create a clean, vertical edge along the grass line to prevent lawn encroachment.
- Lay down a layer of heavy-duty landscape fabric, overlapping the seams by at least 6 inches to prevent any unwanted growth from piercing through. Secure the fabric with galvanized U-shaped landscape staples every 12 inches.
- Cut ‘X’ shapes into the fabric where your plants will live. Dig holes twice as wide as the nursery pots and mix the native soil with a handful of organic fertilizer to give the roots a nutrient-dense start.
- Install your soaker hose system directly on top of the fabric, weaving it between the plants to ensure deep, efficient watering at the root level without wasting a drop.
- Cover the entire area with a 3-inch layer of mulch. This depth is critical for moisture retention and suppressing weed seeds. Finish by hand-tucking the mulch around the base of the plants, leaving an inch of space around the stems to prevent rot.
How to Organize Elementary Art Rooms for Maximum Creative Spark
Why we love this
Walking into a perfectly organized art room feels like entering a cathedral of possibility, where every vibrant hue and textured material has its own dedicated home. The air often carries the nostalgic, waxy scent of brand-new crayons and the clean, alkaline aroma of fresh watercolor paper. When supplies are displayed in clear, minimalist bins, the rainbow of colors becomes the decor itself, sparking an immediate urge to create. There is a tactile joy in the smooth glide of a drawer and the crisp snap of a label being applied, creating an environment where the only limit is a child’s imagination.
Essential Elements:
- Clear stackable acrylic bins or uniform white baskets
- Rotary label maker with black-on-white tape
- Pegboards with assorted metal hooks and baskets
- Magnetic strips for organizing metal scissors and palette knives
- Mobile rolling carts with tiered shelving
- Color-coded sorting trays
How to make it
- Start by decluttering and grouping every single item by category: dry media (pencils, crayons), wet media (paints, glues), and textiles. This visual inventory allows you to see exactly what size storage you need for each group.
- Install a large-scale pegboard on the main wall at a height accessible to children. Paint the pegboard the same color as the wall for a minimalist ‘floating’ look, then arrange hooks to hold frequently used items like aprons and brushes.
- Utilize clear acrylic bins for all small loose parts like beads or buttons. The transparency is key; it reduces the ‘visual noise’ while allowing students to quickly identify the textures they want to incorporate into their work.
- Apply clear, bold labels to every bin using a consistent font. For younger children, include a small icon or picture of the item next to the word to build literacy and independence during clean-up time.
- Set up ‘Zone Stations’ on rolling carts. One cart can be the ‘Glue & Adhesives’ station while another is for ‘Scrap Paper.’ This allows you to move the entire supply kit to the specific table where it’s needed, keeping the rest of the room clear.
- Implement a ‘drying station’ using a vertical rack to save precious floor space. This ensures that wet masterpieces are protected and organized while they transition from ‘work in progress’ to ‘finished art.’
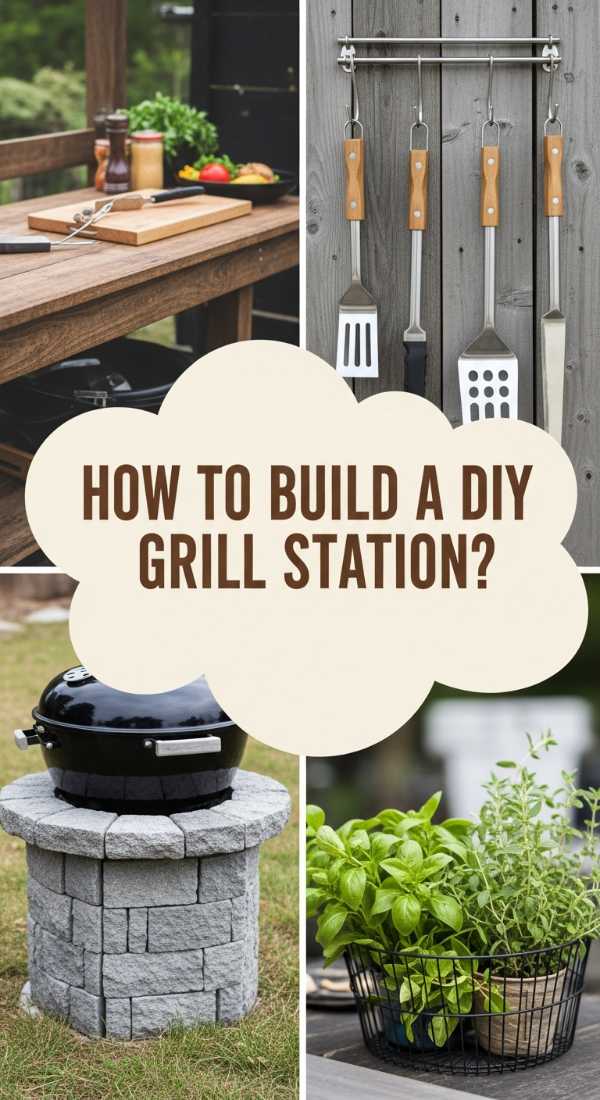
How to Build a DIY Grill Station for the Ultimate Summer Cookout
Why we love this
The DIY grill station is more than just a piece of outdoor furniture; it is the heartbeat of summer entertaining, where the sizzle of searing protein meets the laughter of friends. Imagine the rich, smoky aroma of charcoal swirling through the air, anchored by the sturdy, rustic feel of stained wood and the industrial coolness of a stainless steel countertop. It’s the feeling of total control—having your tongs, spices, and chilled beverages all within arm’s reach while you command the flames. It turns the act of cooking into a theatrical performance that draws everyone toward the warmth of the patio.
Essential Elements:
- Pressure-treated 4×4 posts for the frame
- Cedar 1×4 slats for the siding
- Stainless steel prep tabletop or heavy-duty outdoor tile
- Heavy-duty locking caster wheels
- Magnetic tool bar for spatulas and tongs
- Built-in bottle opener and towel rack
How to make it
- Build the base frame using 4×4 posts cut to a comfortable counter height (usually 36 inches). Connect them with 2×4 crossbeams using pocket hole screws for a hidden, professional finish that keeps the lines clean.
- Install heavy-duty locking casters to the bottom of each post. This allows you to chase the shade or move the station into the garage for winter storage, providing ultimate flexibility for your outdoor layout.
- Clad the sides of the frame with cedar 1×4 slats. Leave a tiny 1/8-inch gap between each slat using a spacer; this allows for wood expansion and creates a beautiful, contemporary ‘slat wall’ aesthetic.
- Secure the countertop. If using stainless steel, wrap it over a plywood base for stability. If using tile, ensure you use outdoor-rated thin-set and a dark grout that won’t show ash or grease stains over time.
- Mount the functional hardware. Attach a magnetic bar to the side for instant tool access, and screw in a sturdy towel bar. Ensure these are made of 304-grade stainless steel to prevent rust during rainy seasons.
- Apply a high-quality outdoor wood sealer in a transparent or light oak tint. This protects the wood from the heat of the grill and the moisture of the outdoors while letting the natural grain shine through.
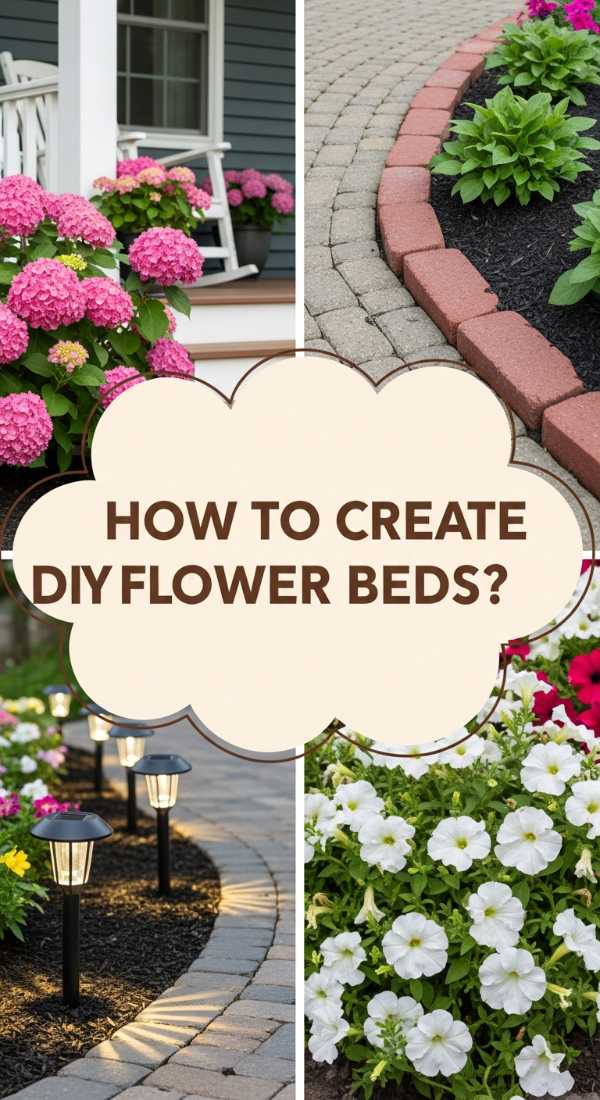
How to Create DIY Flower Beds in Front of House for Instant Beauty
Why we love this
Creating a flower bed at the front of your home is like giving your house a warm, welcoming smile that lasts all season. There is a deep, rhythmic satisfaction in the process: the cool touch of soil between your fingers and the vibrant visual pop of neon-bright petunias against a neutral house color. As you work, the scent of fresh earth and the soft buzzing of visiting pollinators create a private sanctuary right on your front lawn. It’s the kind of project that offers instant gratification, turning a plain patch of grass into a lush, multi-dimensional masterpiece that stops neighbors in their tracks.
Essential Elements:
- Flagstone or scalloped brick edging
- Premium topsoil and compost blend
- Pre-emergent weed preventer
- A mix of ‘Thriller, Filler, and Spiller’ plants
- Solar-powered micro-spotlights
- Designer garden stakes
How to make it
- Define your bed’s shape by laying out a garden hose. For a contemporary look, try a ‘bump out’ design where the bed widens at the corners of the house to soften the architectural lines and add depth.
- Remove the turf using a sod cutter or a sharp spade. To make it easier, water the grass slightly the night before to loosen the soil, then peel the sod back like a carpet to reveal the fresh earth beneath.
- Incorporate 2-3 inches of organic compost into the existing soil. Use a garden fork to turn it over to a depth of 6 inches, ensuring the new plants have a soft, nutrient-rich environment to expand their roots into.
- Place your plants while they are still in their pots to test the arrangement. Use the ‘Thriller’ (tall plant like Canna Lily) in the back, ‘Fillers’ (mounded plants like Geraniums) in the middle, and ‘Spillers’ (vines like Creeping Jenny) to drape over the edge.
- Once planted, sprinkle a pre-emergent weed preventer over the soil surface to stop seeds from germinating, then water deeply until the soil is saturated but not muddy.
- Position solar-powered spotlights at the base of your tallest plants. Angling the light upward creates dramatic shadows against the house at night, extending the beauty of your DIY work into the evening hours.
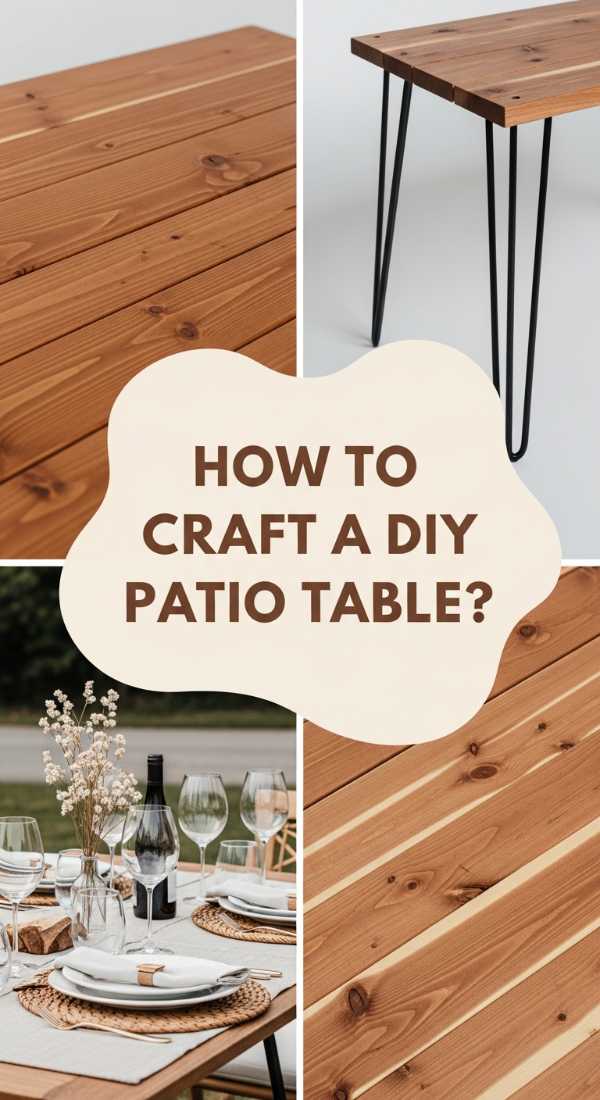
How to Craft a DIY Patio Table for Cozy Outdoor Dining

Why we love this
There is a unique magic in sharing a meal on a table you built yourself, where the wood still carries the faint, sweet scent of sawdust and fresh sealant. The smooth, hand-sanded surface feels warm under your palms as the sun sets, and the sturdy weight of the timber provides a sense of permanence and home. It’s the perfect setting for clinking glasses of chilled lemonade and the soft scraping of forks against ceramic plates. A handmade patio table isn’t just furniture; it’s an invitation for long, lingering conversations under the stars, wrapped in the comfort of a project well done.
Essential Elements:
- Kiln-dried Douglas fir or Cedar planks (2×6)
- Exterior-grade wood glue
- 2-1/2 inch Kreg pocket hole screws
- Orbital sander with 80, 120, and 220 grit sandpaper
- Outdoor polyurethane or teak oil
- Metal ‘U’ legs or wooden ‘X’ frame base
How to make it
- Cut your 2×6 planks to your desired length (72 inches is standard for a 6-person table). Select boards with the straightest grain and minimal knots to ensure a flat, modern tabletop surface.
- Use a pocket hole jig to drill holes every 8-10 inches along the sides of the boards. Apply a continuous bead of exterior wood glue along the edge before driving the screws in, ensuring the boards are clamped tightly together to minimize gaps.
- Sand the tabletop meticulously. Start with 80-grit to level any uneven joints, move to 120-grit to smooth the grain, and finish with 220-grit for a buttery, professional feel that won’t snag clothing.
- Attach the base. If using modern metal ‘U’ legs, pre-drill holes into the underside of the table to prevent the wood from splitting, then secure them with heavy-duty lag bolts.
- Flip the table over and wipe away all dust with a tack cloth. Apply the first coat of teak oil or outdoor poly, brushing in the direction of the wood grain to highlight the natural patterns and provide a waterproof barrier.
- Let the finish cure for at least 48 hours in a dry, shaded area. Once cured, buff the surface with a soft cloth to achieve a low-sheen, contemporary glow that is ready for its first dinner party.
How to Plant Low Maintenance Flower Beds for Year Round Joy

Why we love this
The secret to a joyful garden is one that evolves with the seasons without demanding your every weekend. We love this approach because it emphasizes the architectural beauty of plants—the way a dried hydrangea head catches the frost in winter or how evergreen shrubs provide a consistent, comforting pulse of life during the grayest months. The texture of ornamental grasses whispering in the wind adds a soundtrack to your outdoor space, while the low-maintenance nature of the design means you can spend more time with a book in your hand than a trowel in the dirt.
Essential Elements:
- Dwarf conifers or Boxwoods for winter structure
- Hardy ornamental grasses (like Blue Fescue)
- Bulbs for spring (Tulips, Alliums)
- Slow-release fertilizer spikes
- Shredded hardwood mulch
- Stone pavers for easy access paths
How to make it
- Design with a ’60-30-10′ ratio: 60% evergreens for year-round color, 30% perennial flowers for seasonal interest, and 10% annuals for a high-summer pop. This balance ensures the bed never looks ’empty’ in the winter.
- Incorporate hardscaping like a large decorative boulder or a small stone path within the bed. This provides visual weight and makes it easier to reach the center of the bed for occasional pruning without compacting the soil.
- Plant your evergreens first as the ‘anchor’ points. Space them according to their mature size (check the tag!) to avoid the need for constant hedging and pruning in the years to come.
- Tuck spring-blooming bulbs between the perennials. As the perennials die back in the fall, the bulbs will be dormant underground, ready to punch through the soil at the first sign of spring warmth.
- Apply a 4-inch layer of shredded hardwood mulch. This specific type of mulch ‘knits’ together, staying in place during heavy rains and providing superior insulation for roots during extreme temperature swings.
- Install a simple timer on your outdoor faucet connected to a drip line. Setting it to water for 20 minutes in the early morning twice a week ensures your low-maintenance bed thrives even during summer droughts.
How to Decorate Elementary Art Rooms for a Whimsical Learning Vibe
Why we love this
A whimsical art room is a kaleidoscope for the soul, where the environment itself acts as a silent teacher of creativity. We love the way dangling paper lanterns in soft pastels can transform a harsh fluorescent-lit ceiling into a dreamlike canopy. The air feels lighter here, filled with the soft rustle of colorful streamers and the playful sight of giant oversized paintbrushes mounted on the walls. It creates a ‘vibe’ that is part workshop, part wonderland, encouraging students to take risks and see the world through a lens of vibrant color and endless texture.
Essential Elements:
- Paper lanterns and honeycomb poms in various sizes
- Vinyl wall decals (paint splashes or inspiring quotes)
- Fairy lights or LED color-changing strips
- Oversized decorative props (giant pencils or crayons)
- Colorful area rugs with geometric patterns
- Washi tape for ‘temporary’ wall frames
How to make it
- Create a ‘Ceiling of Wonder’ by hanging paper lanterns at varying heights using clear fishing line. Stick to a specific color palette (like cool blues and greens or a full rainbow) to keep the look cohesive rather than cluttered.
- Apply vinyl wall decals in high-traffic areas. Use ‘splat’ shapes around the sink area to turn a messy zone into a playful design feature, or place an inspiring quote in a bold, modern font above the main whiteboard.
- Layer your lighting. Turn off the overheads and use LED fairy lights around windows and shelves to create a cozy, focused atmosphere during ‘quiet reflection’ or sketching time.
- Design a ‘Gallery Wall’ using nothing but colorful washi tape. Create rectangular frames directly on the wall; students can then tape their artwork inside these frames, creating a changing exhibit that feels professional and intentional.
- Introduce a ‘Chill Zone’ with a colorful geometric rug and floor cushions. This provides a tactile change of pace from hard plastic chairs and gives students a comfortable place to brainstorm or read art history books.
- Use oversized props to define functional areas. A giant wooden pencil can point toward the sharpening station, while a large 3D paint palette can mark the supply pickup zone, making the room’s flow intuitive and fun.
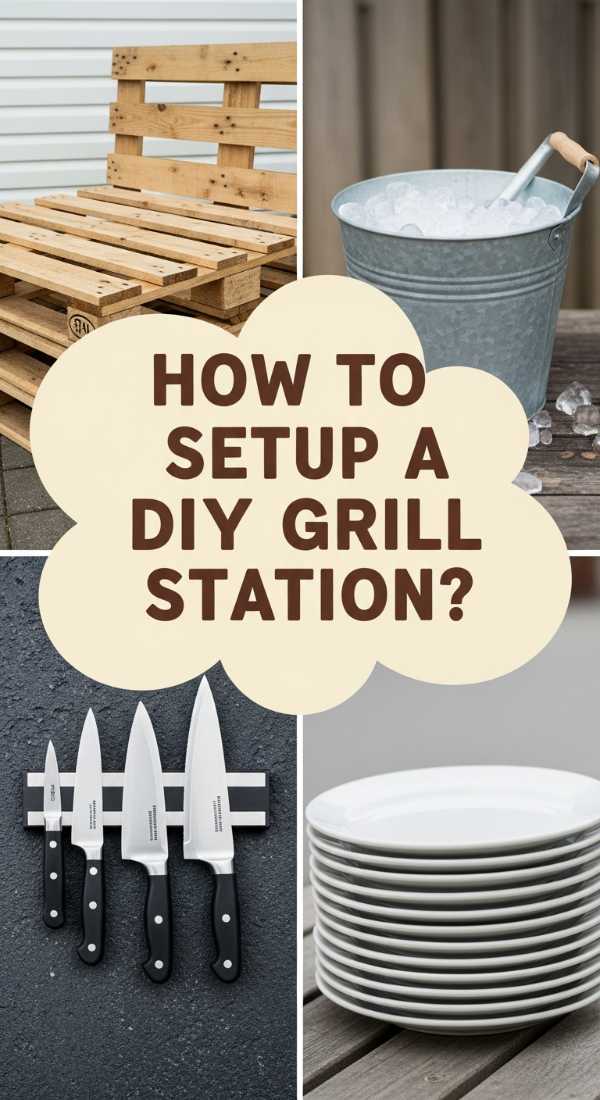
How to Setup a DIY Grill Station for Budget Friendly Hosting
Why we love this
There is an incredible sense of pride in hosting a world-class cookout using a station built from repurposed materials and clever hacks. This budget-friendly approach celebrates the ‘industrial chic’ aesthetic, where the raw texture of sanded pallet wood meets the gleaming surface of inexpensive metal buckets. The feeling is relaxed and unpretentious; it’s about the quality of the burger and the coldness of the beer, not the price tag of the equipment. It proves that with a little creativity, you can build a high-functioning outdoor kitchen for the cost of a few pizzas.
Essential Elements:
- Heat-treated (HT) shipping pallets
- Heavy-duty liquid nails and wood screws
- Concrete paving stones (for a heat-safe top)
- S-hooks for hanging utensils
- Inexpensive solar path lights (mounted to the sides)
- Galvanized beverage tub
How to make it
- Source two identical heat-treated pallets. Look for the ‘HT’ stamp to ensure they weren’t treated with chemicals. Sand them thoroughly with 60-grit paper to remove any splinters, as pallet wood is notoriously rough.
- Stand the pallets vertically and connect them with 2×4 braces to create a sturdy ‘H’ frame. This creates built-in shelving within the pallet slats, perfect for storing charcoal bags or extra grilling planks.
- For the countertop, lay two large concrete paving stones across the top of the pallet frame. Concrete is naturally fire-resistant and provides a modern, industrial surface that handles heat and spills with ease.
- Attach a row of S-hooks to the front horizontal slat. This gives you a dedicated place to hang your wire brush, tongs, and oven mitts without spending money on expensive cabinetry.
- Recess a galvanized tub into one side of the top (you may need to cut a hole in the pallet frame) to act as a built-in ice chest. Fill it with ice and drinks so the grill master never has to leave the action.
- Mount solar path lights to the corners of the station using zip ties or small brackets. This provides free, cord-less task lighting for evening grilling sessions, ensuring you can always see the doneness of your steaks.
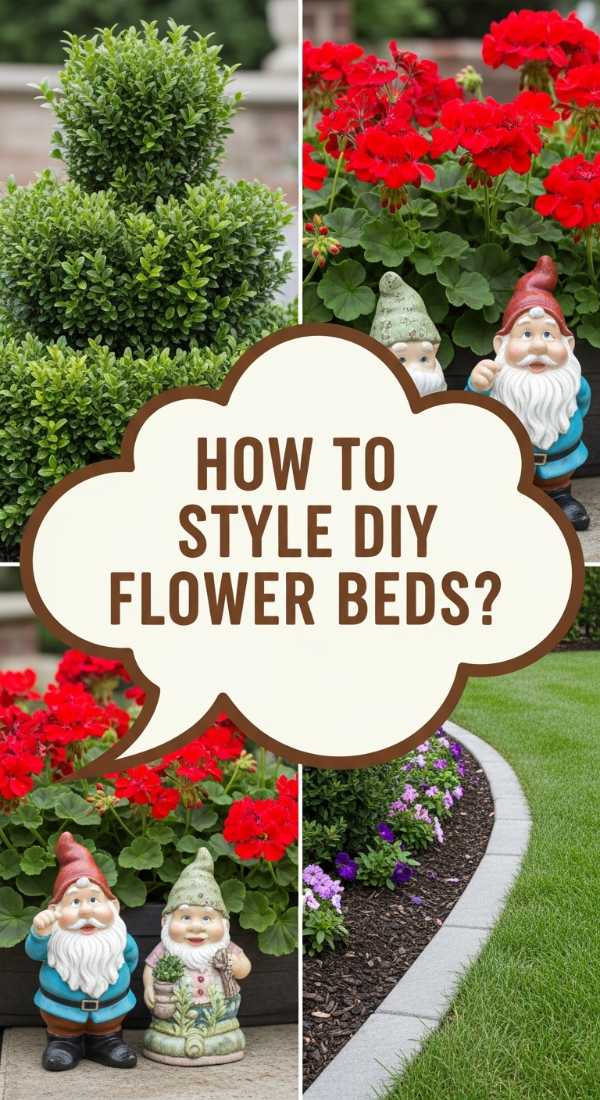
How to Style DIY Flower Beds in Front of House for a Welcoming Entry
Why we love this
Styling your front beds is the final flourish that turns a gardening project into a design statement. We love the way a perfectly placed ceramic garden stool or a modern address plaque can anchor a sea of soft flowers, providing a focal point for the eye to rest. The aroma of blooming jasmine or gardenia near the porch creates a sensory ‘welcome home’ that begins before you even reach the door. It’s about creating a transition from the public street to your private haven, using layers of height and texture to wrap your home in beauty.
Essential Elements:
- Black basalt or white marble decorative chips
- Tall ceramic planters for height variation
- Modern house numbers or a custom name sign
- Low-voltage path lighting (warm white)
- Symmetrical evergreen specimens
- A ‘statement’ piece (birdbath or sculpture)
How to make it
- Create a sense of symmetry by planting matching ‘sentinel’ shrubs (like Sky Pencil Hollies) on either side of the front door or the main walkway. This classic design trick instantly makes the entry feel more formal and expensive.
- Incorporate decorative stone chips in a contrasting color to your mulch. A thin border of white marble chips against dark mulch creates a crisp, minimalist line that defines the edge of the bed with modern precision.
- Use tall, glazed ceramic planters within the bed itself. Planting vibrant flowers in these pots adds immediate vertical interest and allows you to easily swap out seasonal blooms without digging up the entire bed.
- Install your house numbers on a sleek wooden post or a large rock within the flower bed. Surround the base with low-growing groundcover like ‘Angelina’ Sedum to make the numbers pop against the greenery.
- Layer your lighting. Use path lights to lead the way to the door, but hide a few ‘wash’ lights behind shrubs to cast a soft glow on the front of the house, creating a warm, inviting ambiance after dark.
- Add one high-quality focal point, like a minimalist stone birdbath. Placing this slightly off-center creates a more contemporary, curated look than a perfectly centered ornament, inviting local birds and adding a sense of life.
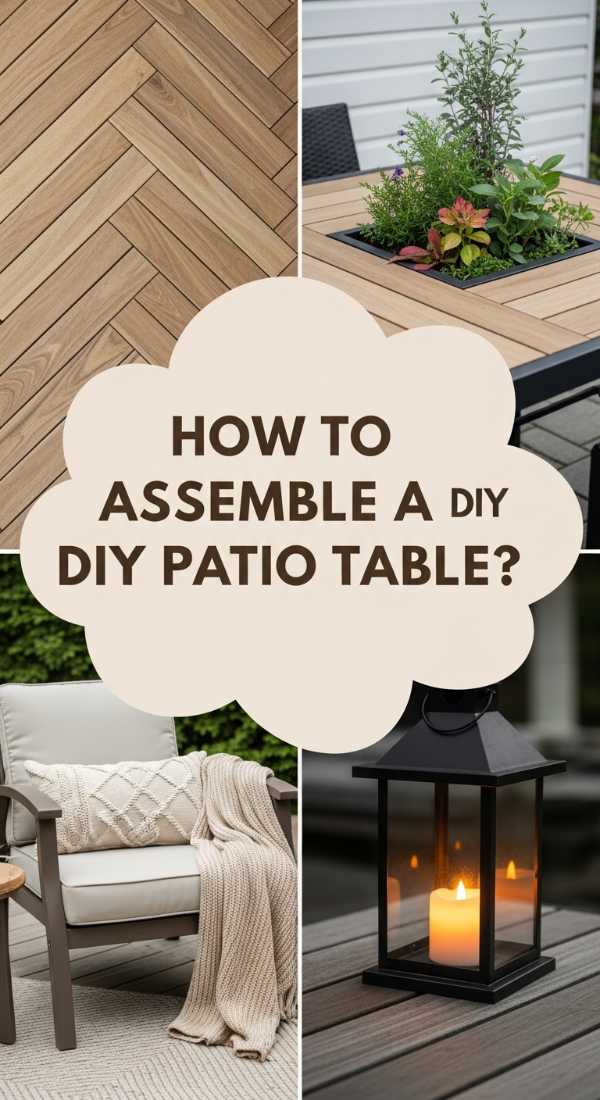
How to Assemble a DIY Patio Table for Stylish Backyard Hangouts
[IMAGE_10]
Why we love this
The ultimate stylish patio table is all about clean lines and the intersection of natural and man-made materials. We love this project because it feels like something you’d find in a high-end design boutique, yet it’s built with hardware store basics. The contrast between a matte-black metal base and a warm, honey-toned cedar top is the epitome of modern outdoor living. There is a tactile thrill in sliding a heavy, solid wood table into place and realizing it won’t budge in the wind—it’s a sturdy, beautiful stage for the memories you’ll make all summer long.
Essential Elements:
- Premium 2×10 Cedar planks
- Heavy-duty black iron pipe (for the industrial legs)
- Outdoor-rated wood stain (Ebony or Walnut)
- Stainless steel washers and hex bolts
- Epoxy resin (to fill any natural wood knots)
- Felt pads for the leg bottoms
How to make it
- Select three 2×10 cedar planks. Cedar is naturally resistant to insects and rot, making it the premier choice for a stylish table that lasts. Arrange the boards so the grain patterns complement each other.
- Join the boards using a heavy-duty ‘Z’ brace on the underside. This allows the wood to move naturally with humidity changes while preventing the planks from warping or bowing over time.
- Fill any natural knots or cracks with clear epoxy resin. This not only creates a perfectly flat surface for wine glasses but also adds a subtle ‘gem-like’ detail that highlights the natural history of the wood.
- Construct the legs using black iron piping. This ‘industrial’ look is highly contemporary. Ensure you use a T-joint at the bottom for stability and clean each pipe section with degreaser before assembly to remove any oily residue.
- Spray paint the iron legs with a matte-black rust-preventative coating. This protects the metal from the elements and provides that sleek, minimalist contrast against the warm wood of the top.
- Finish the wood with a high-pigment outdoor stain. Applying it with a lint-free cloth rather than a brush allows you to control the depth of the color, ensuring the grain remains the star of the show.
Conclusion
Transforming your home doesn’t require a miracle—it just requires a weekend and the willingness to try something new. From the structured beauty of a low-maintenance garden to the organized joy of a creative art space, these minimalist makeovers prove that small, intentional changes have a massive impact on how we feel in our homes. So, pick one project, grab your tools, and get ready to fall in love with your space all over again. Your sanctuary is waiting!