
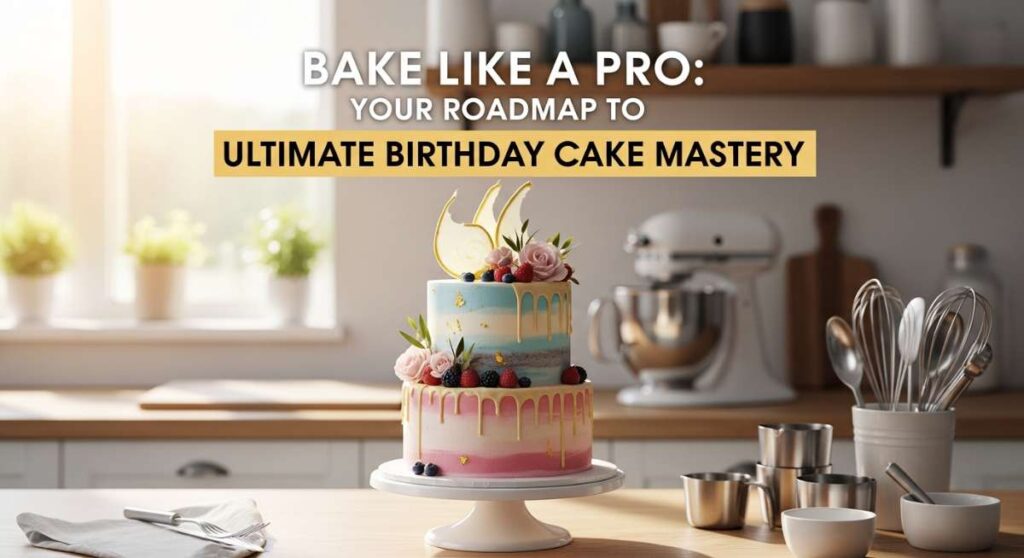
Bake Like a Pro: Your Roadmap to Ultimate Birthday Cake Mastery
Hello, my sweetest loves! There is something so profoundly magical about the scent of vanilla and sugar wafting through a sun-drenched kitchen. To me, baking isn’t just about following a recipe; it’s a soft, flour-dusted embrace for the people we hold dearest. A birthday cake is more than a dessert—it’s a centerpiece of memories, a sugary witness to another year of life, laughter, and love.
I remember the first time I tried to bake a ‘masterpiece’ and ended up with a lopsided mess that tasted like hope and too much baking powder. But over the years, I’ve learned that cake mastery isn’t about perfection; it’s about the heart you pour into the batter. Today, I’m pulling back the curtain on my favorite secrets to help you create cakes that don’t just look like they belong on a viral feed, but feel like a warm hug in every bite.
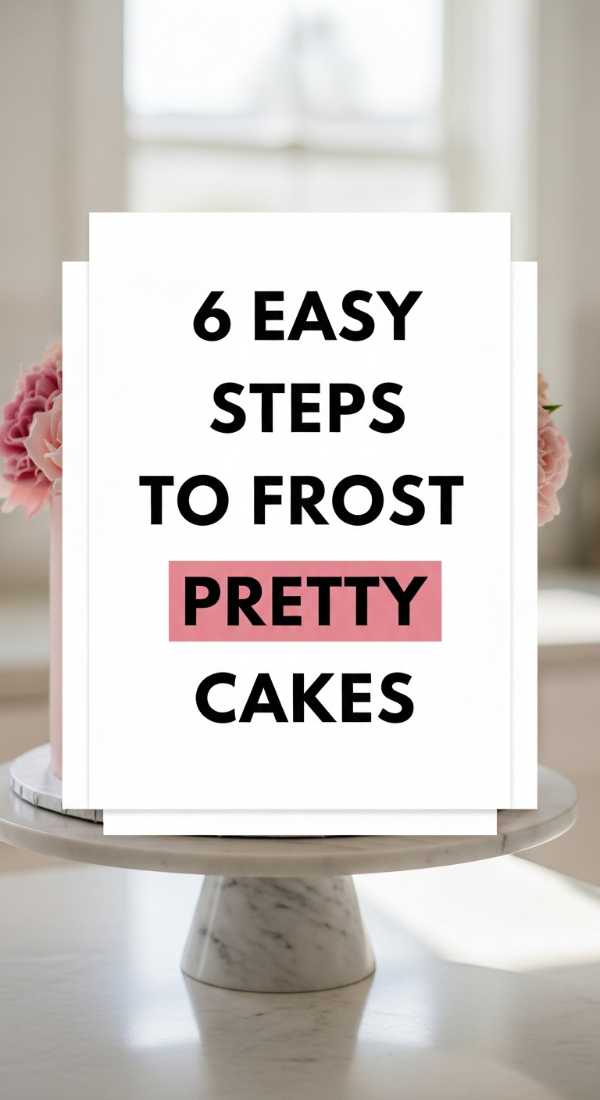
6 Easy Steps to Frost Pretty Cakes
Why to love this recipe:
There is something so meditative about the swirl of a spatula against silky buttercream. This technique focuses on the ‘crumb coat’ method, ensuring your final layer is as smooth as a cloud and twice as dreamy. It’s the ultimate foundation for any beautiful cake.
Essential Ingredients:
- 2 cups unsalted butter (softened)
- 6 cups powdered sugar
- 2 tbsp heavy cream
- 1 tsp vanilla bean paste
- Pre-baked cake layers
How to Prepare:
- Level your cake layers with a serrated knife for a flat surface.
- Place a dollop of frosting on your cake board to secure the first layer.
- Apply a thin ‘crumb coat’ layer of frosting to lock in stray crumbs.
- Chill the cake in the fridge for 20 minutes until the coat is firm.
- Apply a generous final layer of frosting using an offset spatula.
- Use a bench scraper held at a 90-degree angle to smooth the sides while rotating the turntable.
Budget Range
- Wilton Offset Spatula – $8.99
- Ateco Revolving Cake Turntable – $15.50
- KitchenAid Professional Hand Mixer – $59.99
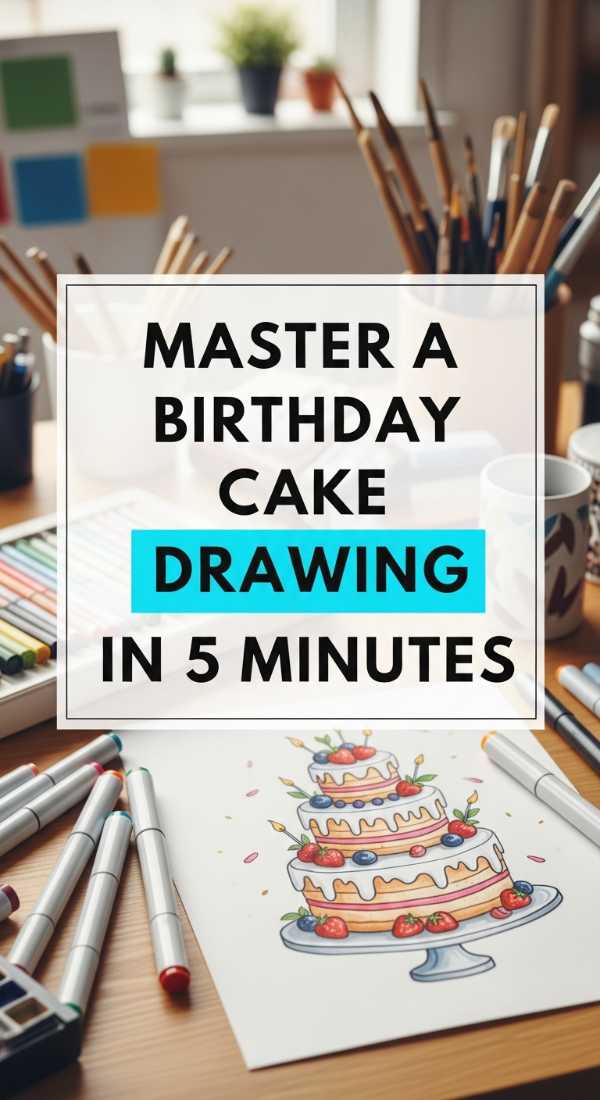
Master a Birthday Cake Drawing in 5 Minutes
Why to love this recipe:
Ever felt like you weren’t an artist? This little trick will make you feel like Picasso in the kitchen. Using the ‘toothpick trace’ method, you can sketch adorable designs onto your cake without the fear of making a permanent mistake on the frosting.
Essential Ingredients:
- Frosted cake (chilled)
- Toothpicks
- Piping bags
- Small round piping tips (#1 or #2)
- Colored royal icing or buttercream
How to Prepare:
- Find a simple line-art image for inspiration (like a balloon or a heart).
- Lightly trace the outline of the design onto your chilled cake using a toothpick.
- If you make a mistake, simply smooth it over with a warm spatula and try again.
- Fill a piping bag with your colored icing.
- Slowly pipe over your toothpick lines with steady pressure.
- Add small dots or stars to fill in the design for a textured look.
Budget Range
- Wilton Decorating Piping Tips Set – $12.00
- Tipless Piping Bags (100 pack) – $9.99
- Chefmaster Liqua-Gel Food Coloring – $14.50
Create a Viral Birthday Cake Aesthetic in 4 Steps

Why to love this recipe:
We’ve all seen those dreamy, minimalist cakes on our feeds—the ones that look almost too pretty to eat. This approach focuses on ‘less is more,’ using monochromatic tones and organic textures to create a cake that is instantly Instagram-worthy.
Essential Ingredients:
- High-quality white chocolate ganache
- Edible gold leaf
- Fresh, organic flowers (pesticide-free)
- Neutral-toned buttercream
How to Prepare:
- Frost your cake in a single, muted pastel or creamy white shade.
- Create an intentional ‘raw edge’ at the top of the cake rather than smoothing it down.
- Apply small flecks of edible gold leaf using a dry paintbrush for a touch of luxury.
- Place three focal-point flowers off-center on the top to create movement and height.
Budget Range
- Barnabas Edible Gold Leaf Sheets – $19.00
- Fresh Florals from Local Market – $10.00 – $15.00
- Acrylic Cake Scraper – $7.00
Make 3 Adorable Kids Birthday Cakes Today

Why to love this recipe:
The look on a child’s face when they see their cake is pure, unadulterated magic. These designs are high-impact but low-stress, utilizing simple shapes like bears, caterpillars, or rainbows that use basic round pans you already own.
Essential Ingredients:
- Standard 8-inch round cakes
- Assorted candies (M&Ms, licorice, marshmallows)
- Brightly colored frosting
- Chocolate sprinkles
How to Prepare:
- For a bear: Use one round cake for the face and two cupcakes for the ears.
- For a caterpillar: Line up 5-6 cupcakes in a wavy line and frost them green.
- For a rainbow: Cut a round cake in half and stand the two halves upright side-by-side.
- Use candies for eyes, noses, and colorful accents.
Budget Range
- Wilton 8-Inch Cake Pan – $9.99
- Bulk Candy Assortment – $12.00
- Betty Crocker Gel Food Colors – $5.50
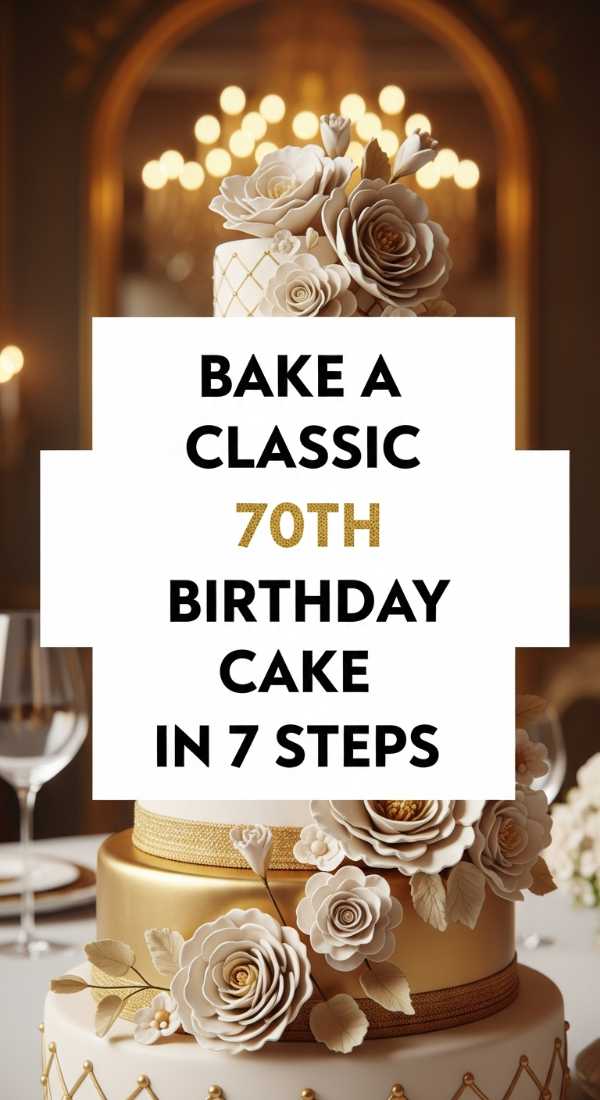
Bake a Classic 70th Birthday Cake in 7 Steps
Why to love this recipe:
Celebrating seven decades of life deserves a cake that feels like a warm hug. This classic recipe focuses on sophisticated flavors—like lemon and elderflower—and an elegant, timeless presentation that honors a beautiful legacy.
Essential Ingredients:
- Fresh lemon zest and juice
- Elderflower syrup
- High-quality cake flour
- Fresh berries for garnish
- Swiss Meringue Buttercream
How to Prepare:
- Cream butter and sugar until incredibly pale and fluffy.
- Alternate adding dry ingredients and lemon-infused buttermilk.
- Bake until a tester comes out with just a few moist crumbs.
- Brush the warm layers with elderflower syrup for extra moisture.
- Fill layers with a tart lemon curd.
- Frost with a silky Swiss Meringue Buttercream.
- Garnish with a simple ’70’ topper or elegant piped rosettes.
Budget Range
- Nordic Ware Aluminum Cake Pans – $22.00
- St-Germain Elderflower Syrup – $15.00
- Custom Wood Cake Topper – $12.50
Try these 10 Genius Birthday Cake Ideas

Why to love this recipe:
Sometimes we just need a little spark of inspiration to get our ovens preheating! This list is all about ‘hacks’—using unexpected items like ice cream cones, cookie crumbles, and even donuts to elevate a standard cake into a genius creation.
Essential Ingredients:
- Store-bought or homemade cake base
- Waffle cones
- Crushed Oreos
- Mini donuts
- Lollipops
How to Prepare:
- The ‘Drip’ Effect: Melt chocolate and let it run down the sides.
- The ‘Donut Tower’: Stack mini donuts on top of the cake.
- The ‘Ice Cream Drop’: Place an upside-down cone on top to look like melted ice cream.
- The ‘Cookie Garden’: Use crushed cookies as ‘dirt’ with gummy worms.
- The ‘Sprinkle Explosion’: Press sprinkles into the bottom third of the frosting.
- The ‘Lollipop Forest’: Stick colorful suckers at varying heights.
- The ‘Cereal Milk’ Flavor: Soak your cake in milk infused with sugary cereal.
- The ‘Stencil’ Look: Lay a doily on top and dust with powdered sugar.
- The ‘Fruit Crown’: Use whole strawberries and kiwi slices in a ring.
- The ‘Candy Bark’ Topper: Melted chocolate shards standing upright.
Budget Range
- Wilton Candy Melts – $4.50
- Bulk Sprinkles – $8.00
- Ghirardelli Chocolate Chips – $5.00
Decorate 3 Pretty Birthday Cakes Like a Pro
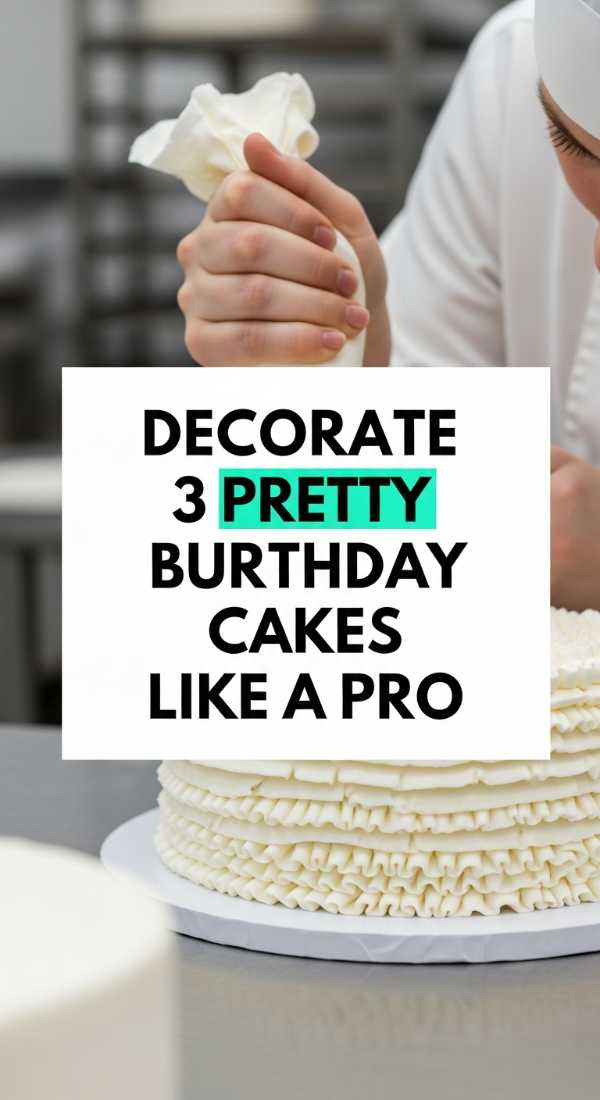
Why to love this recipe:
Taking your decorating from ‘home-baked’ to ’boutique bakery’ is easier than you think. These three styles—the Palette Knife Floral, the Pearl Border, and the Ombre Fade—are professional techniques that are surprisingly beginner-friendly.
Essential Ingredients:
- Small palette knives
- Sugar pearls (various sizes)
- Graduated food coloring
- Firm buttercream frosting
How to Prepare:
- Palette Knife: Scoop a bit of frosting and ‘swipe’ it onto the cake to create flower petals.
- Pearl Border: Use tweezers to place sugar pearls in a delicate line along the base.
- Ombre: Divide frosting into 3 bowls, adding more color to each, and frost in stripes from dark to light.
- Blend the ombre stripes gently with a bench scraper.
Budget Range
- Stainless Steel Palette Knife Set – $11.99
- Wilton Sugar Pearls – $6.50
- Professional Cake Scraper – $9.00
Design Colorful Kids Birthday Cakes in 5 Steps
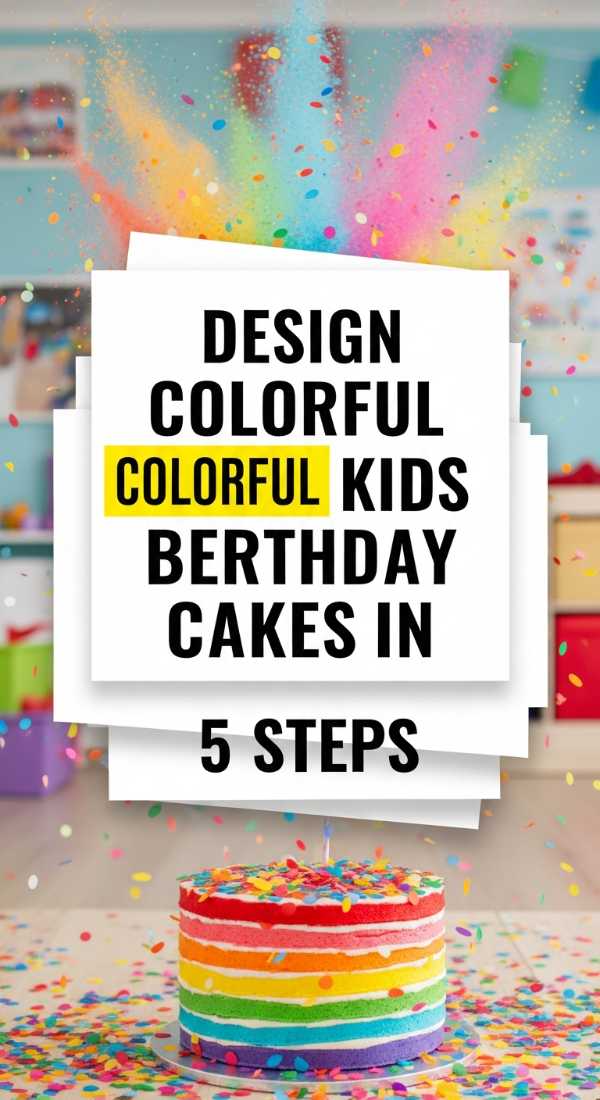
Why to love this recipe:
Color is the language of childhood joy, and we’re speaking it fluently today! This method ensures your colors stay vibrant and don’t bleed into each other, resulting in a cake that looks like a technicolor dream.
Essential Ingredients:
- Gel-based food coloring (never liquid!)
- White chocolate drip
- Neon sprinkles
- Vanilla sponge layers
How to Prepare:
- Divide your batter and tint each layer a different rainbow color.
- Frost the exterior in a stark white to make the interior colors ‘pop’ when cut.
- Apply a bright blue or pink chocolate drip around the top edge.
- Immediately cover the drip with neon sprinkles before it sets.
- Add a whimsical toy topper that matches the color scheme.
Budget Range
- Americolor Gel Paste Kit – $22.00
- White Chocolate Melts – $5.00
- Schleich Animal Toppers – $8.00
Plan a 70th Birthday Cake in 3 Simple Phases
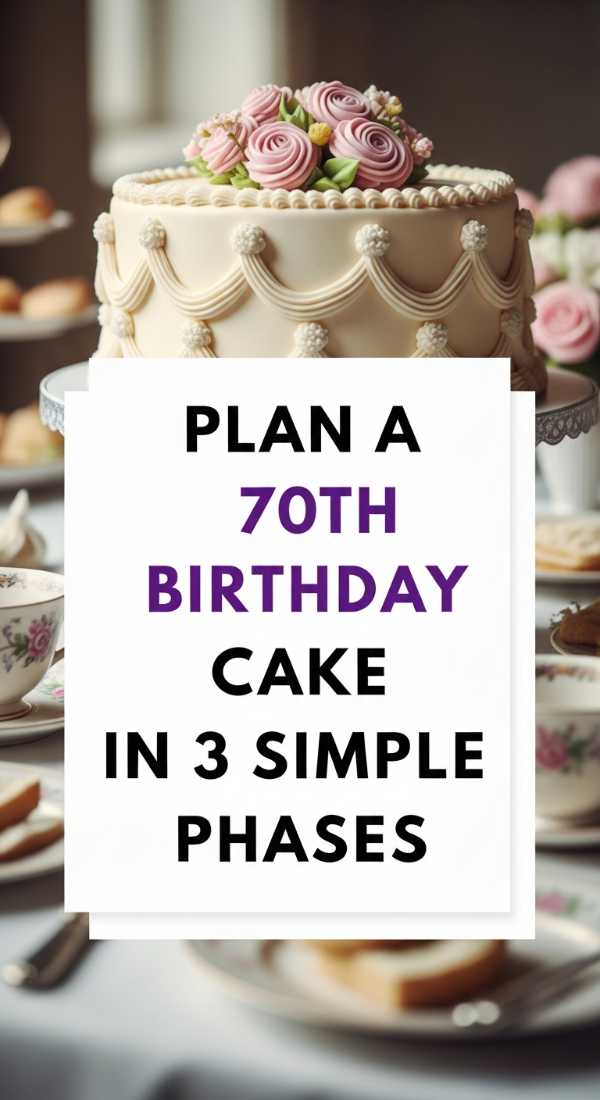
Why to love this recipe:
Big milestones don’t have to mean big stress. By breaking the process into three distinct phases—The Foundation, The Bake, and The Flourish—you can create a professional-grade 70th birthday cake over three days without breaking a sweat.
Essential Ingredients:
- High-quality ingredients (real vanilla, organic eggs)
- Cake boards and dowels for stability
- Fresh greenery
- Patience and love
How to Prepare:
- Phase 1 (Day 1): Shop for ingredients and make your frosting; store in the fridge.
- Phase 2 (Day 2): Bake your layers, wrap them tightly in plastic wrap, and freeze (this makes them easier to frost!).
- Phase 3 (Day 3): Thaw slightly, stack, frost, and add fresh greenery and a topper.
Budget Range
- Organic Madagascar Vanilla – $18.00
- Cardboard Cake Boards – $5.00
- Plastic Dowel Rods – $4.00
Achieve the Perfect Birthday Cake Aesthetic in 8 Steps

Why to love this recipe:
The ‘aesthetic’ cake is all about the details—the lighting, the texture, and the vibe. This 8-step guide covers everything from the initial bake to the final photography, ensuring your masterpiece gets the love it deserves.
Essential Ingredients:
- High-fat cocoa powder or butter
- Silky buttercream
- Natural linen backdrop (for photos)
- Dried botanicals
How to Prepare:
- Choose a cohesive color palette (e.g., sage green and cream).
- Bake even, level layers.
- Apply a flawless, smooth finish.
- Add a subtle texture with a comb or spatula.
- Adorn with dried bunny tails or pressed flowers.
- Place the cake on a minimalist wood or ceramic stand.
- Position the cake near a window for soft, natural light.
- Photograph from a slightly low angle to give the cake ‘stature.’
Budget Range
- Ceramic Cake Stand – $25.00
- Dried Pressed Flowers – $12.00
- Linen Fabric Remnant – $10.00
A Sweet Farewell to Your Baking Journey
Oh, my loves, I hope these tips make you feel like the kitchen goddess you truly are! Remember, the secret ingredient isn’t the expensive vanilla or the fancy turntable—it’s the joy you feel while creating something for someone you love. Don’t be afraid of a few crumbs or a crooked line; those are just the marks of a cake made by hand and heart. Now, go preheat those ovens and sprinkle some magic into the world! I can’t wait to see what you create.