
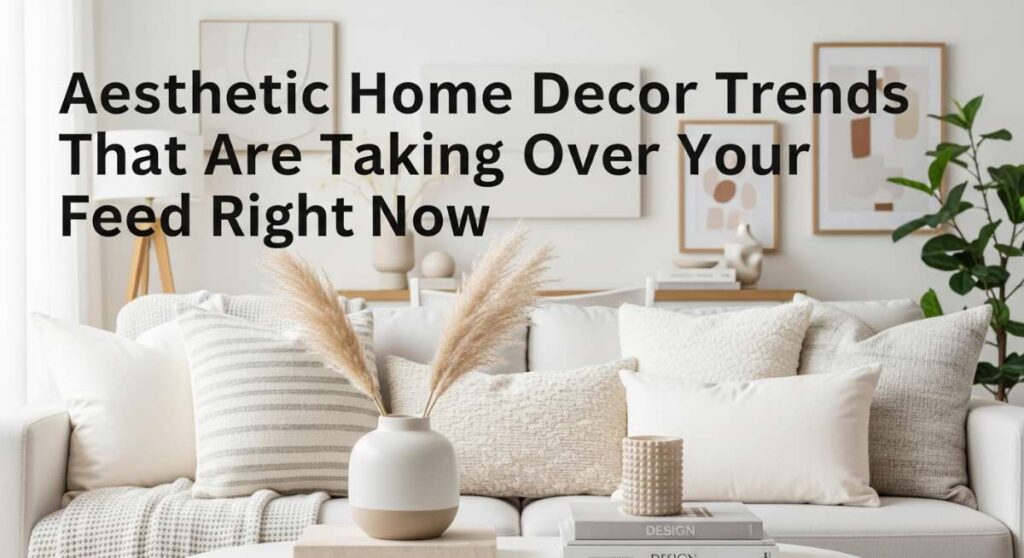
Have you ever walked into your living room and felt like something was just… missing? We’ve all been there, scrolling through Pinterest or TikTok, mesmerized by those perfectly curated spaces that look like they belong on a magazine cover. There’s a certain magic in a home that feels both high-end and deeply lived-in, a sanctuary where every texture and color tells a story of comfort. It’s that feeling of sinking into a plush sofa after a long day, the soft scent of a vanilla candle lingering in the air, and the visual harmony of a space that truly reflects who you are.
Today, we’re diving deep into the world of aesthetic home decor, specifically focusing on the one element that can instantly transform a room: the humble throw pillow. Whether you’re looking to create a romantic sanctuary or a funky retro vibe, mastering the art of pillow styling is your secret weapon. It’s about more than just fluffing cushions; it’s about layering textures, mixing patterns, and creating a sensory experience that welcomes you home every single time you walk through the door.
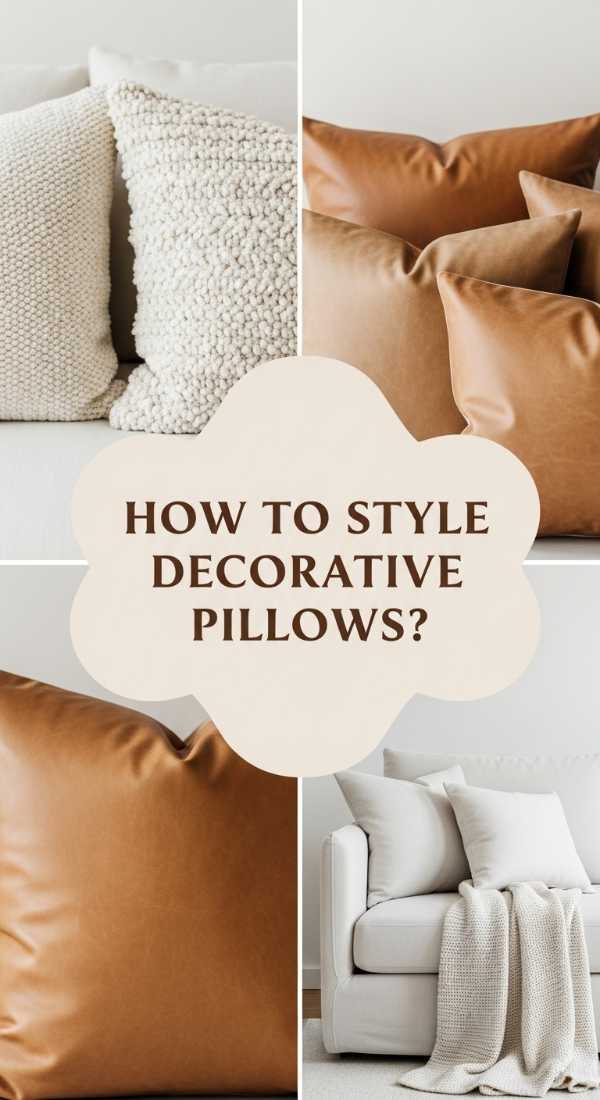
How to Master Throw Pillow Combinations for a Designer Living Room
Why we love this
There is nothing quite like the visual weight and sensory delight of a perfectly styled designer sofa. We love this look because it combines the crisp, clean scent of high-quality linen with the buttery softness of velvet, creating an inviting landscape that begs you to touch. The play of light across different weaves adds a dynamic energy to the room, while the varying heights of the pillows create a sense of professional structure. It’s the ultimate way to make your main living space feel intentional, luxurious, and incredibly cozy all at once.
Essential Elements:
- Two 24-inch oversized square pillows (solid base)
- Two 20-inch patterned pillows (bridge pieces)
- One long lumbar pillow (the focal point)
- High-quality feather-down inserts (for the ‘chop’)
- A mix of textures: linen, velvet, and chunky knit
How to make it
- Begin by ‘prepping’ your base: Fluff your two largest 24-inch pillows vigorously to ensure the down fill is evenly distributed. Place one in each corner of the sofa, leaning them firmly against the back cushions.
- Layer your secondary 20-inch pillows directly in front of the base layer. For a professional ‘visual cue,’ offset them slightly toward the center to create a tiered effect.
- Execute the ‘Karate Chop’ technique: Using the side of your hand, firmly strike the top center of each pillow. This creates a sharp V-shape indentation, which is the hallmark of high-end interior design.
- Final Assembly: Place your lumbar pillow front and center. Ensure it sits snugly between the two layers, bridging the gap and anchoring the entire arrangement.
- Quality Check: Step back and look for symmetry. If the pillows look flat, ‘massage’ the inserts toward the corners to ensure a plump, expensive-looking finish.
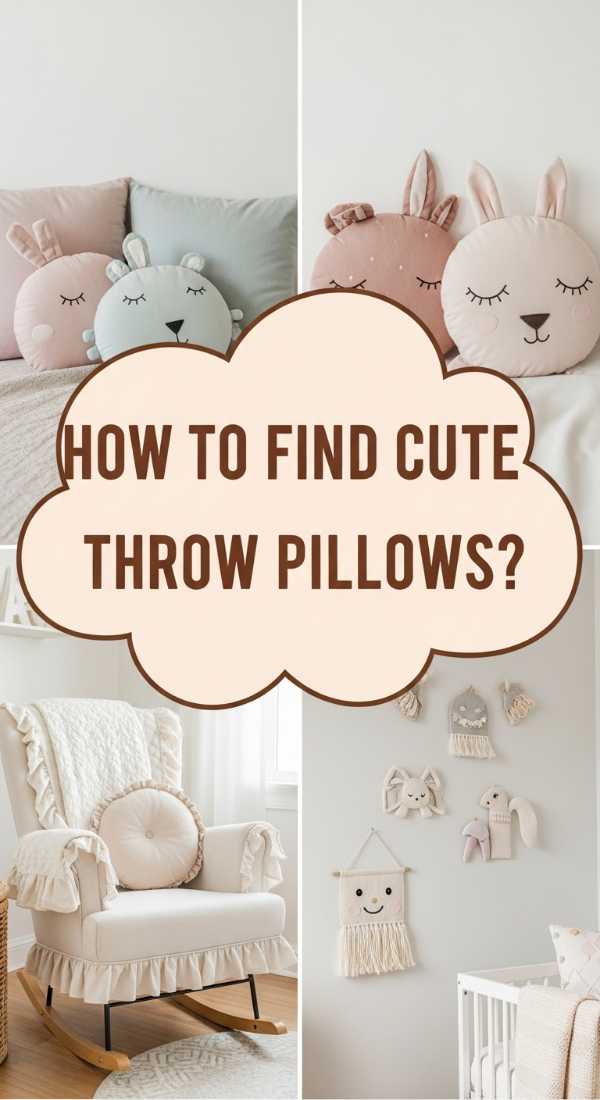
How to Select Cute Throw Pillows for a Dreamy Nursery
Why we love this
Creating a nursery is an emotional journey, and the right pillows add a layer of whimsy and tactile comfort that is essential for those late-night snuggles. We love this approach because it focuses on the softest organic cottons and boucle textures that feel like a gentle cloud against the skin. The subtle aroma of lavender sachets tucked nearby combined with the sight of soft pastels or muted earth tones creates a serene, hushed atmosphere that calms both parent and baby. It’s about building a nest that feels safe, sweet, and aesthetically enchanting.
Essential Elements:
- Soft boucle or sherpa round pillows
- Animal-shaped accent pillows (moon, star, or bear)
- Organic cotton covers in muted tones
- Hypoallergenic inserts
- A chunky knit throw to drape nearby
How to make it
- Start with safety: Ensure all pillows are for decor only and kept out of the crib during sleep. For the styling phase, place a large, soft square pillow in the corner of the glider chair to provide lumbar support.
- Layer in your ‘whimsy’ piece: Take your shaped pillow (like a star or moon) and nestle it against the larger square. The ‘visual cue’ here is the contrast between the structured square and the organic shape of the accent.
- Check the ‘Heat Level’ of the room: Choose breathable cotton covers to ensure the space doesn’t feel stifling. If using wool-based textures, keep them at the base of the chair for visual warmth only.
- Positioning: Angle the pillows slightly inward to create a ‘cradling’ effect that mirrors the purpose of the room.
- Final Touch: Give the pillows a light steam to remove any shipping wrinkles, ensuring they look fresh and pristine for the nursery reveal.
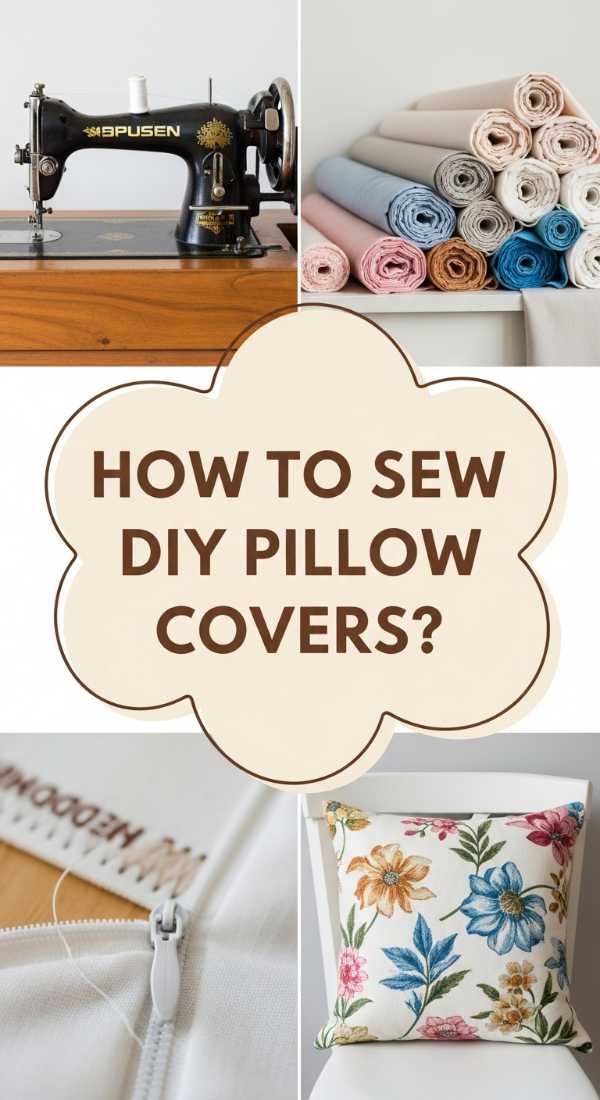
How to Create DIY Pillow Covers for a Custom Home Look
Why we love this
There is a unique pride that comes with DIY decor—the tactile satisfaction of choosing your own fabric and the faint, nostalgic scent of a warm iron against cotton. We love this because it allows for total creative freedom; you aren’t limited by what’s in the stores. You can curate a look that is entirely yours, whether it’s a bold graphic print or a vintage-inspired floral. The feeling of the finished, heavy-weight fabric in your hands, knowing you crafted it yourself, adds a layer of soul to your home that money simply cannot buy.
Essential Elements:
- Heavyweight upholstery fabric (linen or cotton canvas)
- Measuring tape and fabric shears
- A sewing machine or high-strength hem tape (no-sew)
- Standard 18×18 pillow inserts
- Color-matched zippers or decorative buttons
How to make it
- Prep Phase: Measure your pillow insert and add one inch to each side for the seam allowance. For a 18×18 insert, cut two 19×19 squares of fabric.
- Ironing: This is the most critical step. Iron your fabric on a high-heat setting to remove all moisture and wrinkles. A flat, crisp fabric ensures precision during the ‘assembly’ phase.
- Assembly: Place the ‘right sides’ of the fabric together. If sewing, stitch three sides using a 5/8 inch seam. If using hem tape, apply heat with your iron for 15-20 seconds per section until the bond is fused.
- The Turn: Turn the cover right side out, using a chopstick or pencil to gently push out the corners for a sharp, professional visual cue.
- Stuffing and Sealing: Insert your pillow form. Hand-stitch the final side closed using a ladder stitch for an invisible finish, or seal with your remaining hem tape.
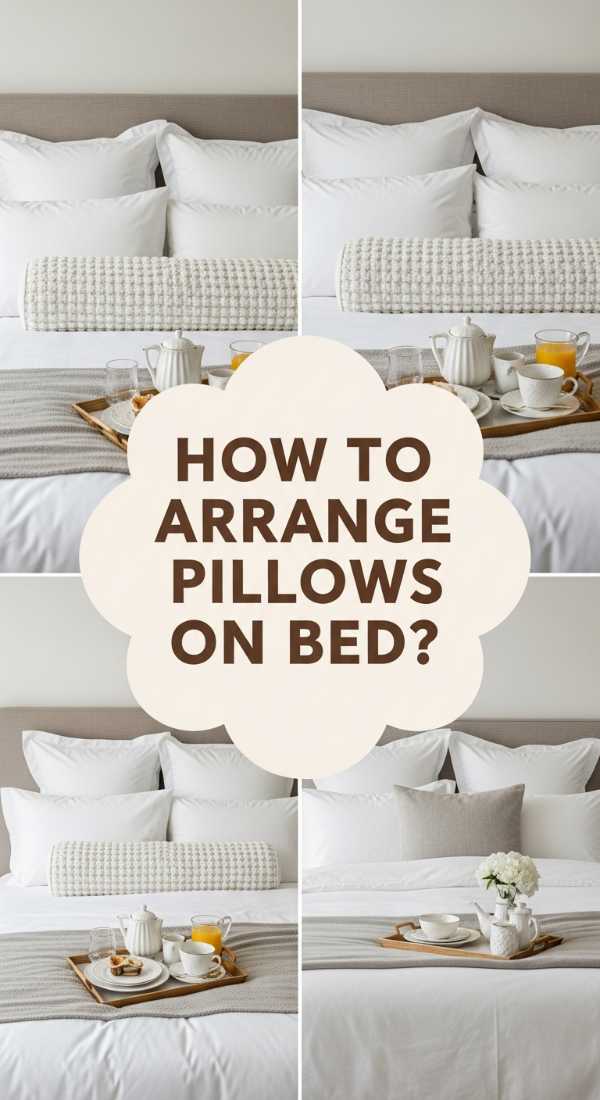
How to Arrange Decorative Pillows on Bed for Ultimate Luxury
Why we love this
Entering a bedroom with a perfectly layered bed feels like checking into a five-star boutique hotel every single night. We love this because it appeals to all the senses: the cool touch of high-thread-count cotton, the visual depth of stacked shams, and the feeling of utter indulgence as you lean back against a wall of pillows. It transforms the bed from a mere piece of furniture into a grand architectural statement. It’s the ultimate form of self-care, creating a visual and physical ‘hug’ that signals your brain it’s time for rest and luxury.
Essential Elements:
- 2-3 Euro Shams (26×26)
- 2 Standard or King Shams
- 2 Decorative accent pillows (18×18)
- 1 Extra-long lumbar pillow
- Duvet cover and matching coverlet
How to make it
- The Base Layer: Prop your Euro shams against the headboard. These act as the ‘foundation’ of your pillow wall. Ensure they are upright and firm.
- The Sleeping Layer: Place your standard sleeping pillows flat against the Euro shams. The visual cue here is ‘stacking’ rather than leaning, which adds depth.
- The Accent Layer: Place your decorative 18×18 pillows in front of the sleeping pillows. These should feature a different texture, like velvet or silk, to catch the light.
- The Crown Jewel: Place the long lumbar pillow across the very front. This ‘locks’ the look together and covers any gaps between the other layers.
- Visual Check: Ensure the heights descend as they move toward the foot of the bed. If any pillow looks limp, replace the insert with one size larger (e.g., a 20×20 insert inside an 18×18 cover) for maximum ‘plumpness.’
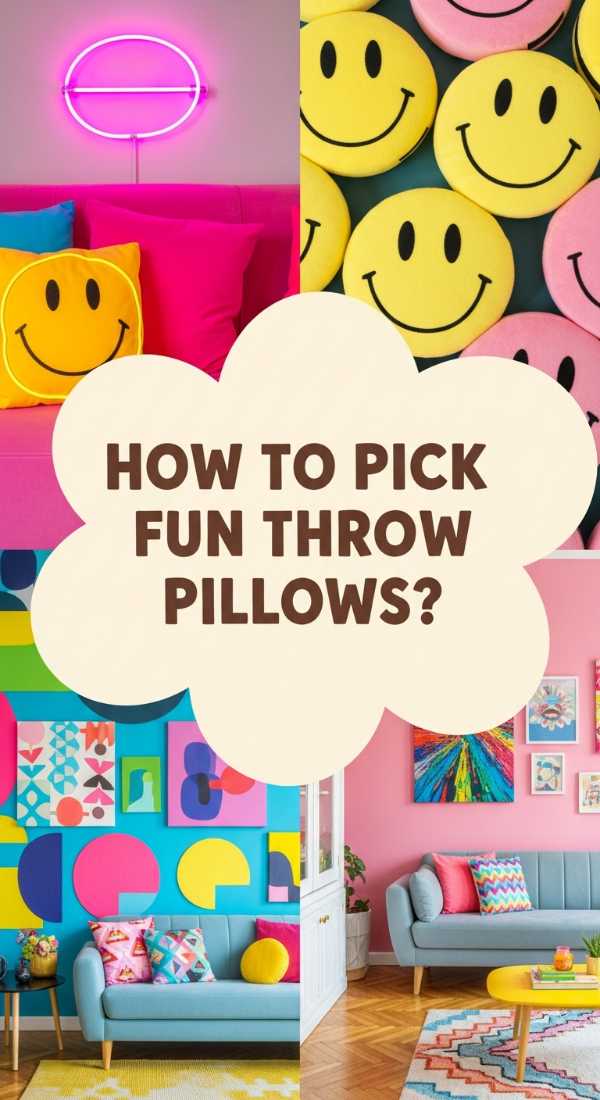
How to Style Fun Throw Pillows for a Playful Home
Why we love this
Decor shouldn’t always be serious; it should be a reflection of joy and personality! We love the playful trend because it uses vibrant colors and unexpected shapes—think flowers, mushrooms, or smiley faces—to spark an immediate sense of happiness. The textures are often tactile and fun, like high-pile shag or soft fleece, which feel amazing under your hands. It’s a sensory explosion that turns a neutral room into a conversation starter, making the space feel youthful, energetic, and completely unpretentious.
Essential Elements:
- Shaped pillows (circles, knots, or icons)
- High-saturation colors (pink, orange, teal)
- Textured fabrics like faux fur or boucle
- Playful patterns (checkered or squiggles)
- A neutral sofa to act as a blank canvas
How to make it
- Prep the Canvas: Remove any existing ‘boring’ pillows. This style works best when the fun pieces are the stars of the show.
- The Anchor: Start with one large, round pillow in a bright primary color to ground the arrangement.
- Clustering Technique: Instead of a symmetrical layout, cluster 3-4 shaped pillows on one side of the sofa. This ‘asymmetrical balance’ feels more organic and playful.
- The Visual Cue: Mix your ‘pile heights.’ Place a flat checkered pillow next to a high-shag knot pillow. The contrast in texture is what makes the ‘playful’ look feel intentional rather than messy.
- Color Harmony: Even in a fun setup, keep a ‘theme.’ If using bright colors, ensure they share the same ‘warmth’ or ‘coolness’ to prevent visual fatigue.
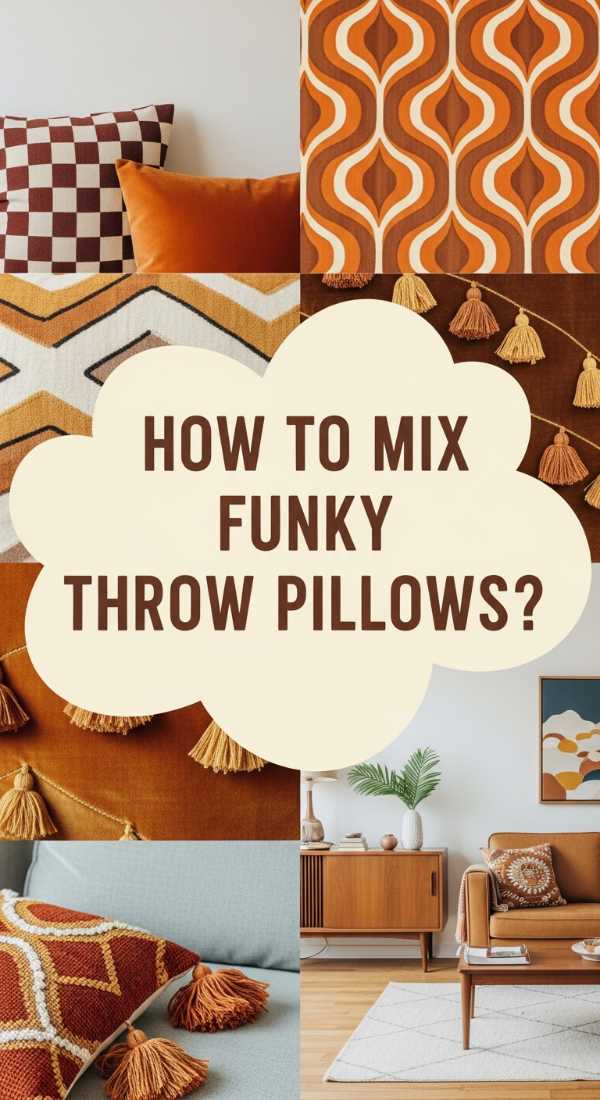
How to Mix Funky Throw Pillows for a Retro Vibe
Why we love this
Retro vibes bring a nostalgic warmth that is incredibly comforting in a modern world. We love this look because it’s a celebration of ‘more is more’—think mustard yellows, burnt oranges, and avocado greens. The sensory experience is rich with the smell of old vinyl and the touch of corduroy or heavy brocade. It feels like a time capsule that is both stylish and cozy, giving your home a ‘lived-in’ soul that feels curated over decades rather than bought in an afternoon. It’s groovy, grounded, and gorgeous.
Essential Elements:
- Corduroy and velvet fabrics
- Geometric 70s-inspired prints
- Earth-toned color palette (rust, mustard, olive)
- Tasseled or fringed edges
- Wooden accents nearby
How to make it
- Color Calibration: Choose three main ‘retro’ colors. rust, mustard, and cream is a classic ‘prep’ for this look.
- Layering Patterns: Place a large geometric print pillow at the back. Layer a solid-colored corduroy pillow in front of it. The visual cue here is the ‘clash’ that actually coordinates.
- Adding Movement: Use pillows with long tassels or fringe. These should be placed on the ends of the sofa to draw the eye outward.
- The ‘Age’ Factor: If your pillows look too ‘new,’ give them a slight ‘worn’ look by gently brushing corduroy against the grain to catch the light.
- Placement: Keep the arrangement slightly relaxed and low-slung. Retro styling favors a ‘low and wide’ look rather than the tall, upright ‘designer’ style.
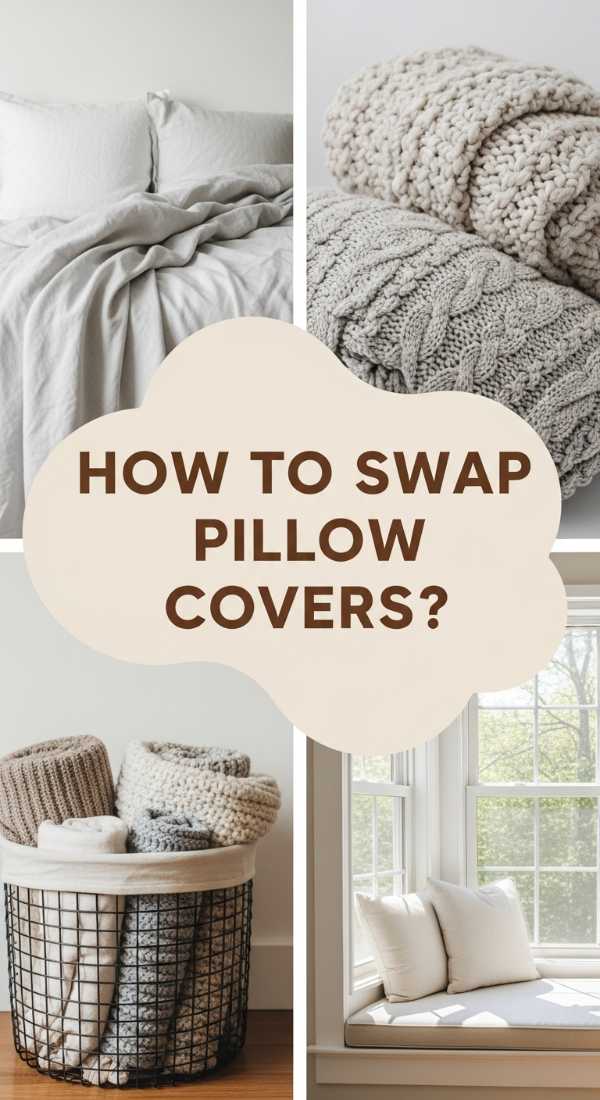
How to Swap Throw Pillow Covers for a Seasonal Update
Why we love this
Swapping covers is the ultimate ‘hack’ for home lovers who want a fresh feel without the high cost. We love the ritual of it—the transition from the light, airy linens of summer that smell like citrus and sea salt, to the heavy, moody velvets of winter that pair perfectly with the scent of pine and cinnamon. It’s a way to honor the rhythm of the seasons within your own four walls. It changes the entire temperature of the room’s aesthetic, making it feel perfectly in sync with the world outside your window.
Essential Elements:
- A set of light linen/cotton covers (Spring/Summer)
- A set of velvet/wool/faux fur covers (Fall/Winter)
- Storage bins for out-of-season covers
- Lavender sachets for storage
- Consistent pillow inserts (save space!)
How to make it
- The Clean Out: Remove all current covers. This is the ‘prep phase.’ Take the time to vacuum the sofa and fluff your inserts.
- The Seasonal Shift: If it’s Fall/Winter, choose deep ‘jewel’ tones. If it’s Spring/Summer, go for ‘airy’ pastels or whites.
- Visual Cues for Warmth: In colder months, use ‘visual heat’—textures that look warm (fur, chunky knits). In warmer months, use ‘visual cooling’—smooth, flat fabrics.
- The Process: Carefully fold the out-of-season covers with a lavender sachet and store them. Zip the new covers onto your existing inserts.
- Final Steaming: Always steam your ‘new’ seasonal covers once they are on the insert to remove fold lines from storage.
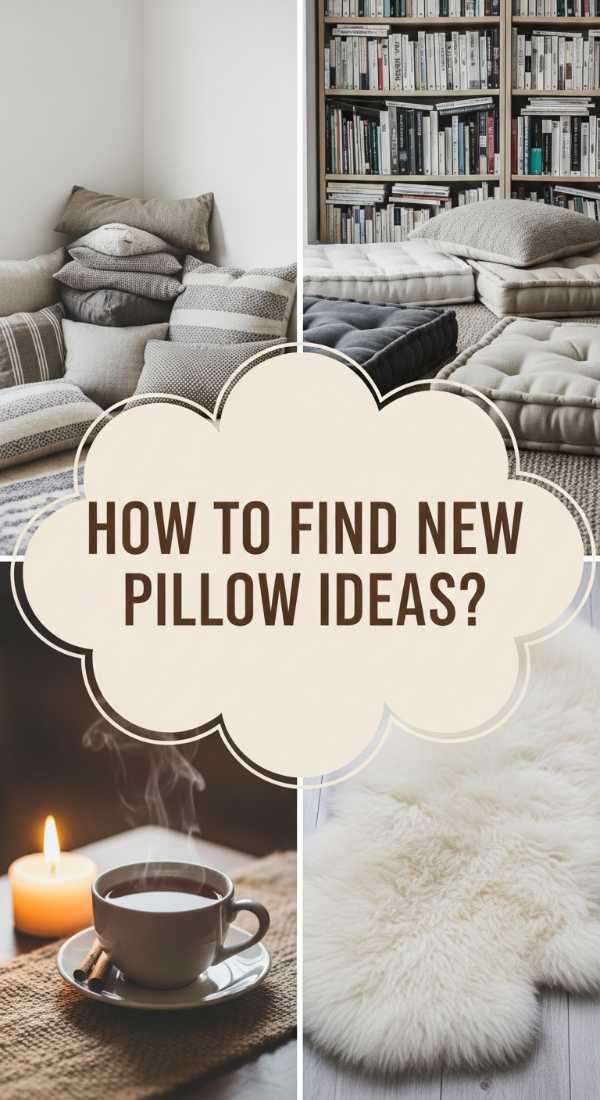
How to Discover Pillow Ideas for a Cozy Reading Nook
Why we love this
A reading nook is a sanctuary for the mind, and the pillows here are all about ergonomics and absolute softness. We love this because it’s the most functional use of decor; it’s where you curl up with a hot cup of tea and lose yourself in a story. The feeling of a large floor pillow supporting your back, the aroma of old paper, and the soft glow of a reading lamp create a ‘bubble’ of peace. It’s about creating a corner of the world that is entirely dedicated to your own quiet joy.
Essential Elements:
- One oversized floor pillow (28×28 or larger)
- A supportive back pillow (v-shaped or ‘husband’ pillow)
- A small, soft neck pillow
- Materials like flannel or soft jersey
- A nearby basket for extra cushions
How to make it
- Foundation Prep: Place your largest, thickest pillow on the floor or the base of the nook. This needs to be firm enough to act as a ‘seat.’
- Back Support: Position a structured pillow against the wall or chair back. The ‘visual cue’ is a 90-degree angle that invites you to lean in.
- The ‘Softness’ Layer: Layer a smaller, squishier pillow on top for your head or arms. This should be the ‘plushiest’ element in the nook.
- Testing for Comfort: Sit in the nook for 5 minutes. If you feel any strain, adjust the ‘fill’ of your pillows by adding more stuffing or choosing a firmer insert.
- Accessibility: Keep the arrangement loose. A reading nook should look ‘invitingly messy’ rather than stiffly styled.
How to Choose Decorative Pillows for a Neutral Palette
Why we love this
Neutral decor is anything but boring when done correctly; it’s a masterclass in texture and subtle sophistication. We love this look because it creates a ‘visual exhale’—a space that feels calm, clean, and incredibly high-end. Without color to rely on, the focus shifts to the feel of raw silk, the weave of organic jute, and the shadow play of tone-on-tone patterns. It’s a sensory experience of cream, oatmeal, and sand that feels like a quiet luxury hotel, making your home feel like a peaceful retreat from the chaotic world.
Essential Elements:
- Pillows in various shades of cream, beige, and tan
- Highly textured fabrics (waffle weave, embroidery, fringe)
- Different shapes (circles, rectangles, squares)
- Natural materials (linen, cotton, silk)
- Matte finishes
How to make it
- Color Gradient Prep: Gather pillows in ‘The Rule of Three’: one light (cream), one medium (oatmeal), and one ‘dark’ (tan/sand).
- Texture Mapping: Place the most ‘aggressive’ texture (like a chunky waffle weave) at the back. Layer the smoothest texture (like silk or flat linen) in the front.
- The Visual Cue: Use ‘shadow’ as your color. Ensure your pillows have deep weaves or raised embroidery so that the room’s lighting creates natural contrast.
- Symmetry Check: In a neutral space, symmetry provides the ‘structure’ that color usually offers. Mirror your pillow placement on both sides of the sofa.
- The ‘Pop’: Add one pillow with a very subtle black or charcoal pinstripe to ‘anchor’ the neutrals and keep the look from floating away.
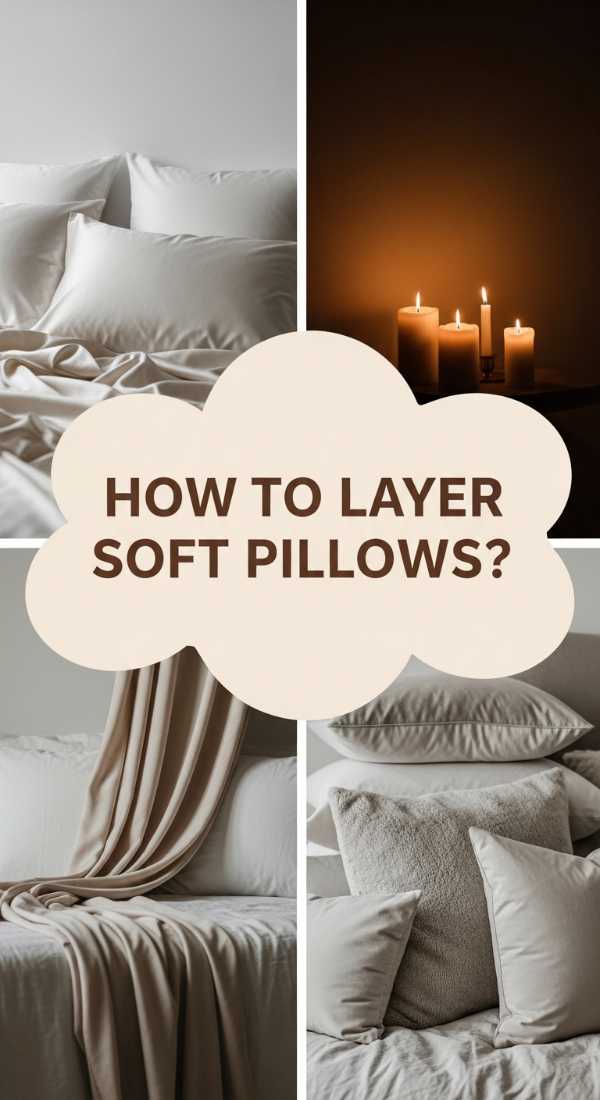
How to Layer Pillows for a Romantic Candlelit Sanctuary
[IMAGE_10]
Why we love this
A romantic sanctuary is all about soft edges, flickering light, and a touch of drama. We love this style because it uses pillows to create an atmosphere of intimacy and indulgence. Think the heavy drape of velvet, the shimmering catch of silk under candlelight, and the intoxicating scent of roses or sandalwood. It’s a space designed for connection and relaxation, where the pillows are so soft they feel like a dream. It’s the ultimate way to turn a bedroom or lounge into a private, enchanted escape.
Essential Elements:
- Deep red, dusty rose, or midnight blue velvet pillows
- Silk or satin pillowcases
- Faux fur accents
- Feather-filled inserts for maximum ‘sink-in’ quality
- Dimmable lighting or plenty of candles nearby
How to make it
- Atmosphere Prep: Dim the lights and light your candles. This allows you to see where the light ‘hits’ the pillows during styling.
- The ‘Deep’ Layer: Place your darkest, heaviest velvet pillows at the back. These act as the ‘shadows’ of your sanctuary.
- The ‘Glimmer’ Layer: Place silk or satin pillows in front. These will catch the candlelight, creating a ‘visual cue’ of luxury and romance.
- The Softness Factor: Use only feather-down inserts. The way they ‘melt’ when you sit back is crucial for the romantic ‘feel’ of the room.
- Final Flourish: Scatter a few smaller, heart-shaped or round velvet pillows in a slightly ‘tumbled’ fashion to make the space look effortless and inviting.
Wrapping Up Your Home Transformation
Transforming your home doesn’t require a full renovation; sometimes, it just takes a little bit of fluffing, some thoughtful layering, and a new perspective on the items you already love. By mastering these pillow styling techniques, you’re not just decorating a room—you’re curated an experience for yourself and everyone who walks through your door. Remember, the best homes aren’t the ones that look perfect on a screen, but the ones that feel perfect the moment you sit down. So, go ahead, grab those pillows, give them a chop, and enjoy the cozy, aesthetic sanctuary you’ve created.