
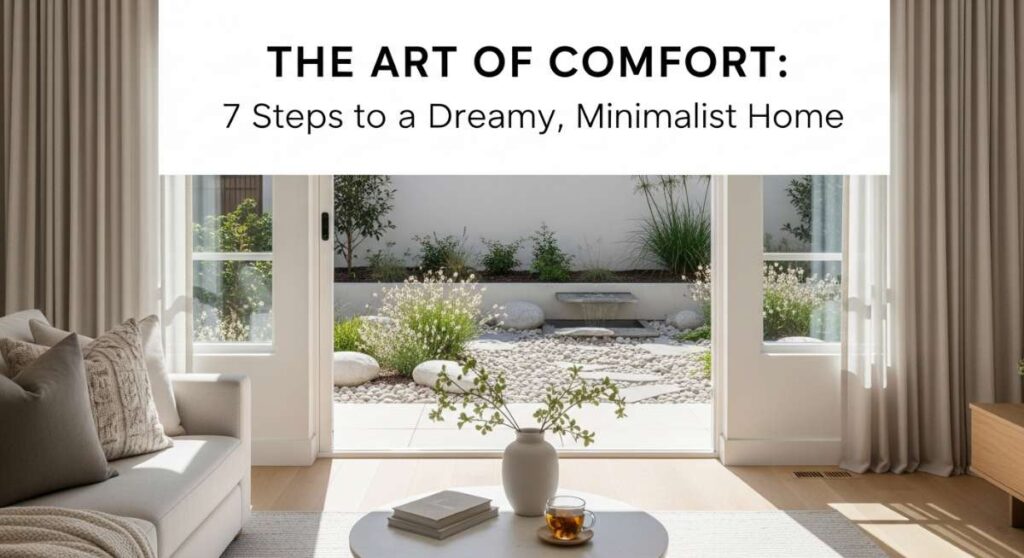
Have you ever walked into a room and felt an immediate sense of peace wash over you? Not just because it was clean, but because it felt like a warm embrace? For years, I struggled to make my home feel like those Pinterest boards I obsessed over. It always felt a little too cold or a little too cluttered, never quite hitting that ‘minimalist but cozy’ sweet spot. I realized that the secret isn’t in the furniture you buy, but in the art of the edit and the textures you choose to invite into your space.
Creating a dreamy home is about more than just aesthetics; it is about curateing a sanctuary that supports your mental well-being. When we strip away the noise and focus on high-quality, tactile elements, we transform a living space into a healing one. Today, I’m sharing the seven essential steps to mastering that effortless, high-end comfort that makes every morning feel like a slow Sunday at a boutique hotel.
From the way you layer your linens to the specific ‘chop’ of a pillow, these are the designer secrets that will elevate your home from basic to breathtaking. Let’s dive into the world of soft textures, intentional palettes, and the cozy details that make a house a home.
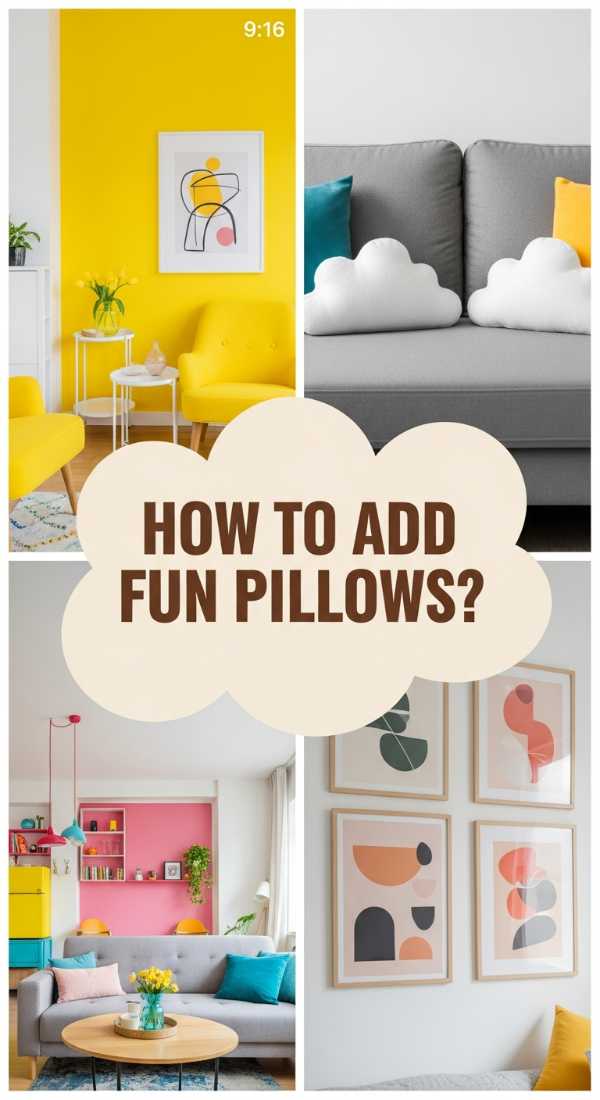
How to Master Throw Pillow Combinations for a Designer Look
Why we love this
There is something incredibly sophisticated about a perfectly balanced sofa. When you mix textures like chunky wool, smooth velvet, and crisp linen, you create a sensory playground that invites you to sink in and stay a while. The aroma of a nearby cedarwood candle mingling with the visual depth of these layers creates an atmosphere of curated luxury. It’s the difference between a room that looks ‘furnished’ and a room that looks ‘designed,’ offering a tactile richness that feels expensive yet approachable.
Essential Elements:
- Two large 22×22 solid base pillows
- Two 20×20 patterned or textured pillows
- One 12×24 lumbar pillow for the center
- High-quality down or down-alternative inserts
- A cohesive color palette of three tones
How to make it
- Start with your ‘Anchor’ layer: Place your two largest 22-inch pillows at the far ends of the sofa. Ensure they are stuffed with inserts 2 inches larger than the covers for a plump, professional look.
- Layer your ‘Interest’ pieces: Place the 20-inch pillows directly in front of the anchors, slightly offset toward the center. This creates a staggered visual ‘heat’ that draws the eye inward.
- Add the ‘Statement’ lumbar: Place the long rectangular pillow in the dead center. This acts as the visual anchor that ties the entire arrangement together.
- The Finishing Touch: Perform the ‘karate chop’ on the top of each pillow. The visual cue for ‘doneness’ is a soft V-shape in the center that indicates the fill is high-quality and the pillow is ready to be lounged upon.
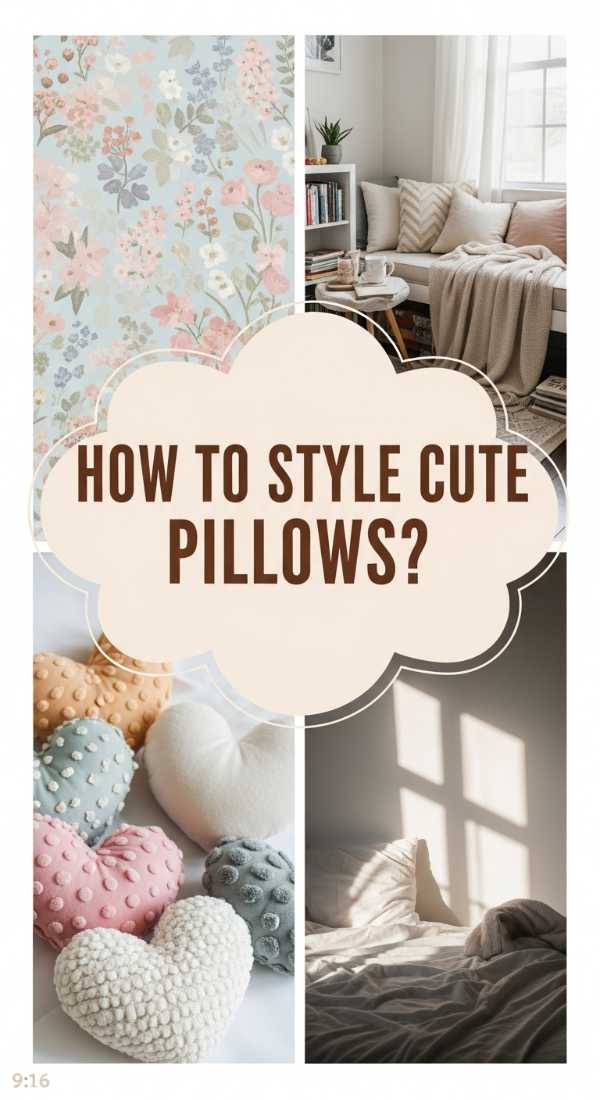
How to Find Cute Throw Pillows for an Aesthetic Bedroom
Why we love this
Your bedroom should be the ultimate retreat, and ‘cute’ in this context means soft, inviting, and visually soothing. Finding the right pillows is like finding the perfect pair of cashmere socks—it’s about that immediate feeling of relief when you see them. We love this process because it allows you to play with softer pastels and whimsical textures like faux fur or embroidered cotton that might feel too delicate for a high-traffic living room. It turns your bed into a plush cloud that smells of lavender spray and feels like a dream.
Essential Elements:
- Textured bouclé fabrics
- Subtle floral or geometric embroidery
- Soft color palettes (sage, dusty rose, or cream)
- Varied shapes (circles or spheres)
- Natural fiber covers (linen or organic cotton)
How to make it
- Identify your ‘Mood Palette’: Select a base color from your bedding and choose pillows within two shades of that color to maintain a ‘low-heat’ visual energy that is calming for sleep.
- Scout for Texture: Look specifically for ‘tactile’ fabrics. A visual cue for a high-quality bedroom pillow is ‘loft’—the pillow should bounce back immediately when pressed, indicating it won’t go flat during your nightly reading.
- Scale your Selection: Choose smaller sizes for the bed than the sofa. 18×18 inches is the sweet spot for bedroom accents to avoid overwhelming the headboard.
- Balance the Sizing: Arrange them symmetrically if you want a formal look, or in an asymmetrical cluster of three for a more ‘boho-chic’ aesthetic.
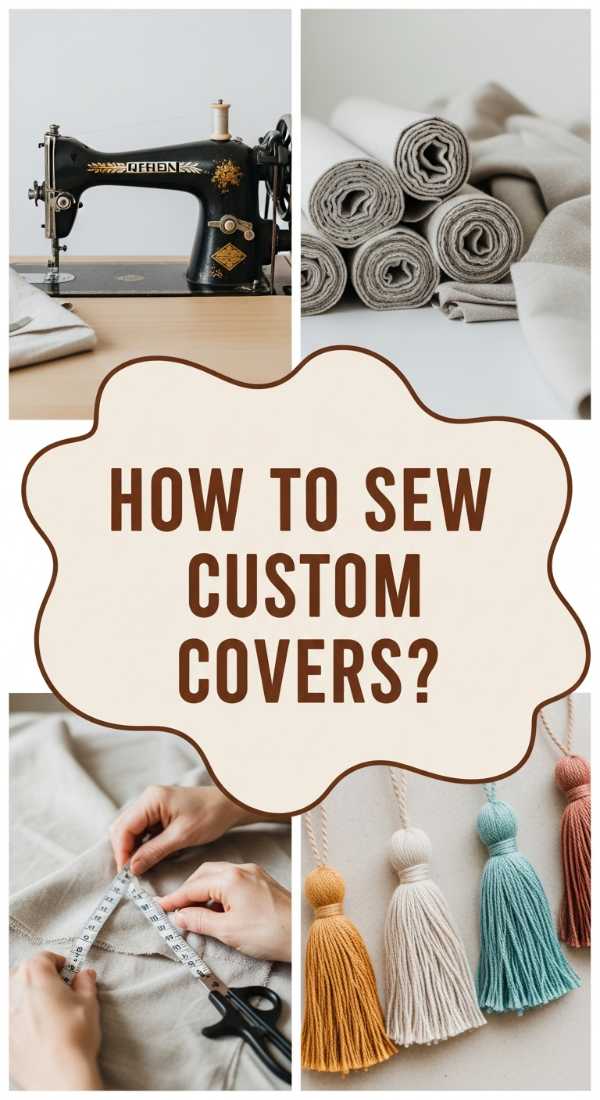
How to Create DIY Pillow Covers for a Custom Home
Why we love this
There is an unparalleled satisfaction in running your hand over a fabric you chose and sewed yourself. DIY covers allow you to customize your home’s ‘flavor’ perfectly, matching odd corner nooks or specific curtain shades that store-bought options just can’t hit. The process is rhythmic and therapeutic; the sound of the sewing machine and the warmth of the iron as you press your seams create a slow-living ritual that results in a piece of functional art. It’s a custom touch that screams high-end sanctuary.
Essential Elements:
- Heavy-weight upholstery fabric (linen or velvet)
- Fabric shears or a rotary cutter
- A sewing machine and matching thread
- Iron and ironing board
- Measuring tape and fabric chalk
How to make it
- Prep and Heat: Set your iron to the appropriate heat level for your fabric (high for linen, low for synthetics). Iron your fabric flat to ensure your cuts are precise; any wrinkles now will result in a ‘cooked’ look later.
- The Envelope Cut: Measure your pillow form. Cut one front piece the size of the pillow plus one inch for seam allowance. Cut two back pieces that overlap by 4 inches to create an ‘envelope’ closure.
- Hemming the Edge: Fold the inner edges of the back pieces over by half an inch and press. Sew a straight line to finish the edge. This visual cue of a clean hem is the hallmark of a professional-grade DIY.
- Assembly and Sewing: Pin the pieces with ‘right sides’ facing each other. Sew around the entire perimeter with a 1/2-inch seam allowance. Timing is key here—slow and steady around the corners ensures a sharp, designer finish.
- The Reveal: Flip the cover right-side out through the envelope slit, push out the corners with a dull pencil, and give it a final steam press for a crisp, store-bought finish.
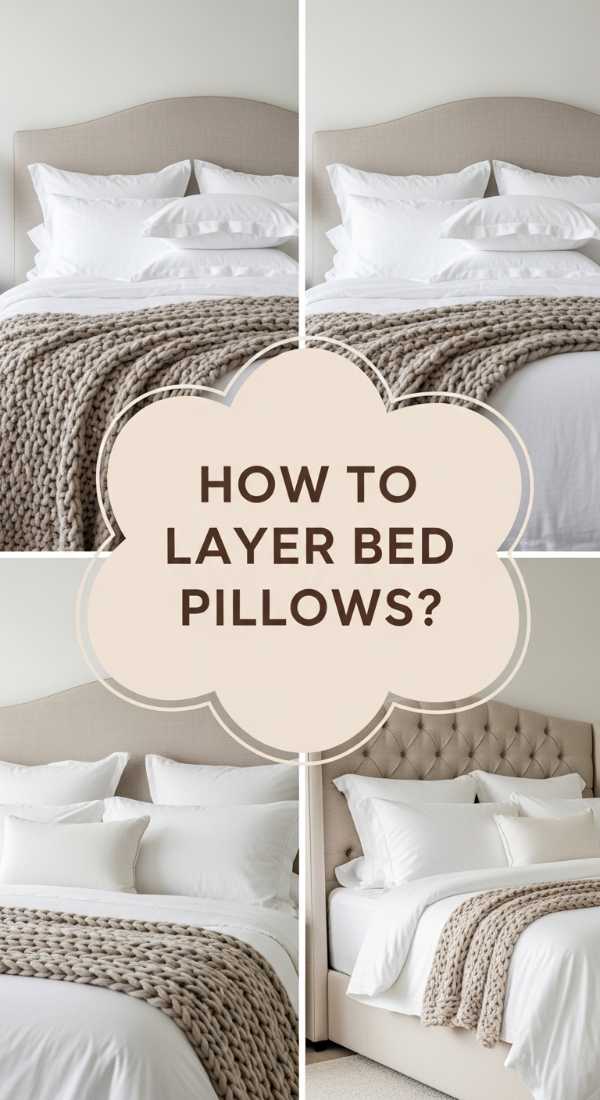
How to Style Decorative Pillows on Bed for Ultimate Coziness
Why we love this
Styling pillows on a bed is the ultimate ‘grown-up’ decor move that instantly elevates your mood. It’s about creating depth and inviting the eye to rest on layers of comfort. We love the way a well-styled bed acts as the centerpiece of the room, radiating warmth and intentionality. The feeling of pulling back those layers at night is a ritual in itself, signaling to your brain that it’s time to decompress. It’s like a visual hug every time you walk into the room.
Essential Elements:
- 2-3 Euro Shams (26×26)
- 2 Standard pillows (the ones you sleep on)
- 2 Decorative square pillows (20×20)
- 1 Lumbar or ‘funky’ accent pillow
- A textured bed throw
How to make it
- The Foundation: Lean your Euro shams against the headboard. These provide the ‘heat’ or the height of the arrangement. They should be firm enough to stand upright without sagging.
- The Sleep Layer: Place your standard sleeping pillows flat or leaning against the Euro shams. If they look a bit tired, hide them behind the decorative squares.
- The Decorative Duo: Add your 20-inch decorative pillows in front. Ensure the patterns complement your duvet. A visual cue for success is the ‘triad’—the Euro, the Standard, and the Decorative create a descending stair-step effect.
- The Centerpiece: Finish with a single lumbar pillow in the center. This should have the most texture or the boldest pattern to serve as the focal point.
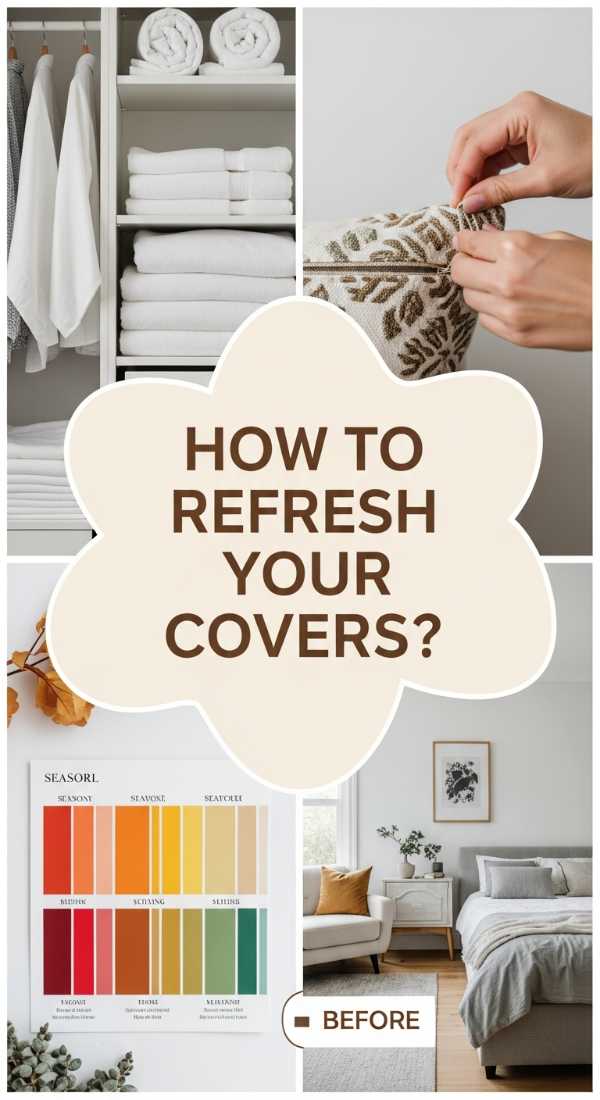
How to Update Throw Pillow Covers for an Instant Refresh

Why we love this
Changing your pillow covers is the fastest, most cost-effective way to ‘reset’ your home’s energy. It’s like a palate cleanser for your interior design. We love this because it allows you to lean into the seasons—swapping heavy, dark velvets for light, airy linens as the weather warms up. It keeps your home feeling fresh and evolving without the need for a full renovation. It’s a low-effort, high-impact ‘quick cook’ for your living room’s aesthetic.
Essential Elements:
- A set of seasonal covers (Linen for summer, Velvet for winter)
- Proper storage bins for off-season covers
- A handheld steamer
- Fresh scented fabric spray
How to make it
- The Strip Down: Remove all current covers. Take this time to fluff your inserts and let them ‘breathe’ in the sun for 30 minutes to kill bacteria and restore loft.
- The Steaming Phase: Before putting new covers on, use a steamer on medium heat to remove fold lines. Visual cue: the fabric should hang limp and smooth.
- The Stuffing Technique: Fold your insert in half (the ‘taco’ method) to slide it into the cover easily. This prevents straining the zipper and ensures the corners are fully filled.
- The Refresh: Lightly mist the pillows with a linen spray. The sensory combination of fresh visual colors and a clean scent marks the completion of your refresh.
How to Curate Decorative Pillows for a High End Sanctuary
Why we love this
A ‘high-end’ look isn’t about the price tag; it’s about the quality of the materials and the restraint in the design. Curating for a sanctuary means choosing pieces that feel timeless and expensive to the touch. We love the hush that falls over a room when the decor is cohesive and understated. It’s the aroma of high-quality leather and the sight of thick, hand-woven fabrics that make a space feel like a five-star retreat. It’s about creating a space that feels curated over time, not bought all at once.
Essential Elements:
- Down-filled inserts only (avoid poly-fill)
- Neutral tones with varied textures (weave, knit, hide)
- Hidden zippers
- Oversized scales (avoid dinky, small pillows)
How to make it
- Quality Over Quantity: Choose fewer, larger pillows. A 24-inch pillow looks significantly more ‘high-end’ than three 16-inch pillows.
- The ‘Hand’ Test: When shopping, feel the weight. High-end fabric is heavy. If the light shines through it, it’s too thin. Your visual cue for ‘doneness’ is a pillow that holds its shape even when propped up.
- Texture Play: Pair a rough, hand-loomed wool pillow with a smooth, heavy silk one. This ‘clash’ of textures is what creates the designer ‘heat’ and visual interest.
- The Chop: Always use the karate chop. For a sanctuary look, the chop should be deep and pronounced, showing off the luxury down fill inside.
How to Pick Pillows for the Most Comfortable Sleep Ever

Why we love this
While decorative pillows provide the beauty, your sleep pillows provide the ‘fuel’ for your life. There is nothing like the cool side of a high-quality pillow against your cheek after a long day. We love this step because it’s where science meets comfort. Choosing the right pillow is an act of self-care that improves your posture, your skin, and your morning mood. It’s the final, most important layer in your art of comfort.
Essential Elements:
- Memory foam, down, or cooling gel fills
- Silk or high-thread-count cotton pillowcases
- Pillow protectors (for longevity)
- Adjustable loft options
How to make it
- Identify Your Sleep Style: Side sleepers need ‘high heat’ or high loft (thick pillows), while stomach sleepers need ‘low heat’ or flat pillows to keep the spine neutral.
- The Temperature Check: Look for ‘cooling’ technology or natural fibers like silk if you run hot. A visual cue for a good sleep pillow is ‘resilience’—it should support your head without bottoming out to the mattress.
- The Protection Layer: Always use a zip-on protector before the pillowcase. This adds a layer of ‘doneness’ that keeps the pillow fresh and prevents allergens.
- The Silk Finish: Use a silk pillowcase. Not only does it feel incredibly lush, but it also prevents hair breakage and skin creases, making your ‘beauty sleep’ literal.
Conclusion: Embracing the Slow Home
The art of comfort isn’t something that happens overnight, but by following these steps, you are well on your way to creating a home that feels like a masterpiece. Remember, a minimalist home isn’t about having nothing; it’s about having the right things. Each pillow you choose, each texture you layer, and each DIY project you complete adds a chapter to your home’s story. Start small, focus on quality, and don’t be afraid to let your space evolve with you. Your sanctuary is waiting.