

There is something truly magical about a beautifully arranged food board that draws everyone into the kitchen. It’s more than just a snack; it’s a centerpiece for conversation, a canvas for creativity, and a heartwarming way to share a meal with the people you love most. Whether you’re hosting a weekend brunch or a cozy movie night, these viral board ideas are designed to bring a touch of aesthetic joy and deliciousness to your home without the stress of complicated catering.
Lately, my social media feed has been exploding with these ‘Viral Simple Food Boards,’ and I couldn’t help but dive into the trend myself. From the satisfying crunch of fresh fruit bark to the decadent, velvety layers of individual tiramisu jars, these recipes are all about texture and visual appeal. I’ve curated my top ten favorites that are not only photogenic enough for your Instagram grid but are also deeply comforting and incredibly easy to assemble. Let’s get into the kitchen and create something beautiful together!
How to bake fluffy brownies?
Why we love this
There is nothing quite like the aroma of rich chocolate wafting through the house as a batch of brownies reaches its peak in the oven. These brownies offer a perfect contrast between a delicate, paper-thin crackly top and a center that is incredibly moist, airy, and light. Every bite feels like a warm embrace, with deep cocoa notes that linger on the palate and a texture that manages to be both fluffy and satisfyingly decadent at the same time.
Ingredients
- 1 cup unsalted butter, melted and cooled
- 2 cups granulated sugar
- 4 large eggs, at room temperature
- 1 tablespoon vanilla extract
- 1 cup unsweetened cocoa powder
- 1 cup all-purpose flour
- 1/2 teaspoon salt
- 1/2 teaspoon baking powder
How to make it
- Preheat your oven to 350°F (175°C) and line an 8×8 inch square baking pan with parchment paper, leaving an overhang on the sides for easy removal.
- In a large mixing bowl, whisk together the melted butter and granulated sugar vigorously for about 2 minutes until the mixture looks pale and slightly gritty; this helps create that signature crackly top.
- Add the eggs one at a time, whisking thoroughly after each addition to incorporate air into the batter, then stir in the vanilla extract.
- Sift the cocoa powder, flour, salt, and baking powder directly into the wet ingredients to ensure there are no lumps and the batter stays light.
- Gently fold the dry ingredients into the wet using a rubber spatula, stopping as soon as no more white streaks of flour are visible—over-mixing at this stage will make the brownies tough rather than fluffy.
- Pour the batter into the prepared pan and smooth the top with a spatula.
- Bake for 25-30 minutes; check for doneness by inserting a toothpick—it should come out with a few moist crumbs attached, but not wet batter.
- Allow the brownies to cool completely in the pan for at least 1 hour before lifting them out and slicing into squares for your food board.
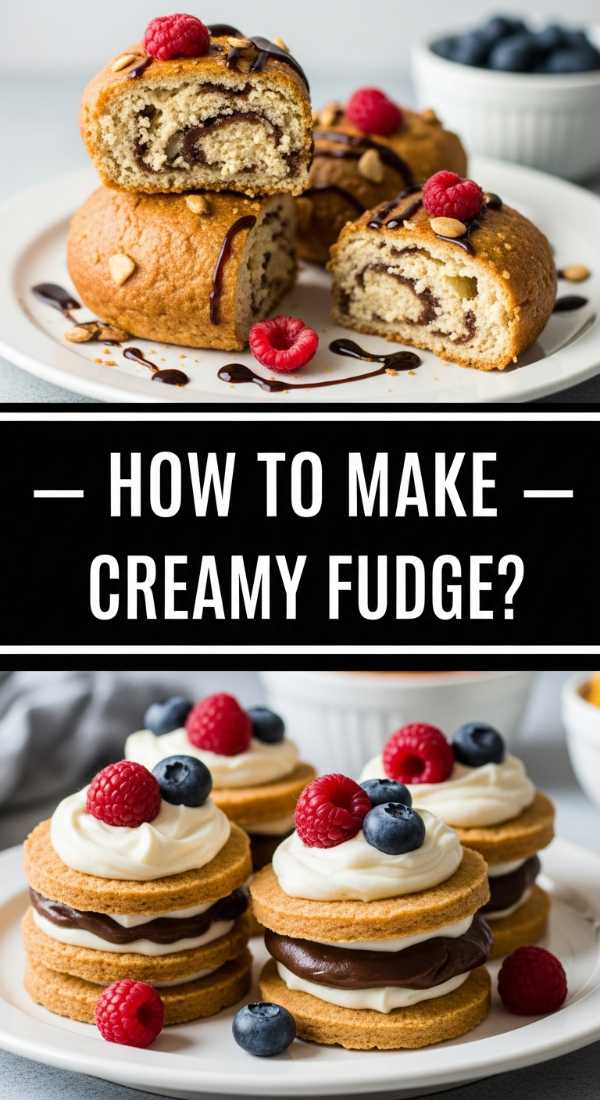
How to make creamy fudge?
Why we love this
Creamy fudge is the ultimate indulgence, offering a silky-smooth texture that practically melts the moment it touches your tongue. This isn’t just candy; it’s a concentrated burst of buttery, chocolatey goodness that feels incredibly luxurious. The way the fudge holds its shape yet yields softly to the touch is a sensory delight, making it the perfect anchor for a dessert board where guests can pick and choose their favorite sweet morsels.
Ingredients
- 3 cups semi-sweet chocolate chips
- 1 can (14 oz) sweetened condensed milk
- 1/4 cup unsalted butter, cut into cubes
- 1 teaspoon vanilla extract
- Pinch of sea salt
How to make it
- Prepare an 8-inch square pan by lining it with parchment paper or greasing it lightly with butter.
- In a medium heavy-bottomed saucepan, combine the chocolate chips, sweetened condensed milk, and cubed butter over low heat.
- Stir constantly with a heat-resistant spatula to prevent the chocolate from scorching; look for the mixture to become completely glossy and uniform.
- Once the mixture is fully melted and smooth, remove the pan from the heat immediately.
- Stir in the vanilla extract and a pinch of sea salt, which enhances the chocolate flavor and balances the sweetness.
- Quickly pour the warm fudge into the prepared pan, as it will begin to set as it cools.
- Use an offset spatula to smooth the surface into an even layer.
- Refrigerate the fudge for at least 2 to 4 hours until it is firm to the touch throughout.
- Lift the fudge out using the parchment paper and use a sharp, warm knife to cut into small, bite-sized cubes for serving.
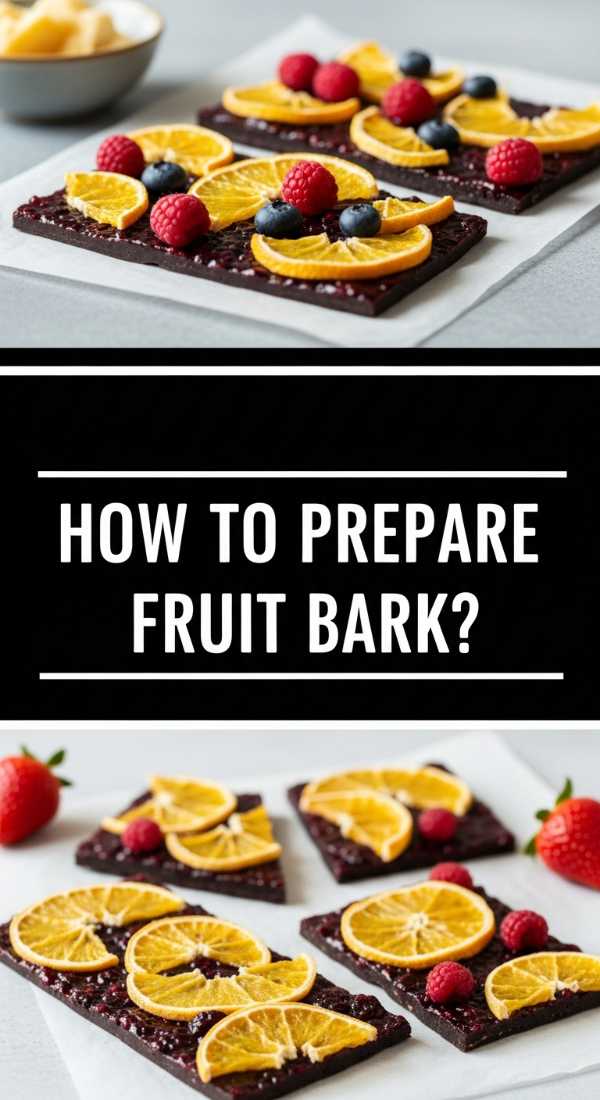
How to prepare fruit bark?
Why we love this
Fruit bark is a celebration of freshness and color, bringing a vibrant, crunchy element to any food board. The snap of the chilled base paired with the juicy, tart sweetness of embedded berries and citrus creates a refreshing palate cleanser. It’s visually stunning, looking like a mosaic of nature’s best treats, and offers a guilt-free way to satisfy a sweet craving while enjoying the natural aromas of fresh fruit.
Ingredients
- 2 cups Greek yogurt (plain or vanilla)
- 2 tablespoons honey or maple syrup
- 1/2 cup sliced strawberries
- 1/4 cup blueberries
- 1/4 cup granola
- 2 tablespoons shredded coconut
How to make it
- Line a large rimmed baking sheet with parchment paper or a silicone baking mat.
- In a small bowl, whisk the Greek yogurt with the honey or maple syrup until perfectly smooth and combined.
- Spread the yogurt mixture onto the baking sheet in an even layer, about 1/4 to 1/2 inch thick, using a spatula to reach the edges.
- Artfully scatter the sliced strawberries, blueberries, granola, and shredded coconut over the top of the yogurt.
- Press the fruit and toppings gently into the yogurt with the back of a spoon to ensure they stay attached once frozen.
- Place the baking sheet in the freezer for at least 3 to 4 hours, or until the yogurt is rock-solid and cannot be indented with a finger.
- Remove from the freezer and immediately break the bark into large, irregular shards using your hands or a knife.
- Serve immediately on a chilled board, as the bark will begin to soften quickly at room temperature.
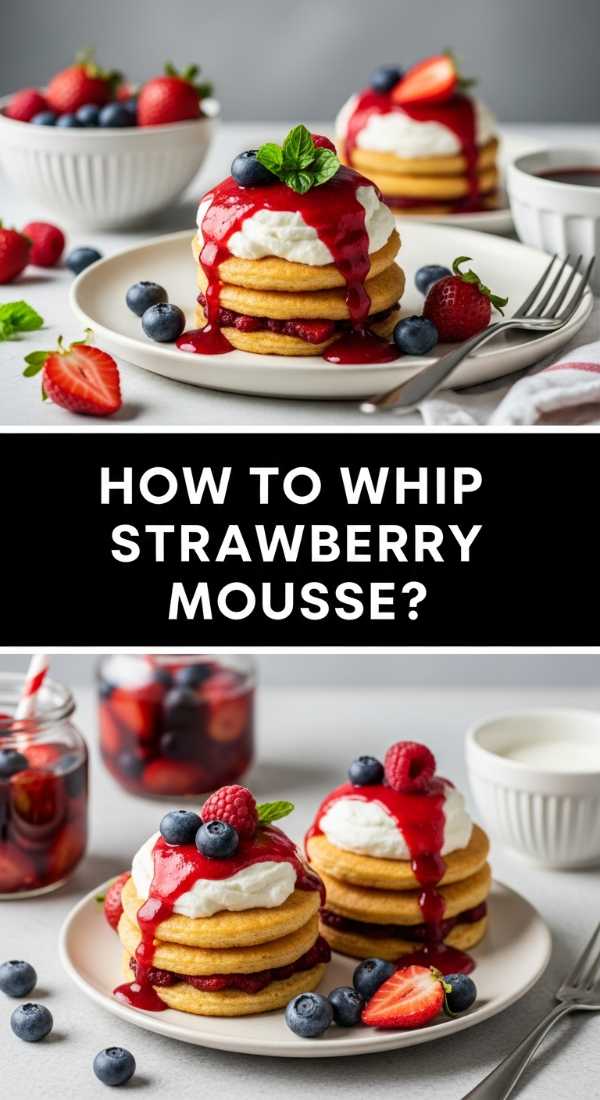
How to whip strawberry mousse?
Why we love this
Strawberry mousse is like eating a sweet, pink cloud. It has an ethereal lightness that feels sophisticated yet nostalgic, capturing the essence of sun-ripened berries in a delicate, whipped form. The fragrance is intoxicating—pure, concentrated strawberry—and the texture is so airy that it feels like it’s disappearing on your tongue, leaving behind a creamy, fruity finish that is simply irresistible.
Ingredients
- 1 lb fresh strawberries, hulled
- 1/2 cup granulated sugar
- 1 tablespoon lemon juice
- 1 1/2 cups heavy whipping cream, chilled
- 1 teaspoon vanilla extract
- Fresh mint for garnish
How to make it
- Place the strawberries in a blender or food processor and pulse until you have a very smooth purée.
- Pour the purée into a small saucepan with the sugar and lemon juice; simmer over medium-low heat for about 10 minutes until reduced by half and thickened into a syrup.
- Let the strawberry syrup cool completely to room temperature (you can speed this up in the fridge).
- In a chilled metal bowl, beat the heavy whipping cream and vanilla extract using a hand mixer or stand mixer on medium-high speed.
- Continue beating until stiff peaks form—this means when you lift the beaters, the cream stands straight up without drooping.
- Gently fold the cooled strawberry syrup into the whipped cream using a large rubber spatula, using a ‘figure-eight’ motion to keep as much air in the mixture as possible.
- Continue folding just until the color is uniform and no white streaks remain.
- Spoon the mousse into small serving bowls or pipes and chill for at least 1 hour before adding to your board.
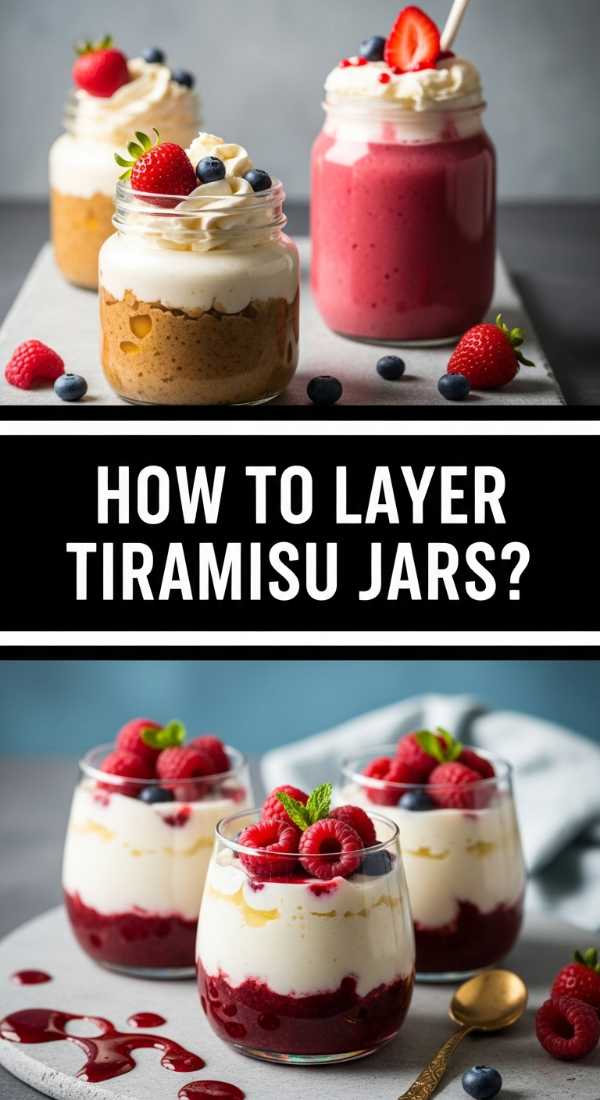
How to layer tiramisu jars?

Why we love this
Individual tiramisu jars are the epitome of elegant entertaining. Each jar is a treasure chest of textures: soft, espresso-soaked ladyfingers nestled against a velvety, whipped mascarpone cream. The bitter kick of the coffee perfectly balances the sweet, rich cheese, while the dusting of cocoa powder on top adds a sophisticated earthy note. It’s a mess-free way to serve a classic dessert that always feels special and personalized.
Ingredients
- 1 package Savoiardi (Ladyfingers)
- 1 cup strong brewed espresso, cooled
- 2 cups mascarpone cheese
- 1/2 cup powdered sugar
- 1 teaspoon vanilla extract
- 1 cup heavy cream
- Unsweetened cocoa powder for dusting
How to make it
- In a medium bowl, whisk the mascarpone cheese, powdered sugar, and vanilla extract until smooth and creamy.
- In a separate bowl, whip the heavy cream until stiff peaks form, then gently fold it into the mascarpone mixture to create a light, stable cream.
- Prepare your small glass jars or verrines on your workspace.
- Break the ladyfingers into pieces that will fit comfortably inside your jars.
- Quickly dip each ladyfinger piece into the cooled espresso—do not soak them for more than 2 seconds or they will become mushy.
- Place a layer of soaked ladyfingers at the bottom of each jar.
- Pipe or spoon a layer of the mascarpone cream over the ladyfingers, smoothing it to the edges of the glass.
- Repeat the layers of espresso-dipped ladyfingers and cream until the jars are full, finishing with a smooth cream layer.
- Dust the tops generously with cocoa powder using a fine-mesh sieve.
- Refrigerate for at least 4 hours (overnight is best) to allow the flavors to meld and the ladyfingers to soften to a cake-like consistency.
How to glaze soft donuts?

Why we love this
There is a primal joy in a warm, soft donut coated in a thin, shimmering glaze. The texture of the dough is pillowy and tender, providing the perfect canvas for the sweet, slightly floral notes of a vanilla glaze. When you bite into one, the glaze shatters slightly before melting into the dough, creating a sticky, sweet experience that makes you feel like a kid again. They add a wonderful height and ‘bakery-fresh’ feel to any board.
Ingredients
- 1 dozen plain yeast or cake donuts (warmed)
- 2 cups powdered sugar
- 1/4 cup whole milk
- 1 teaspoon vanilla extract
- Pinch of salt
How to make it
- If you are using store-bought donuts, place them on a baking sheet and warm them in a 300°F (150°C) oven for about 5 minutes to soften the fats in the dough.
- In a wide, shallow bowl (wide enough to fit a donut), whisk together the powdered sugar, milk, vanilla, and salt.
- Whisk until the glaze is completely smooth and has the consistency of heavy glue; if it’s too thick, add milk a teaspoon at a time.
- Set a wire cooling rack over a sheet of parchment paper to catch any drips.
- Take a warm donut and dip the top half into the glaze, or submerge it completely if you prefer a fully coated donut.
- Lift the donut out and let the excess glaze drip back into the bowl for a few seconds.
- Place the glazed donut onto the wire rack to set.
- For a thicker crust, let the first layer dry for 10 minutes and then dip a second time.
- Let the glaze firm up for at least 15 minutes before arranging them in a stack on your food board.
How to scoop mango sorbet?
Why we love this
Mango sorbet is a tropical escape in a bowl. Its bright, sunny orange hue instantly lifts the mood of a food board, and its flavor is an intense, pure explosion of ripe mangoes. The texture is incredibly smooth and icy, providing a refreshing contrast to heavier, baked treats. It’s naturally light and vibrant, offering a cooling sensation that cleanses the palate and leaves you feeling refreshed and energized.
Ingredients
- 3 cups frozen mango chunks
- 1/4 cup honey or agave nectar
- 1 tablespoon lime juice
- 2-3 tablespoons warm water (as needed)
How to make it
- Place the frozen mango chunks into a high-powered blender or a heavy-duty food processor.
- Add the honey (or agave) and the lime juice; the acidity of the lime is crucial for cutting through the sweetness of the mango.
- Pulse the mixture several times to break up the large frozen chunks into smaller pieces.
- Turn the processor to high and blend, adding warm water one tablespoon at a time only if the blades are struggling to move.
- Process for about 2-3 minutes until the mixture transforms from chunky ice into a smooth, velvety, and thick sorbet consistency.
- For a firm ‘scoopable’ texture, transfer the sorbet into a shallow container and freeze for an additional 2 hours.
- When ready to serve, dip a metal ice cream scoop into hot water and shake off the excess.
- Drag the scoop across the surface of the sorbet to create perfectly round, smooth spheres and place them in chilled bowls on your board.
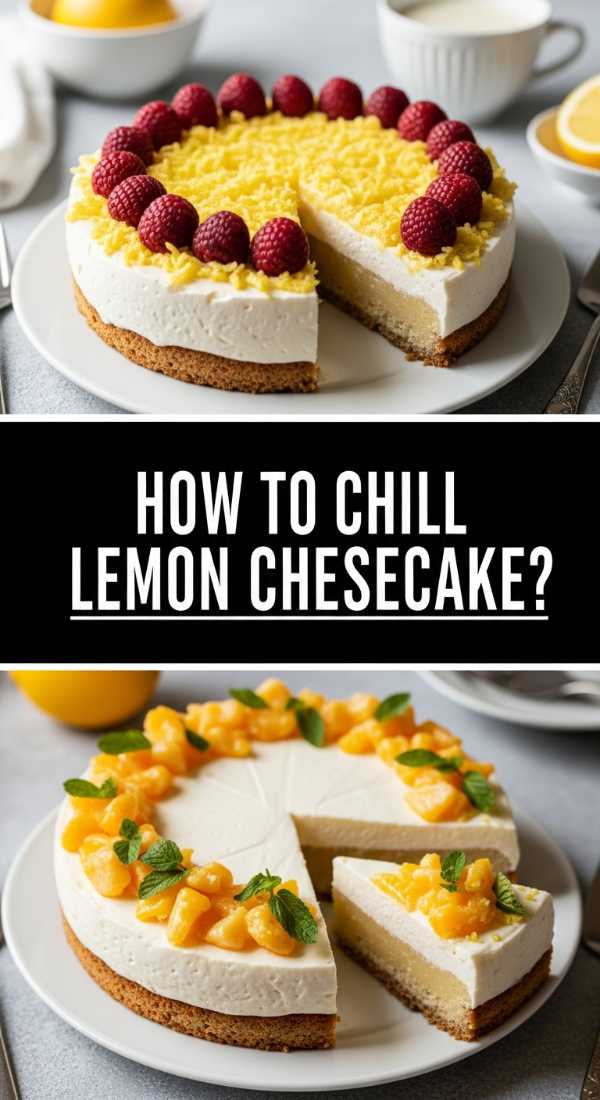
How to chill lemon cheesecake?
Why we love this
Lemon cheesecake is the perfect balance of zesty brightness and rich, creamy indulgence. The graham cracker crust provides a salty, buttery crunch that supports a filling so smooth it feels like silk. The aroma of fresh lemon zest is uplifting and clean, making this a standout dessert that doesn’t feel overly heavy. It’s the kind of dish that makes everyone reach for a second slice, especially when paired with fresh berries on a board.
Ingredients
- 1 1/2 cups graham cracker crumbs
- 1/4 cup melted butter
- 16 oz cream cheese, softened
- 1/2 cup granulated sugar
- 1/2 cup sour cream
- 2 large eggs
- 1/4 cup fresh lemon juice
- 1 tablespoon lemon zest
How to make it
- Preheat your oven to 325°F (160°C) and grease a 9-inch springform pan.
- Mix the graham cracker crumbs with melted butter and press firmly into the bottom of the pan; bake for 8 minutes then let cool.
- In a large bowl, beat the softened cream cheese and sugar until completely smooth and free of lumps—this is the secret to a velvet texture.
- Add the sour cream, lemon juice, and lemon zest, mixing until just combined.
- Add the eggs one at a time on low speed, mixing only until the yellow disappears to avoid incorporating too much air which causes cracking.
- Pour the batter over the cooled crust and smooth the top.
- Bake for 45-50 minutes until the edges are set but the center still has a slight, gelatinous jiggle.
- Turn off the oven and crack the door open, letting the cheesecake cool inside for 1 hour to prevent sudden temperature changes.
- Refrigerate the cheesecake for at least 6 hours, or ideally overnight, to allow the structure to fully set and the flavors to intensify.
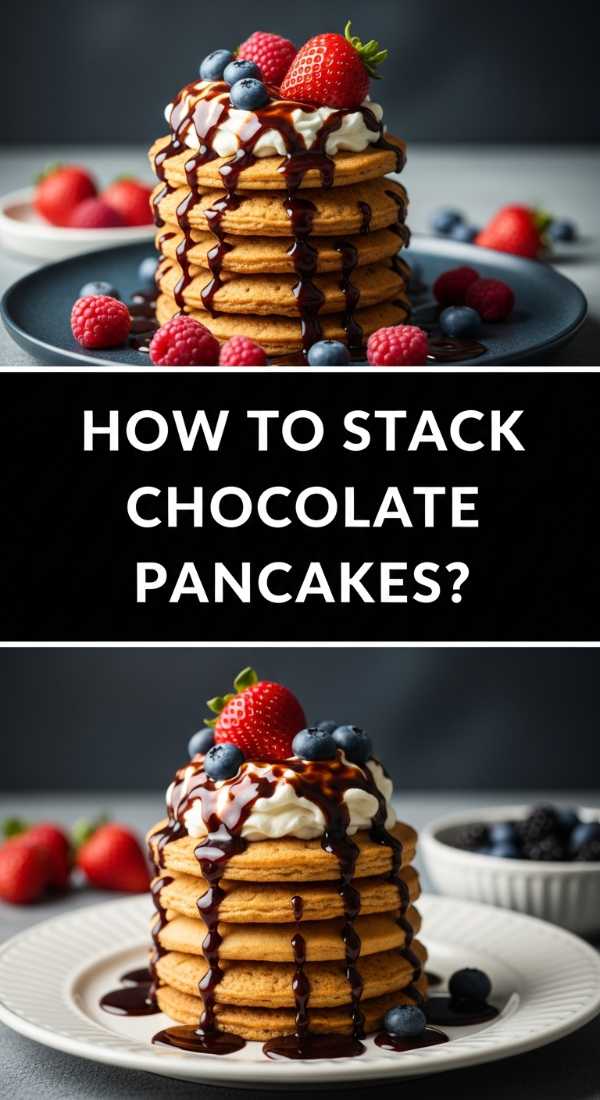
How to stack chocolate pancakes?
Why we love this
A tall stack of chocolate pancakes is the ultimate breakfast-for-dinner or brunch centerpiece. These aren’t just ordinary pancakes; they are fluffy, cocoa-infused discs that feel like eating cake for breakfast. The steam rising from a fresh stack carries the scent of chocolate and vanilla, and the way a pat of butter melts down the sides is pure food theater. They are soft, bouncy, and provide the perfect base for syrups and fruits.
Ingredients
- 1 1/2 cups all-purpose flour
- 1/3 cup unsweetened cocoa powder
- 1/4 cup granulated sugar
- 1 tablespoon baking powder
- 1/2 teaspoon salt
- 1 1/4 cups milk
- 1 large egg
- 3 tablespoons melted butter
- 1/2 cup chocolate chips
How to make it
- In a large bowl, sift together the flour, cocoa powder, sugar, baking powder, and salt.
- In a separate jug, whisk the milk, egg, and melted butter until well combined.
- Make a well in the center of the dry ingredients and pour in the wet mixture.
- Whisk gently until just combined; a few small lumps are perfectly fine and help keep the pancakes fluffy.
- Fold in the chocolate chips with a spatula.
- Heat a non-stick griddle or large skillet over medium-low heat and lightly grease with butter or oil.
- Pour about 1/4 cup of batter for each pancake onto the hot surface.
- Watch for bubbles to form on the surface and the edges to look matte and set—this usually takes about 2-3 minutes.
- Flip carefully with a wide spatula and cook for another 1-2 minutes on the second side until puffed and cooked through.
- Stack them high on your board, placing parchment paper between them if you need to keep them from sticking while you finish the batch.
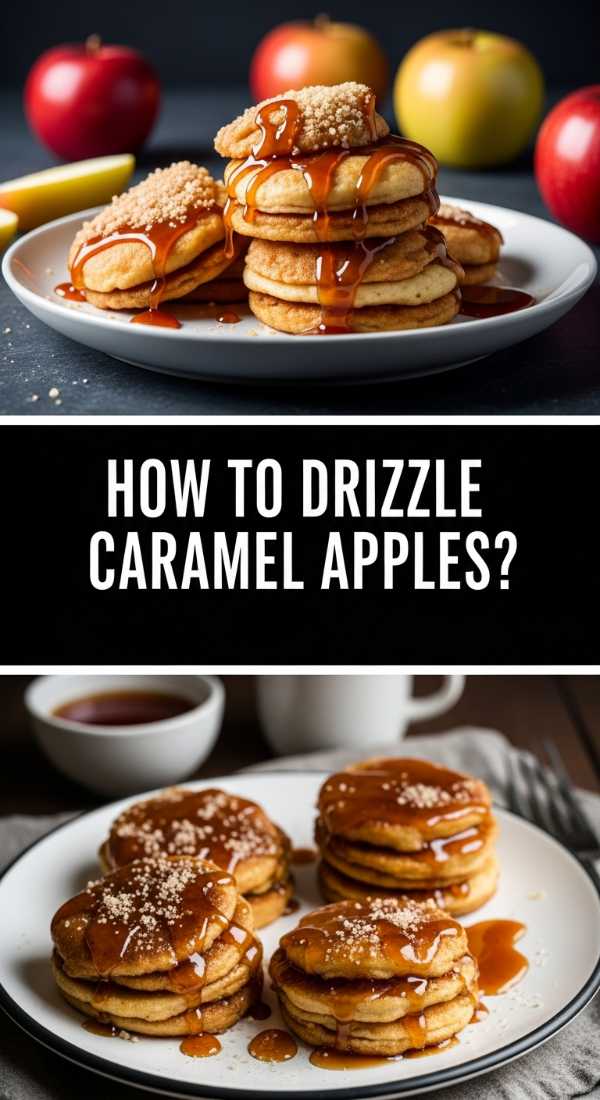
How to drizzle caramel apples?
[IMAGE_10]
Why we love this
Caramel apples bring a wonderful sense of nostalgia and autumn charm to any food board. The crisp, tart snap of a fresh apple provides the perfect foil for the thick, buttery sweetness of warm caramel. There is something deeply satisfying about the sticky, chewy texture of the caramel as it clings to the smooth apple skin. Drizzling them adds an artistic flair, making the fruit look like a gourmet treat from a high-end confectionery.
Ingredients
- 4-6 medium Granny Smith apples
- 11 oz bag of caramel bits or squares
- 2 tablespoons heavy cream
- 1/2 cup melted dark chocolate
- Sea salt or chopped nuts for topping
- Wooden sticks or skewers
How to make it
- Wash the apples thoroughly with warm water to remove any wax, which helps the caramel stick better; dry them completely.
- Insert a wooden stick firmly into the stem end of each apple.
- In a microwave-safe bowl, combine the caramels and heavy cream.
- Microwave in 30-second intervals, stirring vigorously in between, until the caramel is completely melted and smooth.
- Dip each apple into the caramel, tilting the bowl to coat it entirely, then let the excess drip off.
- Place the coated apples on a parchment-lined tray and chill in the fridge for 15 minutes to set the caramel base.
- Melt your dark chocolate in a separate bowl until fluid.
- Using a spoon or a piping bag with a tiny hole, move your hand back and forth rapidly over the apples to create thin, elegant chocolate drizzles.
- Immediately sprinkle with sea salt or nuts while the chocolate is still wet.
- Refrigerate for another 10 minutes before placing them on your board as a stunning, edible focal point.
Final Thoughts on the Ultimate Food Board
Creating these boards is all about the balance of flavors and the joy of presentation. There’s no right or wrong way to arrange your treats—just follow your heart and your cravings! Whether you’re making a giant chocolate-themed spread or a refreshing fruit-forward board, the goal is to bring people together. I hope these recipes inspire you to get creative, get messy, and most importantly, enjoy every single bite with your favorite people. Happy hosting!