
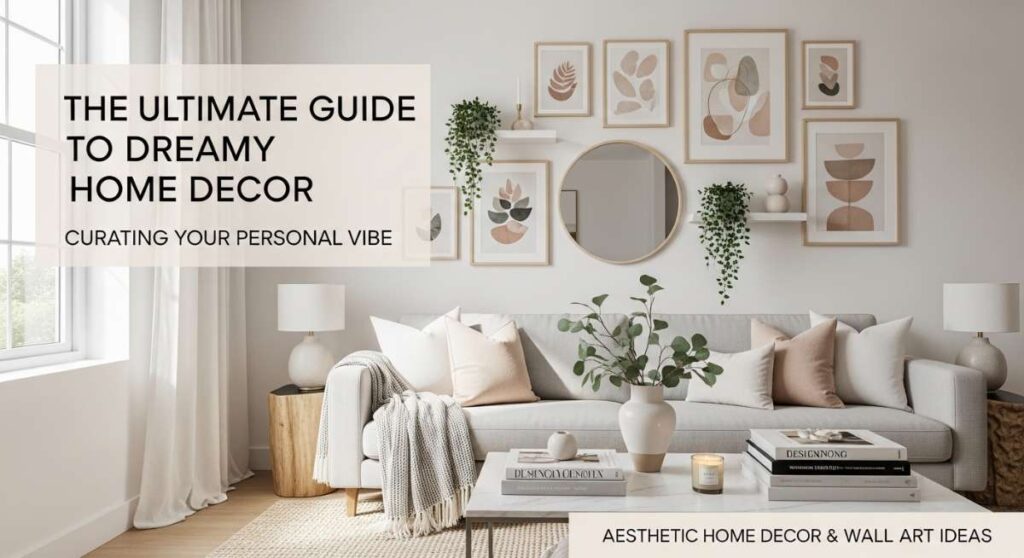
Have you ever walked into a room and felt an immediate sense of peace, like the walls themselves were giving you a warm, quiet hug? We spend so much of our lives inside our homes, yet so often, our walls remain blank canvases or, worse, cluttered spaces that don’t reflect who we truly are. There is a specific kind of magic that happens when you stop decorating for guests and start curating for your soul—choosing colors that soothe your eyes after a long day and textures that make you want to reach out and touch them.
Creating a dreamy home isn’t about following the latest fleeting trend on social media; it’s about the sensory experience of your sanctuary. It’s the way the morning light catches the gold edge of a vintage mirror, or how a large, abstract canvas anchors the room with a sense of sophisticated calm. In this guide, we are diving deep into the art of wall decor, exploring how to transform every corner of your home into a personal masterpiece that smells like fresh linen and feels like Sunday morning.
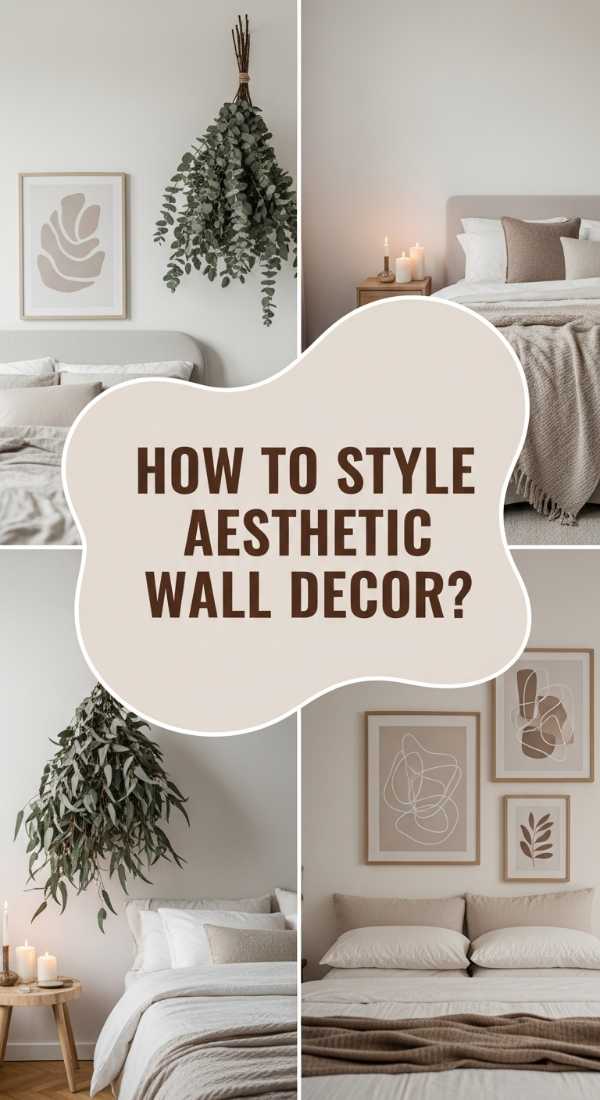
How to Style Aesthetic Wall Decor for a Serene Sanctuary
Why we love this
There is something profoundly healing about a space that prioritizes softness and light. When you walk into a serene sanctuary, the air feels lighter, and the visual noise of the outside world simply fades away. We love this look because it uses muted tones—think warm oatmeals, soft sage, and dusty blushes—to create a tactile environment. Imagine the scent of a lavender candle wafting through the air as you run your hand over a matte-finish print; it is a full-sensory retreat that promotes mental clarity and deep relaxation.
Essential Elements:
- Minimalist line art prints
- Natural wood frames with a light oak finish
- Dried botanical arrangements in wall-mounted bud vases
- Soft, battery-operated LED picture lights
- Linen-textured matting for photos
How to make it
- Begin by selecting a color palette of no more than three neutral shades to maintain visual serenity. Neutral tones should have warm undertones to avoid a sterile feeling.
- Measure your wall space and mark the center point at eye level (roughly 57-60 inches from the floor) using a light pencil mark. This ensures the focal point is grounding rather than overwhelming.
- Lay your chosen pieces on a soft rug to test the layout. Space them at least 3 inches apart to allow the “white space” to breathe, which is the key to the sanctuary aesthetic.
- Install your wall-mounted vases or light fixtures first, as these provide the structural “anchor” for the rest of the decor.
- Hang your main artwork using Command strips or brass nails, ensuring every piece is perfectly level to prevent visual agitation.
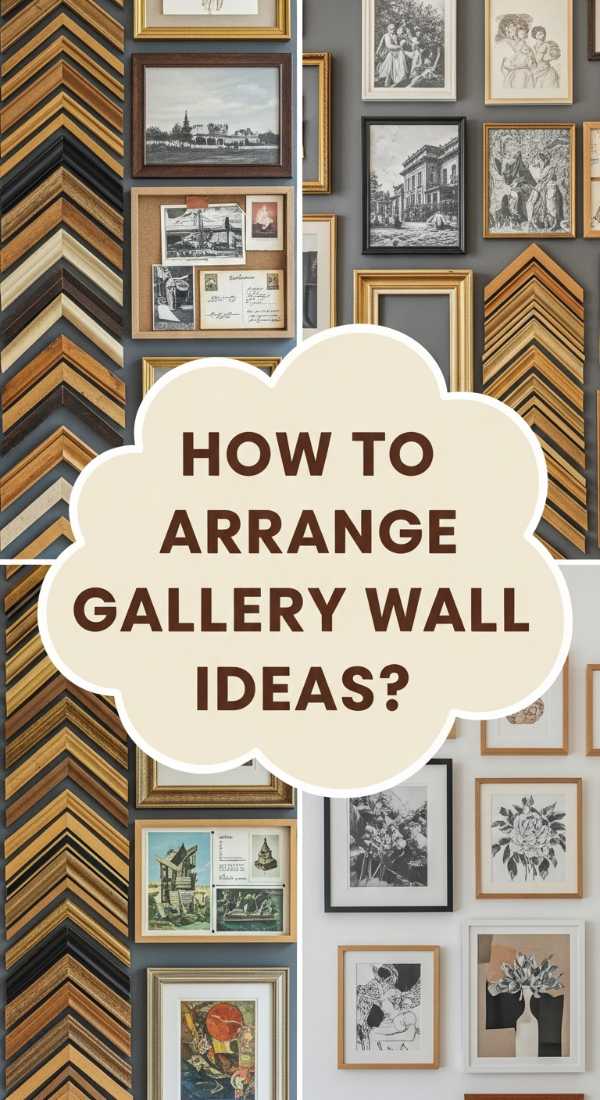
How to Arrange Gallery Wall Ideas for Personal Expression
Why we love this
A gallery wall is essentially a visual autobiography of your life’s journey, and that is why it holds such a special place in our hearts. It’s the ultimate expression of personality, blending high-end art with sentimental scrapbooked moments and vintage finds. The clinking of frames as you adjust them and the sight of a ticket stub from your favorite concert next to a professional oil painting creates a rich, lived-in texture. It smells like old books and memories, turning a boring hallway into a vibrant storytelling corridor.
Essential Elements:
- Mismatched frames in brass, black, and wood
- Personal photographs and postcards
- Small 3D objects (like a vintage key or a ceramic plate)
- Acid-free mounting tape
- Level and measuring tape
How to make it
- Collect all your items and sort them by size. You’ll want one “anchor” piece that is significantly larger than the rest to act as the starting point.
- Trace each frame onto kraft paper and cut out the shapes. Use painter’s tape to stick these paper templates to your wall, allowing you to move them around without making unnecessary holes.
- Start from the center with your anchor piece and spiral outwards, mixing different frame textures and sizes as you go to maintain a “collected” look.
- Check for balance; if one side feels “heavy” with dark frames, balance it with a 3D object or a brighter piece of art on the opposite side.
- Once satisfied with the paper layout, nail directly through the paper templates. Rip the paper away and hang your frames for a perfect, professional-grade finish.
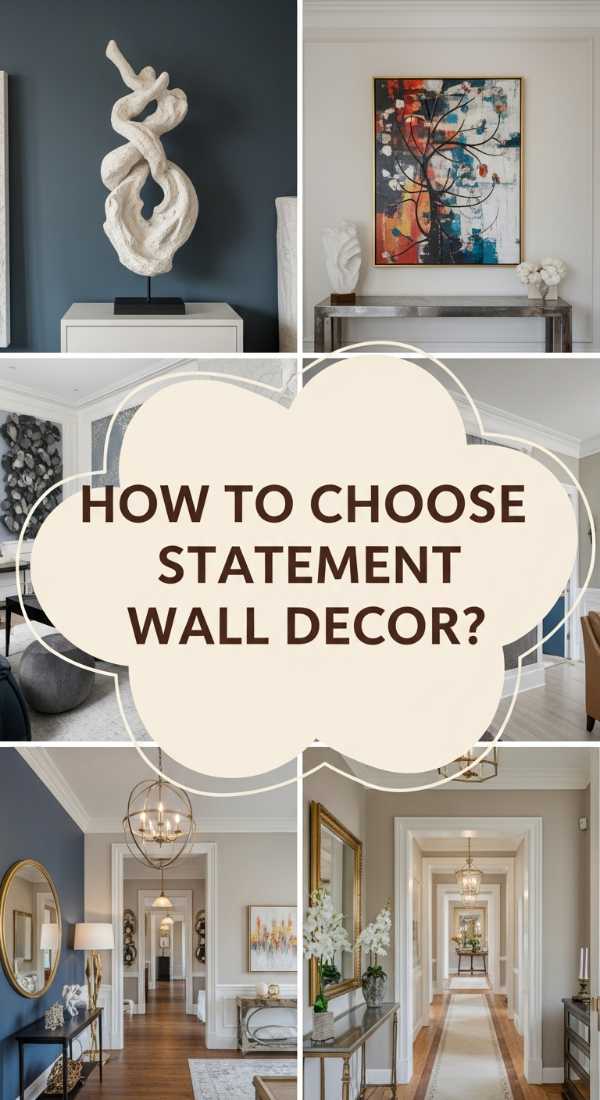
How to Choose Statement Wall Decor for a Striking Entrance
Why we love this
The entrance of your home is the “handshake” of your house—it sets the tone for everything that follows. We love using statement wall decor here because it immediately commands attention and signals a high-vibe lifestyle. Whether it’s a bold oversized clock or a singular, vibrant tapestry, the visual impact is instantaneous. It creates an atmosphere of confidence and luxury, making the simple act of coming home feel like a grand event every single time you turn the key.
Essential Elements:
- One oversized focal piece (at least 24×36 inches)
- A narrow console table for grounding
- Accent lighting (sconces or a lamp)
- Heavy-duty wall anchors
- A spirit level
How to make it
- Choose a piece that contrasts with your wall color; if you have light walls, go for a dark or vibrant statement piece to create maximum drama.
- Locate the studs in your wall using a stud finder. Statement pieces are often heavy, and securing them into the wooden frame of the house is vital for safety.
- Position the piece so that its center is at eye level, but ensure there is at least 6-10 inches of clearance between the bottom of the art and the top of your console table.
- If using two sconces, mount them exactly 10 inches from either side of the artwork to create a symmetrical, high-end hotel feel.
- Wipe the piece down with a microfiber cloth to remove fingerprints, ensuring the first thing people see is a pristine, glowing focal point.
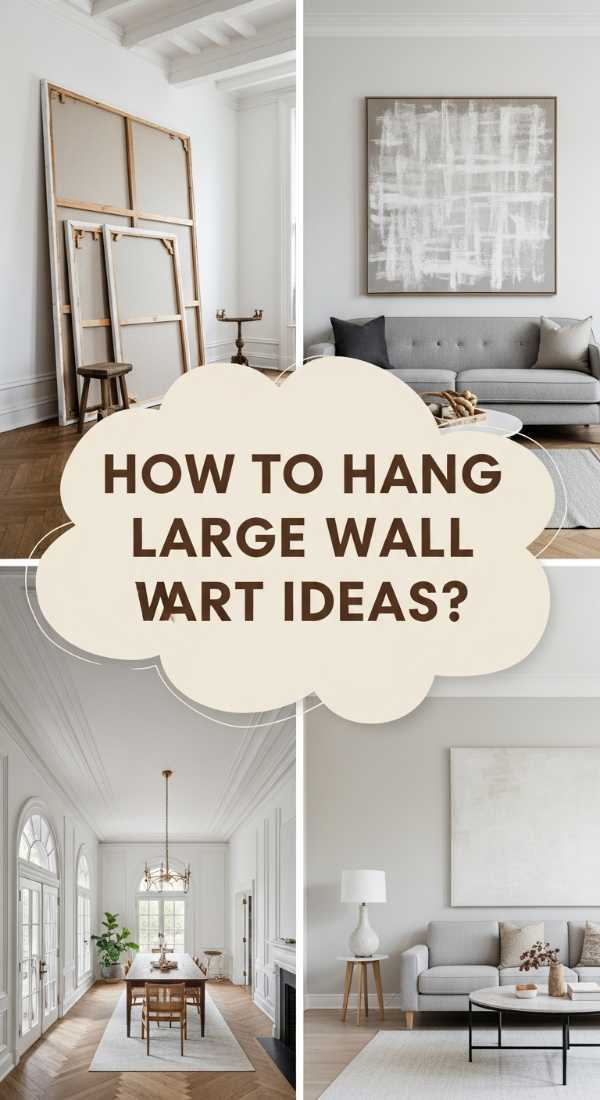
How to Hang Large Wall Art Ideas for Sophisticated Style
Why we love this
Large wall art is the secret weapon of interior designers for making a small room feel exponentially larger and more expensive. There is a breathless quality to a massive canvas that fills the peripheral vision, reminiscent of walking through a contemporary art museum. It replaces clutter with a singular, powerful thought. The texture of the canvas and the faint scent of oil or acrylic paint add a layer of authenticity that mass-produced decor simply cannot match, creating a sophisticated, “grown-up” vibe that is incredibly calming.
Essential Elements:
- Large-scale canvas or framed print
- Heavy-duty D-rings
- Picture hanging wire
- Wall-protecting felt pads
- A second person to help lift
How to make it
- Flip the art over and install D-rings approximately 1/3 of the way down from the top on both sides of the frame.
- Thread the hanging wire through the rings, ensuring it is taut but has a slight “give” when pulled upward.
- Apply felt pads to the bottom corners of the frame. This prevents the heavy art from scuffing your paint and allows for air circulation behind the piece.
- Have your assistant hold the art against the wall while you step back to check the height. Mark the top of the frame with a pencil.
- Measure the distance from the top of the frame to the wire when it’s pulled tight, and place your wall hook at that exact distance below your pencil mark for a perfect hang.
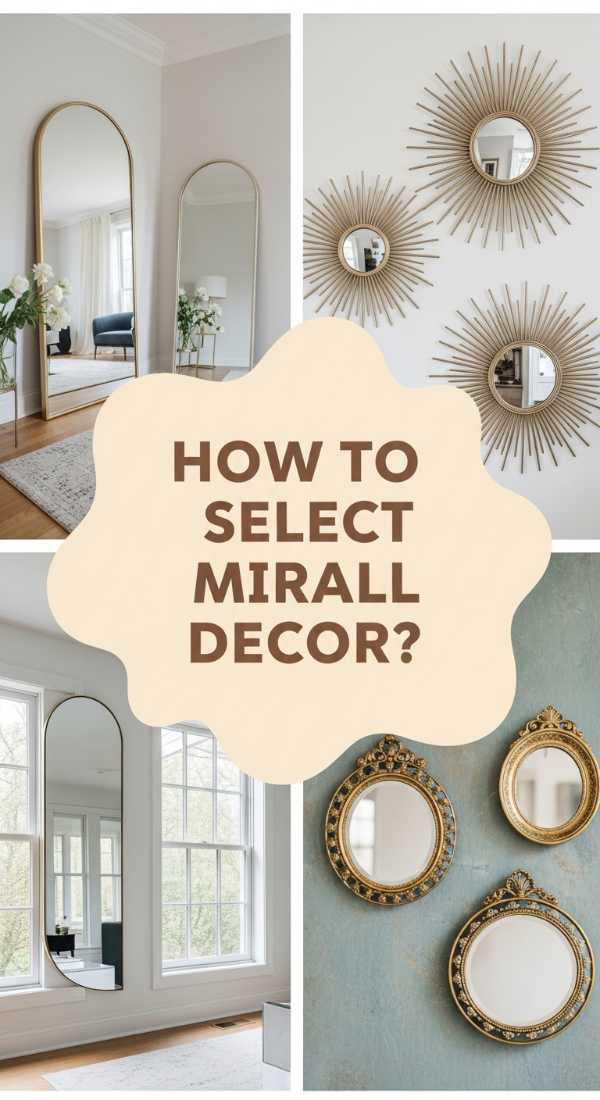
How to Select Mirror Wall Decor for Brighter Rooms
Why we love this
Mirrors are the magicians of the home decor world, capable of doubling the light and depth of any room in an instant. We love mirror wall decor because it breathes life into dark corners and reflects the beauty of your existing decor back at you. When placed correctly, a mirror can capture the swaying green leaves of an outdoor tree or the flickering warmth of a fireplace, bringing motion and light into a static space. It feels airy, bright, and endlessly expansive.
Essential Elements:
- Beveled or ornate framed mirrors
- Glass cleaner and lint-free cloth
- Sturdy wall hooks
- Adhesive bumpers
- Measuring tape
How to make it
- Identify the light source in the room (a window or a bright lamp) and aim to place the mirror on the wall directly opposite or adjacent to it.
- Clean the glass thoroughly before hanging to ensure the reflection is crisp and maximizes light bounce.
- For a modern look, choose a round mirror to break up the straight lines of furniture; for a classic look, go with a rectangular, gilded frame.
- Ensure the mounting hardware is rated for at least 10 pounds more than the weight of the mirror to prevent accidents.
- Angle the mirror slightly downward if you want to reflect more of the room’s seating area, or keep it perfectly flush for a traditional look.
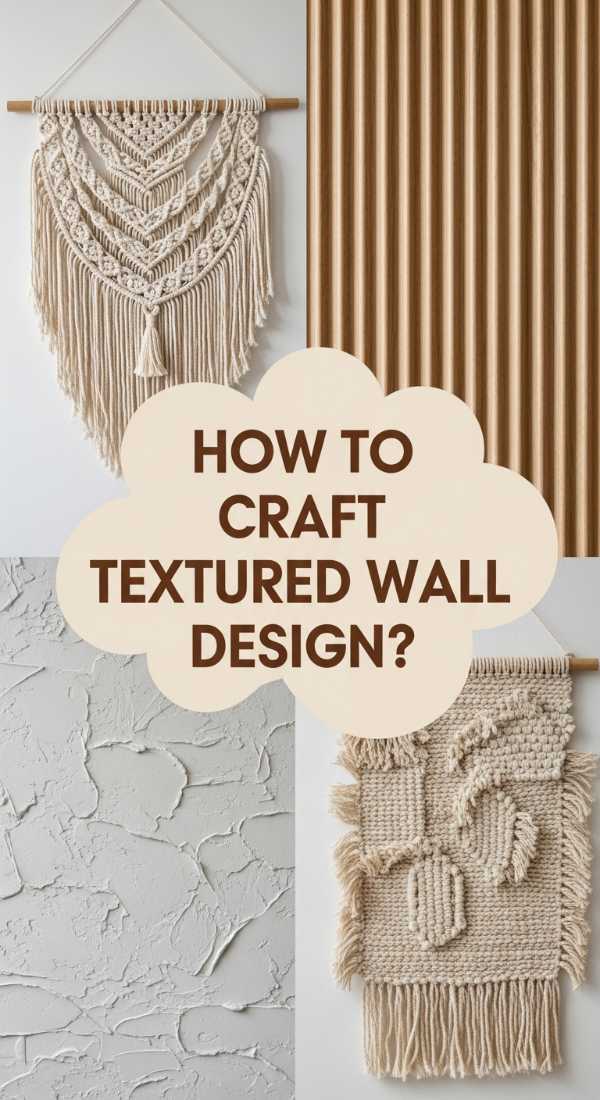
How to Craft Textured Wall Design for Organic Living
Why we love this
In a world of digital screens and smooth surfaces, our souls crave the tactile. Textured wall designs, such as macramé hangings, woven baskets, or wooden slats, bring the grounding essence of the outdoors inside. We love this because it adds a literal third dimension to your walls. The smell of natural jute and the soft, frayed edges of cotton rope create a cozy, organic atmosphere that makes you want to curl up with a hot cup of tea and a wool blanket.
Essential Elements:
- Woven wall hangings or baskets
- Command hooks for lightweight textiles
- Small finishing nails
- Level
- Steamer (to remove wrinkles from textiles)
How to make it
- Steam any fabric or textile pieces before hanging to ensure they drape naturally and look high-quality.
- For a basket wall, start with the largest, deepest basket in the center and overlap smaller, flatter baskets around it for a layered, 3D effect.
- Use small finishing nails hidden within the weave of the textile to secure it to the wall without visible hardware.
- Mix materials; place a wooden element near a soft textile to emphasize the contrast in textures.
- Step back and check the “shadow play.” Textured decor creates interesting shadows when side-lit; adjust your lighting to highlight these peaks and valleys.
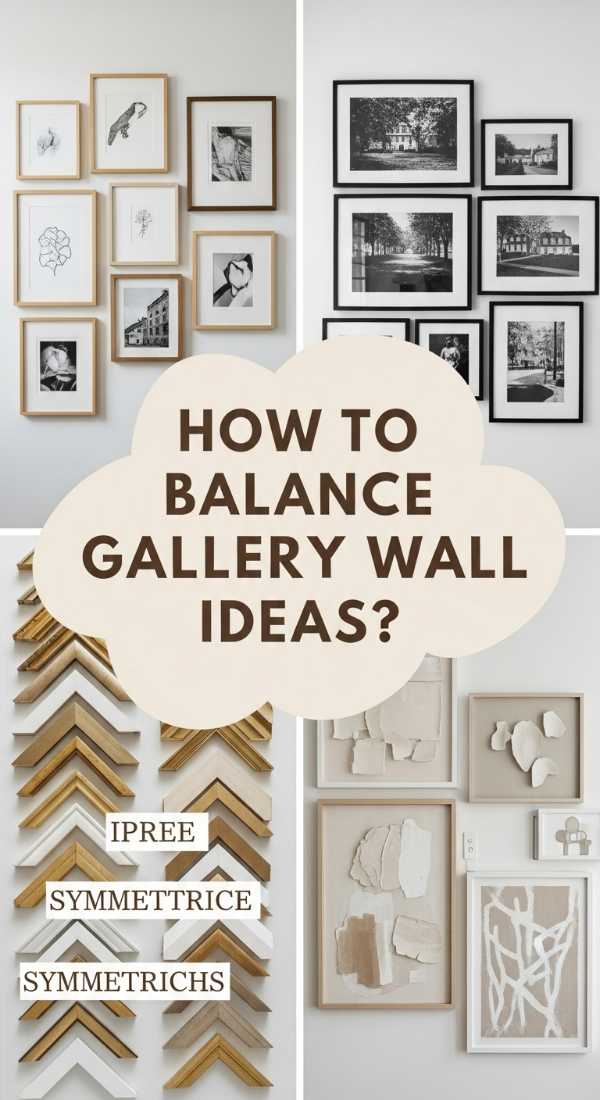
How to Balance Gallery Wall Ideas for Visual Harmony
Why we love this
Visual harmony is the difference between a wall that feels cluttered and a wall that feels curated. We love the process of balancing a gallery wall because it is a puzzle for the eyes that results in total serenity. When you achieve that perfect balance, the room feels stable and grounded. It’s like a well-composed piece of music where every frame, whether it’s a tiny sketch or a medium photograph, plays its part in a larger, beautiful symphony of design.
Essential Elements:
- Uniform frame colors (for a grid) or varied (for salon style)
- Ruler or spacer block (1-2 inches)
- Level
- Blue painter’s tape
- Patience and a good playlist
How to make it
- Choose your style: a “Grid” (perfectly aligned rows and columns) or “Salon Style” (a more organic, clustered arrangement).
- If doing a grid, use a spacer block (a small piece of wood or cardboard) to ensure the gap between every single frame is exactly the same (e.g., 2 inches).
- For salon style, imagine a horizontal line running through the center of the wall and ensure there is an equal amount of “visual weight” above and below that line.
- Avoid placing two very similar sized pieces right next to each other; stagger them to keep the eye moving across the arrangement.
- Use a level on every single frame. Even a half-inch tilt can ruin the sense of harmony in a large gallery.
How to Source Aesthetic Wall Decor for Timeless Beauty
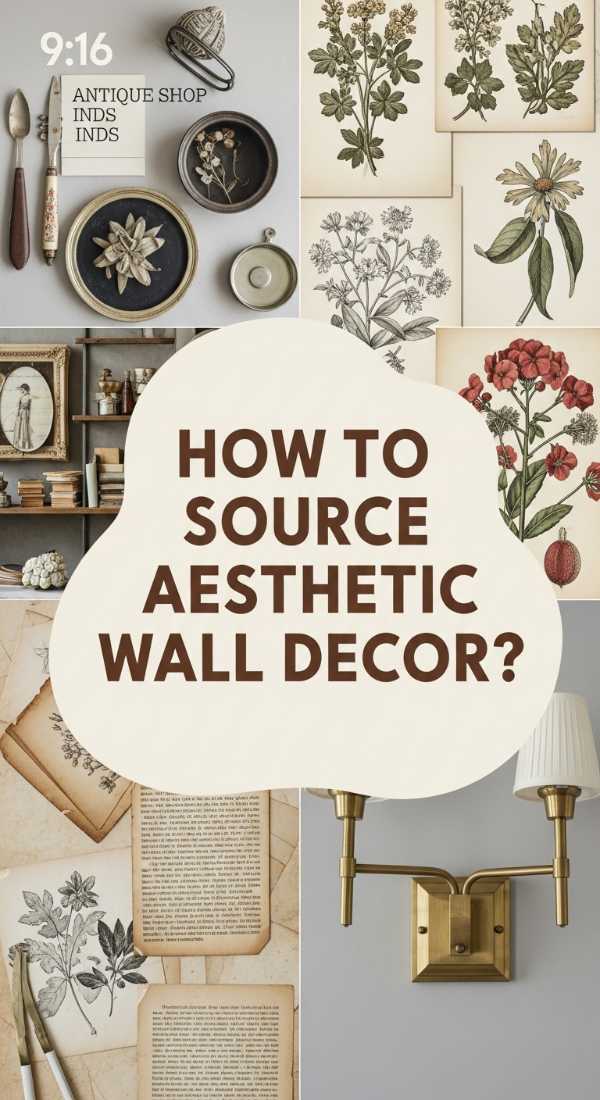
Why we love this
Sourcing decor is like going on a treasure hunt for your home’s soul. We love the thrill of finding a piece that feels timeless—something that doesn’t just look good today but will still feel relevant in ten years. This process connects you to local artists, antique shops, and your own creativity. It’s about finding that one-of-a-kind piece that smells of aged paper or fresh wood, bringing a sense of history and depth into a modern home that no big-box store could ever replicate.
Essential Elements:
- Thrift stores and antique malls
- Online marketplaces (Etsy, Minted)
- Local art fairs
- High-quality archival paper for printing
- UV-protective glass for framing
How to make it
- Define your “core aesthetic” first (e.g., Mid-century Modern, French Country, or Industrial) to narrow your search and prevent impulse buys.
- Visit antique shops during the weekdays when new inventory often arrives. Look for interesting shapes rather than colors, as frames can always be painted.
- When buying online, always check the dimensions twice. Use a piece of cardboard cut to the size of the print to see how it actually looks on your wall before hitting “buy.”
- Invest in “archival quality” prints and UV-protective glass. This ensures your art won’t fade or yellow over time when exposed to sunlight.
- Don’t rush the process. A curated home is built piece by piece; wait for the items that truly “speak” to you rather than filling the wall all at once.
How to Reflect Statement Wall Decor for Dimensional Appeal
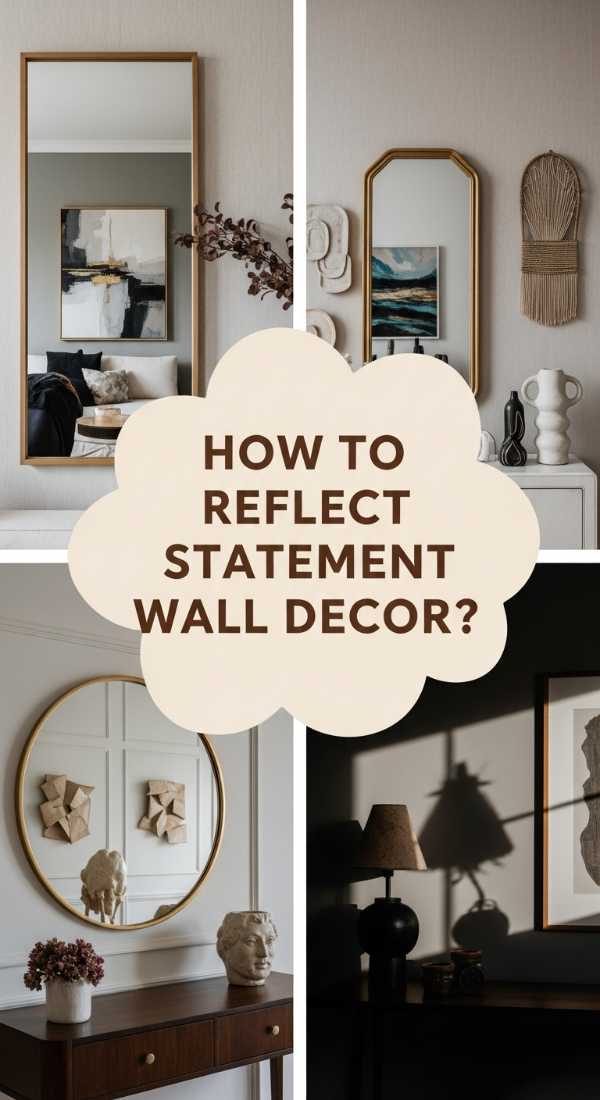
Why we love this
Combining mirrors with statement art is a high-level design trick that adds incredible dimension and luxury to a room. We love this approach because it plays with depth and perception. It turns a flat wall into a multi-layered experience where the eye is constantly discovering new angles. The reflection of a bold statement piece in a nearby mirror creates a cohesive “wrap-around” feel in the room, making the decor feel intentional and deeply integrated into the architecture of the home.
Essential Elements:
- One large statement piece
- One or two smaller mirrors
- Tiered lighting
- Wall-safe adhesive or mounting hardware
- Microfiber cloth
How to make it
- Place your large statement art on the primary wall of the room. This will be the “star” of the show.
- On the adjacent wall, place a mirror at a height where it reflects the statement art when you are sitting on the sofa or entering the room.
- Layer smaller decor items (like a hanging plant or a small shelf) near the mirror to create a sense of foreground and background.
- Ensure the mirror and the art share at least one common element—perhaps a similar frame finish or a color that appears in both.
- Check the reflection from multiple angles in the room to ensure you aren’t accidentally reflecting something cluttered, like a television or a laundry area.
How to Apply Textured Wall Design for Luxury Interiors
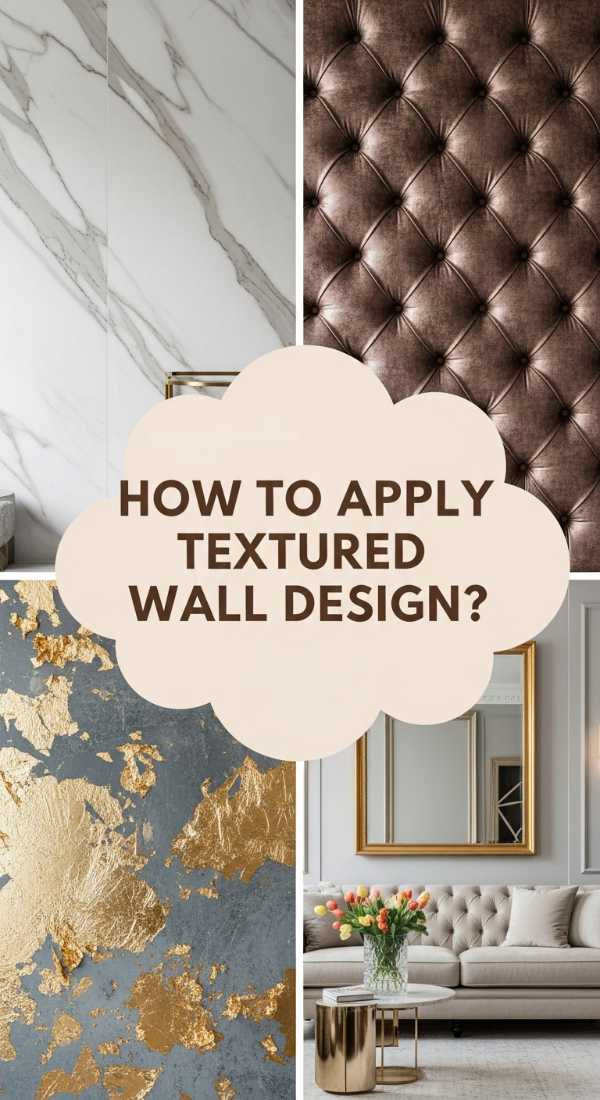
Why we love this
Luxury is often found in the details that you can feel before you even see them. Applying high-end textures like plaster finishes, velvet panels, or intricate molding transforms a standard room into a bespoke estate. We love this because it adds a sense of permanence and architectural weight. The way light grazes a textured plaster wall creates a soft, ethereal glow that feels like a European villa. It is the ultimate commitment to aesthetic living, offering a sophisticated backdrop that makes even simple furniture look like a million dollars.
Essential Elements:
- Limewash or Venetian plaster kits
- Decorative wall molding (wainscoting)
- Velvet or fabric wall panels
- Trowels and specialty brushes
- Laser level
How to make it
- For a plaster finish, apply a primer specifically designed for textured coatings. Use a trowel to apply the plaster in random, sweeping “X” motions to create natural depth.
- If installing molding, use a laser level to ensure perfectly straight lines across the entire room. Measure twice, cut once with a miter saw for seamless corners.
- Attach panels or molding using a combination of construction adhesive and a brad nailer for maximum security and a flush finish.
- Fill nail holes with wood filler, sand them smooth, and paint them in a high-quality matte or eggshell finish to emphasize the texture rather than the shine.
- Install soft, dimmable lighting nearby to cast shadows across the texture at night, enhancing the luxurious, moody atmosphere.
Wrapping Up Your Dreamy Decor Journey
Curating your personal vibe isn’t a race; it’s a slow, beautiful evolution of your space. By layering textures, balancing art, and choosing pieces that resonate with your soul, you turn your home into more than just a place to sleep—you turn it into a sanctuary that fuels your creativity and calms your mind. Remember, there are no hard rules in home decor, only guidelines to help you express your unique story. So, grab that hammer, trust your eye, and start creating the walls you’ve always dreamed of.