
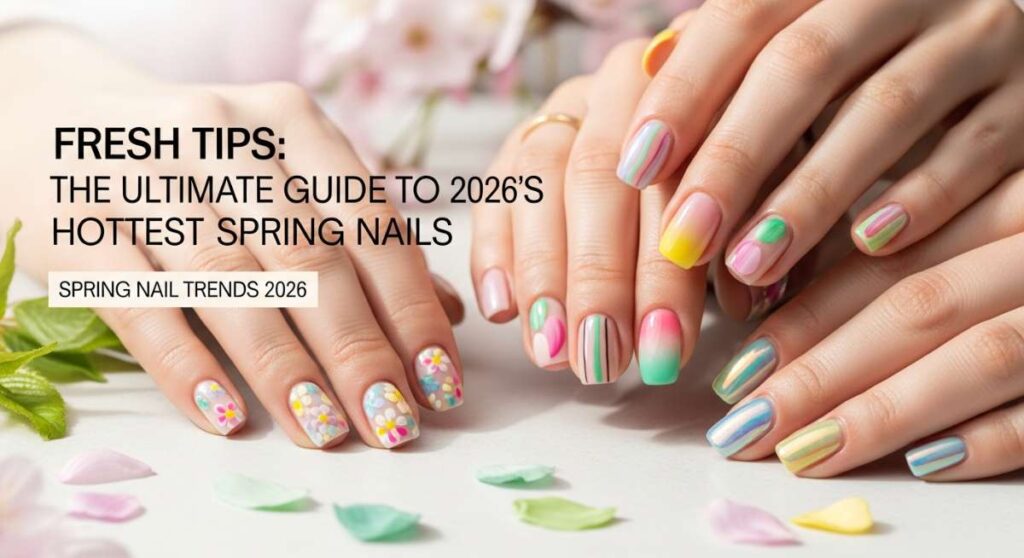
Fresh Tips: The Ultimate Guide to 2026’s Hottest Spring Nails
Hello, my sweet loves! Can you feel it? That gentle shift in the air, the way the sunlight lingers just a little longer on your windowsill, and the first whispers of green peeking through the earth? Spring is finally breathing life back into our world, and I am so here for this season of soft renewal. It is a time for shedding our heavy coats and embracing the light, and what better way to celebrate than with a fresh, dreamy manicure that makes you smile every time you look down at your hands?
This year, 2026 is all about a beautiful balance between high-shine futurism and the grounding comfort of nature. I’ve spent the last few weeks curated the most soul-soothing, trend-setting designs just for you. Think of your nails as a tiny canvas for your spring intentions. Whether you’re craving the boldness of a cherry blossom or the quiet peace of a natural glow, there is something in this guide that will feel like a warm hug for your fingertips. Let’s dive into our spring nail journey together!
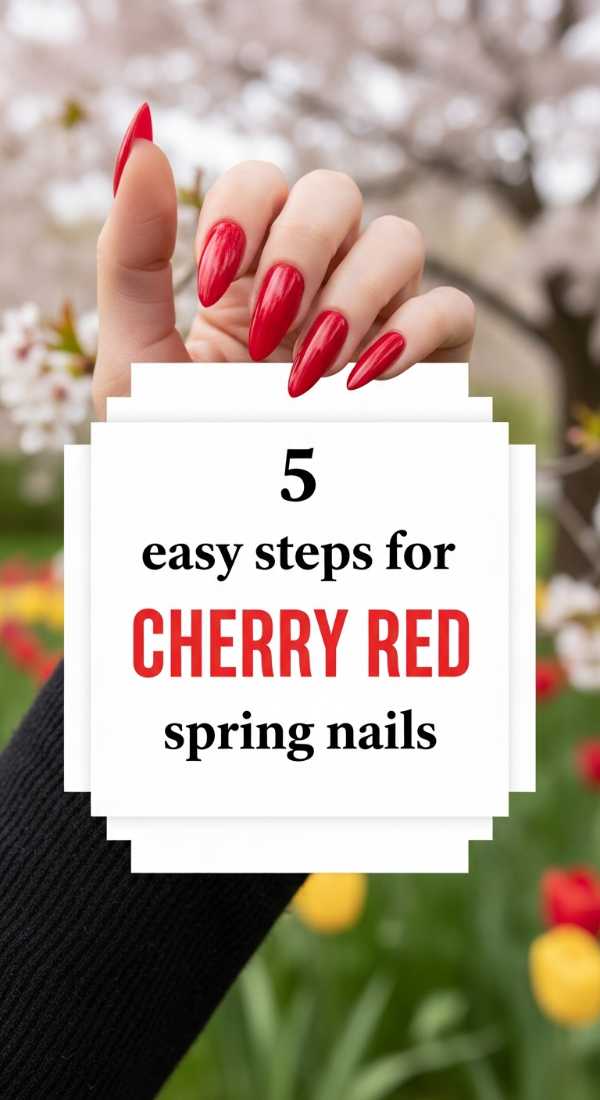
The Juicy Glow: 5 Easy Steps for Cherry Red Spring Nails
Why to love this Design:
Cherry red isn’t just for winter, my loves; in 2026, it’s been reimagined with a juicy, translucent finish that looks like sun-ripened fruit. It’s bold, it’s passionate, and it brings an instant flush of energy to your spring wardrobe without feeling too heavy.
Essential Elements:
- Jelly-finish cherry red polish
- Ultra-glossy top coat
- Precision cleanup brush
How to Prepare:
- Gently push back your cuticles and shape your nails into a soft oval to mimic the fruit’s curve.
- Apply a thin, blurring base coat to even out your natural nail color.
- Swipe on one layer of jelly red—don’t worry if it’s sheer, that’s the magic!
- Add a second layer focusing on the center of the nail for a dimensional, ‘syrup’ look.
- Seal with a thick, glass-like top coat for that signature 2026 shine.
Budget Range
- Zoya Professional Lacquer in ‘Paloma’ ($12)
- Essie Gel Couture ‘Rock the Runway’ ($13)
- Holo Taco ‘Red Licorice’ for a shimmer twist ($14)
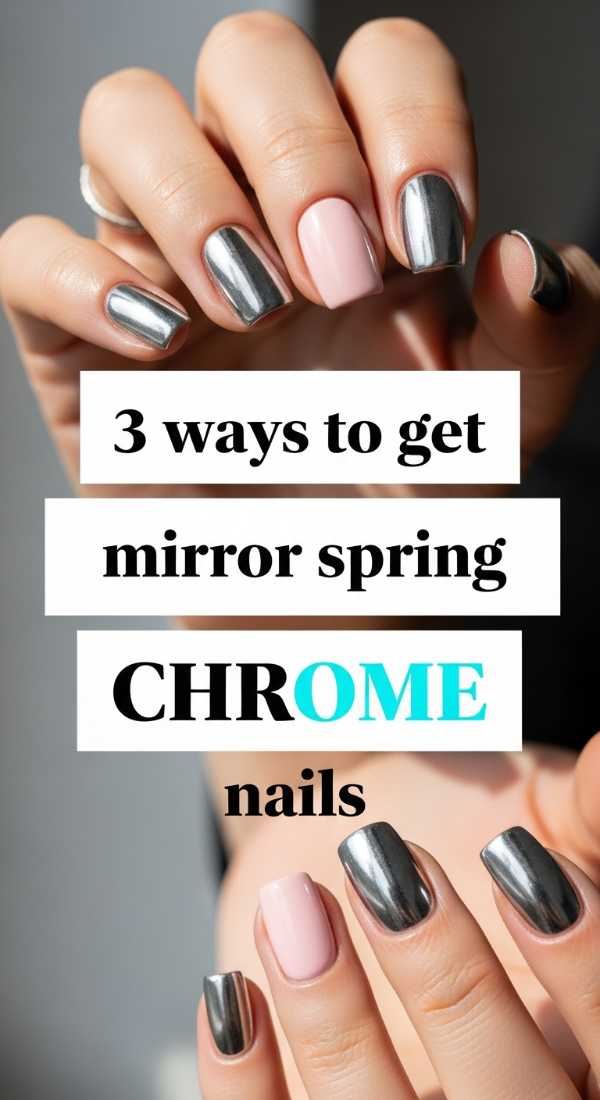
Liquid Moonlight: 3 Ways to Get Mirror Spring Chrome Nails
Why to love this Design:
Chrome has evolved into something much softer this year—we’re calling it ‘Liquid Moonlight.’ It’s about reflecting the soft lavender and blue hues of a spring morning. It feels ethereal, modern, and just a little bit magical.
Essential Elements:
- Fine-milled pearl or silver chrome powder
- No-wipe gel top coat
- Silicone applicator tool
How to Prepare:
- The Full Mirror: Apply chrome powder over a pale pastel base for a solid, high-shine metallic finish.
- The Iridescent Ombre: Buff the powder only onto the tips, fading it toward the cuticle for a soft glow.
- The Chrome Detail: Use a thin liner brush to paint chrome ‘water droplets’ over a matte base.
Budget Range
- Born Pretty Pearl Chrome Powder ($6)
- Kiara Sky Rub On Neon ($15)
- Manucurist Paris Mirror Effect ($18)
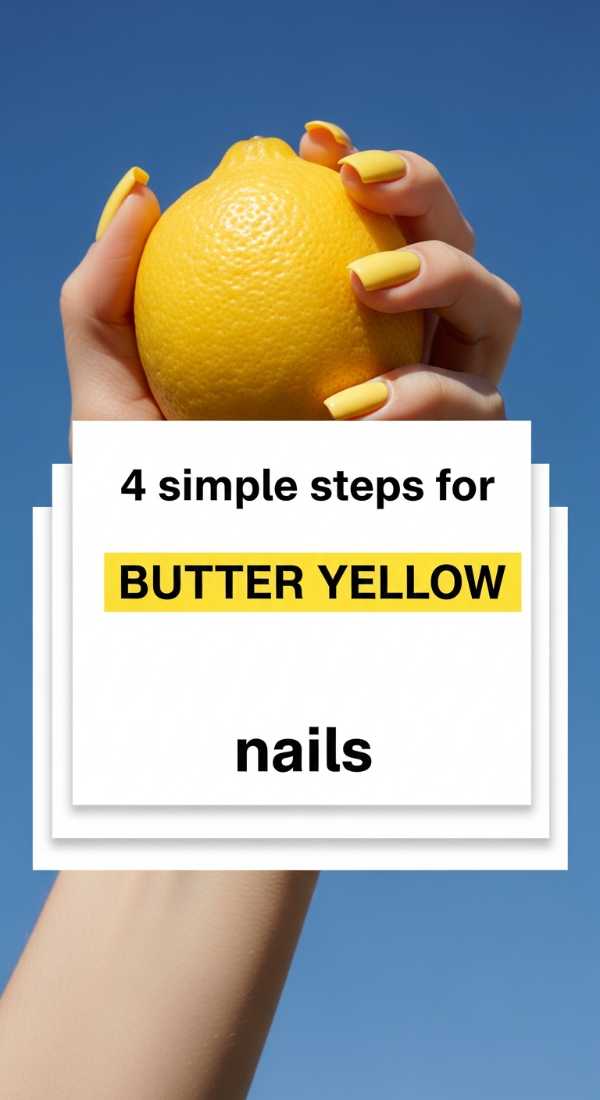
Sunshine in a Bottle: 4 Simple Steps for Butter Yellow Nails
Why to love this Design:
If happiness had a color, it would be this specific shade of butter yellow. It’s creamy, soft, and much more wearable than the neons of years past. It’s like wearing a little bit of warm sunshine even on a cloudy spring day.
Essential Elements:
- Opaque pastel yellow polish
- Matte or satin top coat
- Nourishing cuticle oil
How to Prepare:
- Buff the nail surface until perfectly smooth, as light yellows can highlight ridges.
- Apply a white base coat to make the yellow pop without needing four layers.
- Paint two thin layers of butter yellow, allowing 3 minutes of drying time between each.
- Finish with a satin top coat to give it that ‘soft-touch’ 2026 feel.
Budget Range
- OPI ‘Blindfold Me’ ($11)
- Olive & June ‘JLR’ ($9)
- Chanel Le Vernis in ‘Pastel Yellow’ ($32)
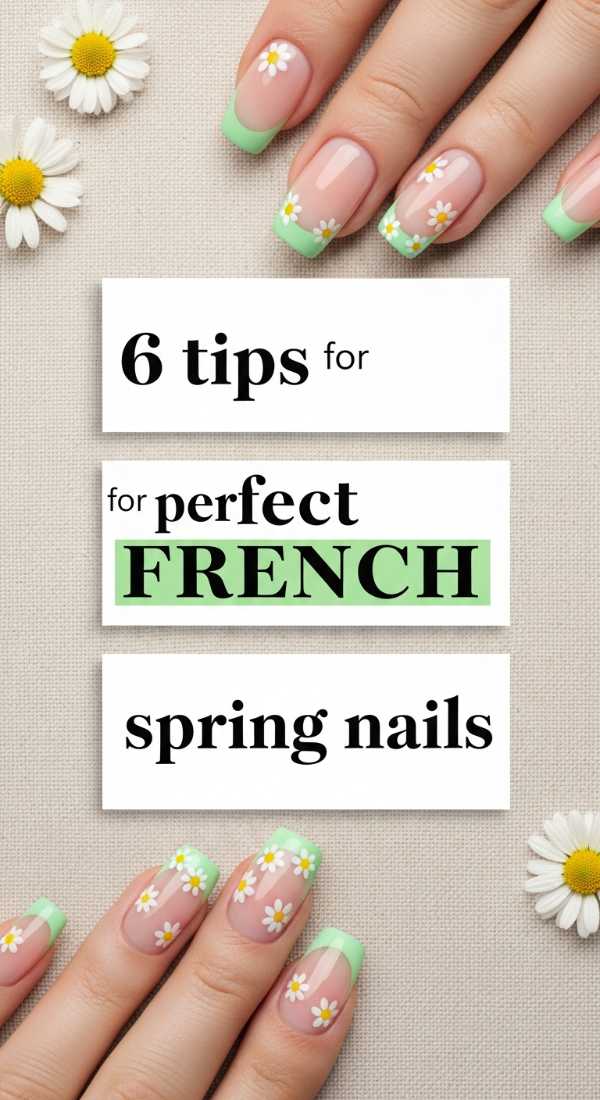
The Modern Muse: 6 Tips for Perfect French Spring Nails
Why to love this Design:
The French manicure is a timeless soul, but for 2026, we’re giving her a colorful, skinny update. Using pastel tips instead of white makes it feel fresh and youthful, perfect for the season of blooming flowers.
Essential Elements:
- Sheer pink base polish
- Selection of pastel liners
- Micro-detail brush
How to Prepare:
- Start with a clean, dry nail to ensure the tips don’t smudge.
- Apply two coats of a ‘your nails but better’ sheer base.
- Use a micro-brush to draw a razor-thin line across the very edge of the tip.
- Mix and match colors—try mint on the thumb and lilac on the pinky!
- Wait longer than usual before top-coating to avoid dragging the color.
- Apply a UV-protectant top coat to keep those pastels crisp.
Budget Range
- Orly French Manicure Kit ($15)
- Lights Lacquer ‘Paper Snow’ ($13)
- Sally Hansen Insta-Dri Pastel Collection ($7)
Clean Edges: 5 Ways to Style Cute Spring Nails Square

Why to love this Design:
Square nails are making a huge comeback because they provide a structured, clean-girl aesthetic that balances out the flowy, floral fabrics of spring. They look intentional, chic, and incredibly strong.
Essential Elements:
- Professional grit nail file
- Strength-building base coat
- Minimalist stickers or gems
How to Prepare:
- The Soft Square: File straight across and then just barely round the sharp corners.
- The French Square: Pair the sharp shape with a traditional white tip for ultimate 90s nostalgia.
- The Geometric Pop: Paint a single diagonal line across the square edge for a modern look.
- The Negative Space: Leave the base clear and only paint the top third of the square.
- The Pearl Accent: Add one tiny pearl at the base of the square for an elegant touch.
Budget Range
- Flowery Blue Dragon File ($2)
- Nails Inc. Back to Life Recovery ($15)
- CND Vinylux Long Wear Polish ($11)
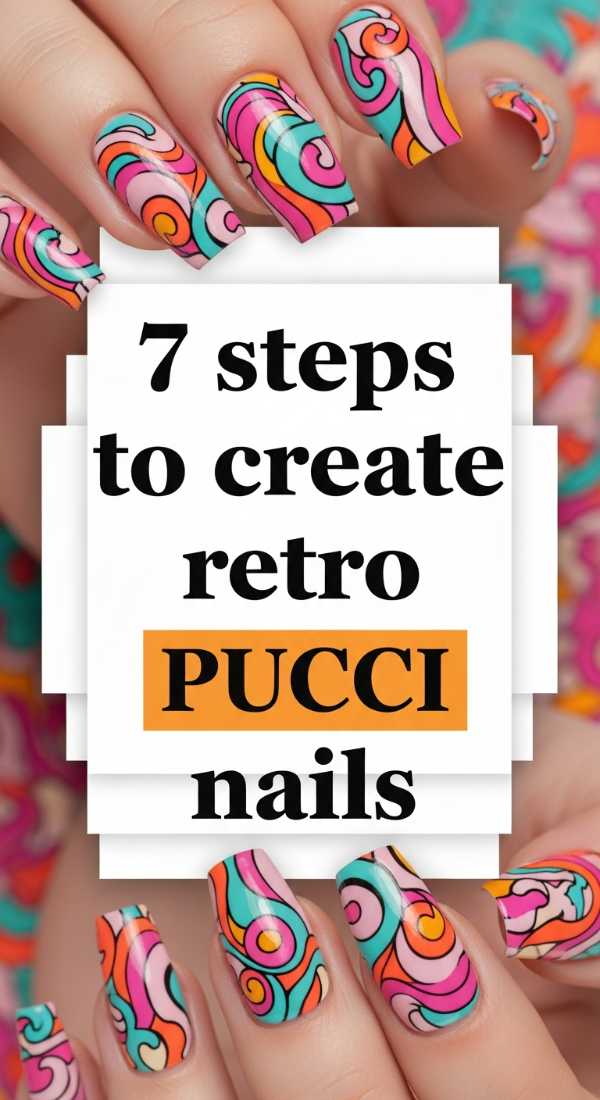
70s Revival: 7 Steps to Create Retro Pucci Nails
Why to love this Design:
This is for my vibrant loves! Inspired by the iconic 1970s prints, Retro Pucci nails are a swirling symphony of color. They are a conversation starter and the perfect way to express your creative spirit this spring.
Essential Elements:
- Dotting tools of various sizes
- Striper brushes
- At least 4 contrasting spring shades (teal, peach, cream, pink)
How to Prepare:
- Apply a solid cream base and let it dry completely.
- Use a striper brush to draw large, wavy ‘S’ shapes across the nail.
- Fill in the sections between the waves with your different colors.
- Add small dots along the borders of the shapes to create texture.
- Outline the main swirls with a very thin black or dark teal line for definition.
- Clean up the edges with a brush dipped in acetone.
- Seal with two coats of top coat to level out the different paint layers.
Budget Range
- Nail Art Brushes Set from Amazon ($8)
- Pacifico Plant Magic Polish ($12)
- Deborah Lippmann Gel Lab Pro ($20)
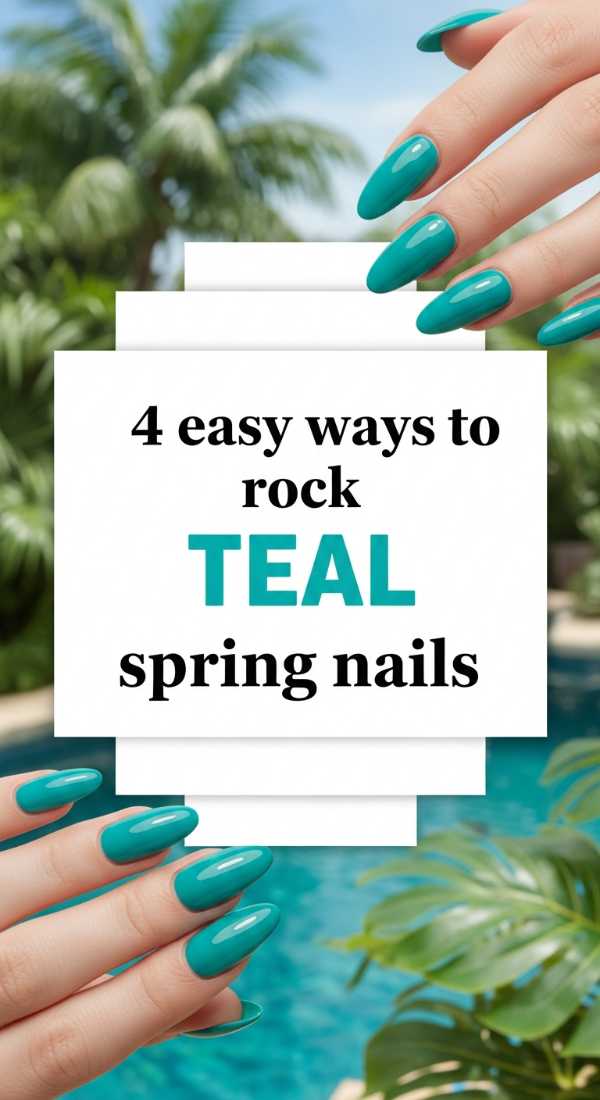
Aquatic Dream: 4 Easy Ways to Rock Teal Spring Nails
Why to love this Design:
Teal is the bridge between winter’s depth and spring’s brightness. It’s calming, sophisticated, and looks stunning against the gold jewelry we all love to bring out once the sun starts shining.
Essential Elements:
- Dusty teal cream polish
- Gold foil flakes
- Angled cleanup brush
How to Prepare:
- The Velvet Teal: Use a magnetic teal polish to create a soft, moving light effect.
- The Gilded Edge: Paint a solid teal and press gold foil into the tacky layer.
- The Sea Glass: Mix teal polish with clear top coat for a translucent, frosted look.
- The Half-Moon: Paint teal on the bottom half of the nail, leaving the top bare.
Budget Range
- ILNP ‘Mutagen’ ($12.50)
- Revlon Enamel in ‘Teal’ ($6)
- Butter London ‘British Racing Green’ ($18)
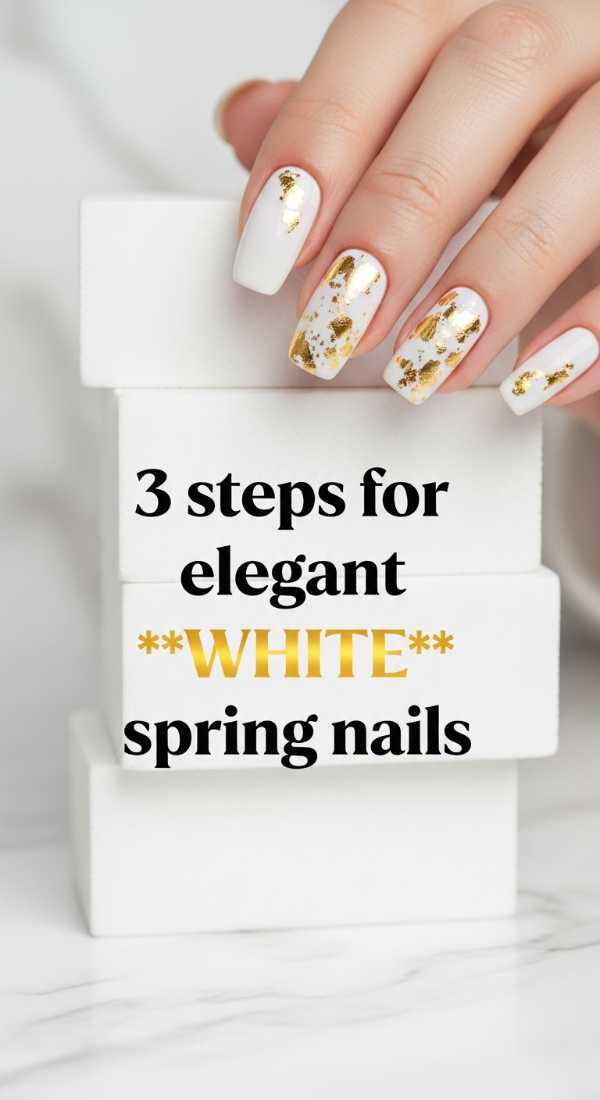
Cloud Soft: 3 Steps for Elegant White Spring Nails
Why to love this Design:
There is nothing more refreshing than a crisp white manicure. In 2026, we’re moving away from ‘white-out’ and toward ‘milky cloud’ whites that look soft, expensive, and incredibly clean.
Essential Elements:
- Milky white polish (semi-sheer)
- Nail concealer
- High-gloss top coat
How to Prepare:
- Start with a ridge-filling base to ensure the white doesn’t look streaky.
- Apply three very thin coats of milky white rather than one thick one.
- Finish with a blue-toned top coat to prevent any yellowing from the sun.
Budget Range
- DND Gel ‘White Bunny’ ($9)
- Cirque Colors ‘Carpe Diem’ ($12.50)
- Dior Vernis in ‘Muguet’ ($30)
Midnight Bloom: 6 Ideas for Edgy Black Spring Nails
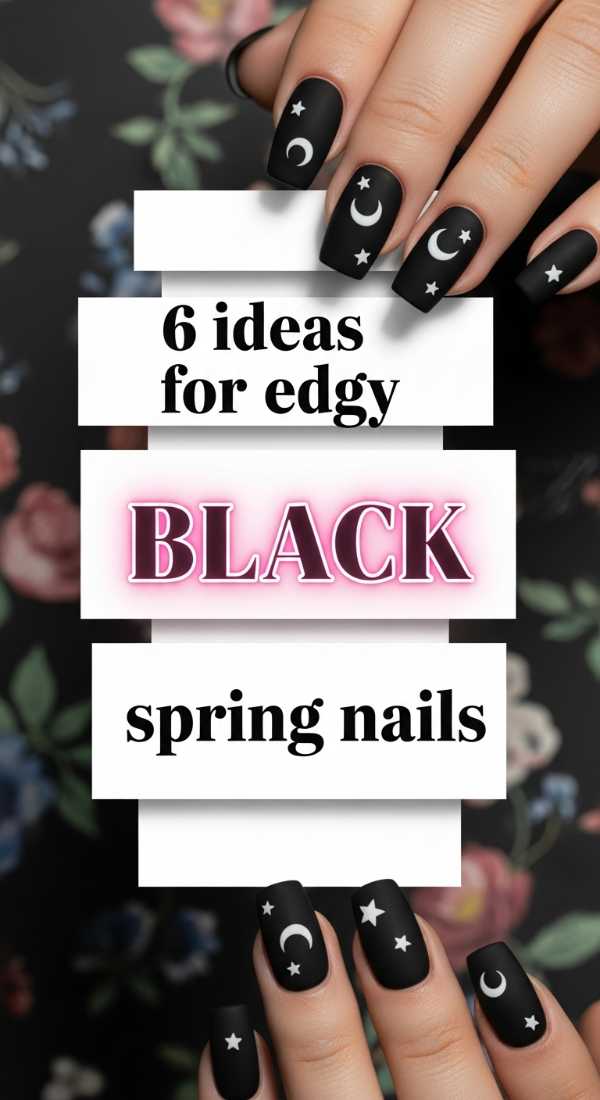
Why to love this Design:
Who says black isn’t for spring? By adding floral elements or high-shine finishes, black becomes the perfect ‘edgy’ backdrop for spring’s softness. It’s for the loves who like a bit of mystery with their tulips.
Essential Elements:
- Pitch black cream polish
- Matte top coat
- Floral water decals
How to Prepare:
- The Matte & Gloss Mix: Paint black matte and add glossy black flower silhouettes.
- The Starry Spring: Use a holographic black that sparkles like a night sky.
- The Pressed Flower: Apply real dried flowers over a black base for a gothic garden vibe.
- The Obsidian Mirror: Go for the highest shine possible, making the nails look like stones.
- The Black Tip: Swap the white in a French mani for a sharp black line.
- The Polka Dot: A simple black base with tiny white dots for a retro feel.
Budget Range
- Bio Seaweed Gel ‘Black Magic’ ($18)
- Wet n Wild Fast Dry ‘Black’ ($3)
- A-England ‘The Raven’ ($13)
The Skin-Vestment: 5 Ways to Wear Natural Spring Nails

Why to love this Design:
Sometimes the most radical thing you can do is embrace exactly who you are. Natural spring nails focus on health, hydration, and a barely-there glow that screams ‘quiet luxury.’
Essential Elements:
- Buffing block
- Tinted nail strengthener
- High-quality cuticle serum
How to Prepare:
- The Naked Buff: Skip polish entirely and buff your nails to a natural high shine.
- The Rose Tint: Use a sheer, rose-colored treatment that strengthens while it colors.
- The Hydration Look: Apply cuticle oil twice a day to make your natural nails glow.
- The Micro-Trim: Keep nails very short and active for a clean, sporty look.
- The Concealer Look: Use a polish that matches your skin tone perfectly for an elongated hand.
Budget Range
- Dior Nail Glow ($30)
- L’Occitane Shea Nail & Cuticle Oil ($20)
- Kester Black Self-Love Oil ($22)
Embrace Your Spring Glow
My loves, whether you choose the boldest cherry red or the quietest natural glow, remember that your manicure is a celebration of you. Spring is a season of grace—be kind to yourself as you practice these designs. There’s no such thing as a perfect nail, only the joy you feel when you look at them. Go out there and let your hands tell your beautiful spring story!