

There is nothing quite like the feeling of opening your front door and welcoming friends into a home filled with the warm, inviting scent of a home-cooked feast. We’ve all seen those gorgeous, sprawling food boards on social media that look like a work of art, but let’s be honest—trying to recreate them can feel a little overwhelming. That’s why I am so obsessed with the Viral Simple Board; it’s all about focusing on high-quality, delicious components that people actually want to eat, arranged with love rather than perfection.
Whether you’re hosting a casual Sunday brunch or a festive evening gathering, the secret to a viral-worthy board lies in the balance of textures and flavors. I’ve found that when you provide a mix of savory proteins, sweet treats, and hearty sides, guests feel pampered and comfortable. It transforms a meal into an experience, allowing everyone to pick and choose their favorites while engaging in that beautiful, slow-paced conversation we all crave.
How to cook juicy chicken breast?
Why we love this
There is nothing more satisfying than a perfectly cooked chicken breast that remains incredibly tender and moist on the inside while sporting a beautiful, golden-brown crust on the outside. When you slice into it, the juices should run clear, and the meat should have a buttery, savory aroma that fills the kitchen instantly. It provides a clean, high-protein base for the board that pairs beautifully with everything from creamy dips to sharp cheeses, offering a succulent texture that never feels dry or chewy.
Ingredients
- 2 large boneless, skinless chicken breasts
- 2 tablespoons olive oil
- 1 teaspoon kosher salt
- 1/2 teaspoon cracked black pepper
- 1/2 teaspoon garlic powder
- 1 tablespoon unsalted butter
- Fresh thyme sprigs
How to make it
- Prepare the meat: Begin by patting the chicken breasts completely dry with paper towels. This is the most critical step for achieving a proper sear; any moisture on the surface will cause the meat to steam rather than brown.
- Seasoning: Evenly sprinkle the salt, pepper, and garlic powder on both sides, pressing the spices gently into the flesh so they adhere during the cooking process.
- The Sear: Place a heavy-bottomed skillet or cast-iron pan over medium-high heat and add the olive oil. Wait until the oil is shimmering and just starting to wisps of smoke before adding the chicken. Lay the breasts away from you to avoid splashes.
- Cooking time: Cook undisturbed for 5 to 7 minutes. You’ll know it’s ready to flip when the meat releases easily from the pan and has a deep golden crust. Flip the chicken and reduce the heat to medium.
- The Baste: Add the butter and thyme to the pan. Once the butter melts and foams, tilt the pan and use a large spoon to continuously pour the flavored butter over the chicken for another 5-6 minutes.
- Visual Cues: Use an instant-read thermometer to check for an internal temperature of 165°F (74°C). The meat should feel firm but springy to the touch.
- Resting: Remove from the pan and let it rest on a cutting board for at least 8 minutes. This allows the fibers to relax and the juices to redistribute, ensuring every bite is moist.
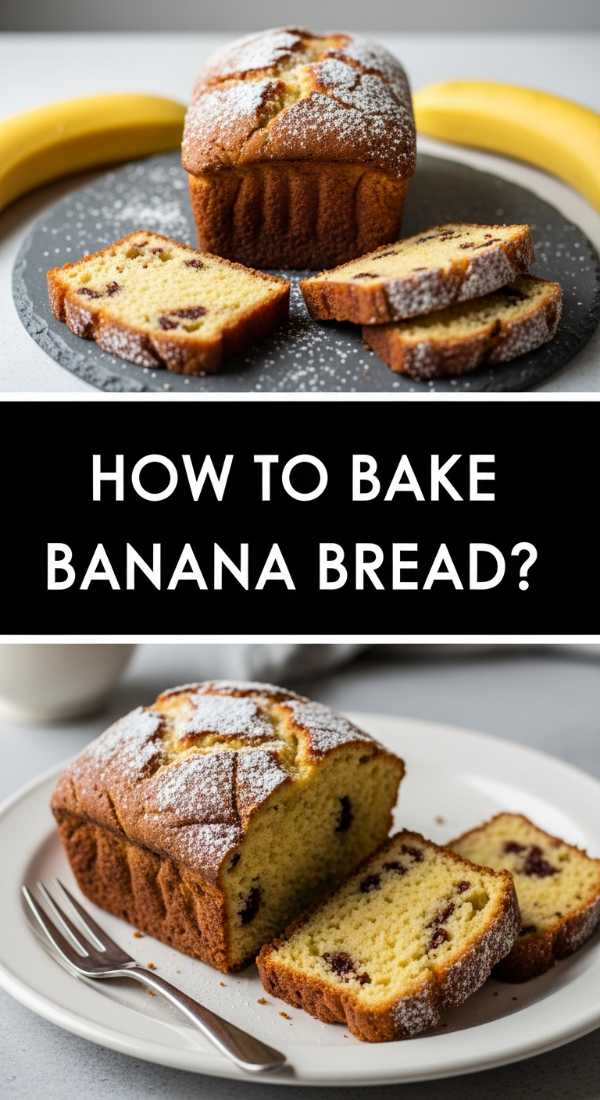
How to bake soft banana bread?
Why we love this
Walking into a house where banana bread is in the oven is like receiving a warm hug for your senses. The aroma is a heavenly mix of caramelized sugar, toasted nuts, and sweet, overripe fruit that feels nostalgic and comforting. This specific recipe yields a crumb that is incredibly soft and almost cake-like in its moisture levels, with a tender density that holds up perfectly when sliced thin for a food board. It’s the ultimate sweet-meets-savory bridge that guests will keep reaching for.
Ingredients
- 3 very ripe bananas (the blacker the better)
- 1/2 cup melted unsalted butter
- 3/4 cup granulated sugar
- 1 large egg, beaten
- 1 teaspoon vanilla extract
- 1 teaspoon baking soda
- 1.5 cups all-purpose flour
- A pinch of salt
How to make it
- Preheat and Prep: Heat your oven to 350°F (175°C) and grease a 4×8 inch loaf pan thoroughly with butter or non-stick spray to ensure easy removal.
- Mash the Base: In a large mixing bowl, peel the bananas and use a fork to mash them until they reach a smooth, liquid-like consistency with only tiny lumps remaining.
- Incorporate Wet Ingredients: Stir the melted butter into the mashed bananas using a wooden spoon. Add the sugar, beaten egg, and vanilla extract, mixing until the batter looks uniform and glossy.
- Dry Ingredients: Sprinkle the baking soda and salt over the mixture. Sift in the flour slowly. Fold the flour in gently—do not overmix, or the bread will become tough. Stop as soon as you see no more white streaks.
- Baking: Pour the batter into the prepared pan and smooth the top. Bake for 50 to 60 minutes.
- Visual Cues: The loaf should be a deep mahogany brown on top with a slight crack down the center. A toothpick inserted into the thickest part should come out clean or with just a few moist crumbs.
- Cooling: Let the bread cool in the pan for 10 minutes before transferring it to a wire rack. Slicing it while too hot will cause it to crumble, so patience is key!
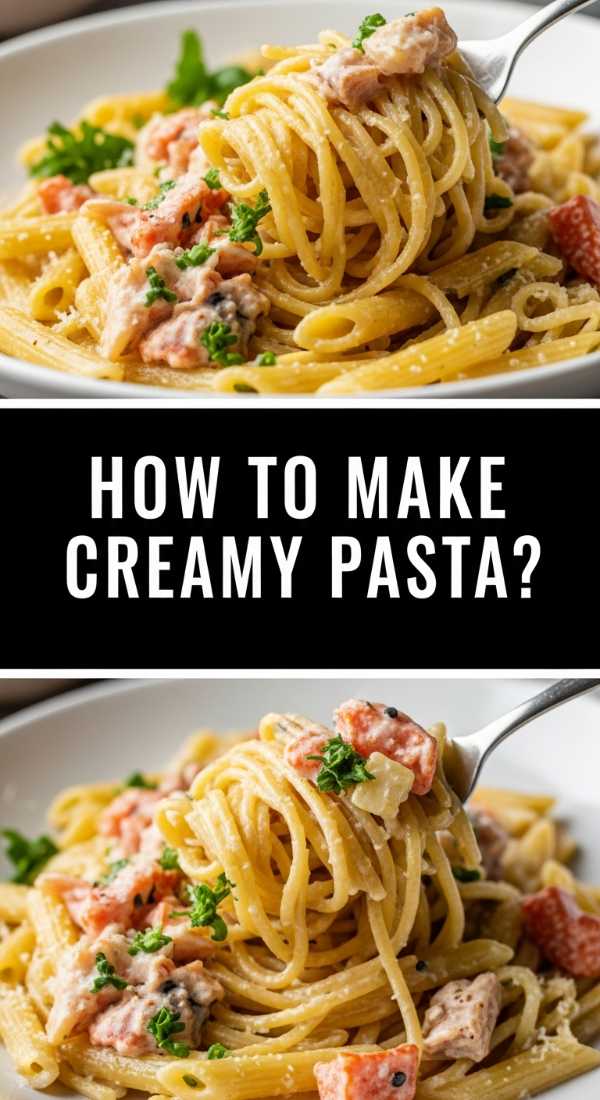
How to make creamy pasta?

Why we love this
There is a luxurious, velvety quality to a properly made cream sauce that coats every strand of pasta in a shimmering, decadent embrace. The scent of sautéed garlic mingling with aged parmesan creates an irresistible savory profile that feels both sophisticated and deeply cozy. On a food board, a small bowl of this creamy pasta acts as a decadent center-piece, offering a rich mouthfeel and a comforting warmth that balances out crisp vegetables or salty cured meats perfectly.
Ingredients
- 8 oz fettuccine or penne
- 1 cup heavy cream
- 4 tablespoons unsalted butter
- 1/2 cup freshly grated Parmesan cheese
- 2 cloves garlic, minced
- Fresh parsley for garnish
- Salt and pepper to taste
How to make it
- Boil the Pasta: Bring a large pot of heavily salted water to a rolling boil. Cook the pasta until it is ‘al dente’—firm to the bite. Reserve 1/2 cup of the starchy pasta water before draining.
- Infuse the Butter: In a wide skillet over medium heat, melt the butter. Add the minced garlic and sauté for about 1 minute until fragrant but not browned, as burnt garlic will turn bitter.
- Create the Cream Base: Pour in the heavy cream and bring to a gentle simmer. Let it bubble softly for 3-4 minutes until it begins to thicken slightly and reduce.
- Emulsify the Sauce: Turn the heat to low. Whisk in the Parmesan cheese a handful at a time, stirring constantly until the cheese has melted into a smooth, silk-like sauce.
- Combine: Add the cooked pasta directly into the skillet. Toss vigorously to coat. If the sauce is too thick, add the reserved pasta water one tablespoon at a time until the desired glossiness is achieved.
- Seasoning: Season with salt and a generous amount of cracked black pepper. Serve immediately while the sauce is at its creamiest peak.
How to bake soft cookies?
Why we love this
A truly great soft cookie is a masterpiece of textures, featuring a slightly crisp, buttery edge that gives way to a center so gooey and tender it almost melts on your tongue. The aroma of toasted sugar and high-quality vanilla extract creates an atmosphere of pure joy, making these the perfect addition to the sweet corner of your board. They are the ultimate crowd-pleaser, offering a rich, comforting sweetness that feels like a childhood treat elevated for a sophisticated adult gathering.
Ingredients
- 1 cup softened unsalted butter
- 3/4 cup brown sugar (packed)
- 1/4 cup granulated sugar
- 1 large egg
- 2 teaspoons vanilla extract
- 2 1/4 cups all-purpose flour
- 1 teaspoon baking soda
- 1/2 teaspoon salt
- 1.5 cups chocolate chips
How to make it
- Creaming: In a large bowl, beat the softened butter and both sugars together for at least 3-4 minutes until the mixture is pale, light, and fluffy. This aeration is key to a soft texture.
- Emulsify: Add the egg and vanilla, beating until just combined. Over-beating at this stage can introduce too much air, making the cookies cakey instead of chewy.
- Dry Ingredients: Whisk the flour, baking soda, and salt together in a separate bowl. Gradually add to the wet ingredients, mixing on low speed until just combined. Fold in the chocolate chips by hand.
- Chilling: This is the professional secret! Chill the dough in the fridge for at least 30 minutes. This prevents the cookies from spreading too thin and ensures a thick, soft center.
- Scooping: Preheat oven to 350°F (175°C). Use a cookie scoop to form balls and place them on a parchment-lined sheet, spaced 2 inches apart.
- Baking: Bake for 8-10 minutes. The key is to remove them when the edges are barely golden but the centers still look slightly underdone and soft.
- Carry-over Cooking: Let the cookies rest on the hot baking sheet for 5 minutes after removal. They will firm up into the perfect soft texture as they cool.
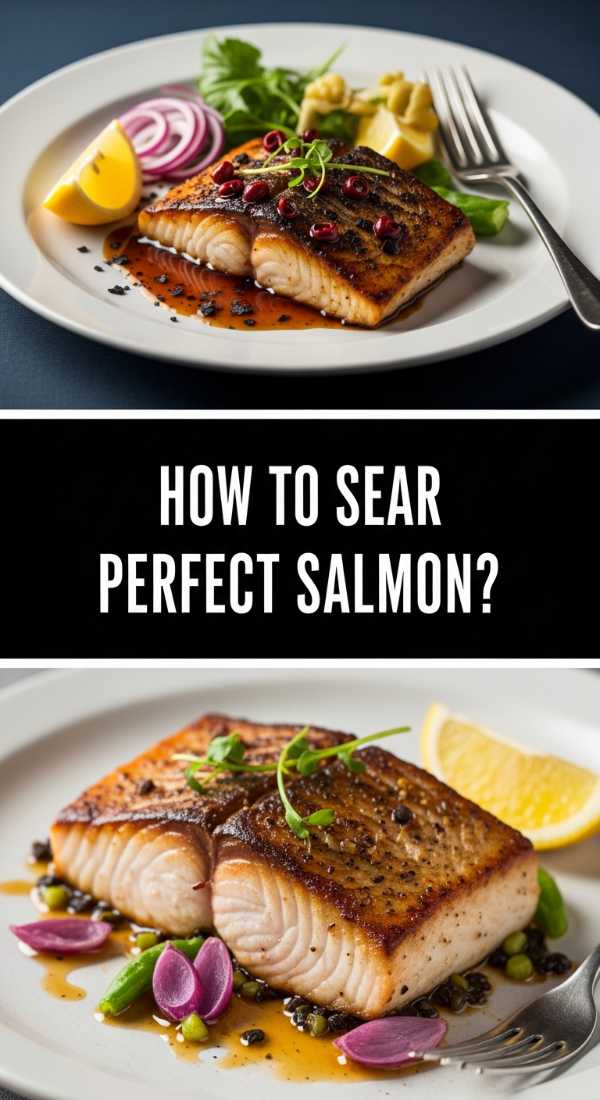
How to sear perfect salmon?

Why we love this
Perfectly seared salmon is a showstopper, boasting a shatteringly crisp skin and a delicate, flaky interior that is rich with healthy fats and a mild, oceanic sweetness. The contrast between the crunch of the sear and the melt-in-your-mouth tenderness of the pink flesh is a sensory delight that feels incredibly high-end. It adds a pop of vibrant color to your board and offers a lighter, elegant protein option that feels sophisticated and thoughtful for your health-conscious guests.
Ingredients
- 2 salmon fillets (6 oz each), skin-on
- 1 tablespoon high-smoke point oil (avocado or grapeseed)
- 1/2 teaspoon sea salt
- Lemon wedges
- 1 tablespoon butter
How to make it
- Dry the Skin: Use a paper towel to press firmly on the salmon skin until it is bone-dry. If the skin is wet, it will stick to the pan and become soggy rather than crispy.
- Seasoning: Season the flesh side with salt just before cooking. Don’t salt too early or it will draw out moisture.
- Heat the Pan: Heat your skillet over medium-high heat. Add the oil and wait until it ripples. You need high heat to achieve that professional crust.
- The Initial Sear: Place the salmon skin-side down in the pan. Use a spatula to press down firmly on the fillets for the first 30 seconds to prevent the skin from curling.
- Timing: Cook skin-side down for about 5-6 minutes. Watch the side of the fillet; you will see the cooked color slowly move up from the bottom. Flip only when the skin is crispy and releases easily.
- Finish: Flip and cook for only 1-2 minutes on the flesh side. Add a knob of butter to the pan in the final 30 seconds for a rich finish.
- Visual Cue: The salmon is done when it is opaque but still slightly translucent in the very center (medium-rare to medium). Overcooking will make it dry.
How to make crockpot chicken?

Why we love this
There is a unique kind of magic in a dish that cooks itself while you go about your day, resulting in chicken that is so tender it literally falls apart at the touch of a fork. The slow-simmering process allows the meat to absorb every drop of seasoning and broth, creating a savory, shredded protein that is incredibly juicy and versatile. It’s the perfect “set it and forget it” component for a board, filling the air with a rich, homey aroma that promises a delicious meal without any last-minute kitchen stress.
Ingredients
- 1.5 lbs chicken thighs or breasts
- 1/2 cup chicken broth
- 1 teaspoon onion powder
- 1 teaspoon dried oregano
- Salt and pepper to taste
How to make it
- Layering: Place the chicken pieces in the bottom of the slow cooker in a single layer to ensure even heat distribution.
- Season: Evenly sprinkle the onion powder, oregano, salt, and pepper over the meat. Pour the broth around the sides of the chicken rather than directly on top to keep the spices in place.
- The Cook: Set the crockpot to ‘Low’ for 6-7 hours or ‘High’ for 3-4 hours. For the most tender, shreddable results, ‘Low’ is always the professional recommendation.
- Visual Check: The chicken is done when it reaches 165°F and appears to be pulling away from itself.
- Shredding: Remove the chicken from the pot and place it in a large bowl. Use two forks to pull the meat apart into bite-sized shreds.
- Moisture Boost: Add a splash of the leftover cooking liquid from the crockpot back into the shredded meat to keep it glistening and moist on your serving board.
How to roast sweet potatoes?
Why we love this
Roasted sweet potatoes bring a beautiful, earthy sweetness and a vibrant orange hue to your viral board that feels like pure autumn sunshine. When roasted at high heat, the natural sugars caramelize, creating dark, chewy edges that contrast perfectly with the soft, pillowy interior. They offer a hearty, fiber-rich element that is both satisfying and naturally sweet, making them a fantastic bridge between the savory meats and the fresher elements of your spread.
Ingredients
- 2 large sweet potatoes, peeled and cubed
- 2 tablespoons olive oil
- 1/2 teaspoon cinnamon (optional for sweetness)
- 1/2 teaspoon salt
- 1/4 teaspoon paprika
How to make it
- Preparation: Preheat your oven to 400°F (200°C). High heat is necessary to get that caramelized exterior without turning the inside to mush.
- Uniformity: Cut the potatoes into 1-inch cubes. Keeping the size consistent is vital so that every piece cooks at exactly the same rate.
- Tossing: In a large bowl, toss the cubes with olive oil, salt, paprika, and cinnamon until every surface is shimmering and coated.
- Spreading: Spread the potatoes on a large baking sheet. Do not crowd the pan! If the pieces are touching, they will steam instead of roasting. Use two pans if necessary.
- Roasting: Bake for 25-30 minutes. Halfway through, use a spatula to toss the potatoes, ensuring even browning on all sides.
- Visual Cues: Look for slightly charred, brown edges and a fork-tender center. The potatoes should look slightly deflated and intensely colorful.
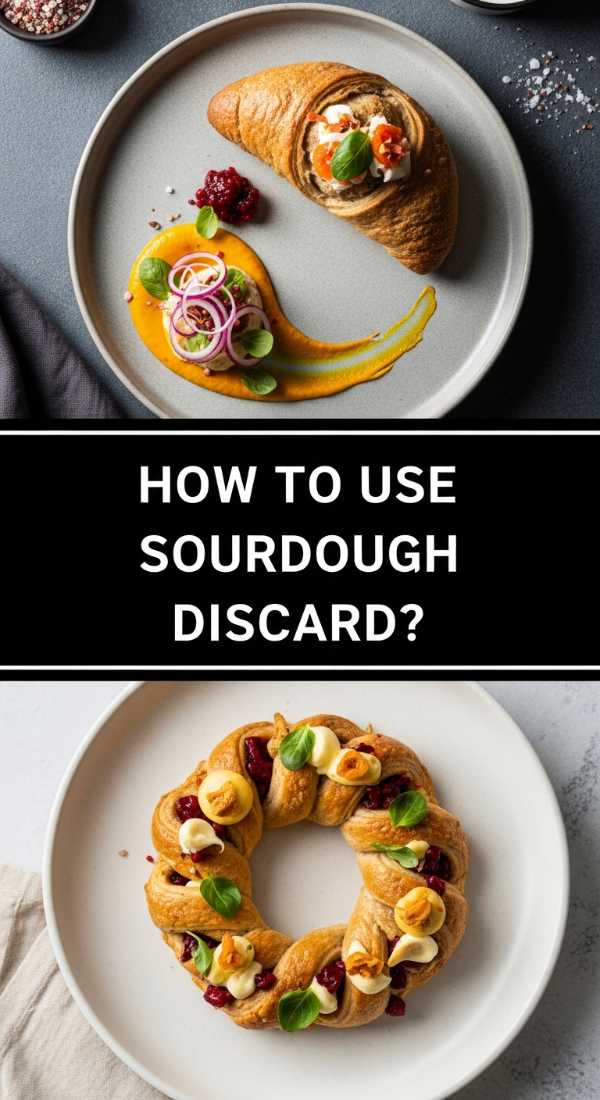
How to use sourdough discard?

Why we love this
Using sourdough discard is the ultimate way to bring a tangy, artisan complexity to your board without the long wait of a traditional rise. The fermented notes of the discard provide a sophisticated depth of flavor that pairs exquisitely with sharp cheddar or creamy brie. Whether you turn it into crackers or a quick flatbread, the result is a rustic, chewy texture and a distinctively sourdough aroma that tells your guests you appreciate the craft of slow-food, even in a quick party prep.
Ingredients
- 1 cup sourdough discard (unfed)
- 1/2 cup all-purpose flour
- 2 tablespoons melted butter
- 1/2 teaspoon sea salt
- 1 tablespoon dried herbs (rosemary or thyme)
How to make it
- Mixing: Combine the discard, melted butter, flour, salt, and herbs in a bowl. Stir until a soft, slightly tacky dough forms.
- Rolling: Place the dough on a sheet of parchment paper. Lay another sheet on top and roll it out until it is paper-thin (about 1/16th of an inch). Thinness is key for a crispy cracker.
- Scoring: Remove the top layer of parchment. Use a pizza cutter to score the dough into squares or diamonds. This ensures they break perfectly after baking.
- Baking: Preheat oven to 350°F (175°C). Place the parchment directly onto a baking sheet. Bake for 20-25 minutes.
- Visual Cues: The edges should be a deep golden brown and the center should feel firm and dry to the touch.
- Cooling: Let them cool completely on the pan; they will continue to crisp up as the temperature drops. Break along the scored lines and pile them high on your board.
How to make strawberry shortcake?

Why we love this
Strawberry shortcake is the epitome of a fresh, breezy dessert that brings a lightness to any heavy food board. The combination of macerated, ruby-red berries and clouds of whipped cream sitting atop a buttery, crumbly biscuit is a textural dream. It smells like a summer garden and tastes like pure sunshine, providing a refreshing, fruity finish that cleanses the palate after savory items. Arranging these in mini-portions makes them the perfect bite-sized treat for guests to grab.
Ingredients
- 1 lb fresh strawberries, sliced
- 1/4 cup sugar
- Prepared shortcake biscuits (or scones)
- 1 cup heavy whipping cream
- 1 teaspoon vanilla extract
How to make it
- Macerating: Toss the sliced strawberries with 2 tablespoons of sugar in a bowl. Let them sit for at least 30 minutes. The sugar draws out the juices, creating a natural, glossy syrup.
- Whipped Cream: In a cold bowl, beat the heavy cream, vanilla, and remaining sugar until stiff peaks form. Stiff peaks mean the cream holds its shape when the whisk is lifted.
- Biscuit Prep: Warm your biscuits slightly in the oven to revive that buttery aroma. Split them in half horizontally.
- Assembly: Place a generous spoonful of the syrupy strawberries on the bottom half of the biscuit. Top with a large dollop of whipped cream.
- The Cap: Place the other half of the biscuit on top at a slight angle for a beautiful, rustic presentation.
- Visual Cue: The cream should look fluffy and white, contrasting against the deep red of the berries and the golden crumb of the biscuit.
How to season ground turkey?
[IMAGE_10]
Why we love this
Ground turkey is a fantastic, lean canvas that becomes an absolute flavor powerhouse when seasoned with the right blend of spices and aromatics. It has a lighter profile than beef, which means the herbs and spices really sing, creating a savory, crumbly texture that works beautifully as a topping for crackers or a filling for small lettuce cups. The warm, smoky scent of cumin and paprika transforms this simple protein into a gourmet element that feels light yet deeply satisfying.
Ingredients
- 1 lb ground turkey
- 1 tablespoon olive oil
- 1 teaspoon smoked paprika
- 1 teaspoon ground cumin
- 1/2 teaspoon garlic powder
- 1/2 teaspoon salt
- 1/4 teaspoon chili flakes
How to make it
- The Pan: Heat olive oil in a large skillet over medium-high heat. You want the pan hot enough that the turkey sizzles immediately upon contact.
- Browning: Add the turkey to the pan. Use a wooden spoon to break it into small, uniform crumbles. Let it cook undisturbed for 2-3 minutes to develop some golden-brown color.
- Spice Infusion: Add all the spices (paprika, cumin, garlic powder, salt, and flakes) once the turkey is about 50% cooked. Adding them now allows the oils in the spices to toast without burning.
- Even Coating: Stir frequently, ensuring every crumble is coated in the spice mixture. The turkey will turn a beautiful reddish-orange color from the paprika.
- Visual Cues: Cook until no pink remains and the meat is slightly crispy on the edges. Total time is usually 8-10 minutes.
- Finish: Taste and adjust salt if needed. Serve warm in a small decorative bowl on your board with a sprinkle of fresh cilantro for color.
Final Thoughts on Your Viral Board
Creating the perfect food board isn’t about being a professional chef; it’s about the joy of sharing delicious, thoughtfully prepared food with the people you love. By mastering these ten simple components, you have everything you need to build a spread that is visually stunning, texturally diverse, and—most importantly—unbelievably tasty. So grab your biggest platter, pick your favorite steps, and get ready to be the host everyone talks about!
Frequently Asked Questions
Can I prepare these items in advance? Absolutely! Most of these components, like the banana bread, roasted sweet potatoes, and sourdough crackers, can be made a day ahead. Just reheat the savory items briefly before serving.
How do I keep the board looking fresh? Add any wet ingredients (like the creamy pasta or macerated strawberries) in small bowls to keep the crackers and bread from getting soggy. Refill as needed!