
From Soul to Soil: How Seasonal Decor Redefines Your Daily Life
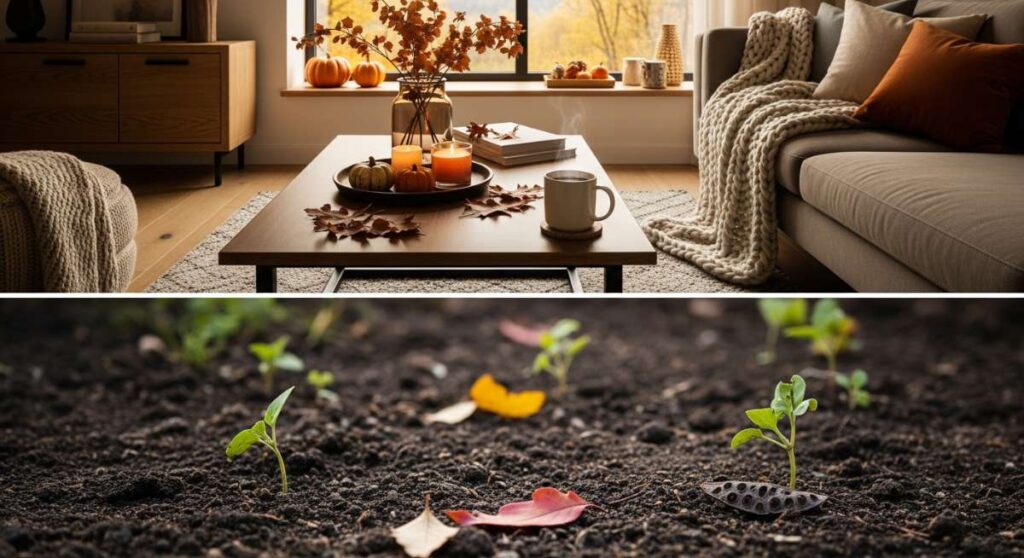
There is a profound, almost primal shift that happens within us when the light changes and the air takes on a new scent. We aren’t just observers of the seasons; we are participants in their rhythm. When we bring the outdoors in, or transform our outdoor spaces to reflect the internal blooming of our souls, we aren’t just ‘decorating’—we are anchoring ourselves in the present moment, creating a sanctuary that breathes with us.
Think back to those moments where a space felt like more than just a room. Maybe it was the way the golden hour hit a perfectly set table, or the smell of fresh citrus and lavender that greeted you after a long day. Lifestyle design is about intentionality. It is about taking the ordinary corners of our lives—the patio, the kitchen table, even the car we travel in—and infusing them with a sense of wonder and personal narrative. Today, we’re diving deep into how you can cultivate that magic across every season.
How to Transform Your Pool Deck for the Perfect Summer Sanctuary
Why we love this
Imagine stepping outside into a space that feels like a five-star Mediterranean resort, where the air smells of sea salt and eucalyptus. A well-designed pool deck isn’t just a place to swim; it’s a sensory retreat where the cool touch of limestone meets the plush softness of outdoor linens. The sound of water lapping against the tile becomes a rhythmic meditation, while oversized umbrellas provide a dapple of shade that dances across your skin, creating the ultimate backdrop for summer memories.
Essential Elements:
- Weather-resistant sectional or lounge chairs
- Outdoor area rug with a soft weave
- Linen throw pillows in oceanic tones
- Potted palm trees and oversized ferns
- Solar-powered warm LED lanterns
- A rolling bar cart with chilled refreshments
How to make it
- Begin by pressure washing the deck surface to remove winter grime, ensuring a clean slate for your design.
- Define zones by placing your outdoor rug in a central area to create a ‘living room’ feel under the open sky.
- Position your largest furniture pieces first, ensuring there is a clear flow for walking and that lounges are angled toward the best view.
- Layer in textures by adding high-quality outdoor pillows and blankets; look for fabrics that are UV-resistant to prevent fading from intense sun.
- Incorporate greenery at varying heights by using a mix of large floor planters and smaller tabletop succulents to soften the hard edges of the deck.
- Install ambient lighting by stringing bistro lights overhead and placing lanterns at the corners of the seating area for a warm, inviting glow at dusk.
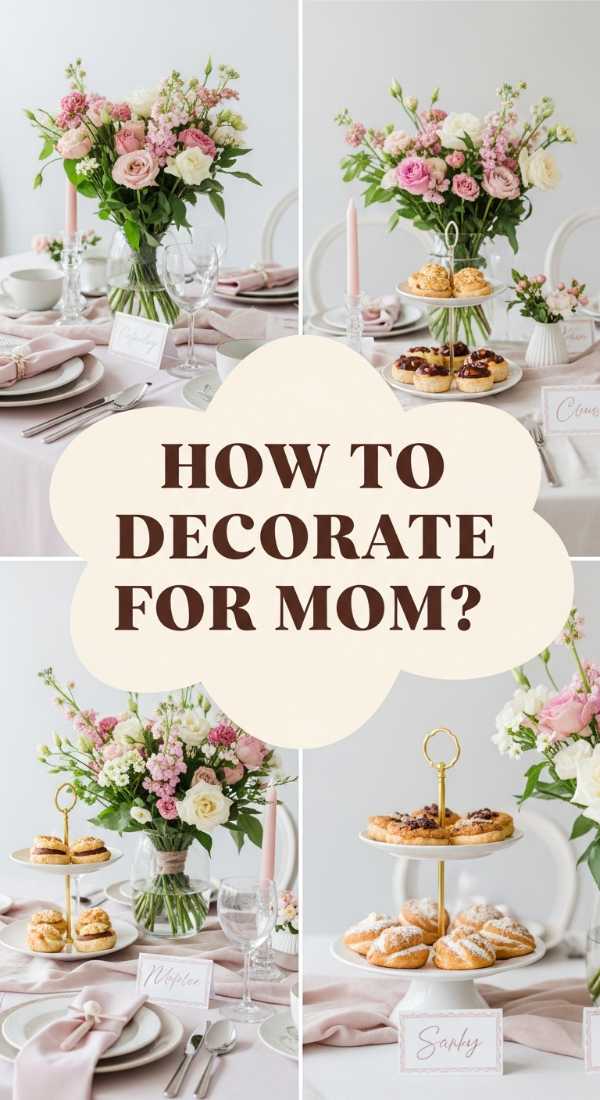
How to Host a Mother’s Day Brunch with Elegant Floral Accents
Why we love this
There is something undeniably sacred about a Mother’s Day brunch, a time where the table becomes a canvas for gratitude and love. This setting is all about soft, romantic textures—the delicate drape of a lace runner, the clinking of vintage crystal, and the intoxicating fragrance of fresh peonies and sweet pea. It’s an experience that tastes like buttery croissants and sparkling elderflower, wrapped in a visual hug of pastels and greenery that makes every guest feel cherished.
Essential Elements:
- Fresh seasonal flowers (peonies, ranunculus, and eucalyptus)
- Linen napkins in blush or sage green
- Vintage-inspired floral china
- Gold-toned flatware for a touch of warmth
- Glass carafes for mimosas and juice
- Handwritten place cards
How to make it
- Select a color palette that feels light and airy; pastel pinks, soft yellows, and muted greens work beautifully for a spring morning.
- Create a low-profile floral centerpiece using wet floral foam in a shallow bowl so guests can easily see each other across the table.
- Layer your place settings by starting with a decorative charger, followed by the dinner plate and a smaller salad or bread plate on top.
- Fold your linen napkins into a simple rectangle or use a decorative ring, tucking a small sprig of lavender or a single bloom into the fold for a professional touch.
- Prepare a DIY mimosa station with various fruit garnishes like raspberries and mint leaves, displaying them in clear glass bowls for a pop of color.
- Set the mood with a curated acoustic playlist and ensure the lighting is soft, perhaps by drawing sheer curtains to filter the morning sun.
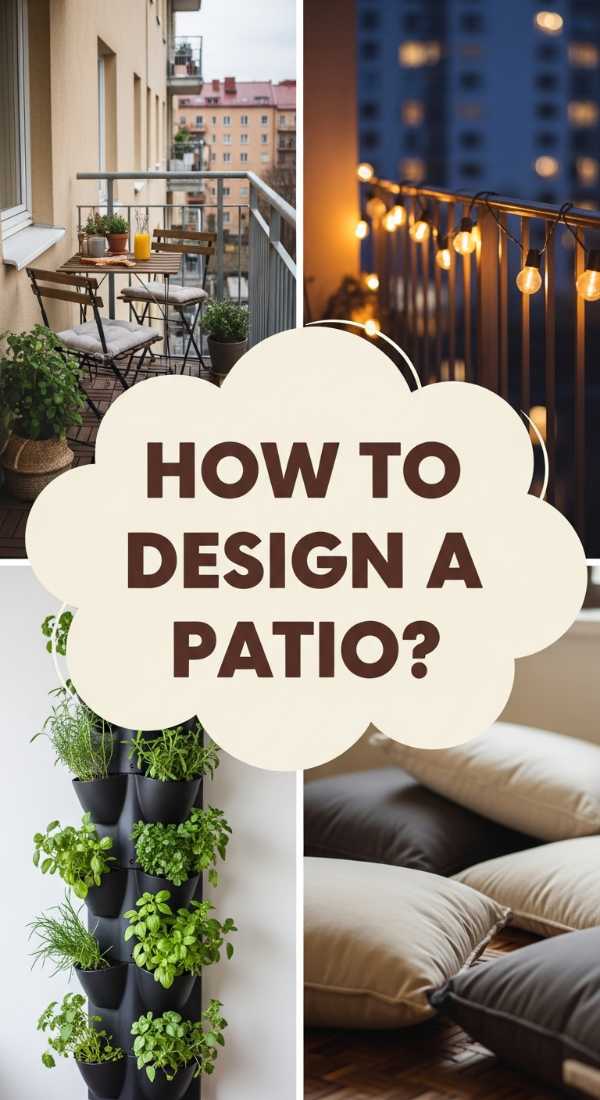
How to Create an Apartment Patio for Relaxing City Sunsets
Why we love this
In the heart of the concrete jungle, a small balcony can become a lush, private oasis that reclaims your peace. We love the contrast of the bustling city lights against the soft, organic feel of a vertical garden and the cozy warmth of a chunky knit throw. It’s about creating a ‘hygge’ atmosphere where you can watch the sky turn from orange to violet, sipping a glass of wine while the world slows down around you, turning a few square feet into a limitless escape.
Essential Elements:
- Folding wooden bistro set for space efficiency
- Vertical planter or hanging rail pots
- Outdoor-rated string lights (Edison bulbs)
- Weatherproof floor cushions
- Privacy screen or tall bamboo plants
- Outdoor rug with a geometric pattern
How to make it
- Measure your balcony precisely and choose furniture that is ‘apartment-sized’ or foldable to ensure you don’t overcrowd the walking path.
- Add a privacy screen using lattice panels or a row of tall plants like bamboo or snake plants to create a sense of seclusion from neighbors.
- Install lighting by wrapping string lights around the railing or using command hooks to drape them across the ceiling for a canopy effect.
- Maximize vertical space by hanging herb planters on the walls; this adds greenery without taking up precious floor real estate.
- Layer a small outdoor rug to cover the standard concrete floor, instantly making the space feel like an extension of your indoor living room.
- Incorporate a small side table or a ‘railing bar’ where you can safely set drinks or a book while enjoying the sunset.
How to Ice Easter Cookies for a Charming Spring Party

Why we love this
The art of cookie decorating is a whimsical journey into color and texture that brings out the child in everyone. These Easter treats are more than just sugar and butter; they are tiny edible masterpieces that smell of vanilla bean and lemon zest. The snap of the royal icing, the smooth velvet finish of a flood coat, and the delicate pastel hues of duck-egg blue and soft lavender create a sensory delight that is almost—but not quite—too pretty to eat.
Essential Elements:
- Sugar cookies cut into bunny, egg, and flower shapes
- Royal icing (stiff and flooding consistencies)
- Gel food coloring in pastel shades
- Piping bags and fine-tipped nozzles
- Scribe tool or toothpick for smoothing
- Edible gold leaf or pearl sprinkles
How to make it
- Bake your sugar cookies at least a day in advance to ensure they are completely cool and the fats have settled, preventing the icing from bleeding.
- Prepare your royal icing and divide it into bowls; mix your colors using gel paste, which provides vibrant pigment without thinning the icing.
- Create two consistencies: a ‘piping’ icing (like toothpaste) for outlines and a ‘flood’ icing (like honey) to fill in the centers.
- Outline the edge of the cookie with the stiff icing first, creating a dam that will hold the thinner icing in place.
- Fill the center with the flood icing, using a scribe tool to pop any air bubbles and push the icing into the corners for a perfectly smooth surface.
- Allow the base coat to dry for at least 6 hours before adding detailed decorations like flower petals, bunny whiskers, or gold leaf accents.
How to Personalize Your Graduation Cap for a Memorable Ceremony

Why we love this
A graduation cap is a blank canvas representing years of hard work, late nights, and the excitement of a new beginning. We love the tactile process of layering cardstock, glittering vinyl, and meaningful quotes to tell a personal story. It’s a moment of creative closure where you can literally wear your achievements and your dreams, making you stand out in a sea of polyester gowns with a design that reflects your unique spirit and future path.
Essential Elements:
- Sturdy cardstock (to protect the original cap)
- Strong adhesive or a hot glue gun
- Vinyl letters or a calligraphy marker
- Decorative elements (3D flowers, rhinestones, or charms)
- Fabric-safe double-sided tape
- Scissors or a precision cutting tool
How to make it
- Trace the top of your graduation cap onto a piece of cardstock and cut it out, including the small hole in the center for the button; this allows you to decorate without ruining the cap itself.
- Plan your layout on the cardstock before gluing anything down; place your main quote in the center or along the bottom edge for readability.
- Use a high-quality adhesive to attach your background fabric or paper, ensuring there are no ripples or air bubbles.
- Apply your lettering carefully; if using vinyl, use transfer tape for perfect alignment, or if hand-lettering, sketch lightly with a pencil first.
- Layer your 3D elements, such as silk flowers in the corners or rhinestones along the border, using hot glue for a secure hold that will withstand the wind during the ceremony.
- Secure the decorated cardstock to the actual cap using double-sided fabric tape, ensuring the edges are flush and the button is accessible for the tassel.
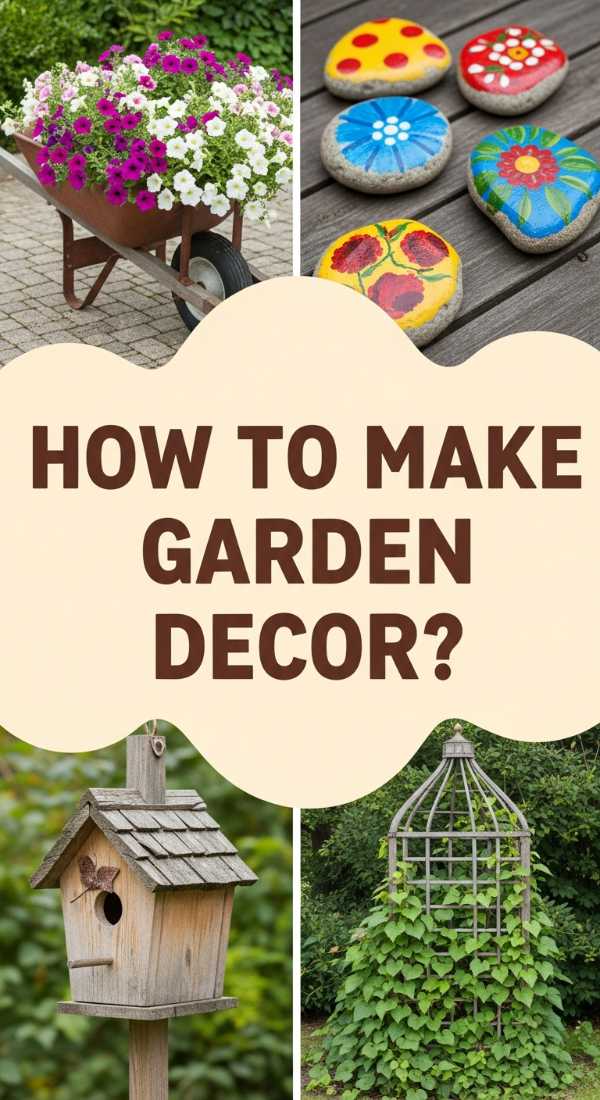
How to Build DIY Garden Decor for a Whimsical Outdoor Space
Why we love this
There is a special kind of magic in a garden that feels lived-in and loved, filled with pieces that carry a handmade soul. DIY garden decor turns a simple patch of dirt into a fairyland where the scent of damp earth and blooming jasmine meets the visual delight of upcycled treasures. Whether it’s a hand-painted stepping stone or a rustic wind chime, these elements add layers of personality and whimsy that make your garden feel like a private sanctuary for both you and the local songbirds.
Essential Elements:
- Terracotta pots of varying sizes
- Weather-resistant acrylic paints
- River stones or smooth pebbles
- Natural twine or copper wire
- Recycled glass bottles or vintage tea sets
- Protective outdoor sealant spray
How to make it
- Select your project, such as a ‘potted plant tower’ or hand-painted garden markers, and gather all materials in a shaded outdoor workspace.
- If painting terracotta, ensure the pots are clean and dry; apply a base coat of outdoor primer to prevent the porous clay from soaking up all your color.
- Create whimsical patterns like dots, stripes, or floral motifs using acrylic paint, allowing each layer to dry completely before adding details.
- For a recycled wind chime, drill small holes in the bottom of vintage teacups and thread them with copper wire, adding beads or old keys for a musical tinkling sound.
- Seal all painted or decorated items with a clear, UV-resistant outdoor spray to protect your hard work from rain and sun damage.
- Arrange your new decor throughout the garden, placing items at different heights and nestled amongst the foliage to create a sense of discovery for visitors.
How to Arrange Lemon Table Decor for a Zesty Summer Vibe

Why we love this
Nothing says summer quite like the bright, punchy yellow of fresh lemons against a crisp white backdrop. This look is a sensory explosion—the tart, clean aroma of citrus filling the air and the vibrant, sunny aesthetic that instantly boosts the mood of any gathering. It’s a design style that feels effortlessly chic and incredibly fresh, perfect for a long lunch under the sun where the food is light and the conversation flows as freely as the chilled lemonade.
Essential Elements:
- Large bag of fresh, bright yellow lemons
- Crisp white linen tablecloth
- Blue and white patterned plates (Chinoiserie style)
- Clear glass vases or wooden dough bowls
- Fresh sprigs of mint or rosemary for greenery
- Yellow taper candles or napkins
How to make it
- Lay down a clean white tablecloth to serve as a high-contrast base for the yellow and blue accents.
- Create a centerpiece by filling a long wooden dough bowl or a glass hurricane vase with whole lemons; don’t be afraid to let some ‘overflow’ onto the table for an organic look.
- Incorporate greenery by tucking sprigs of fresh mint, eucalyptus, or olive branches between the lemons to add texture and a secondary scent layer.
- Slice a few lemons into rounds and place them inside your water or cocktail pitchers for a cohesive visual and a hint of flavor.
- Use blue and white patterned dinnerware to lean into a classic ‘Mediterranean’ aesthetic, which pairs perfectly with the citrus theme.
- Finish the look with yellow napkins or small lemon-shaped place card holders to tie the entire color palette together from end to end.
How to Style a Cute Camper for the Ultimate Road Trip Adventure
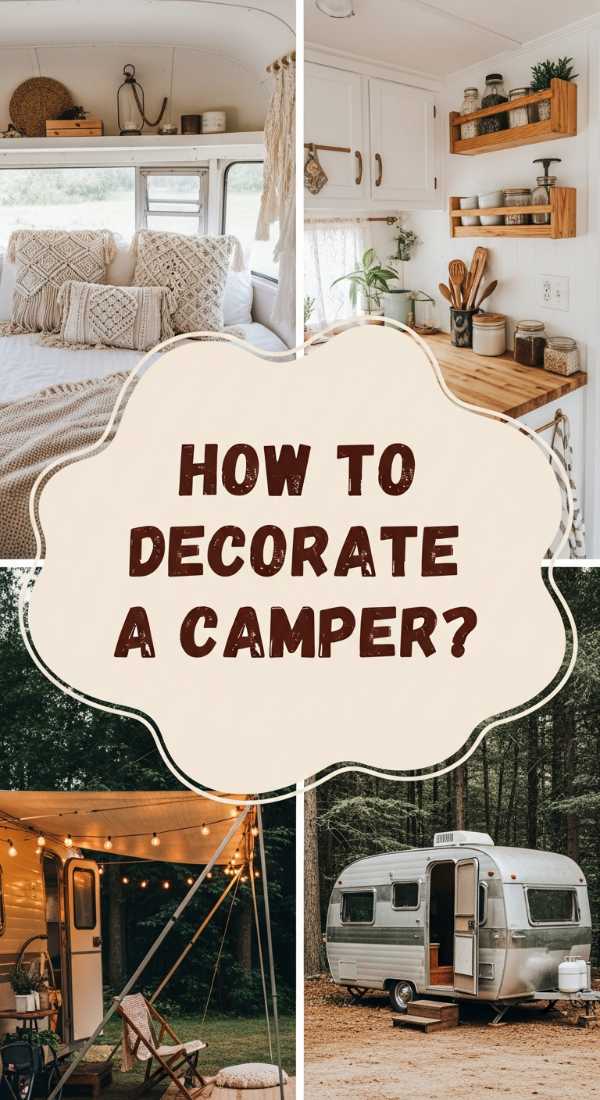
Why we love this
Transforming a camper into a tiny home on wheels is the ultimate expression of freedom and cozy living. We love the challenge of making a small space feel expansive and personal through the use of boho textures, macramé, and warm wood tones. It’s about creating a space that smells like campfire coffee and pine needles, where every inch is optimized for comfort and every window frame offers a new, breathtaking view of the world outside your door.
Essential Elements:
- Bohemian style throw rugs and pillows
- Magnetic or suction-cup spice racks
- Battery-operated fairy lights
- Macramé plant hangers (with faux plants to avoid spills)
- Compact, multi-functional kitchenware
- Personal photos and travel maps
How to make it
- Deep clean the interior and remove any bulky, unnecessary factory furniture to open up the floor plan for a more custom feel.
- Install peel-and-stick backsplash tile in the kitchenette area for an instant style upgrade that is lightweight and easy to clean.
- Use command hooks to hang fairy lights along the ceiling and walls, providing soft, ambient light that doesn’t drain the camper’s main battery.
- Swap out standard cabinet hardware for unique brass or leather pulls to add a touch of luxury to the small space.
- Organize with ‘bins and baskets’ to keep everything secure during transit; use non-slip liners inside drawers to prevent items from sliding.
- Layer the sleeping nook with high-thread-count linens and a heavy wool blanket, ensuring the space feels like a true sanctuary after a long day of driving.
How to Embellish a Cowgirl Hat for a Stylish Festival Look

Why we love this
The embellished cowgirl hat is the crown jewel of festival fashion, blending rugged Western roots with modern, high-glam sparkle. We love the way sunlight catches on a rhinestone trim or the movement of a suede fringe as you dance through the dust. It’s a statement piece that feels empowering and artistic, turning a functional accessory into a personalized work of art that tells everyone you’re here to celebrate in style.
Essential Elements:
- Felt or straw cowgirl hat
- Rhinestone chain or crystal trim
- Dried flowers or silk blooms
- Leather or suede cord
- Strong fabric glue (like E6000)
- Feathers or vintage brooches
How to make it
- Choose a hat that fits securely and decide on a theme—will it be ‘Boho Chic’ with flowers or ‘Midnight Glam’ with silver sparkles?
- Start by wrapping a new band around the base of the crown; this could be a braided leather cord or a strip of velvet ribbon.
- Apply rhinestone trim along the edge of the brim using a toothpick to place small dots of glue for a clean, professional finish.
- Cluster decorative elements like dried starflowers or small feathers on one side of the hat band, securing them with hot glue for a sturdy hold.
- Add a personal touch by pinning a vintage brooch or a meaningful charm to the front of the band.
- Let the glue cure for at least 24 hours before wearing it to ensure no stones or flowers come loose during the excitement of the festival.
How to Set a Spring Table for a Fresh Seasonal Gathering
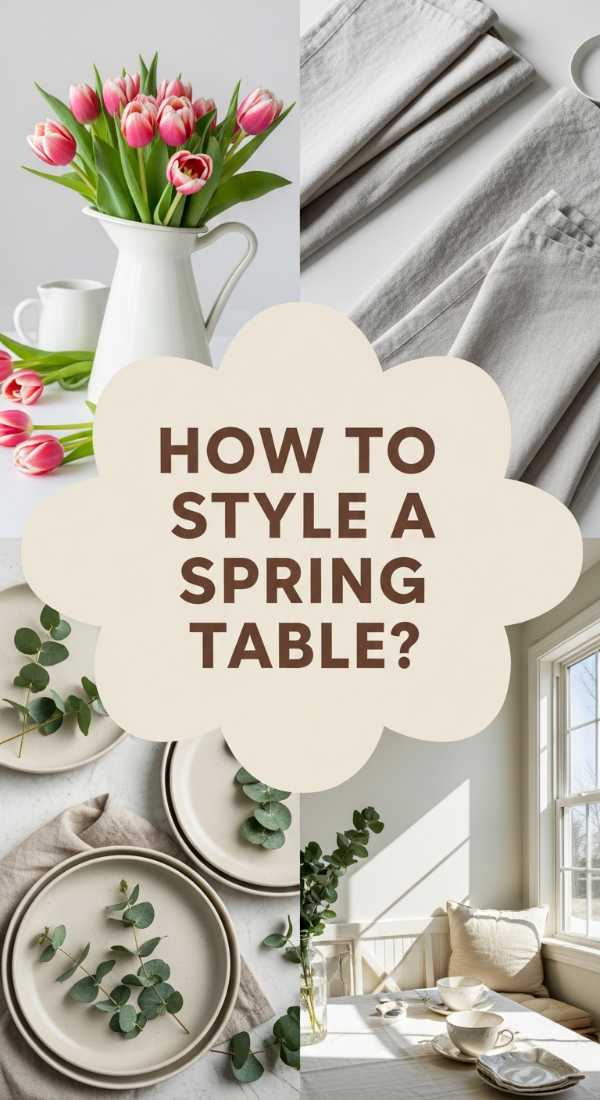
Why we love this
Setting a spring table is like welcoming a long-lost friend back into your home. It’s all about the lightness of being—woven textures that mimic birds’ nests, the soft clink of ceramic against wood, and a palette of mossy greens and sky blues. This setting feels like a breath of fresh air, evoking the feeling of a garden party where the air is cool but the sun is warm, and every detail feels like a celebration of life’s simple, beautiful renewal.
Essential Elements:
- Woven seagrass placemats
- Matte ceramic plates in earthy tones
- Lightweight linen runner
- Small glass bud vases
- Seasonal greenery (tulips, daffodils, or willow branches)
- Taper candles in muted shades
How to make it
- Begin with a neutral base, such as a bare wooden table or a light cream runner, to allow the spring colors to truly pop.
- Layer woven placemats at each setting to introduce an organic, tactile element that grounds the design.
- Instead of one large centerpiece, place several small bud vases down the length of the table, each holding a single variety of spring bloom.
- Fold napkins loosely and tie them with a piece of natural twine, perhaps tucking in a small green leaf or a pussy willow branch for a rustic touch.
- Space out your taper candles in staggered heights to create visual interest and a soft, flickering glow as the sun sets.
- Add a final touch by placing a small, chocolate-covered almond or a tiny nest with a speckled egg at each place setting as a sweet seasonal surprise for your guests.
Cultivating Your Own Seasonal Story
As we move through the year, let these ideas serve as a compass for your own creativity. Lifestyle design isn’t about perfection; it’s about the soul you pour into your soil and the stories you tell through the things you choose to surround yourself with. Whether you are icing a cookie or styling a camper, do it with the intention of making your daily life a little more beautiful, one season at a time.