
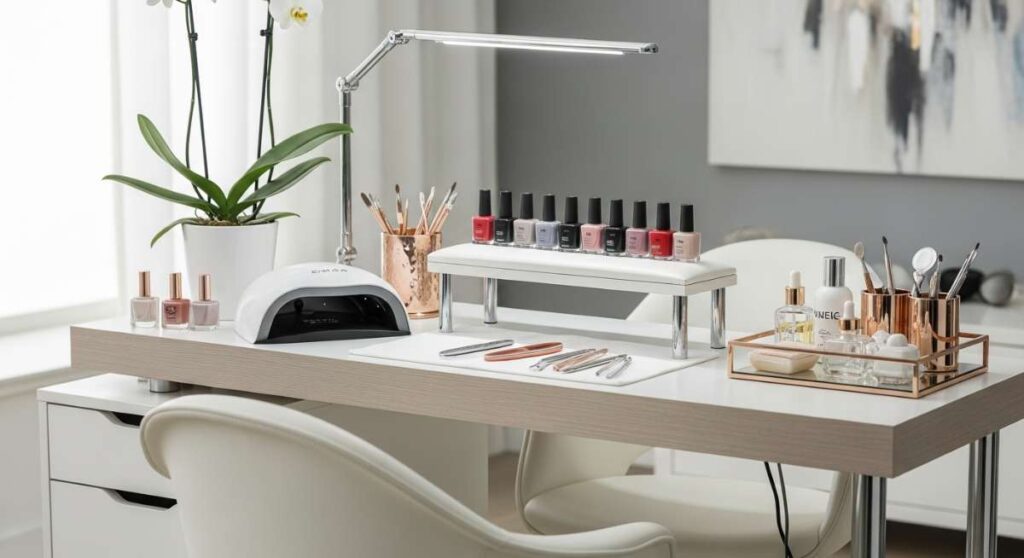
From Bare to Bespoke: Crafting Your High-End At-Home Manicure Station
Hi loves, welcome back to our little corner of the internet. There is something so deeply restorative about carving out a space just for you, isn’t there? Lately, I’ve been finding my peace in the quiet ritual of a Sunday afternoon manicure. It’s more than just polish; it’s about turning a simple desk or a cozy corner of your vanity into a high-end sanctuary where you can breathe, create, and feel utterly pampered.
We spend so much of our time taking care of everyone else, and today, I want to help you curate a DIY elegant nail studio that feels like a cloud-soft embrace. Whether you’re a seasoned artist or just starting to play with color, your hands deserve this moment of bespoke beauty. Let’s dive into some of my favorite designs that will make you feel like you just stepped out of a luxury boutique salon.
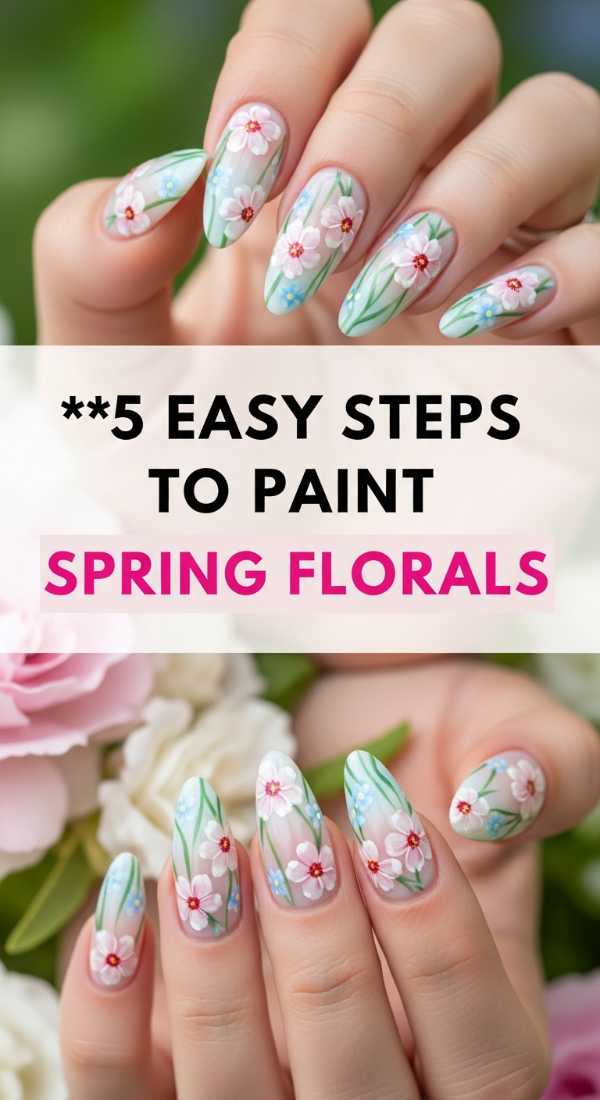
Blossom at Your Fingertips: Spring Florals
Why to love these Nails:
Spring florals are like a breath of fresh air for your soul. They bring a touch of nature’s gentleness right to your fingertips, reminding us that even the smallest bloom is a miracle of design.
Essential Items:
- Pastel pink and yellow gel polish
- Fine-tipped dotting tool
- Non-wipe top coat
- UV/LED Lamp
How to Prepare:
- Apply a sheer nude base coat and cure.
- Use a large dotting tool to place five white dots in a circle.
- Add a tiny yellow dot in the center for the pollen.
- Use a thin brush to pull the white dots slightly toward the center.
- Seal with a high-shine top coat and cure for 60 seconds.
Budget Range
- Essie Gel Couture Nude ($13)
- Nail Art Dotting Tool Set ($6)
- Beetles Pastel Gel Polish Set ($15)
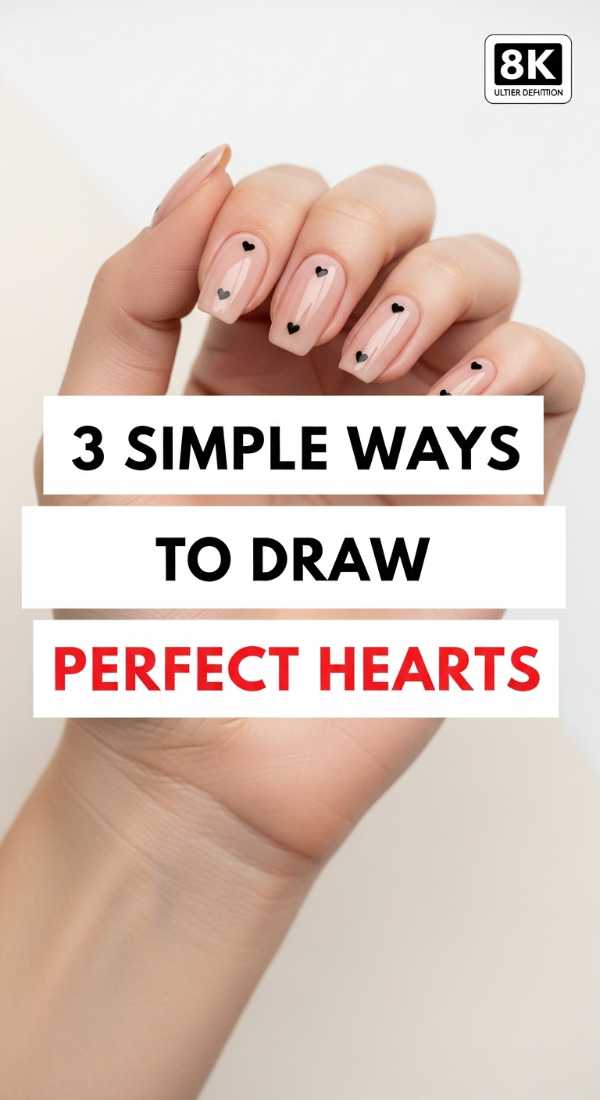
Sweetheart Simplicity: Perfect Hearts
Why to love these Nails:
There is nothing more classic or charming than a tiny heart. It’s a whisper of self-love that follows you throughout the day, a little secret shared between you and your hands.
Essential Items:
- Classic red or soft blush polish
- Toothpicks or a small dotting tool
- Steady hand and a deep breath
How to Prepare:
- Dip your dotting tool in polish and place two dots side-by-side.
- Using a toothpick, drag the bottom of each dot downward to meet in a ‘V’ shape.
- Fill in the center to smooth out the heart shape.
Budget Range
- OPI Big Apple Red ($11)
- Generic Wooden Toothpicks ($2)
- Sally Hansen Top Coat ($5)
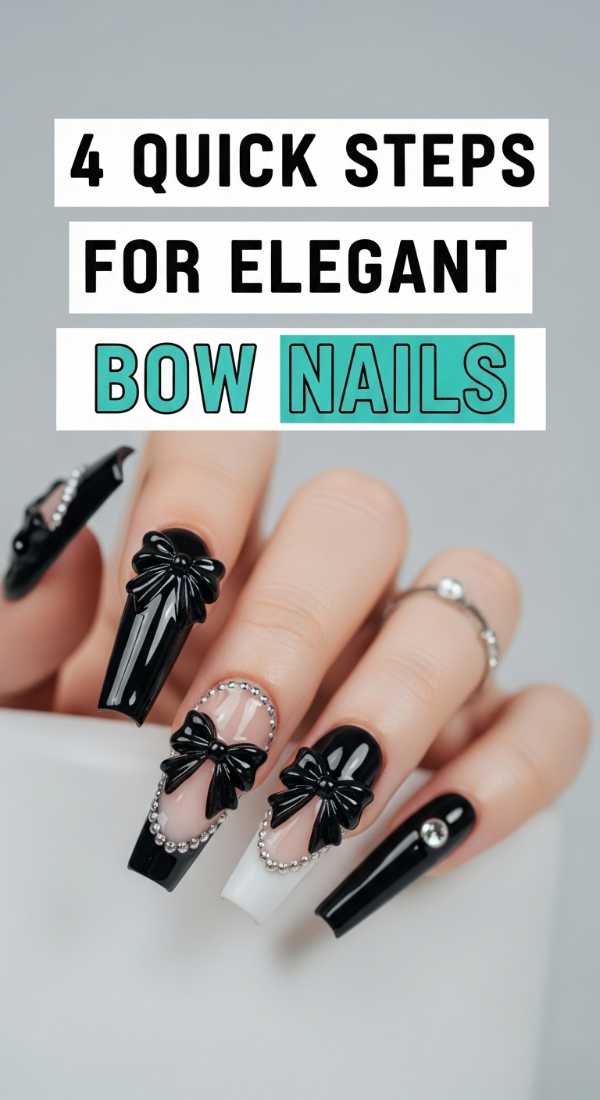
Coquette Charm: Elegant Bow Nails
Why to love these Nails:
The coquette aesthetic is all about embracing your most delicate, feminine side. These bows are soft, romantic, and look like they belong on a silk ribbon in a Parisian garden.
Essential Items:
- White liner gel
- Ultra-fine detail brush
- Pale pink base color
How to Prepare:
- Paint your base in a soft petal pink and cure.
- Draw two small triangles meeting at the points in the center of the nail.
- Add two soft lines flowing downward from the center for the ribbons.
- Place a tiny dot in the center where the ‘knot’ would be and cure.
Budget Range
- Zoya Nail Lacquer in ‘Bela’ ($12)
- Professional Detail Brush Set ($9)
- Modelones White Liner Gel ($8)
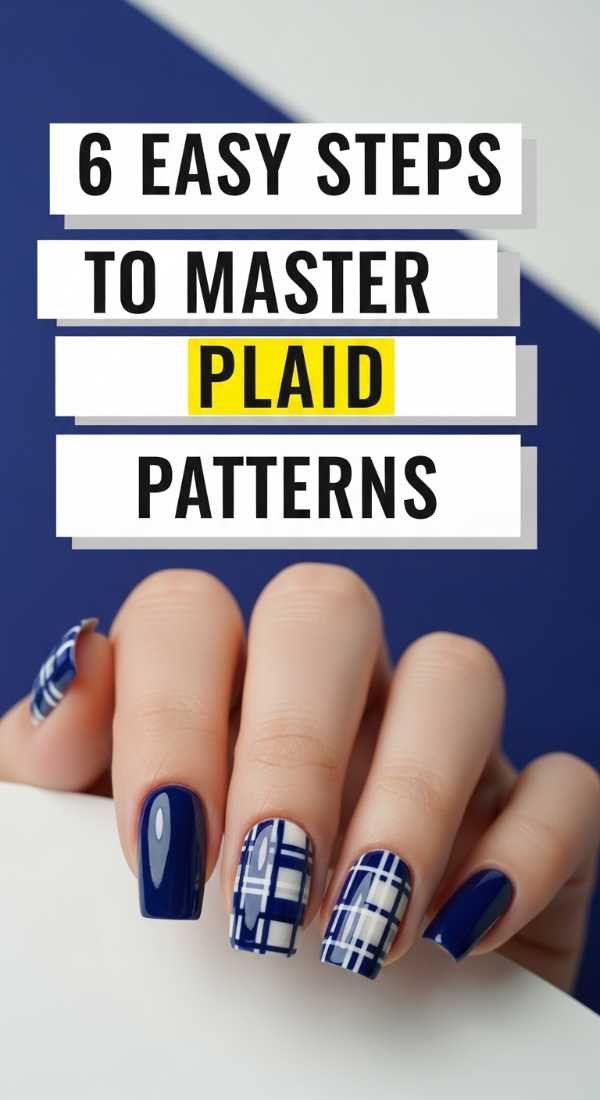
Checked in Luxury: Master Plaid Patterns
Why to love these Nails:
Plaid feels sophisticated and structured, yet when done in soft tones, it’s incredibly cozy. It’s the manicure equivalent of wrapping yourself in a cashmere throw.
Essential Items:
- Three contrasting shades (e.g., beige, white, and gold)
- Striping tape or a long-hair liner brush
How to Prepare:
- Apply your base color and ensure it is completely dry or cured.
- Paint two vertical lines using your secondary color.
- Paint two horizontal lines crossing the vertical ones.
- Use a third color to add thinner accent lines inside the grid.
- Clean up any edges with a brush dipped in acetone.
- Seal with a matte top coat for a fabric-like finish.
Budget Range
- Holler and Glow Striping Tape ($5)
- Revlon ColorStay Gel Envy ($8)
- OPI Matte Top Coat ($11)
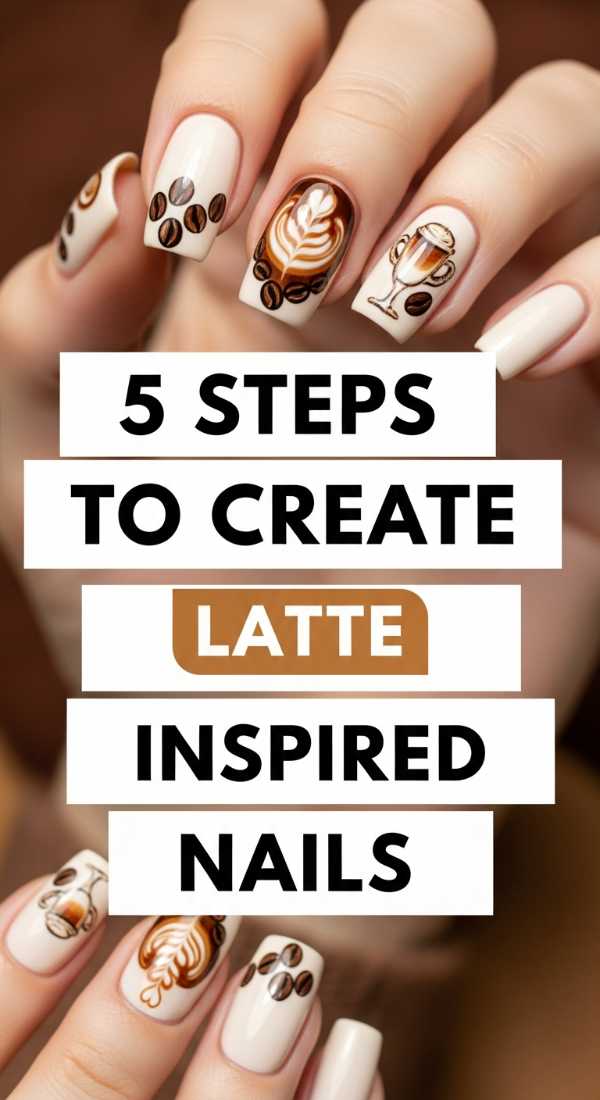
Creamy Comfort: Latte Inspired Nails
Why to love these Nails:
Latte nails are for the girlies who live for that first sip of coffee in the morning. The warm browns and creamy tans are grounding, elegant, and perfectly ‘quiet luxury.’
Essential Items:
- Espresso brown polish
- Creamy tan polish
- Clear mixing gel or base coat
How to Prepare:
- Apply a coat of warm tan and do not cure yet.
- Drop three small beads of espresso brown onto the wet tan.
- Use a toothpick to swirl the colors together gently.
- Add a drop of clear base to create a ‘milky’ marble effect.
- Cure and finish with a high-gloss top coat.
Budget Range
- Cirque Colors ‘Coffee Talk’ Collection ($14)
- Gelish Foundation Base ($15)
- DND Gel Polish Duo ($12)
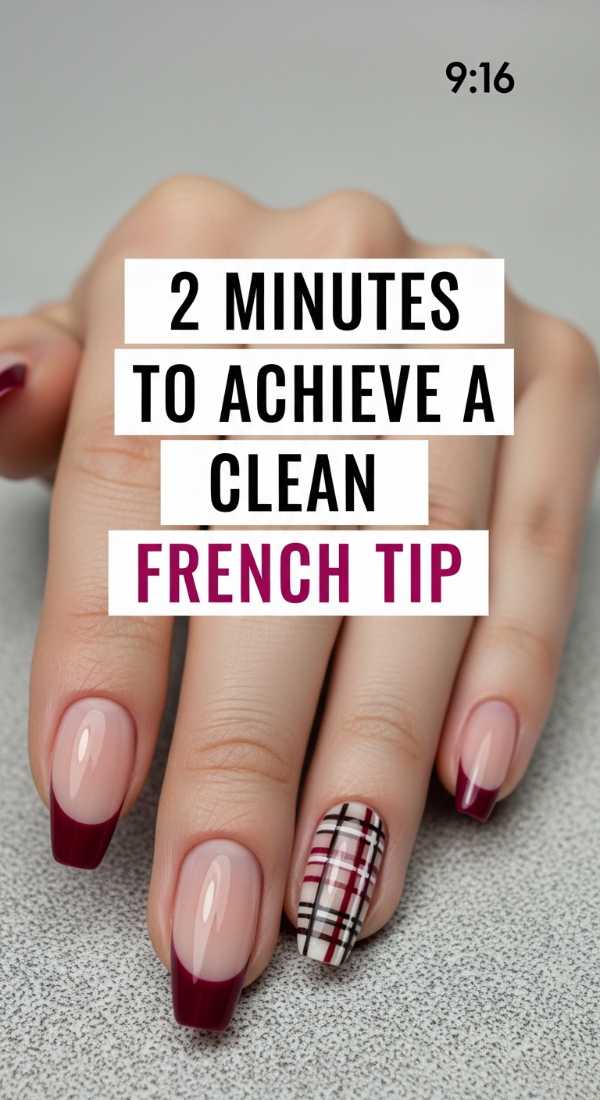
The Timeless Touch: Clean French Tip
Why to love these Nails:
A French tip is the ultimate ‘clean girl’ aesthetic. It’s polished, professional, and makes your hands look elongated and graceful in just minutes.
Essential Items:
- Silicone nail stamper
- Opaque white polish
- Sheer pink base
How to Prepare:
- Apply white polish onto the surface of your silicone stamper.
- Press your nail tip into the stamper at a 45-degree angle to create the perfect smile line.
Budget Range
- Clear Jelly Stamper ($10)
- Essie ‘Mademoiselle’ ($10)
- Sinful Colors Snow Me White ($3)
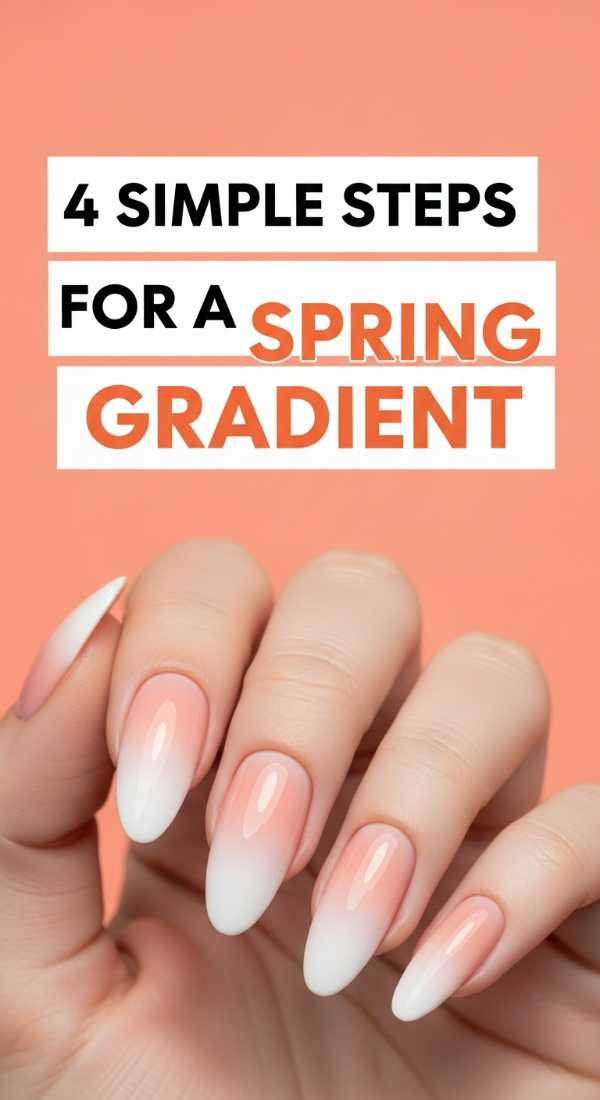
Ombré Dreams: Spring Gradient
Why to love these Nails:
Gradients are like watching a sunset on your nails. They transition so smoothly from one hope-filled color to the next, perfect for welcoming the changing seasons.
Essential Items:
- Makeup sponge
- Two coordinating spring colors (like lavender and mint)
- Liquid latex or tape for skin protection
How to Prepare:
- Paint the lighter color as your base and let dry.
- Apply the two colors in horizontal stripes onto a makeup sponge.
- Dab the sponge onto your nail repeatedly to blend.
- Peel off skin protection and finish with a top coat to smooth the texture.
Budget Range
- Wedge Makeup Sponges ($4)
- Maniology Liquid Latex ($9)
- Olive & June Pastel Set ($40)
Dainty Details: Professional Polka Dots
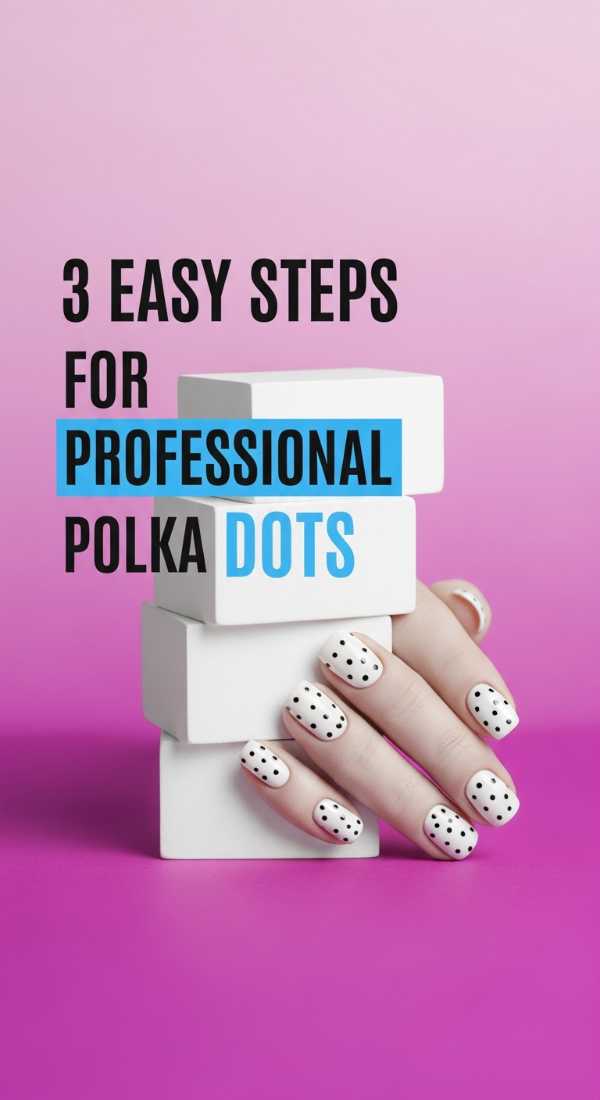
Why to love these Nails:
Polka dots are playful and nostalgic. They remind us not to take life too seriously and to find the joy in the repetitive, rhythmic patterns of our day.
Essential Items:
- Dotting tools of various sizes
- Contrasting polish colors
How to Prepare:
- Apply your base color and let dry.
- Dip the dotting tool into the second color and tap lightly in a staggered pattern.
- Vary the size of the dots for a more modern, bubbly look.
Budget Range
- China Glaze Nail Lacquer ($8)
- Nail Art Dotting Pens ($7)
- Target Brand Acetone ($3)
Dazzling Radiance: Apply Glitter Like a Pro
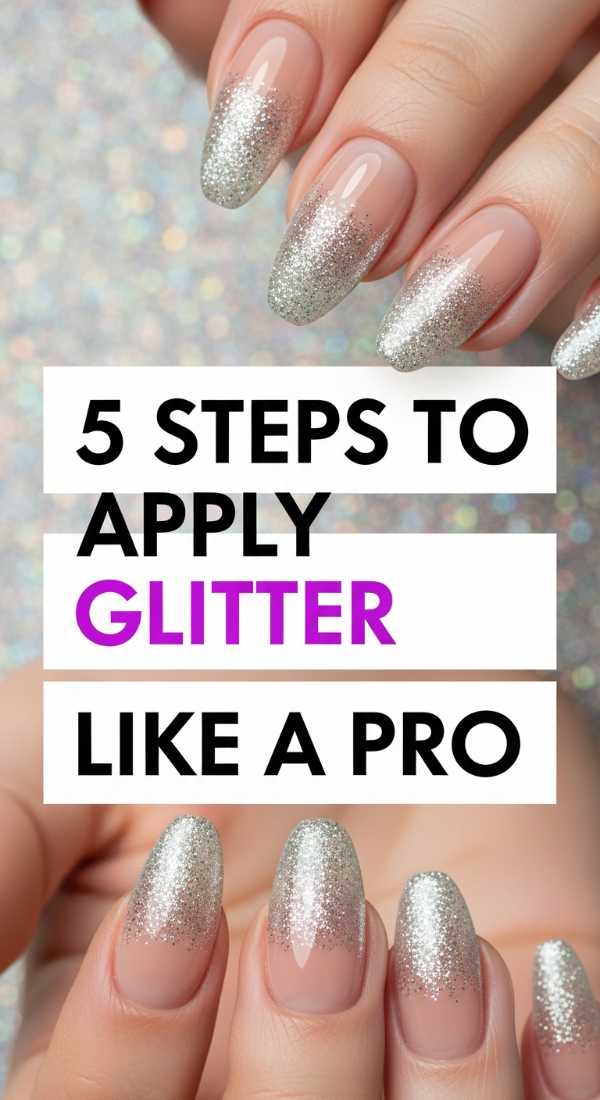
Why to love these Nails:
Sometimes, we just need a little sparkle to brighten the shadows. Applying glitter correctly ensures you look expensive and radiant, not messy.
Essential Items:
- Loose glitter or heavy glitter polish
- Makeup sponge
- Peel-off base coat (optional)
How to Prepare:
- Apply a base color that matches your glitter.
- Dab glitter polish onto a makeup sponge to soak up excess clear liquid.
- Press the sponge onto the nail for maximum glitter density.
- Repeat for a second layer if needed.
- Apply two coats of top coat to ensure a smooth, glass-like finish.
Budget Range
- ILNP Holographic Glitter ($12)
- Seche Vite Dry Fast Top Coat ($10)
- Holo Taco Glitters ($14)
Modern Muse: Abstract Spring Art
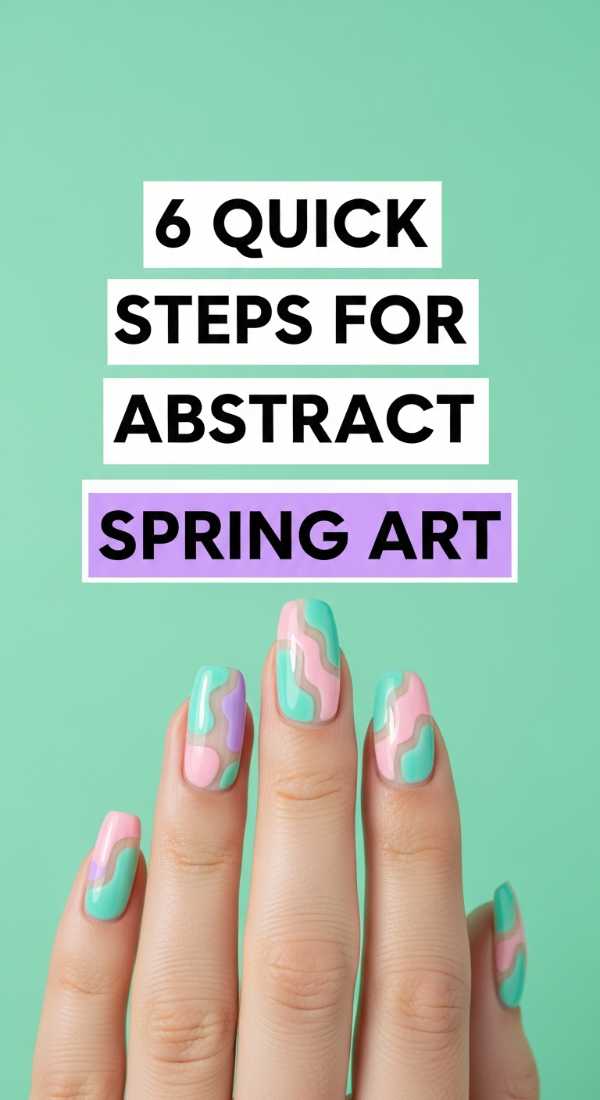
Why to love these Nails:
Abstract art is about freedom. There are no mistakes here, only ‘happy accidents’ that reflect your unique creative spirit and the beautiful messiness of life.
Essential Items:
- 3-4 complementary colors
- Fine liner brush
- Matte or glossy top coat
How to Prepare:
- Paint an irregular ‘blob’ of your first color on one side of the nail.
- Add a thin, curved line in a second color crossing the first.
- Place a small dot or a tiny gold flake for a focal point.
- Repeat differently on every nail for a mismatched gallery look.
- Cure and seal.
- Hydrate your cuticles for that final gallery-ready glow.
Budget Range
- Gold Leaf Flakes ($6)
- Lights Lacquer Polish ($13)
- Cuccio Revitalize Cuticle Oil ($10)
Embrace Your Inner Artist
Creating your bespoke nail station isn’t just about the aesthetics; it’s about the feeling of empowerment that comes from mastering a new skill. I hope these steps inspire you to light a candle, put on your favorite playlist, and treat your hands to the luxury they deserve. You are the artist of your own life, loves—every brushstroke is a testament to your beauty. Until next time, keep shining!