
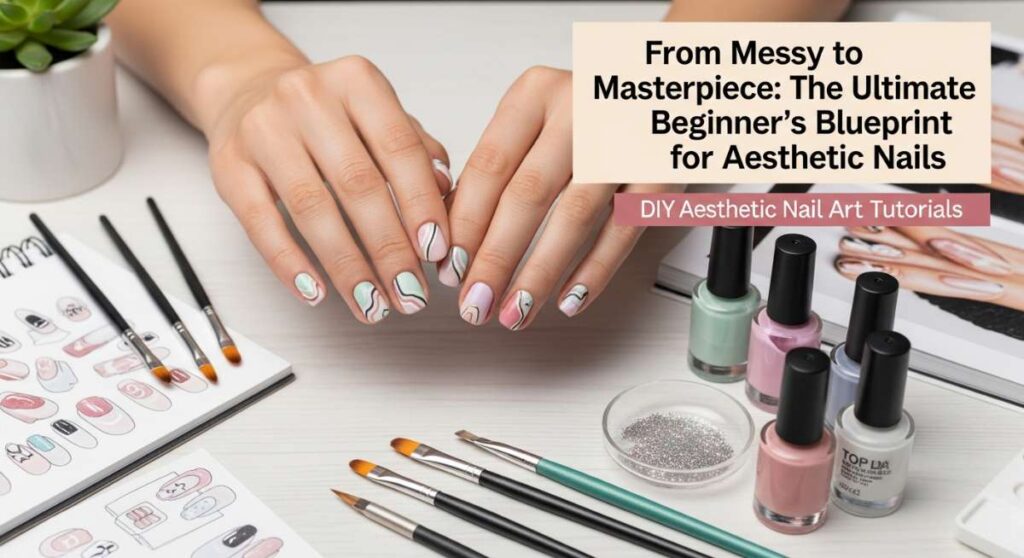
From Messy to Masterpiece: The Ultimate Beginner’s Blueprint for Aesthetic Nails
Hi, my sweet loves. Pull up a chair and let’s take a deep breath together. You know those moments when you look down at your hands and they just feel… unfinished? I’ve spent so many afternoons feeling like salon-quality nails were a luxury reserved for someone else, someone with steadier hands or a bigger budget. But I realized something beautiful: our hands are the tools we use to create our lives, and decorating them is a form of self-love that we all deserve to enjoy right in the comfort of our own sun-drenched living rooms.
Today, I’m wrapping you in a warm, cloud-soft embrace and walking you through the magic of DIY aesthetic nail art. We are moving away from the frustration of messy cuticles and toward the joy of a masterpiece created by you. Whether you’re sipping a warm latte or listening to your favorite soft indie playlist, let’s turn your vanity into a sanctuary of creativity. You don’t need to be a professional to have nails that look like they belong on a curated mood board; you just need a little patience and a lot of heart.
Create 5 Pastel Almond Nails for Spring

Why to love these Nails:
Spring is like a soft whisper of new beginnings, and these pastel almond nails are the perfect way to echo that gentle transition. There is something so incredibly soothing about seeing a different soft hue on every finger—it feels like a little bouquet of wildflowers right at your fingertips. It’s a playful yet sophisticated look that brightens your mood every time you reach for your morning tea.
Essential Items:
- Pastel set (Lavender, Mint, Pale Yellow, Baby Pink, Sky Blue)
- Almond-shaped nail tips or a soft grit file
- Glossy top coat
- Nail dehydrator
How to Prepare:
- Shape your natural nails or apply almond-shaped tips for that elongated, elegant look.
- Apply a thin layer of base coat and let it dry completely.
- Paint each nail a different pastel shade, working in thin, even layers.
- Finish with a high-shine top coat to lock in that candy-coated glow.
Budget Range
- Essie Spring Collection: $9.00
- Glass Nail File: $6.50
- Beetles Gel Top Coat: $7.99
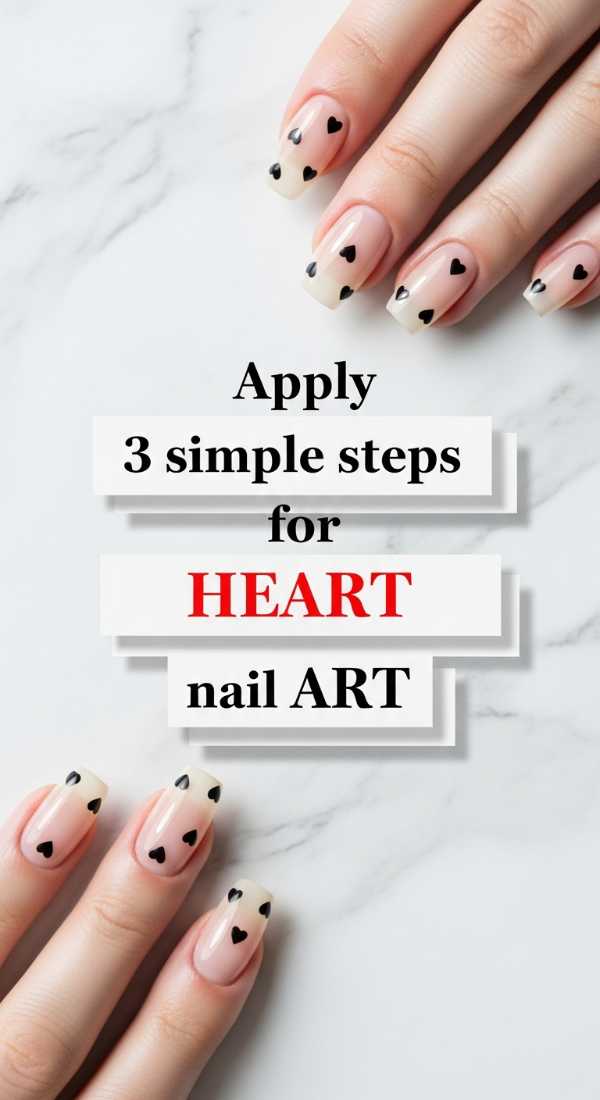
Apply 3 Simple Steps for Heart Nail Art
Why to love these Nails:
Sometimes we just need a little reminder to be kind to ourselves, and what better way than with tiny, hand-painted hearts? This design is proof that simplicity is the ultimate form of sophistication. It’s subtle, romantic, and sweet—perfect for those of us who love a ‘clean girl’ aesthetic with a touch of whimsy.
Essential Items:
- Sheer nude base polish
- Classic red or white polish
- A double-ended dotting tool
- Toothpick (optional backup)
How to Prepare:
- Apply two coats of your favorite sheer nude for a healthy, natural base.
- Dip your dotting tool into the red polish and place two dots side-by-side near the tip of your nail.
- Use a toothpick or the fine end of the dotting tool to drag the bottom of the dots together into a ‘V’ shape to form the heart.
Budget Range
- OPI Bubble Bath: $11.49
- Nail Art Dotting Tool Set: $4.99
- Sally Hansen Insta-Dri Red: $5.00
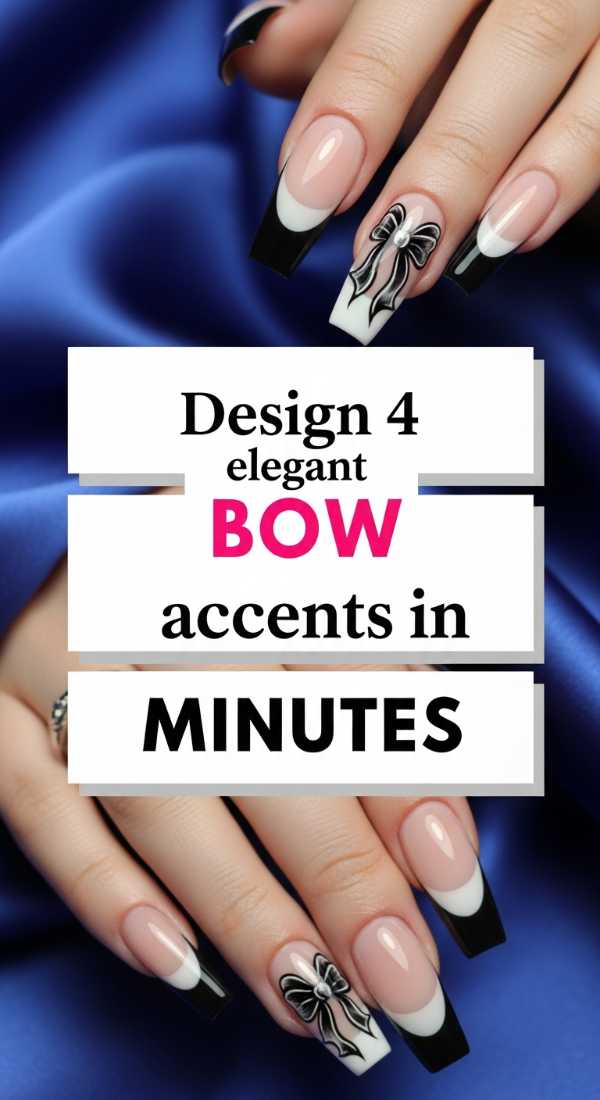
Design 4 Elegant Bow Accents in Minutes
Why to love these Nails:
Loves, the ‘coquette’ aesthetic is here to stay, and I am absolutely obsessed. Adding a delicate bow to your manicure is like wrapping a little gift for yourself. It’s elegant, vintage-inspired, and surprisingly easy to achieve even if you think you don’t have an artistic bone in your body. It adds an instant touch of femininity to any look.
Essential Items:
- Fine liner brush
- Creamy white or black polish
- Pearl stickers or small rhinestones
- Matte or glossy top coat
How to Prepare:
- Paint your base color and let it dry entirely.
- Using the fine liner brush, draw two small triangles meeting at the center.
- Add two soft, flowing ‘ribbons’ extending from the center of the triangles.
- Place a tiny pearl sticker in the center of the bow for a 3D luxury effect.
Budget Range
- Fine Liner Brush Set: $6.00
- Pearl Nail Decals: $5.00
- Zoya Cream Polish: $12.00
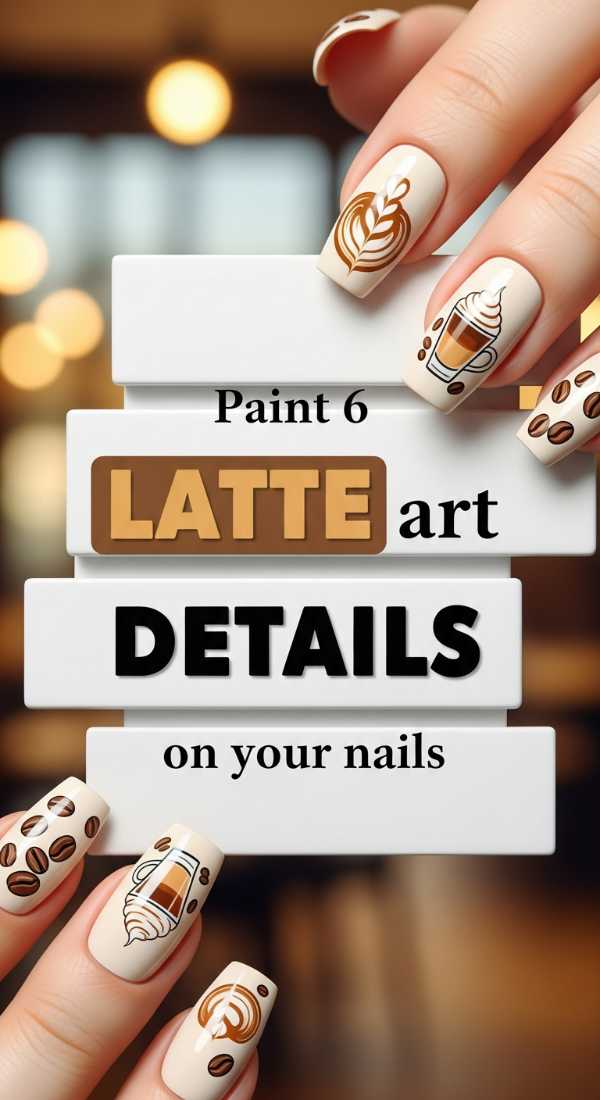
Paint 6 Latte Art Details on Your Nails
Why to love these Nails:
Is there anything more comforting than the swirl of cream into a hot cup of coffee? These latte-inspired nails bring that cozy, caffeinated warmth to your style. The earthy browns and creamy beiges are incredibly flattering on every skin tone and feel like a warm hug for your hands during those rainy afternoon studio sessions.
Essential Items:
- Mocha brown polish
- Cream/Off-white polish
- Caramel tan polish
- Thin detailing brush
How to Prepare:
- Apply a base of caramel tan.
- While the base is slightly tacky, drop small amounts of mocha and cream polish onto the nail.
- Use a detailing brush to swirl the colors together in a circular motion, mimicking a barista’s pour.
- Clean up the edges and seal with a glossy finish.
Budget Range
- Holo Taco Coffee Collection: $14.00
- Disposable Mixing Palettes: $4.00
- Seche Vite Dry Fast Top Coat: $9.95
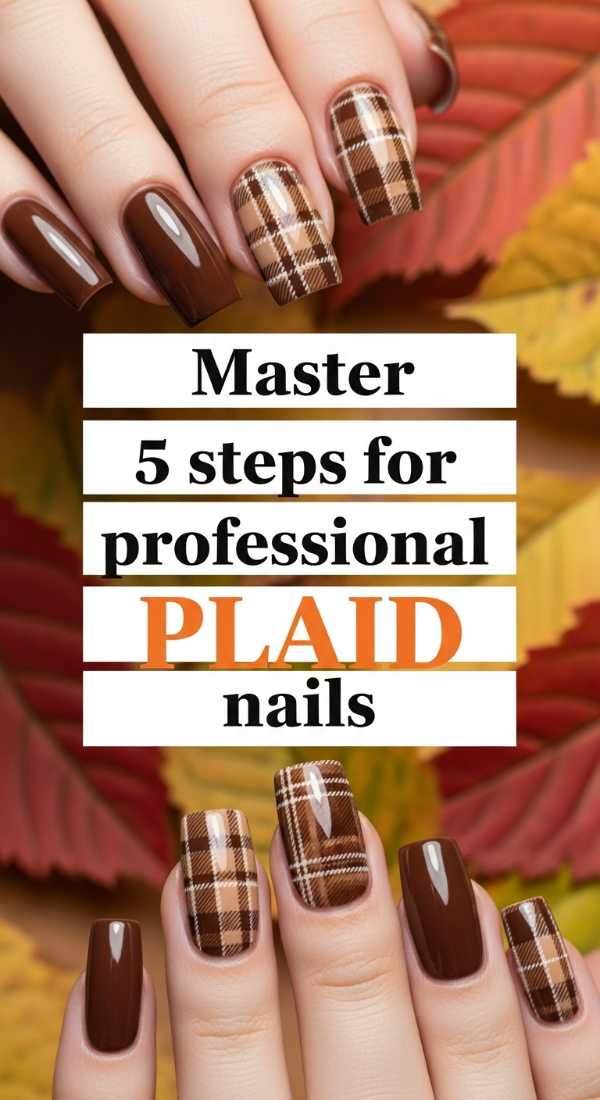
Master 5 Steps for Professional Plaid Nails
Why to love these Nails:
Plaid can feel intimidating, but I promise it’s just a series of straight lines and love. These nails give off such a structured, ‘dark academia’ vibe. They make you feel like you’re ready to conquer a library of old books or ace a big presentation while looking perfectly polished and put-together.
Essential Items:
- Forest green or Burgundy polish
- Gold metallic striping tape or polish
- Long striping brush
- Opaque white polish
How to Prepare:
- Start with a solid base of green or burgundy.
- Paint two thick vertical white lines using a steady hand.
- Cross those with two horizontal white lines to create a grid.
- Use the gold striping brush to add thin accent lines through the centers of the white stripes.
- Apply a thick layer of top coat to level out the texture of the lines.
Budget Range
- Long Striping Brush: $5.50
- ILNP Metallic Gold Polish: $10.00
- Orly Bonder Base Coat: $10.00
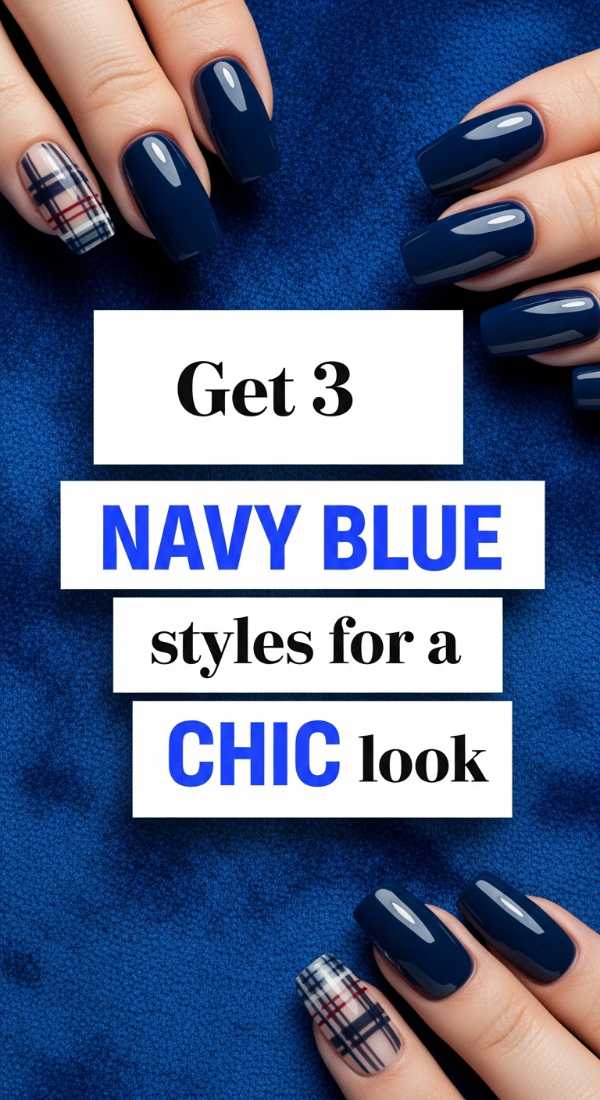
Get 3 Navy Blue Styles for a Chic Look
Why to love these Nails:
Navy blue is the secret weapon of the nail world. It’s deep, mysterious, and so much softer than black. It feels like the midnight sky or the deep ocean. These styles are for the moments when you want to feel powerful and sophisticated, yet still approachable and calm.
Essential Items:
- Deep Navy Cream polish
- Silver glitter topper
- Sponge for gradient effects
How to Prepare:
- For a classic look, apply two coats of navy for a full-coverage, glass-like finish.
- For a ‘starry night’ look, sponge a little silver glitter onto the tips of the navy base.
- For a matte look, use a velvet-finish top coat over the navy to give it a high-end fabric feel.
Budget Range
- OPI ‘Russian Navy’: $11.50
- Cosmetic Sponges: $3.00
- Matte Top Coat: $7.00
Prepare 4 Spring Floral Designs on Almond Nails

Why to love these Nails:
Ditsy florals are the soul of spring fashion. These tiny blossoms bring a sense of joy and vitality to your manicure. It’s like carrying a secret garden with you wherever you go. The almond shape provides the perfect ‘petal’ canvas for these delicate designs to bloom.
Essential Items:
- Soft sage green polish (for leaves)
- Pastel pink and yellow polish
- Small dotting tool
How to Prepare:
- Paint your nails a soft, neutral cream.
- Use a dotting tool to create five small pink dots in a circle to form a flower.
- Place a tiny yellow dot in the center.
- Use a toothpick to pull out tiny green ‘leaves’ from the sides of the flowers.
Budget Range
- Revlon Enamel: $6.00
- Dotting Tool Kit: $4.00
- Olive & June Bright Set: $15.00
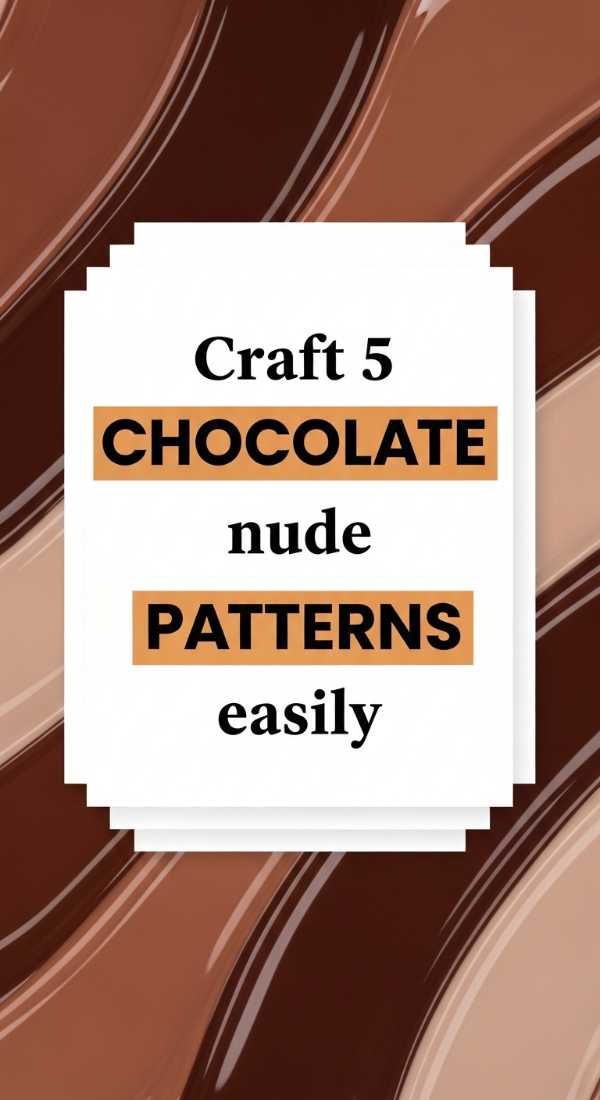
Craft 5 Chocolate Nude Patterns Easily
Why to love these Nails:
There is a richness in chocolate tones that feels so grounding. These patterns are for my loves who adore the ‘quiet luxury’ look. It’s monochromatic, soothing, and goes with every single outfit in your closet, from your favorite oversized sweater to your chicest silk dress.
Essential Items:
- Three shades of brown (Dark, Milk, Tan)
- Matte top coat
- Nail art sponge
How to Prepare:
- Apply the lightest tan as your base.
- Create an ‘aura’ effect by sponging a bit of milk chocolate into the center of the nail.
- Add a thin French tip using the darkest chocolate shade.
- Seal with matte top coat for a suede-like texture.
Budget Range
- Lights Lacquer ‘Coffee’ Trio: $20.00
- Matte Top Coat: $8.00
- Nail Buffer: $2.00
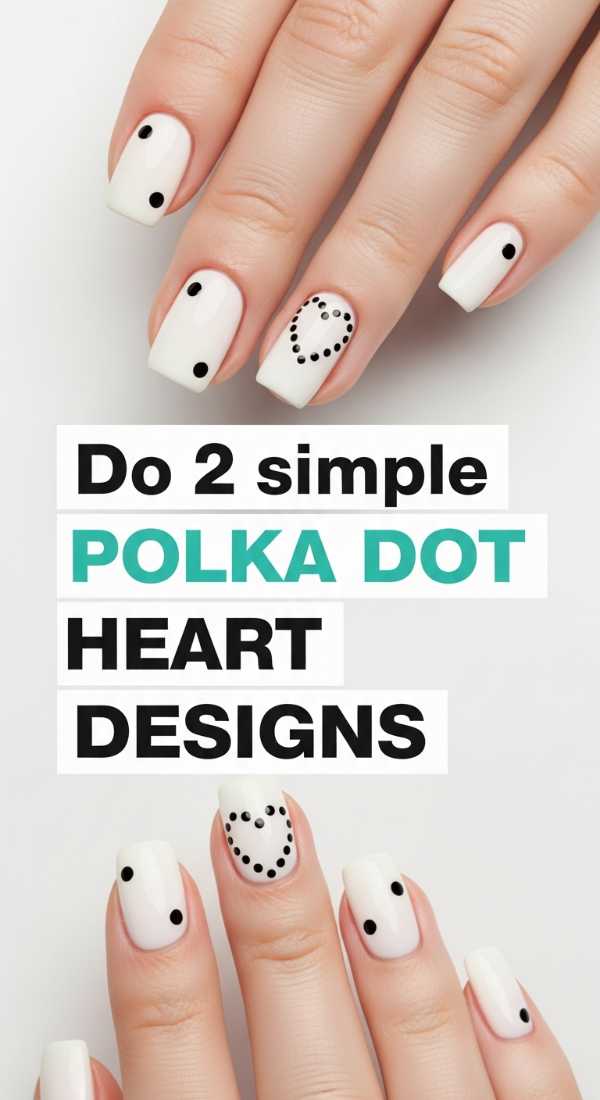
Do 2 Simple Polka Dot Heart Designs
Why to love these Nails:
If you’re in a rush but still want to feel cute, this is your go-to. Polka dots are inherently happy, and turning them into a heart is just pure magic. It’s a nostalgic, retro-inspired look that reminds me of vintage tea dresses and sun-soaked picnics.
Essential Items:
- White polish
- Red or Hot Pink polish
- Large dotting tool
How to Prepare:
- Paint your nails a crisp white.
- Create a heart shape using only dots: place them in the outline of a heart and leave the center ‘open’ for a modern look, or fill it in for a classic feel.
- Keep the dots spaced evenly for a professional, clean finish.
Budget Range
- Sinful Colors White: $2.50
- Essie Cherry Red: $9.00
- Wooden Dotting Sticks: $3.00
Add 3 Luxury Rhinestone Details to Your Manicure
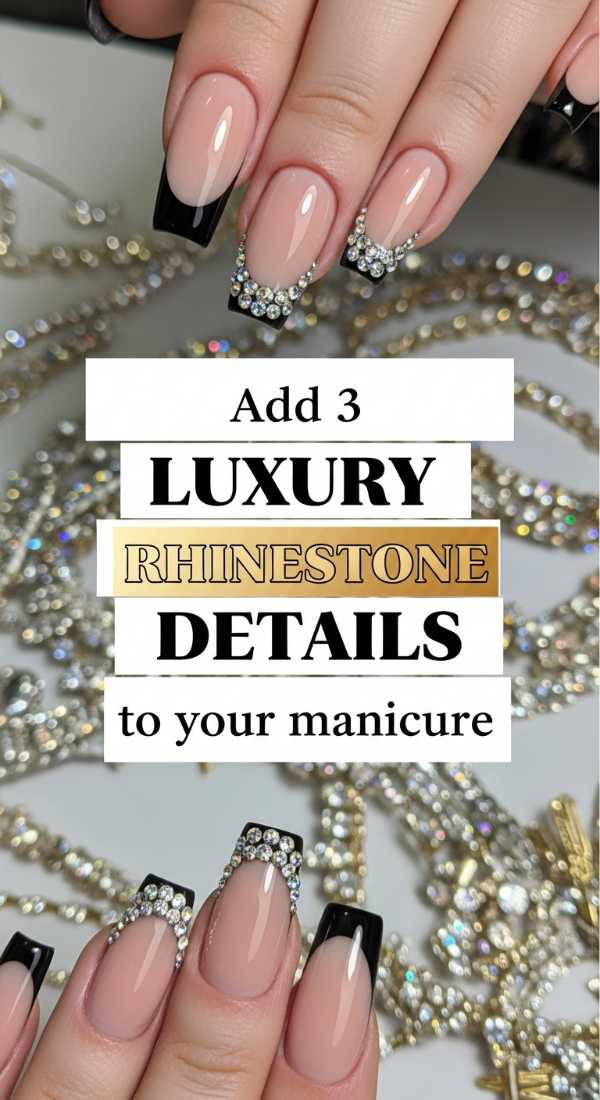
Why to love these Nails:
Sometimes, a girl just needs a little sparkle to feel like she’s glowing from the inside out. Rhinestones catch the light in the most breathtaking way, turning a simple manicure into a piece of jewelry. It’s the ultimate way to pamper yourself and add a touch of ‘main character’ energy to your day.
Essential Items:
- Flat-back crystal rhinestones
- Nail glue or a thick top coat
- Wax pencil or tweezers
How to Prepare:
- Apply your base color and top coat, then let it dry.
- Place a tiny dot of nail glue where you want the sparkle.
- Use a wax pencil to pick up the rhinestone and press it gently into the glue.
- Add one at the base of each nail for a subtle ‘royal’ look.
Budget Range
- Bulk Rhinestone Pack: $7.00
- Wax Rhinestone Picker: $4.00
- KDS Nail Glue: $3.00
A Soft Farewell to Your Messy Era
Sweetheart, I hope you feel inspired to take some time for yourself tonight. Remember, your nails don’t have to be perfect to be a masterpiece; they just have to be yours. Every stroke of the brush is a moment you’re spending on your own happiness. Don’t be afraid of the ‘messy’ middle—that’s where the growth happens. Tag me in your beautiful creations, and let’s keep blooming together. Stay soft, stay creative, and always remember that you are worthy of beautiful things.