
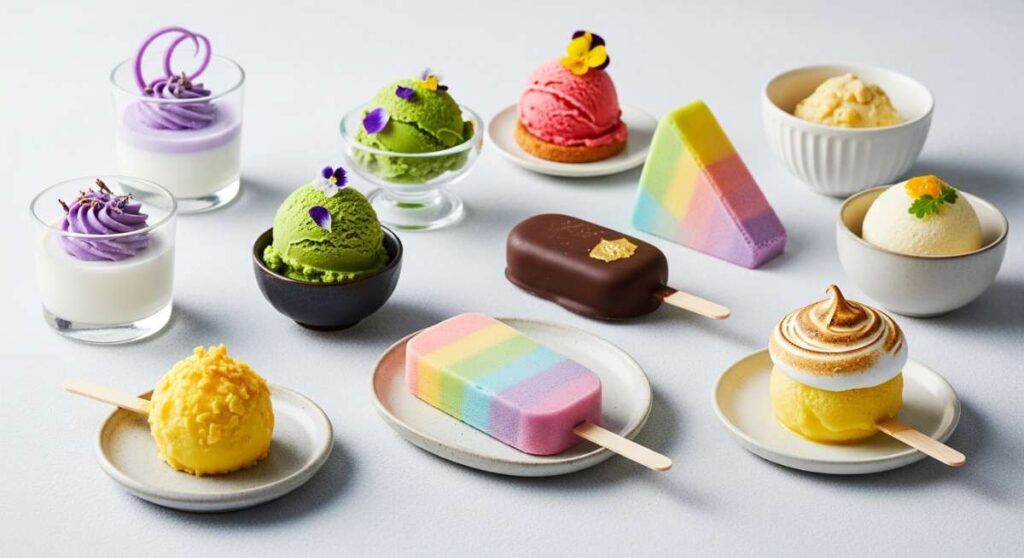
Hello, my loves. There is something so incredibly soul-soothing about the way a summer afternoon stretches out, isn’t there? The golden light filtering through the linen curtains, the hum of the bees in the garden, and that deep, quiet longing for something cool and sweet to mark the passing of the day. I’ve always believed that what we eat should be as beautiful as the life we’re trying to build, and nothing captures that aesthetic magic quite like a handcrafted frozen treat.
Today, I’m opening up my heart and my recipe book to share some of my most cherished creations with you. These aren’t just desserts; they are little frozen poems, designed to be held in your hands and savored slowly. Whether you’re hosting a sun-drenched brunch or just looking for a moment of peace after a long day, these dreamy frozen desserts will wrap you in a cloud-soft embrace of flavor and beauty. Let’s dive into these icy treasures together, shall we?
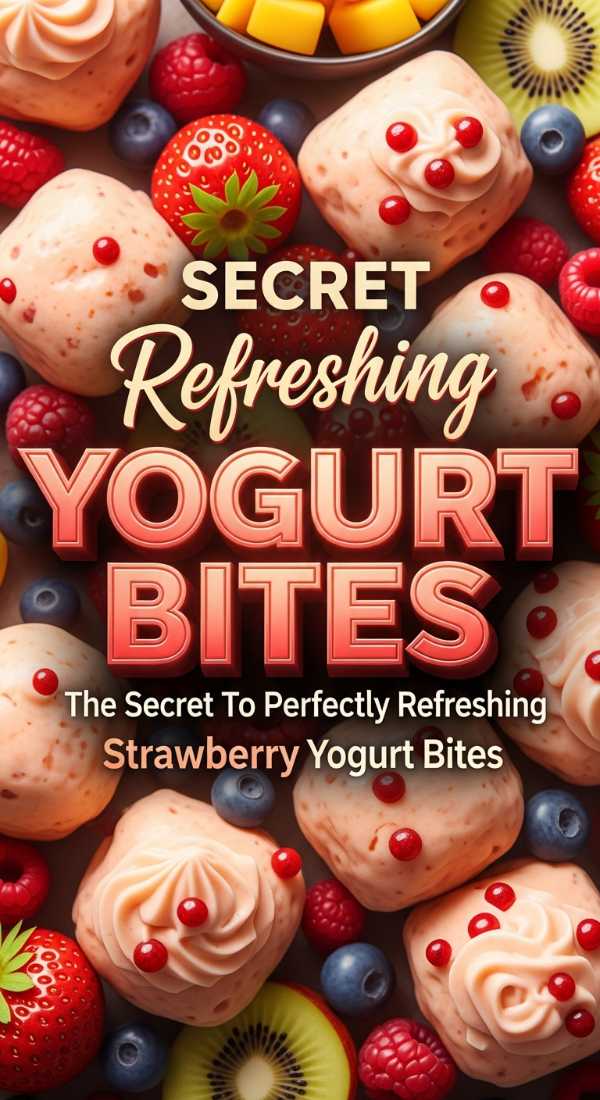
The Secret To Perfectly Refreshing Strawberry Yogurt Bites
Why we love this
There is something truly whimsical about a tiny, frozen morsel that melts the moment it touches your tongue, releasing a burst of summer sweetness. These strawberry yogurt bites are my go-to when I want a little bit of magic without the fuss of a heavy dessert. They look like little pink clouds scattered across a silver platter, making them the absolute star of any garden party or quiet afternoon in the sun. It’s about more than just taste; it’s about capturing that soft, aesthetic glow that only fresh fruit and creamy yogurt can provide. Every bite feels like a tiny celebration of the season’s very best offerings.
Ingredients
- 2 cups of fresh, organic strawberries
- 1.5 cups of thick Greek yogurt
- 2 tablespoons of local honey or maple syrup
- A pinch of vanilla bean paste
- Optional: crushed pistachios for a little crunch
How to make it
- Begin by washing your strawberries gently and patting them dry with a soft cloth.
- Remove the green tops and slice the strawberries into small, uniform cubes to ensure even freezing.
- In a glass mixing bowl, fold the Greek yogurt together with the honey and vanilla bean paste until the texture is silky and smooth.
- Gently stir the strawberry pieces into the yogurt mixture until every piece is beautifully coated in that creamy white goodness.
- Line a baking sheet with parchment paper and drop small spoonfuls of the mixture onto the sheet, spacing them out like little islands.
- If you’re feeling fancy, sprinkle a tiny bit of crushed pistachios over each bite before placing the tray in the freezer for at least four hours.
- Once solid, peel them off the paper and store in a glass jar for a quick, cooling snack whenever your heart desires.
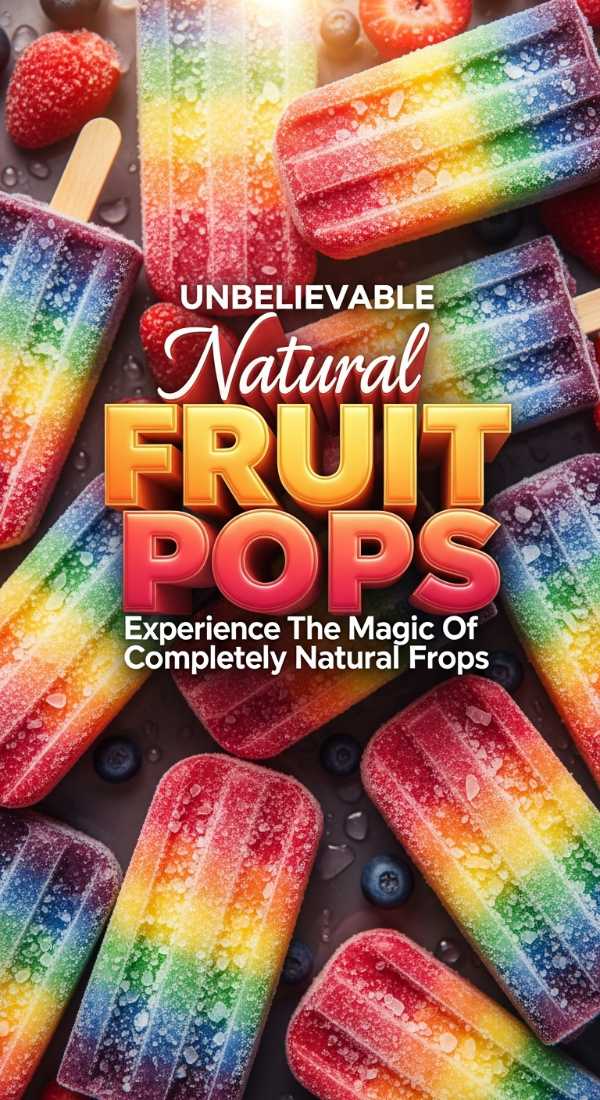
Experience The Magic Of Completely Natural Fruit Pops
Why we love this
Nothing says ‘pure sunshine’ quite like the vibrant, translucent colors of a completely natural fruit popsicle catching the light. I love how these popsicles look like stained glass windows, with slices of real fruit suspended in a crystal-clear frozen embrace. They are a testament to the fact that nature provides the most stunning palette if we only take the time to look. Making these feels like a meditative practice, a way to honor the integrity of the fruit without burying it in processed sugars. They are light, hydrating, and so incredibly chic to serve to friends on a warm balcony evening.
Ingredients
- 3 cups of coconut water or light white grape juice
- 1 kiwi, peeled and thinly sliced into rounds
- A handful of fresh raspberries
- Half a peach, thinly sliced
- A few sprigs of fresh mint leaves
How to make it
- Select your favorite popsicle molds and ensure they are clean and dry before you begin your artistic process.
- Carefully slide the kiwi rounds, raspberries, and peach slices into the molds, pressing them against the sides so they’ll be visible once frozen.
- Tuck a tiny mint leaf into each mold to add a pop of green and a subtle, refreshing aroma.
- Slowly pour the coconut water or juice into the molds, leaving a tiny bit of space at the top for the liquid to expand as it freezes.
- Insert the popsicle sticks firmly into the center of each mold, making sure they are straight.
- Place the molds in the coldest part of your freezer and let them set for at least six to eight hours, or ideally, overnight.
- To serve, run the outside of the mold under warm water for a few seconds to release your frozen masterpieces with ease.
Discover The Most Decadent Chocolate Dipped Ice Cream

Why we love this
There is a deep, nostalgic comfort in the crack of a chocolate shell yielding to the soft, cold creaminess beneath it. These chocolate-dipped treats are my version of luxury, a way to turn a simple moment into something that feels like a staycation at a boutique hotel. I find the contrast between the dark, rich cocoa and the pale, dreamy ice cream to be visually stunning and incredibly satisfying to the soul. It’s the kind of dessert that demands you slow down, put away your phone, and truly experience the interplay of textures. It is pure, unadulterated indulgence in the softest, most beautiful way possible.
Ingredients
- 1 pint of high-quality vanilla bean ice cream
- 1 cup of dark chocolate chips (70% cocoa)
- 2 tablespoons of coconut oil
- A pinch of flaky sea salt
- Edible gold leaf or dried rose petals for garnish
How to make it
- Scoop the vanilla ice cream into perfect spheres using a warmed ice cream scoop and place them on a chilled tray lined with parchment.
- Insert a wooden skewer or small stick into each ball and return them to the freezer for an hour to ensure they are rock-solid.
- In a heat-safe bowl over a pot of simmering water, melt the dark chocolate and coconut oil together until the mixture is glossy and thin.
- Let the chocolate cool slightly to room temperature so it doesn’t immediately melt your ice cream upon contact.
- Dip each frozen ice cream ball into the chocolate, swirling it quickly to coat the entire surface before lifting it out.
- Immediately sprinkle a tiny pinch of sea salt and a few dried rose petals over the wet chocolate before it sets into a hard shell.
- Place them back in the freezer for ten minutes to fully harden, then serve them on a chilled marble slab for maximum aesthetic impact.
Learn The Trick To Making Ultra Creamy Mango Frozen Yogurt

Why we love this
Imagine the golden glow of a sunset captured in a bowl; that is exactly what this ultra-creamy mango frozen yogurt feels like. Mango has this incredible, buttery texture that translates so perfectly into a frozen state, creating a dessert that feels much more indulgent than it actually is. I love how the vibrant orange hue brightens up the table and brings a touch of the tropics into my home, even on the quietest days. It’s smooth, tangy, and possesses a velvety mouthfeel that rivals any artisanal gelato you’d find in a hidden Italian alleyway. It’s a gentle reminder of the sweetness life has to offer when we choose the right ingredients.
Ingredients
- 3 cups of frozen mango chunks
- 1 cup of full-fat Greek yogurt
- 2 tablespoons of agave nectar
- The juice of half a lime
- Fresh mint for garnish
How to make it
- Place your frozen mango chunks into a high-powered blender or food processor while they are still very cold.
- Add the Greek yogurt, agave nectar, and fresh lime juice directly over the mango.
- Pulse the mixture several times to break up the large chunks, then blend on high speed until the mixture is completely smooth and thick.
- You may need to stop and scrape down the sides a few times to ensure every bit of mango is incorporated into the cream.
- If the texture is too soft, transfer the mixture to a shallow glass container and freeze for another 30-45 minutes.
- When ready to serve, use a spoon to create beautiful, wavy swirls in a chilled ceramic bowl.
- Top with a sprig of fresh mint and perhaps a few extra shavings of lime zest for a fragrant and beautiful finishing touch.
Create The Most Essential Refreshing Summer Ice Pops

Why we love this
When the heat becomes a heavy blanket, these essential summer ice pops are the cool breeze we all crave. They are remarkably simple, focusing on the clarity of citrus and the grounding aroma of fresh herbs to create a sensory experience that is both sharp and soothing. I find the minimalist aesthetic of these pops—just clear ice and a sliver of green—to be so incredibly calming to look at. They represent the essence of summer living: uncomplicated, bright, and deeply refreshing to the spirit. Serving these is like offering a little piece of a mountain spring to your guests, and the gratitude is always palpable.
Ingredients
- 4 cups of filtered water
- 1/2 cup of fresh lemon juice
- 1/4 cup of honey or simple syrup
- 12 fresh cucumber slices
- A handful of fresh basil leaves
How to make it
- In a large pitcher, whisk together the filtered water, lemon juice, and your choice of sweetener until the honey is fully dissolved.
- Taste the mixture; it should be brightly acidic with just a whisper of sweetness to balance the citrus notes.
- Place one or two thin cucumber slices into each popsicle mold, tucking them flat against the sides for a clean look.
- Bruise the basil leaves slightly between your fingers to release their essential oils and drop one leaf into each mold.
- Pour the lemon mixture over the cucumbers and basil, leaving a small gap at the top for expansion during the freezing process.
- Secure the lids and sticks, then place the molds in the freezer where they won’t be disturbed for at least six hours.
- Unmold carefully and serve in a tall glass filled with ice cubes to keep them from melting too quickly as you enjoy them.
This Genius Healthy Yogurt Recipe Changes Everything

Why we love this
This recipe is my little secret for those mornings when I want dessert for breakfast but still want to feel nourished and energized. It’s a genius way to rethink yogurt, turning it from a simple bowl into a frozen piece of art that you can break apart and share. The combination of creamy yogurt, crunchy granola, and tart berries creates a symphony of textures that is just so satisfying to eat. I love the rustic, shattered look of the yogurt bark; it feels organic and effortless, like something you’d find at a high-end wellness retreat. It’s a beautiful way to start the day with intention and a touch of sweetness.
Ingredients
- 2 cups of plain or vanilla probiotic yogurt
- 1/4 cup of hemp seeds
- 1/2 cup of grain-free granola
- A handful of fresh blueberries and sliced strawberries
- A drizzle of almond butter
How to make it
- Line a large rimmed baking sheet with a piece of high-quality parchment paper, ensuring it covers the entire surface.
- Pour the yogurt onto the center of the sheet and use a spatula to spread it out into an even layer about half an inch thick.
- Scatter the granola and hemp seeds evenly across the surface, pressing them down slightly so they stick to the yogurt.
- Arrange the berries in a visually pleasing pattern, alternating colors to create a beautiful, scattered mosaic effect.
- Warm the almond butter slightly so it’s pourable, then use a spoon to drizzle thin, artistic ribbons across the entire tray.
- Place the tray in the freezer for at least four hours until the yogurt is completely firm and no longer tacky to the touch.
- Remove from the freezer and use your hands to break the frozen sheet into large, irregular shards of bark before serving immediately.
A Powerful Way To Enjoy Energizing Frozen Desserts

Why we love this
Sometimes we need a little boost that feels more like a treat than a chore, and these energizing frozen squares are the perfect answer. By infusing the cooling nature of a frozen dessert with the grounded energy of matcha or espresso, we create something that wakes up both the palate and the mind. I love the deep, earthy greens or the rich, toasted browns that these ingredients bring to the aesthetic, grounding the dessert in a very natural way. It’s a powerful reminder that we can find balance between indulgence and function in our daily lives. These are my favorite mid-afternoon pick-me-ups for those days when the creative juices need a little nudge.
Ingredients
- 1 can of full-fat coconut milk
- 2 teaspoons of ceremonial grade matcha powder or a shot of chilled espresso
- 3 tablespoons of maple syrup
- A pinch of sea salt
- 1/2 cup of puffed quinoa for texture
How to make it
- In a blender, combine the coconut milk, matcha (or espresso), maple syrup, and sea salt until the mixture is frothy and uniform in color.
- Pour the liquid into a square silicone mold or a small baking dish lined with parchment paper.
- Sprinkle the puffed quinoa over the top, letting it float on the surface to provide a light, airy crunch in every bite.
- Place the container in the freezer for about three to four hours, or until it has a firm but slightly fudge-like consistency.
- If using a baking dish, lift the parchment out and place the frozen block on a cutting board.
- Use a sharp knife dipped in hot water to slice the block into clean, precise squares for a professional, aesthetic look.
- Serve one or two squares on a small ceramic plate, perhaps with a single edible flower on the side for a touch of elegance.
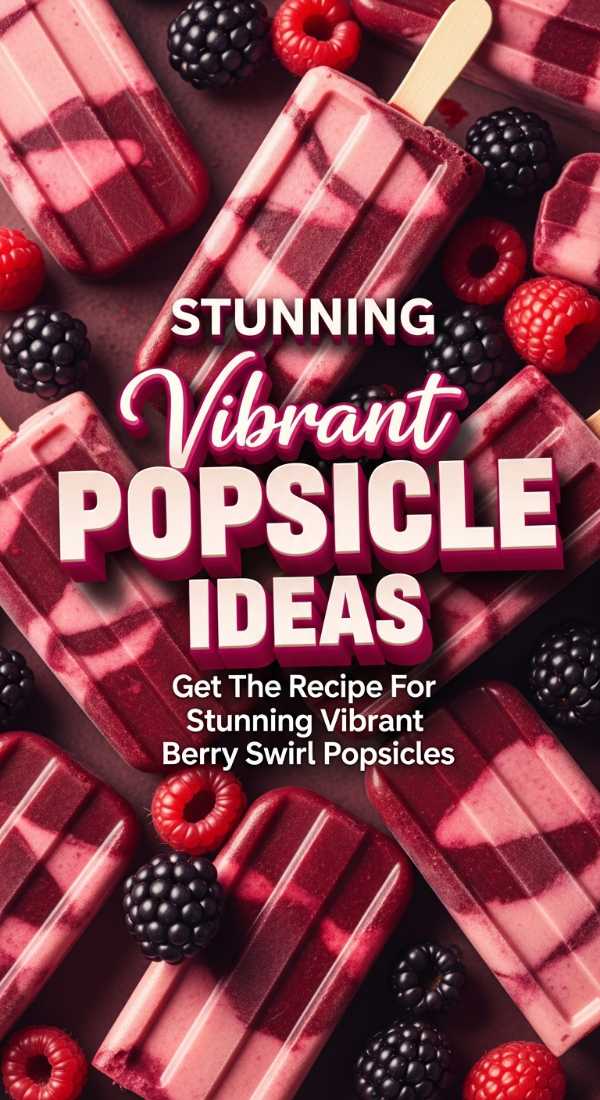
Get The Recipe For Stunning Vibrant Berry Swirl Popsicles
Why we love this
There is a profound beauty in the way deep purples and bright reds swirl into a creamy white base, creating a pattern that is unique to every single popsicle. These berry swirl popsicles are like little edible paintings, capturing the wild, untamed spirit of a summer berry patch. I find the process of swirling the fruit puree into the yogurt to be incredibly therapeutic, watching the colors bleed and blend in such a graceful way. They are a feast for the eyes before they ever reach your lips, making them a wonderful gift to share with someone you love. It’s a sophisticated take on a childhood classic that never fails to impress.
Ingredients
- 1 cup of mixed berries (blackberries, raspberries, and blueberries)
- 2 cups of vanilla bean Greek yogurt
- 1 tablespoon of lemon zest
- 2 tablespoons of honey
- 1/2 cup of water
How to make it
- In a small saucepan over medium heat, combine the mixed berries, water, and honey, simmering until the fruit breaks down into a thick syrup.
- Strain the berry mixture through a fine-mesh sieve to remove the seeds, leaving you with a smooth, intensely colored fruit puree.
- In a separate bowl, stir the lemon zest into the vanilla yogurt to add a bright, aromatic dimension to the base.
- Fill your popsicle molds about three-quarters of the way with the yogurt mixture, leaving room for the berry swirl.
- Spoon a tablespoon of the berry puree into each mold and use a thin skewer or a toothpick to gently swirl the two layers together.
- Be careful not to over-mix; you want to see distinct ribbons of color rather than a solid pink or purple popsicle.
- Insert the sticks and freeze for at least six hours, then unmold and admire the beautiful, unique patterns you’ve created.
This Dreamy Coconut Recipe Is Beyond Any Other Popsicle
Why we love this
If I could bottle up the feeling of a tropical breeze and turn it into a dessert, it would be this dreamy coconut popsicle. There is a creamy, almost snowy quality to these treats that feels so incredibly pure and clean on a hot day. I love using toasted coconut flakes to add a bit of warmth and texture, creating a beautiful contrast against the stark white of the coconut milk. It’s a sophisticated, monochromatic aesthetic that feels very modern and high-end, yet the flavors are timeless and comforting. Every lick is a journey to a peaceful, white-sand beach where the only thing on the agenda is relaxation.
Ingredients
- 1 can of premium full-fat coconut milk
- 1/4 cup of sweetened condensed coconut milk (for extra creaminess)
- 1 teaspoon of vanilla extract
- 1/2 cup of unsweetened shredded coconut, toasted
- A pinch of salt
How to make it
- Start by toasting your shredded coconut in a dry pan over medium heat for 2-3 minutes until it turns a light golden brown and smells fragrant.
- In a mixing bowl, whisk together the coconut milk, condensed coconut milk, vanilla extract, and a tiny pinch of salt until perfectly combined.
- Stir half of the toasted coconut directly into the liquid mixture to ensure there is texture throughout the entire popsicle.
- Pour the mixture into your molds, leaving a little bit of room at the top for the final garnish.
- Sprinkle the remaining toasted coconut into the top of each mold, which will become the bottom of the popsicle once it’s frozen and flipped.
- Place the sticks in the center and freeze for at least eight hours to allow the coconut fats to set into a rich, creamy consistency.
- To serve, display them on a wooden board scattered with extra coconut flakes for a beautiful, rustic tropical vibe.
The Most Magical Simple Frozen Treats To Make Today

Why we love this
Sometimes the most magical things in life are also the simplest, and these two-ingredient frozen treats prove that point beautifully. I love how these little bites can be whipped up in minutes, yet they provide such a high level of satisfaction and joy. They are a staple in my freezer because they remind me that I don’t need a pantry full of complicated ingredients to create something special for myself. The natural creaminess of a frozen banana combined with the richness of nut butter is a match made in heaven. They are humble, honest, and completely delicious—the perfect ending to a quiet, sun-filled day.
Ingredients
- 3 large, ripe bananas
- 1/2 cup of creamy almond butter or peanut butter
- Optional: mini dark chocolate chips
- Optional: a sprinkle of cinnamon
How to make it
- Peel your bananas and slice them into rounds that are about half an inch thick, trying to keep them as uniform as possible.
- Lay half of the banana slices out on a baking sheet lined with parchment paper.
- Place a small dollop of almond butter (about half a teaspoon) onto the center of each banana slice on the tray.
- Top each one with a second banana slice, creating a little ‘sandwich’ with the nut butter hidden in the middle.
- If you’re using chocolate chips or cinnamon, gently press a few chips into the top slice or give them a light dusting of spice.
- Place the tray in the freezer for at least two to three hours until the bananas are firm and the nut butter has set.
- Transfer the frozen bites into a reusable bag or glass container, and keep them on hand for whenever you need a tiny, magical moment of sweetness.
Conclusion
My loves, I hope these recipes bring a sense of light and beauty into your homes this season. There is so much joy to be found in the simple act of creating something with your own hands, especially when it’s something as cooling and delightful as these frozen treats. Remember to take the time to plate them beautifully, to notice the way the light hits the ice, and to share them with the people who make your heart feel full. Life is a collection of these small, aesthetic moments, and you deserve to savor every single one of them. Until next time, stay cool and keep dreaming.
Frequently Asked Questions
How long do these frozen desserts last in the freezer?
Most of these treats are best enjoyed within two weeks of making them to ensure the freshest flavor and the best texture. While they are safe to eat for up to a month, the delicate fruit flavors can sometimes fade, and ice crystals may start to form on the surface.
Can I substitute the dairy in the yogurt recipes?
Absolutely! You can easily use coconut yogurt, almond yogurt, or cashew yogurt as a 1:1 replacement for Greek yogurt. Just keep in mind that dairy-free yogurts often have a higher water content, so the final result might be slightly icier rather than creamy.
What is the best way to prevent popsicles from sticking to the mold?
The golden rule is to run the outside of the mold under lukewarm water for about 10-15 seconds. This gently thaws the very outer layer of the popsicle, allowing it to slide out perfectly without breaking or leaving half of the treat behind in the mold.
Do I need an ice cream maker for these recipes?
Not at all! Every single one of these recipes is designed to be ‘no-churn,’ meaning you only need a freezer, a few basic kitchen tools, and a little bit of patience. This makes them accessible for everyone, regardless of the gadgets in their kitchen.