
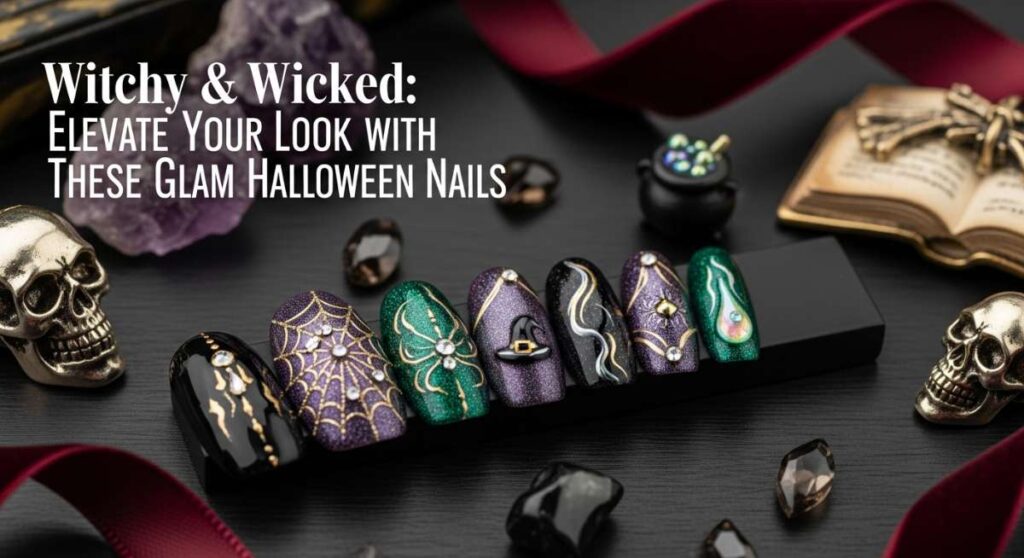
Witchy & Wicked: Elevate Your Look with These Glam Halloween Nails
Hello, my beautiful loves! Can you feel it? The air is getting that delicious, crisp bite, and the leaves are starting their golden dance. Halloween is just around the corner, and honestly, it’s my favorite time to add a little magic to our everyday lives. There is something so transformative about this season, a chance to embrace our inner enchantress and play with styles that feel both mysterious and oh-so-glamorous.
I’ve always believed that our hands tell a story, and what better way to tell a spooky, stylish tale than with the perfect manicure? Whether you’re curling up with a pumpkin spice latte or heading out to a moonlit masquerade, your nails are the ultimate accessory to complete your witchy vibe. Today, I am so excited to share some of my favorite ways to bring that sparkle and spookiness to your fingertips.
Grab a cozy blanket and let’s dive into these tutorials together. We’re going to explore everything from glossy midnight blacks to the most adorable little ghosts you’ve ever seen. Let’s make this season truly unforgettable, one brushstroke at a time.
7 Steps to Paint Glam Halloween Nails
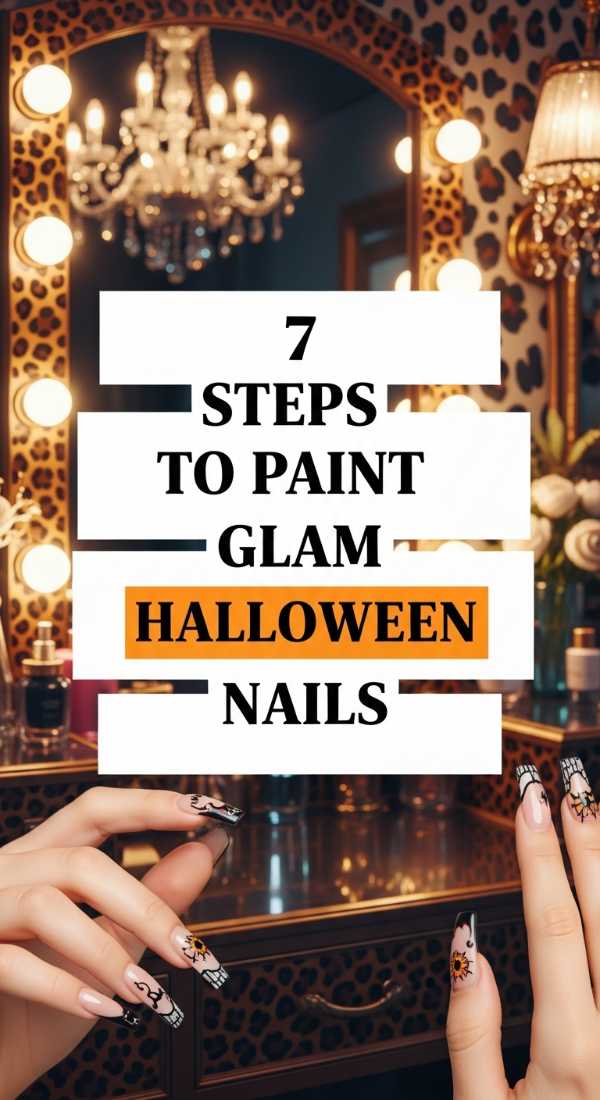
Why to love this Design:
This look is all about that high-end, editorial feel. It combines deep, moody tones with unexpected pops of gold or silver, making your hands look like they belong to a modern-day sorceress. It’s sophisticated enough for the office but wicked enough for a midnight gala.
Essential Elements:
- Deep plum or burgundy base polish
- Gold leaf flakes or metallic foil
- Ultra-fine detailing brush
- High-gloss gel-effect top coat
How to Prepare:
- Cleanse nails with alcohol to remove oils.
- Apply a nourishing base coat.
- Paint two thin layers of your deep plum polish.
- While slightly tacky, press gold flakes onto the tips.
- Use a brush to smooth the flakes.
- Add a second layer of color if needed for depth.
- Seal with a thick, glossy top coat.
Budget Range
- Essie Gel Couture ‘Spiked with Spice’ ($13)
- Nail Art Gold Foil Flakes ($6 on Amazon)
- Seche Vite Dry Fast Top Coat ($10)
3 Easy Ways to Master Halloween Nail Designs
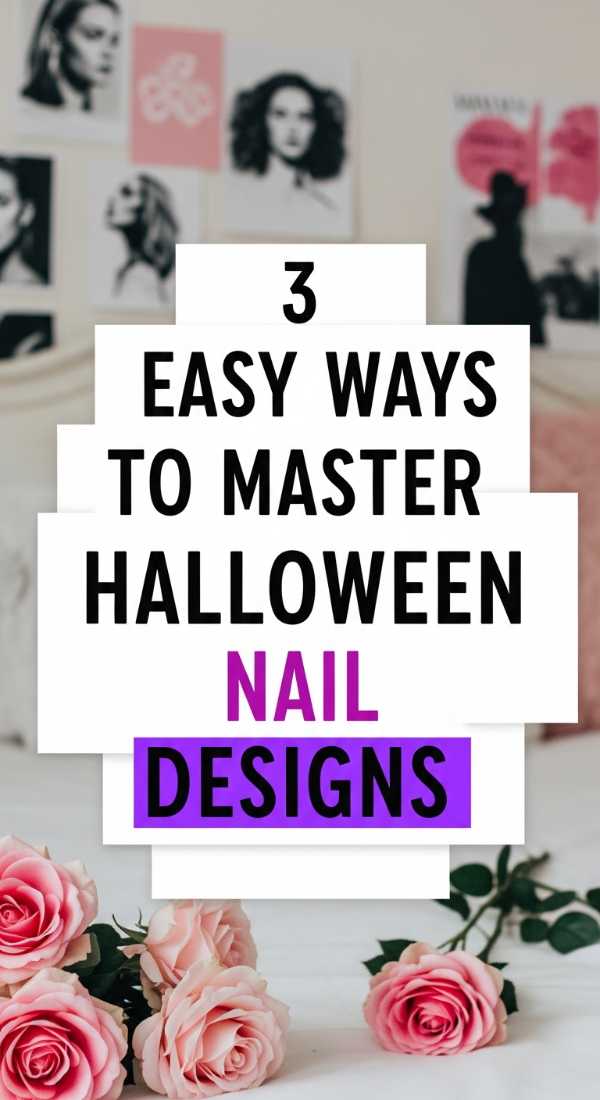
Why to love this Design:
If you’re new to the world of nail art, these techniques are your best friends! They offer maximum impact with minimum effort, allowing you to create professional-looking spiderwebs or gradients without needing a steady hand of a surgeon.
Essential Elements:
- Makeup sponge for gradients
- Pre-made nail decals or stickers
- Stamping kit with Halloween plates
How to Prepare:
- Apply a neutral base color and let it dry completely.
- Sponge on a gradient of orange and black for a sunset effect.
- Press on your chosen decals or use the stamping plate.
Budget Range
- Maniology Halloween Stamping Plate ($8)
- Beetles Gel Polish Starter Kit ($20)
- Sally Hansen Insta-Dri Black ($6)
5 Minutes to Finish Your Spooky Nails
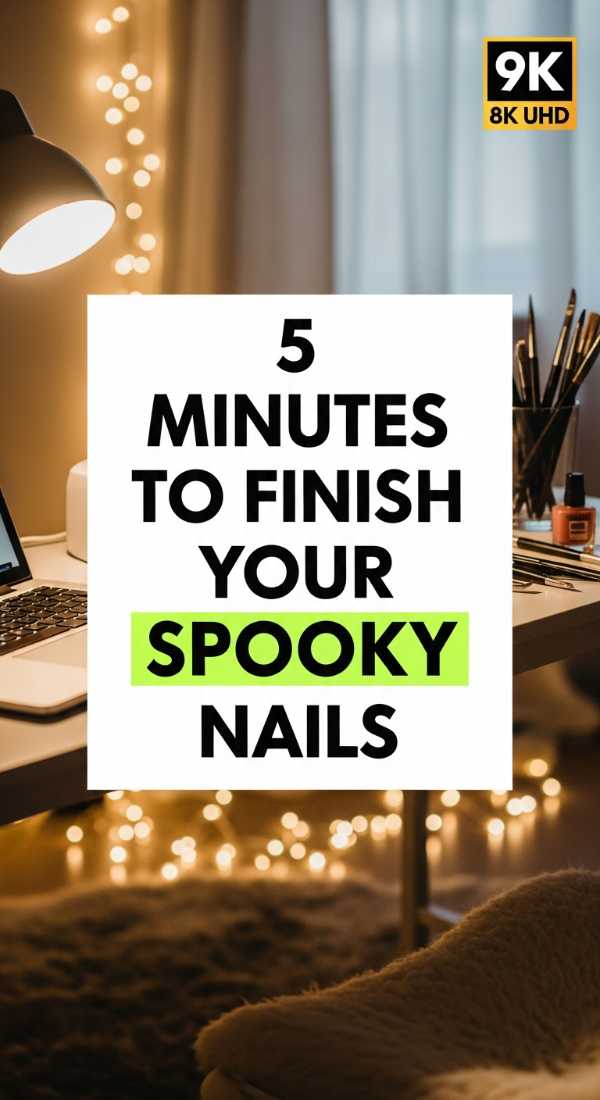
Why to love this Design:
We are all busy queens, and sometimes we need a look that says ‘I spent hours’ when we only had minutes! This approach uses high-quality press-ons and wraps that look incredibly realistic and stay put through all your pumpkin carving.
Essential Elements:
- Luxury press-on nails (coffin shape recommended)
- Strong nail glue or adhesive tabs
- Nail file for custom shaping
How to Prepare:
- Buff the surface of your natural nails lightly.
- Select the sizes that fit your nail beds perfectly.
- Apply a drop of glue to the center.
- Press and hold for 30 seconds.
- File any rough edges for a seamless finish.
Budget Range
- Static Nails Reusable Press-Ons ($16)
- Dashing Diva Gloss Nail Wraps ($8)
- KISS PowerFlex Nail Glue ($4)
4 Tools to Create Glossy Black Nails

Why to love this Design:
There is nothing more classic or powerful than a perfect, glossy black manicure. It’s the ultimate canvas for any witchy look. Getting that ‘glass’ finish is a total game-changer for your aesthetic.
Essential Elements:
- A high-pigment ‘one-coat’ black polish
- A leveling base coat
- UV/LED Lamp (if using gel)
- Glass nail file
How to Prepare:
- Shape nails into a sharp almond or stiletto point.
- Apply the leveling base coat to smooth ridges.
- Apply one careful coat of high-pigment black.
- Finish with a UV-cured top coat for that indestructible shine.
Budget Range
- OPI Black Onyx ($11)
- Hollo Taco Super Glossy Taco ($13)
- Glass Nail File by Mont Bleu ($10)
6 Simple Hacks for Adorable Ghost Nails
Why to love this Design:
Who says Halloween has to be scary? These little ghosties are absolutely precious and add a playful, whimsical touch to your look. It’s a great conversation starter and looks so sweet in photos.
Essential Elements:
- Opaque white polish
- Black dotting tool
- Matte top coat (optional for a ‘sheet’ look)
How to Prepare:
- Paint a sheer pink or nude base.
- Use the polish brush to create a ‘blob’ shape for the ghost body.
- Drag the bottom out into three little points.
- Use a dotting tool for two tiny black eyes.
- Add a tiny ‘o’ for a mouth.
- Protect with a top coat once fully dry.
Budget Range
- Zoya Purity White ($12)
- Nail Art Dotting Tool Set ($5)
- Orly Matte Top Coat ($12)
5 Techniques for Intricate Pumpkin Nail Art
Why to love this Design:
This is for my loves who want to show off some serious skill. Creating dimensional pumpkins with shadows and highlights makes your nails look like tiny pieces of fine art hanging in a gallery.
Essential Elements:
- Burnt orange, cream, and brown polishes
- Detail liner brush
- Mixing palette
How to Prepare:
- Paint an orange oval.
- Use a darker orange to draw curved lines for segments.
- Highlight the center of segments with a touch of cream.
- Add a brown stem and a green curly vine.
- Blend slightly with a clean brush for a 3D effect.
Budget Range
- ILNP Pumpkin Patch Polish ($10)
- Winstonia Detail Brushes ($9)
- Butter London ‘Steady Eddie’ Brown ($18)
8 Secrets to Designing Truly Creepy Nails

Why to love this Design:
Sometimes, we want to lean into the dark side. These secrets focus on texture and realism—think blood drips that look wet and ‘cracked’ porcelain effects that feel eerie and authentic.
Essential Elements:
- Red jelly polish (for depth)
- Crackle top coat
- Matte finish
- Sponging foam
How to Prepare:
- Apply a base of ‘dead’ grey.
- Sponge on some darker shadows.
- Use the crackle polish for an aged look.
- Layer red jelly polish at the cuticles for a ‘dripping’ effect.
- Add a matte coat to the grey parts.
- Keep the ‘blood’ glossy for contrast.
- Use a toothpick to create ‘scratches’.
- Seal the edges to prevent chipping.
Budget Range
- Cirque Colors Lucky Jelly ($13)
- China Glaze Cracked Glaze ($7)
- Revlon ColorStay Gel Envy ($8)
2 Tips to Apply Long-Lasting Black Nails
Why to love this Design:
Black polish is notorious for showing every little chip. These tips ensure your dark manicure stays pristine from the first pumpkin carving party all the way to November 1st.
Essential Elements:
- Nail dehydrator
- Long-wear top coat
How to Prepare:
- Tip 1: Always use a dehydrator or vinegar swipe before the base coat to ensure maximum adhesion.
- Tip 2: ‘Cap the free edge’ by running your brush along the very tip of your nail to lock the polish in.
Budget Range
- Modelones Nail Dehydrator ($7)
- CND Vinylux Long Wear Top Coat ($11)
9 Stages to Professional Spooky Nails
Why to love this Design:
This is the ultimate ‘spa day’ approach. By following these stages, you aren’t just painting your nails; you’re performing a ritual of self-care that results in salon-quality results that feel luxurious.
Essential Elements:
- Cuticle softener
- Exfoliating scrub
- Base, Color, and Top coats
- Cuticle oil
How to Prepare:
- Soak and exfoliate hands.
- Push back cuticles gently.
- File and buff for a smooth surface.
- Dehydrate the nail plate.
- Apply a high-quality base coat.
- Apply two thin color coats.
- Add your spooky art.
- Apply a long-wear top coat.
- Finish with a hydrating cuticle oil.
Budget Range
- Blue Cross Cuticle Remover ($6)
- L’Occitane Shea Butter Hand Cream ($13)
- Cuccio Revitalize Cuticle Oil ($10)
10 Minutes for Stylish Halloween Nail Designs

Why to love this Design:
Modern and chic! This focuses on negative space and minimalist lines. It’s perfect for the person who wants a nod to Halloween without going full ‘costume’ on their fingers.
Essential Elements:
- Striping tape
- Nude base polish
- Black or orange precision pen
How to Prepare:
- Apply a sheer nude base.
- Use striping tape to create a ‘V’ shape.
- Fill the tip with black.
- Remove tape while wet.
- Add a single tiny dot at the base of the ‘V’.
- Finish with a fast-dry top coat.
Budget Range
- Nail Art Striping Tape ($5)
- Olive & June ‘BEB’ Nude ($9)
- ISLY Nail Art Pens ($12)
Wishing You a Magical Manicure
I hope these tutorials spark a little bit of magic in your heart and a lot of glam on your nails! Remember, my loves, there are no rules when it comes to expressing your spirit during this season. Whether you go full-on wicked or keep it sweet and ghostly, the most important thing is that you feel beautiful and empowered. Take that time for yourself, light a candle, put on your favorite spooky movie, and enjoy the process of creating something lovely. I can’t wait to see your designs!