
The Ultimate Viral Food Board: Simple, Quick, and Crowd-Pleasing
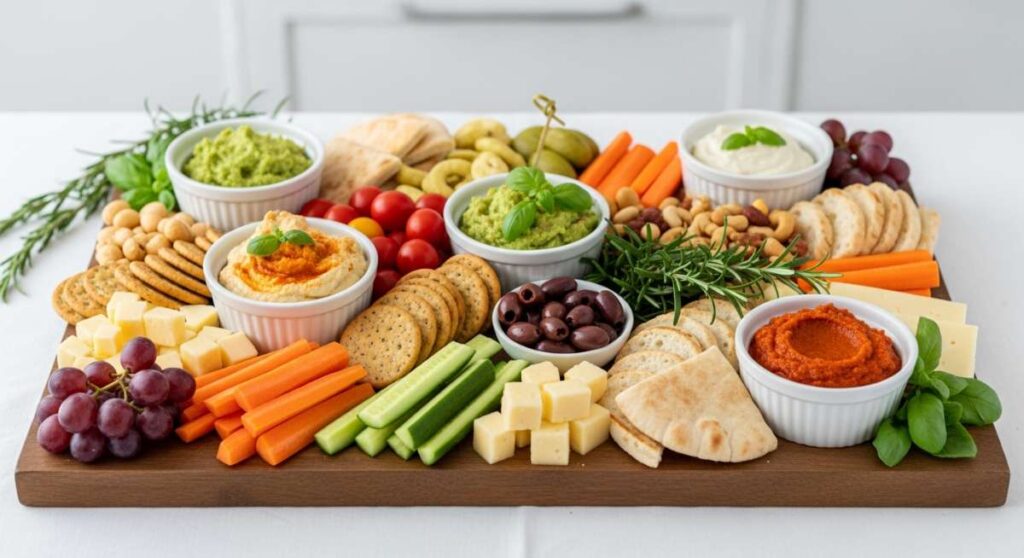
There is something inherently magical about a gathering where the food is as beautiful as the memories being made. We’ve all seen those mesmerizing viral food boards scrolling through our feeds—cascades of vibrant fruits, perfectly frosted treats, and savory dips that look almost too good to eat. But beyond the aesthetic, there’s a deep, emotional connection to sharing a meal that feels curated yet effortless. It’s about the laughter that erupts over a shared rhubarb crumble or the collective gasp when a perfectly styled graduation cake is brought to the table. These are the moments that turn a simple afternoon into a lifetime memory.
In this guide, I’m taking you behind the scenes of my favorite ‘Viral Simple Food Board’ concepts. Whether you’re celebrating a graduate’s big milestone or simply soaking up the tart, nostalgic flavors of a summer rhubarb harvest, these recipes and styling tips are designed to be approachable yet high-impact. We’re focusing on textures that crunch, colors that pop, and flavors that linger. Let’s dive into how you can create your own show-stopping spread that will have your guests reaching for their phones—and then their forks!
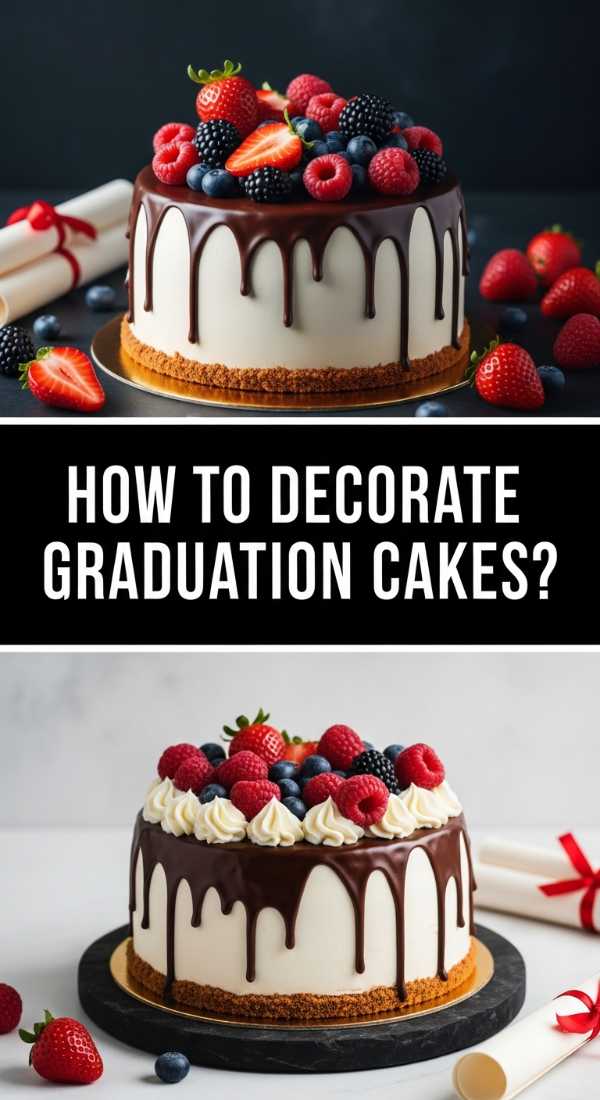
How to decorate graduation cakes?
Why we love this
There is a profound sense of pride that comes with a graduation cake, and decorating it is like adding the final punctuation mark to a long, hard-earned chapter. We love this process because it transforms a simple sponge into a majestic centerpiece using smooth, velvety Swiss meringue buttercream and the delicate shimmer of edible gold leaf. The aroma of vanilla bean wafting from the frosting combined with the satisfying sight of a perfectly crisp ‘mortarboard’ topper creates an atmosphere of pure celebration and accomplishment that everyone at the party can feel.
Ingredients
- Tiered sponge cake (chilled)
- Swiss meringue buttercream
- Edible gold leaf or gold luster dust
- Black fondant for a mini graduation cap
- Fresh floral accents (organic and food-safe)
- Offset spatula and bench scraper
How to make it
- Begin with a ‘crumb coat.’ Apply a thin, even layer of buttercream over your chilled cake layers using an offset spatula. This seals in the crumbs and creates a smooth canvas. Chill the cake for 30 minutes until the frosting is firm to the touch.
- Apply the final coat of buttercream. Use a bench scraper held at a 90-degree angle to the turntable to sweep around the cake, creating a sharp, professional edge. If the buttercream feels too soft, pop it back in the fridge for 10 minutes.
- Apply the gold leaf. Use a dry, clean paintbrush to gently lift fragments of gold leaf and press them onto the sides of the cake in an organic, cascading pattern. The slight tackiness of the room-temperature frosting will help it adhere.
- Craft the topper. Roll out black fondant and cut a small square and a round base to mimic a graduation cap. Attach them with a tiny dab of water and place centrally on the cake.
- Finish with florals. Tuck small sprigs of lavender or baby’s breath near the base for a soft, organic contrast to the structured cap.
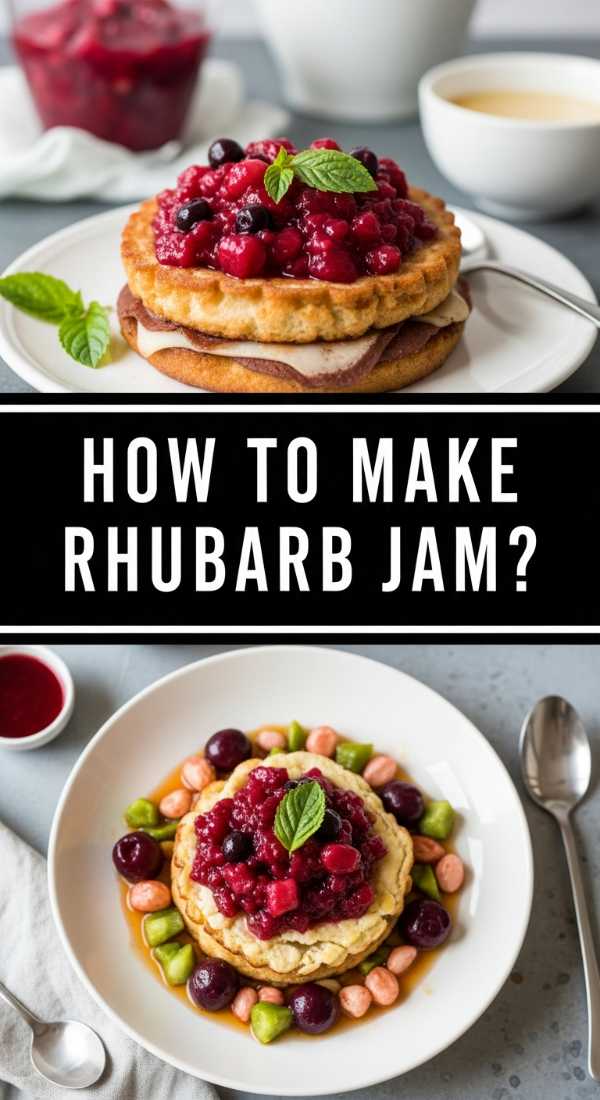
How to make rhubarb jam?
Why we love this
Rhubarb jam is the essence of early summer captured in a jar, offering a striking ruby-red hue that glows when caught by the sunlight. We love the way the sharp, assertive tartness of the stalks mellows into a sophisticated sweetness as it simmers, releasing a bright, floral aroma that fills the entire kitchen. Spreading this thick, jammy goodness over a warm piece of toast provides a delightful textural contrast between the slightly fibrous fruit and the smooth, sugary syrup that coats the tongue in pure nostalgia.
Ingredients
- 4 cups chopped fresh rhubarb (1-inch pieces)
- 2 cups granulated sugar
- 1 tablespoon fresh lemon juice
- 1 teaspoon vanilla bean paste
- A pinch of sea salt
How to make it
- Macerate the fruit. In a heavy-bottomed stainless steel pot, toss the chopped rhubarb with sugar and lemon juice. Let it sit for at least 2 hours (or overnight) until the sugar has completely dissolved into a bright pink syrup.
- Bring to a boil. Place the pot over medium-high heat. Stir constantly with a wooden spoon to prevent the sugar from scorching on the bottom of the pan.
- Simmer and reduce. Once boiling, lower the heat to medium. Cook for 15-20 minutes. You are looking for the rhubarb to break down into soft threads and the liquid to thicken significantly.
- Check the set. Place a small plate in the freezer for 5 minutes. Drop a spoonful of jam onto the cold plate; if it wrinkles when you push it with your finger, it is ready.
- Final touch. Stir in the vanilla bean paste and a pinch of salt to balance the acidity. Pour into sterilized jars, leaving a quarter-inch of headspace, and seal.
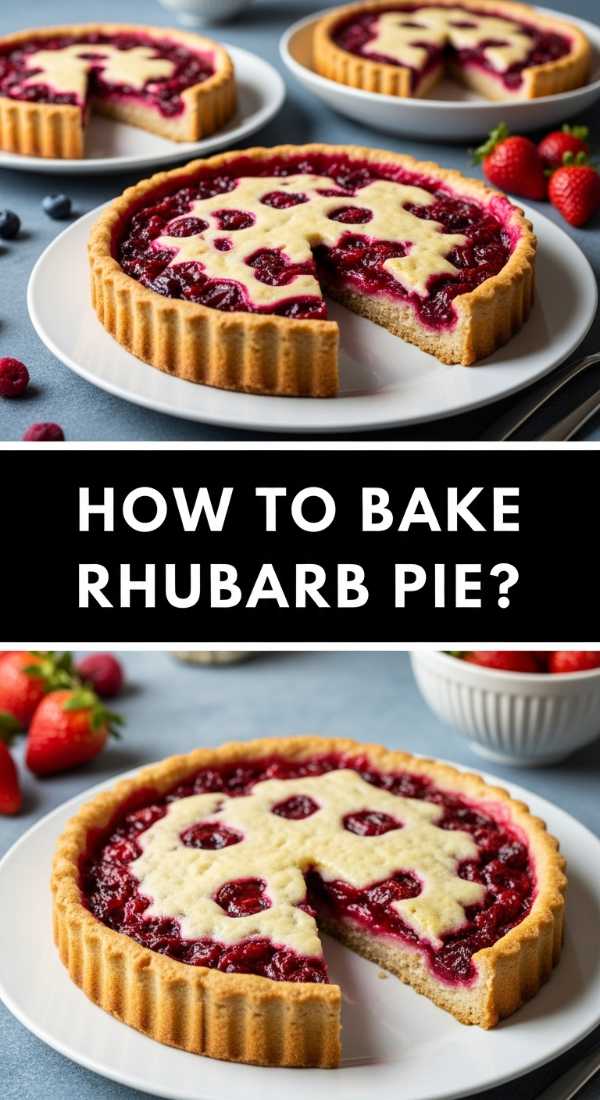
How to bake rhubarb pie?
Why we love this
A rhubarb pie is the ultimate rustic dessert, boasting a buttery, flaky crust that shatters beautifully upon the first bite to reveal a bubbling, tart filling. We love the dramatic contrast of the golden-brown pastry against the deep pink interior, and the way the steam carries the scent of toasted butter and citrus zest throughout the home. It’s a sensory experience that balances the heat of the oven with the cooling tang of the fruit, making it the perfect centerpiece for any outdoor summer board or garden party.
Ingredients
- Double pie crust (homemade or store-bought)
- 5 cups sliced rhubarb
- 1 1/4 cups sugar
- 1/4 cup cornstarch
- 1 tablespoon orange zest
- 1 tablespoon cold butter (cubed)
- 1 egg (for wash)
How to make it
- Preheat your oven to 400°F (200°C) and place a baking sheet on the bottom rack to catch any drips.
- Prepare the filling. In a large bowl, toss the rhubarb, sugar, cornstarch, and orange zest. Ensure the cornstarch is evenly distributed to prevent a runny pie; it should look like a light white coating on the fruit.
- Assemble the base. Roll out your bottom crust and fit it into a 9-inch pie plate. Pour the rhubarb mixture in and dot the top with the small cubes of cold butter for extra richness.
- Create the top. Roll out the second crust. You can do a full cover with vents or a lattice pattern. If doing a full cover, crimp the edges tightly to seal in the juices.
- Bake to perfection. Brush the top with an egg wash (one egg beaten with a splash of water) and sprinkle with coarse sugar. Bake for 45-55 minutes until the crust is deep golden and the filling bubbles slowly in the center. Let it cool for at least 4 hours to set.
How to style graduation cupcakes?
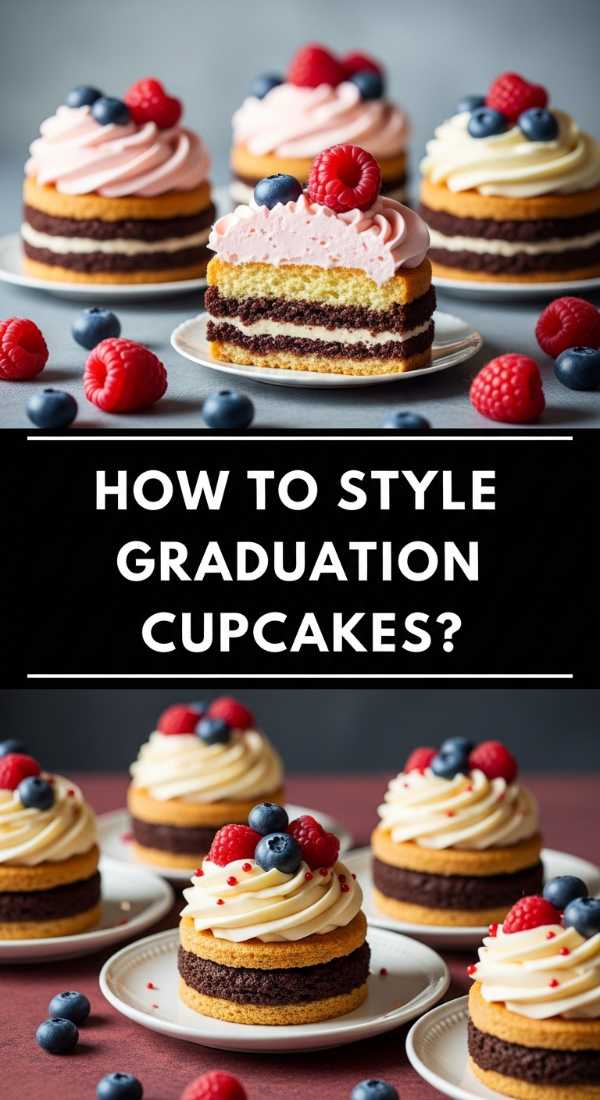
Why we love this
Graduation cupcakes offer a bite-sized burst of joy, allowing for intricate styling that makes each guest feel individually celebrated. We love the playfulness of matching the frosting colors to school spirit, creating a sea of vibrant hues that instantly draws the eye. The texture of a fluffy crumb topped with a swirl of airy frosting and a playful chocolate ‘tassel’ creates a whimsical yet elegant look that perfectly complements the sophisticated vibe of a viral food board.
Ingredients
- Freshly baked cupcakes (any flavor)
- Buttercream frosting in school colors
- Chocolate squares (Ghirardelli style)
- Sour belt candies or licorice strings (for tassels)
- Small round chocolate candies (M&Ms or truffles)
- Piping bag with a large star tip
How to make it
- Pipe the base. Using a large star tip (like a Wilton 1M), start in the center of the cupcake, move to the edge, and spiral back toward the middle to create a high, sturdy swirl.
- Build the ‘cap.’ Place a small round chocolate candy or a mini truffle directly in the center of the frosting swirl to act as the base of the mortarboard.
- Attach the ‘board.’ Place a flat chocolate square on top of the round candy. Use a tiny dot of frosting to act as ‘glue’ if it feels unstable.
- Create the tassel. Cut a 1-inch piece of sour belt or licorice. Use a tiny dab of frosting to attach it to the center of the chocolate square, letting it drape over the side.
- Final touch. Add a tiny dot of frosting or a gold sprinkle where the tassel meets the center of the square to mimic the button on a real graduation cap.
How to whip lemon pesto?
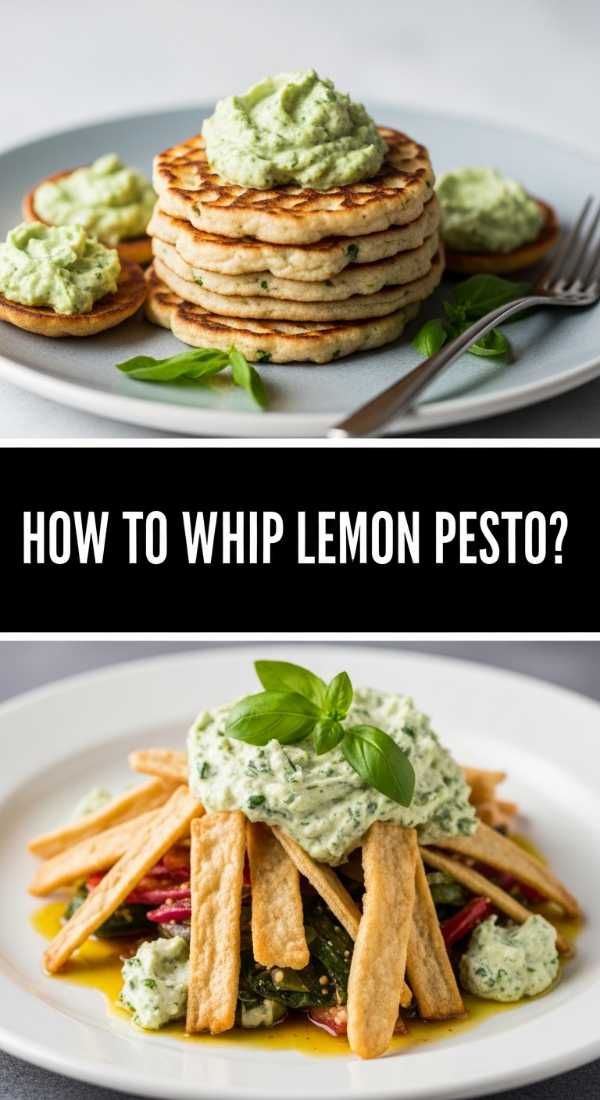
Why we love this
Whipped lemon pesto is a revolutionary twist on a classic, offering a light, aerated texture that feels like a savory cloud on the palate. We love the zingy, electric brightness of the fresh lemon zest as it cuts through the rich, earthy notes of basil and toasted pine nuts. It’s an aromatic powerhouse that brings a refreshing, Mediterranean breeze to your food board, acting as the perfect dip for crusty bread or a vibrant spread for grilled vegetables.
Ingredients
- 2 cups fresh basil leaves
- 1/2 cup grated Parmesan cheese
- 1/3 cup toasted pine nuts
- 2 cloves garlic
- 1/2 cup extra virgin olive oil
- Zest and juice of 1 large lemon
- 1/4 cup heavy cream or ricotta (for whipping)
How to make it
- Make the base pesto. Pulse the basil, pine nuts, and garlic in a food processor until coarsely chopped. Add the Parmesan and pulse again.
- Emulsify. With the motor running, slowly drizzle in the olive oil until the mixture is smooth but still has some texture. Stir in the lemon zest and juice by hand.
- The whipping phase. In a separate bowl, lightly whisk your heavy cream or ricotta until soft peaks form. Do not over-beat, or it will turn to butter.
- Fold together. Gently fold the lemon pesto into the whipped cream/ricotta using a rubber spatula. Use a folding motion (over and under) to maintain the airiness.
- Serve. Transfer to a shallow bowl and finish with a crack of black pepper and a final grating of lemon zest. Serve immediately for the best texture.
How to brew fun coffee?
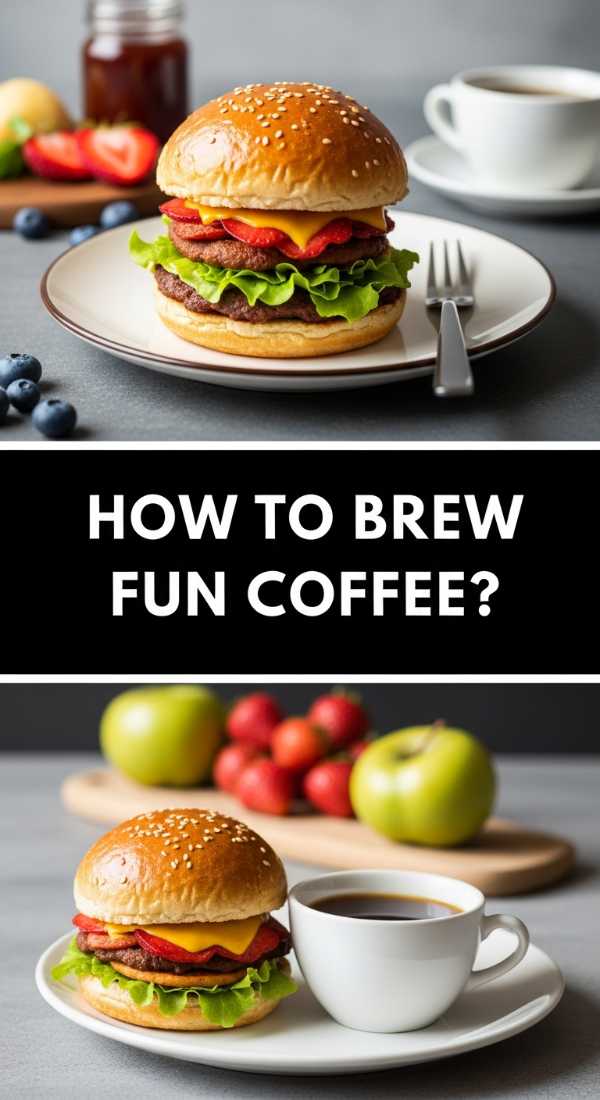
Why we love this
Brewing ‘fun’ coffee is all about the theater of the morning, turning a routine caffeine fix into a multi-sensory art form. We love the visual gradient of dark espresso marbling into creamy milk, topped with whimsical foams or colorful syrups. The aroma of freshly ground beans mixed with hints of lavender or caramel creates an inviting atmosphere that anchors the food board, providing a warm, comforting balance to the sweet and tart treats surrounding it.
Ingredients
- Freshly brewed espresso or strong cold brew
- Whole milk or oat milk (for frothing)
- Lavender or vanilla simple syrup
- Dried culinary rose petals or gold dust
- Ice cubes (clear cubes look best!)
How to make it
- Prepare the base. Add 1-2 tablespoons of your chosen flavored syrup to the bottom of a tall glass. If using ice, fill the glass three-quarters full with large, clear cubes.
- The milk layer. Pour your milk of choice into a frother. If making a cold drink, use the ‘cold foam’ setting. If hot, froth to a micro-foam consistency (no large bubbles).
- The pour. Slowly pour the milk over the syrup. If you want distinct layers, pour the milk over the back of a spoon to break the fall.
- Add the coffee. Gently pour the espresso or cold brew over the milk. This creates the ‘viral’ marbling effect as the dark coffee sinks through the white foam.
- Garnish. Top with a pinch of dried rose petals or a sprinkle of cinnamon. The key is to make it look like a boutique cafe creation.
How to make rhubarb crumble?
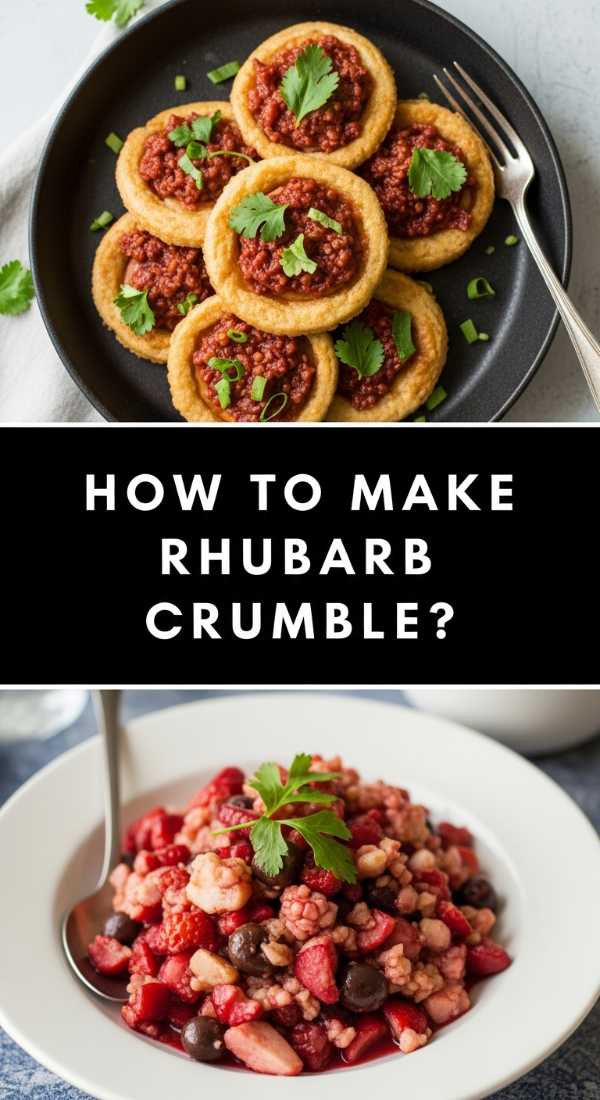
Why we love this
Rhubarb crumble is the definition of comfort food, offering a symphony of textures from the soft, jammy fruit to the buttery, golden clusters of oats on top. We love the way the juices of the rhubarb bubble up around the edges, creating a chewy, caramelized border that is highly coveted by everyone at the table. The smell of cinnamon and toasted pecans mingling with the sharp scent of fruit is enough to draw anyone into the kitchen, making it a must-have for a cozy, crowd-pleasing board.
Ingredients
- 6 cups chopped rhubarb
- 3/4 cup sugar
- 1 cup rolled oats
- 1 cup brown sugar
- 3/4 cup all-purpose flour
- 1/2 cup cold butter (cubed)
- 1 teaspoon cinnamon
- 1/2 cup chopped pecans (optional)
How to make it
- Prep the fruit. Toss the rhubarb with the 3/4 cup sugar and place in a greased 9×13 baking dish. Spread it out so it cooks evenly.
- Make the topping. In a medium bowl, combine the oats, brown sugar, flour, cinnamon, and pecans. Using a pastry cutter or your fingers, rub the cold butter into the dry ingredients.
- Visual cue for topping. You are looking for ‘clumpy’ textures ranging from pea-sized to grape-sized. Do not over-mix into a paste; you want distinct crumbles.
- Bake. Sprinkle the topping evenly over the rhubarb. Bake at 375°F (190°C) for 35-40 minutes.
- The finish. The crumble is done when the fruit juices are bubbling vigorously and the topping is a deep, nutty brown. Serve warm, ideally with a scoop of melting vanilla bean ice cream.
How to icing graduation cookies?
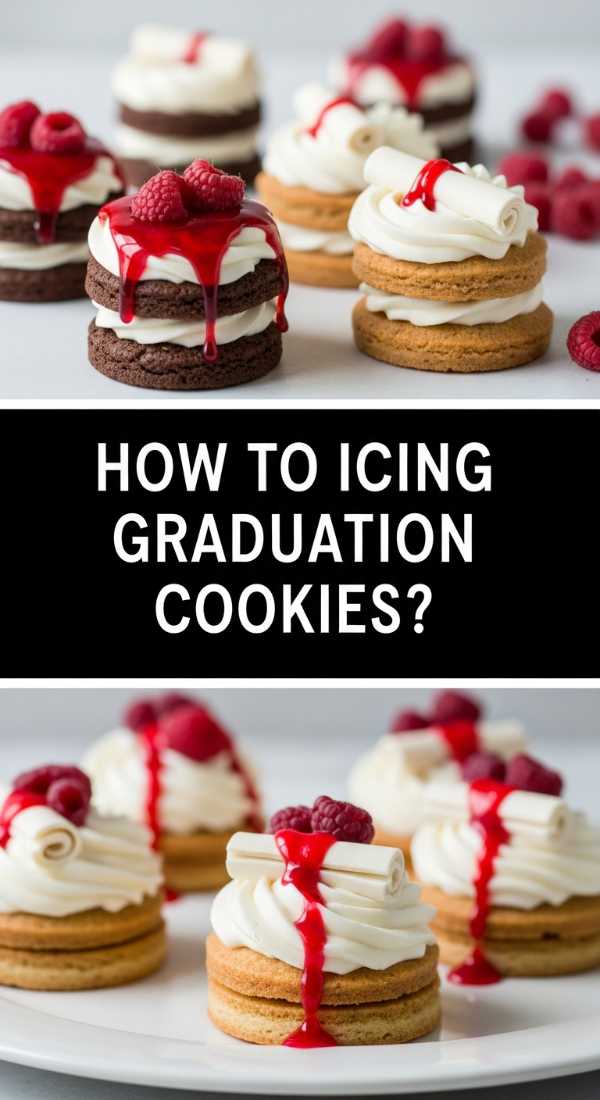
Why we love this
Icing graduation cookies is a meditative process that yields incredibly professional results, turning simple shortbread into edible works of art. We love the satisfyingly smooth finish of royal icing and the way it acts as a canvas for celebratory messages and intricate designs. The gentle snap of the dried icing followed by the buttery melt of the cookie provides a delightful sensory experience that makes these treats the stars of any graduation-themed food board.
Ingredients
- Sugar cookies (cut into diplomas and caps)
- Royal icing (stiff and flood consistencies)
- Food coloring (school colors)
- Fine-tip piping bags
- Scribe tool or toothpick
How to make it
- Outline. Use the ‘stiff’ consistency icing to pipe a thin border around the edge of the cookie. This acts as a dam to hold the thinner icing in place.
- Flood. Immediately fill the center with the ‘flood’ consistency icing (which should be the consistency of heavy cream). Use a scribe tool to move the icing into the corners and pop any air bubbles.
- The ‘Wet-on-Wet’ technique. If you want to add dots or stripes, pipe them while the flood icing is still wet so they sink in and create a smooth, flat finish.
- Detailing. Let the base layer dry completely (about 4-6 hours). Once hard, use the stiff icing to pipe ‘2024,’ names, or the ribbon detail on a diploma.
- Luster. For an extra viral touch, mix gold luster dust with a drop of vodka and paint over the dried piped details for a metallic shine.
How to decorate summer cookies?

Why we love this
Summer cookies are all about capturing the vibrant, carefree energy of the season through bright colors and whimsical shapes like suns, flowers, and fruit slices. We love using zesty flavors like lemon and lime in the dough, which complements the sweet icing perfectly. Decorating these is a joy because there are no rules—just a riot of neon pinks, sunny yellows, and ocean blues that make your food board look like a tropical paradise in edible form.
Ingredients
- Lemon-zest sugar cookies
- Brightly colored royal icing
- Sanding sugar (for a ‘sandy’ beach texture)
- Edible markers
- Miniature sugar pearls
How to make it
- Color palette. Choose 3-4 high-contrast colors (e.g., turquoise, coral, and lemon yellow) to keep the board looking cohesive but energetic.
- Texture play. For a ‘sun’ cookie, flood with yellow icing and immediately sprinkle the edges with orange sanding sugar to give it a shimmering, textured glow.
- Fruit slices. For watermelon or citrus shapes, flood the center color first, let it set slightly, and then pipe the ‘rind’ around the edge for a layered, dimensional look.
- Edible ink. Use an edible marker to draw tiny seeds on watermelons or ‘shades’ on a smiley-face sun once the icing has dried completely (at least 8 hours).
- Storage tip. Keep these in a single layer until fully set to avoid smudging the intricate designs before placing them on your board.
How to bake rhubarb scones?
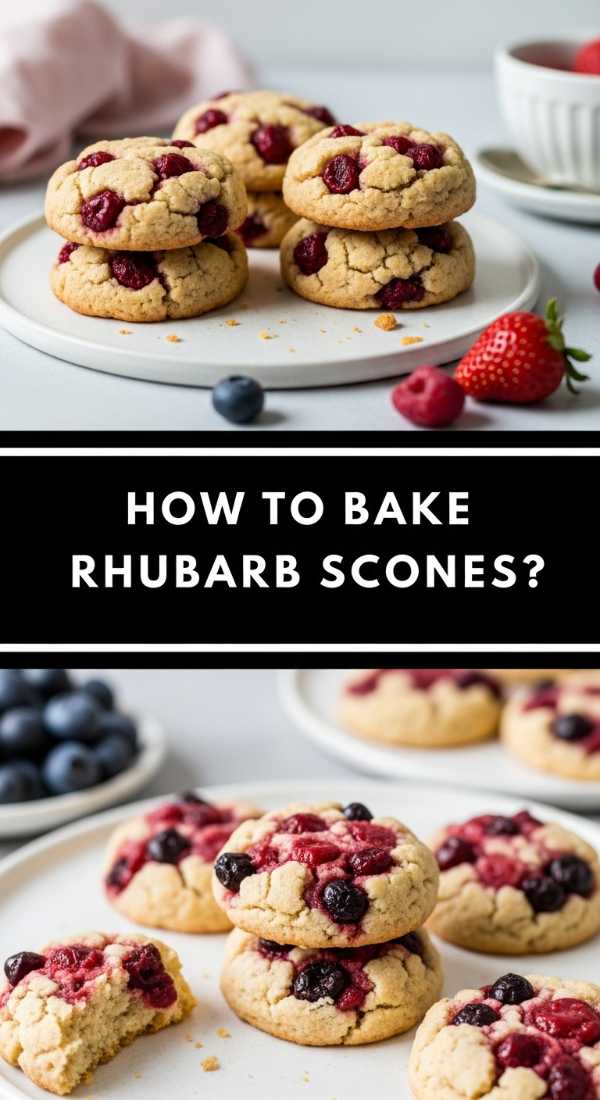
Why we love this
Rhubarb scones are the ultimate brunch luxury, offering a tender, flaky interior with pockets of tart, molten fruit that burst with every bite. We love the contrast between the slightly salty, buttery dough and the sugary crunch of a coarse turbinado topping. The scent of scones browning in the oven is the universal signal for a slow, beautiful morning, making them the perfect addition to a breakfast-style viral food board that feels both sophisticated and deeply cozy.
Ingredients
- 2 cups all-purpose flour
- 1/2 cup sugar
- 1 tablespoon baking powder
- 1/2 cup cold salted butter (grated)
- 1 cup fresh rhubarb (finely diced)
- 1/2 cup heavy cream (plus extra for brushing)
- 1 egg
- Turbinado sugar
How to make it
- Mix dry ingredients. Whisk flour, sugar, and baking powder. The secret to fluffiness is ensuring the baking powder is fresh and well-distributed.
- The ‘Grated Butter’ trick. Grate your cold butter directly into the flour. This creates tiny flakes that melt during baking, creating steam pockets for a superior rise.
- Incorporate rhubarb. Toss the finely diced rhubarb into the flour-butter mixture. Coating the fruit in flour prevents it from sinking or making the dough too soggy.
- Bind. Whisk the cream and egg together, then pour into the center of the flour. Stir with a fork until just combined. Do not overwork the dough, or the scones will be tough.
- Bake. Pat into a 1-inch thick disk, cut into 8 wedges, and brush with cream. Sprinkle heavily with turbinado sugar. Bake at 400°F (200°C) for 18-22 minutes until the bottoms are golden and the tops are pale but set.
The Finishing Touch for Your Viral Board
Building a viral food board is more than just a culinary task; it’s an act of storytelling. By combining these tart rhubarb delights with celebratory graduation treats and refreshing beverages, you’re creating a narrative of growth, season, and joy. Remember to fill the gaps on your board with small elements like fresh mint sprigs, handfuls of nuts, or even edible flowers to give it that lush, ‘overflowing’ look that performs so well on social media. Most importantly, enjoy the process—the best boards are the ones made with a bit of heart and shared with the people you love most.