
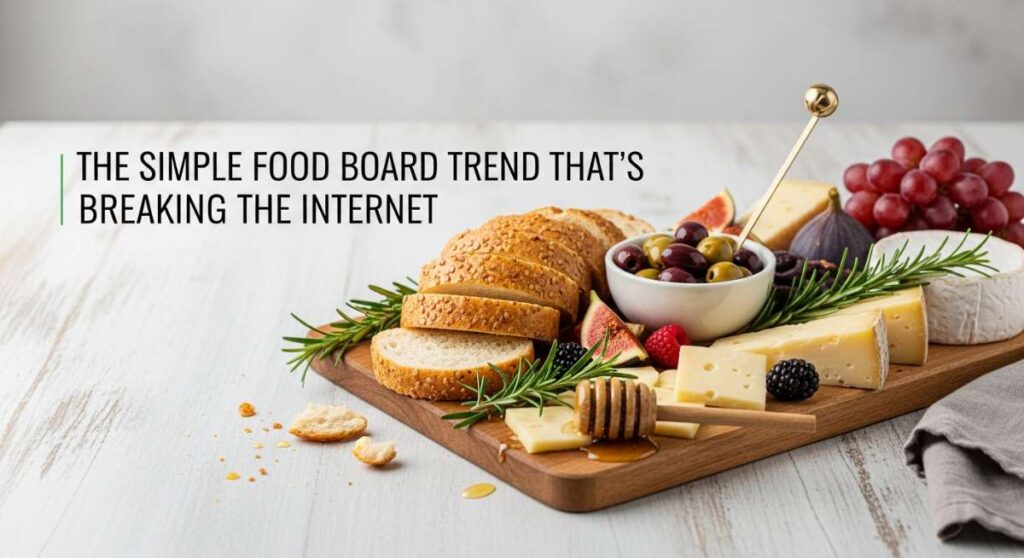
The Simple Food Board Trend That’s Breaking the Internet
There is something undeniably magical about the way food brings us together, especially when it’s presented in a way that feels like a warm hug for the eyes. Lately, my social media feeds have been overflowing with a specific kind of magic: the rise of the simple, curated food board. It’s a shift away from the overly complicated, hard-to-source platters of the past, leaning instead into the beauty of seasonal ingredients and the joy of shared moments. Whether it’s a celebration of a major milestone like a graduation or just a slow Sunday morning with a pot of jam, this trend is all about making the everyday feel extraordinary.
I remember the first time I set out a simple board for my friends; the atmosphere in the room shifted instantly. Instead of everyone sitting stiffly with their own plates, we were leaning in, reaching for a slice of cheese here or a dollop of fresh jam there, and the conversation just flowed. That’s the heart of this trend—it’s not just about the food, but the connection it fosters. In this post, I’m sharing my favorite ways to lean into this aesthetic, from zesty pastas to the ultimate graduation displays that will make your guests gasp in delight.
Easy Professional Graduation Cake Ideas
Why we love this
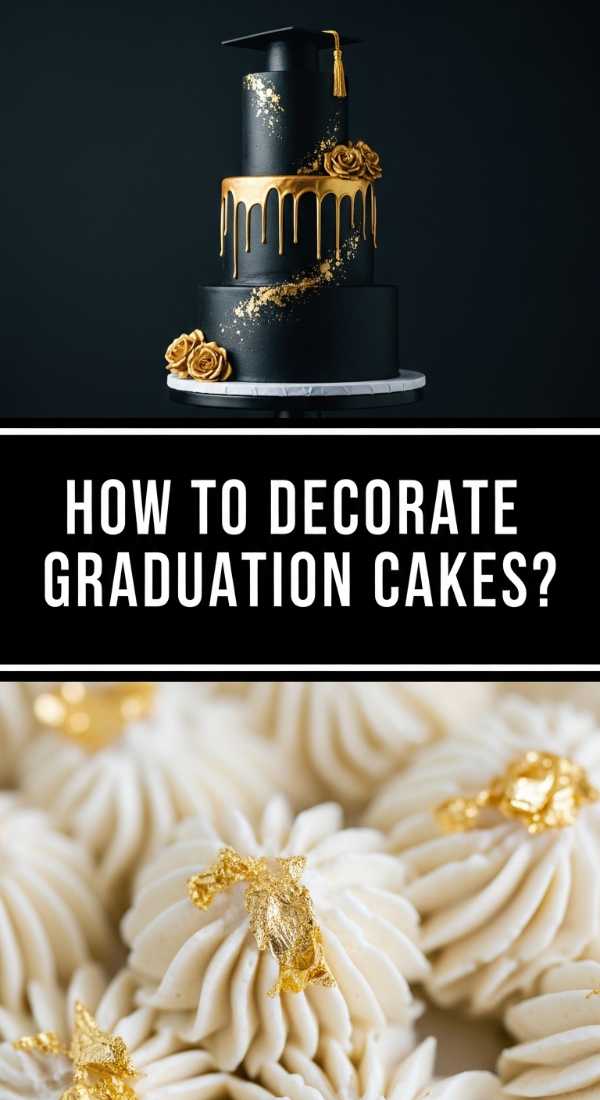
Nothing says achievement quite like a towering, beautifully frosted cake that looks like it walked straight out of a high-end boutique bakery. We love this approach because it combines the sentimental value of a homemade bake with the sleek, polished finish of a professional creation. Imagine the scent of buttery vanilla wafting through the kitchen as you smooth out a silky Swiss meringue buttercream, the offset spatula gliding through the frosting to create those perfect, crisp edges. It’s about that satisfying moment when you add a few fresh florals or a custom topper and realize you’ve created a centerpiece that tastes as incredible as it looks, symbolizing a sweet end to a long journey.
Ingredients
- 2 1/2 cups All-purpose flour
- 1 1/2 cups Granulated sugar
- 1 cup Unsalted butter, softened
- 4 Large eggs
- 1 cup Whole milk
- 1 tbsp Vanilla extract
- 2 tsp Baking powder
- 1/2 tsp Salt
- 4 cups Powdered sugar (for frosting)
- 1 cup Unsalted butter (for frosting)
- 2 tbsp Heavy cream
How to make it
- Preheat your oven to 350°F (175°C) and grease two 8-inch round cake pans thoroughly, lining the bottoms with parchment paper to ensure an easy release.
- In a large bowl, cream together the softened butter and granulated sugar using a stand mixer on medium-high speed for about 3-5 minutes until the mixture is light, fluffy, and pale yellow.
- Add the eggs one at a time, beating well after each addition and scraping down the sides of the bowl to ensure a homogenous batter.
- Whisk together the flour, baking powder, and salt in a separate bowl; then, alternate adding the dry ingredients and the milk to the butter mixture, starting and ending with the dry ingredients. Stir in the vanilla extract at the very end until just combined.
- Divide the batter evenly between the pans and bake for 30-35 minutes or until a toothpick inserted into the center comes out clean. Let the cakes cool completely on a wire rack before frosting.
- For the frosting, beat the butter until smooth, then gradually add powdered sugar and heavy cream until it reaches a spreadable consistency. Apply a thin “crumb coat” first, chill for 20 minutes, then apply the final smooth layer of frosting using a bench scraper for that professional, sharp-edged look.
Homemade Small Batch Rhubarb Jam Guide
Why we love this
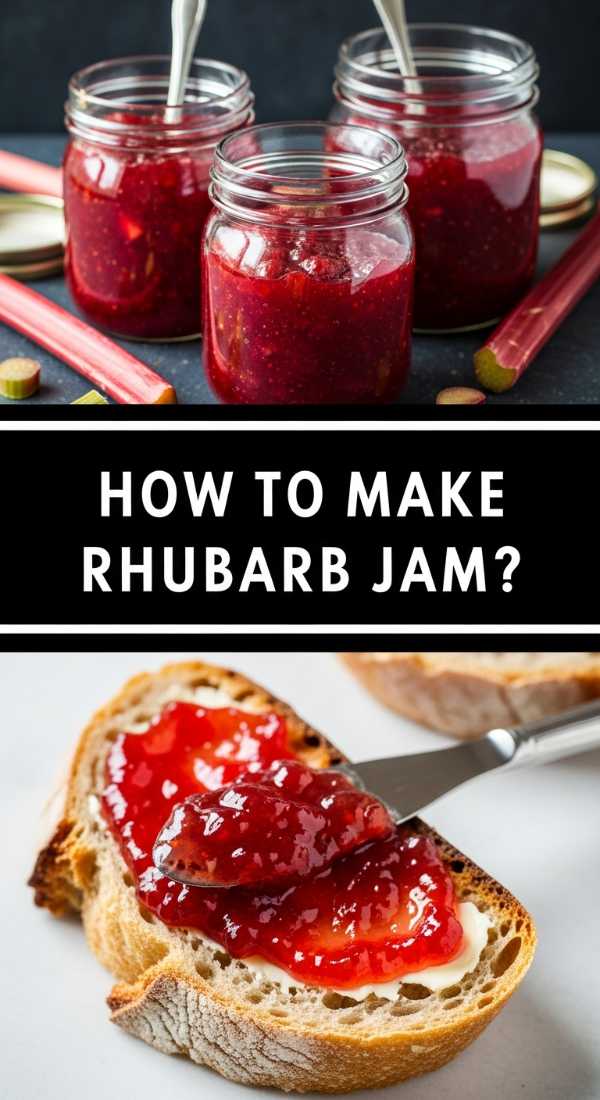
There is a primitive, soulful satisfaction in capturing the fleeting essence of spring in a small glass jar. This rhubarb jam is a vibrant, ruby-red celebration of tartness balanced by a delicate sweetness that wakes up your palate with every spoonful. As it simmers on the stove, the rhubarb breaks down into a luxurious, thick ribbon of fruit, filling your home with a nostalgic, tangy aroma that feels like a sunny morning in a country garden. Spreading this over a warm, buttered croissant or a piece of sourdough is a sensory experience that reminds us why the simplest things in life—made by hand—are often the most precious.
Ingredients
- 1 lb Fresh rhubarb, chopped into 1/2 inch pieces
- 1 1/2 cups Granulated sugar
- 1 tbsp Fresh lemon juice
- 1 tsp Lemon zest
- 1/2 tsp Vanilla bean paste (optional)
How to make it
- In a heavy-bottomed saucepan or a Dutch oven, combine the chopped rhubarb, granulated sugar, and lemon juice. Stir well and let it sit for about 30 minutes at room temperature to allow the fruit to release its natural juices (maceration).
- Place the pot over medium heat and bring the mixture to a gentle boil, stirring frequently with a wooden spoon to prevent the sugar from scorching on the bottom.
- Once boiling, reduce the heat to medium-low. Continue to simmer the mixture for 15-20 minutes. You will notice the rhubarb softening and the liquid thickening into a glossy syrup.
- To check for the setting point, place a small plate in the freezer for a few minutes. Drop a small spoonful of jam onto the cold plate, wait 30 seconds, and push it with your finger; if it wrinkles, it is ready.
- Stir in the lemon zest and vanilla bean paste during the last minute of cooking. Remove from heat and let it cool slightly before transferring into sterilized glass jars. Store in the refrigerator for up to three weeks.
The Ultimate Graduation Cupcake Display
Why we love this
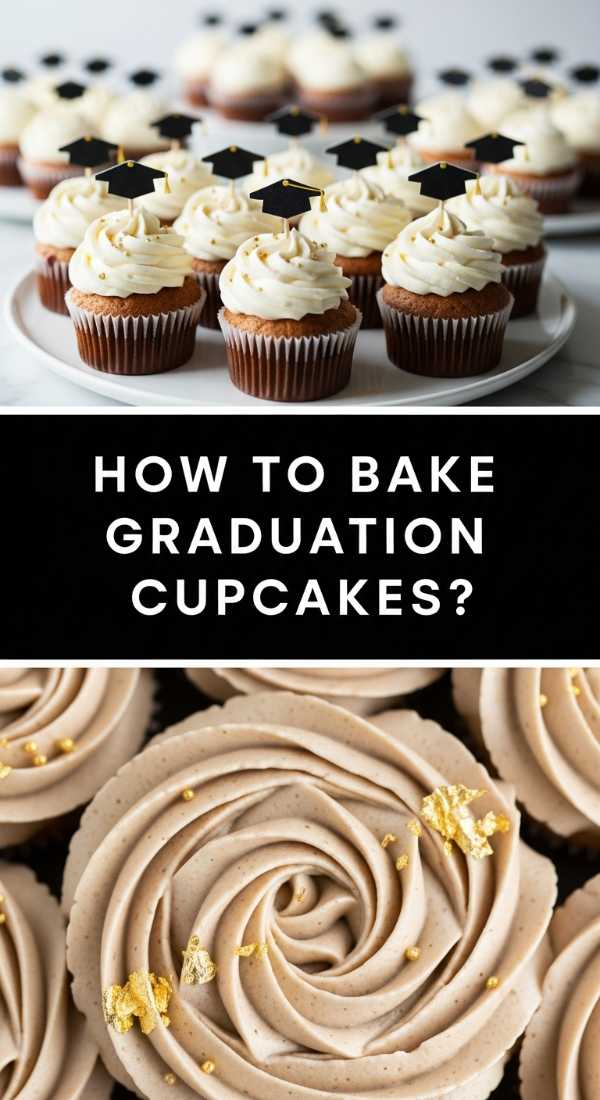
Cupcakes offer a playful, individualized charm that a large cake sometimes lacks, making them perfect for a bustling graduation party where guests are mingling. We love this display because it acts as a visual focal point, a mountain of frosted delights that invites everyone to pick their favorite flavor and celebrate. The texture of a perfectly baked cupcake—moist, tender, and topped with a cloud of swirl-piped frosting—is pure indulgence. When arranged on tiered stands with gold accents and tiny mortarboard toppers, it transforms the room into a festive gallery of edible art that feels both sophisticated and approachable.
Ingredients
- 24 Pre-baked cupcakes (Vanilla and Chocolate)
- 3 cups Buttercream frosting
- Food coloring (School colors)
- Gold sprinkles or edible glitter
- Paper graduation toppers
- Assorted berries for garnish
How to make it
- Ensure all your cupcakes are completely cooled to room temperature before you begin decorating; otherwise, the frosting will slide right off the tops.
- Prepare your buttercream and divide it into separate bowls if you are using multiple colors. Use a drop or two of gel food coloring to achieve vibrant school colors without thinning out the frosting.
- Fit a large piping bag with a 1M or 2D star tip. Fill the bag with frosting and pipe tall, concentric swirls starting from the outside edge of the cupcake and moving inward toward the center.
- Immediately after piping, garnish with gold sprinkles or edible glitter so they adhere to the soft frosting. Add your paper graduation toppers or a fresh raspberry for a pop of color.
- To assemble the display, use a multi-tiered stand. Place the darker-colored cupcakes on the bottom tier to create a visual base and lighter colors or fruit-topped ones on the upper tiers. Fill any gaps between cupcakes with loose sprigs of mint or fresh flowers.
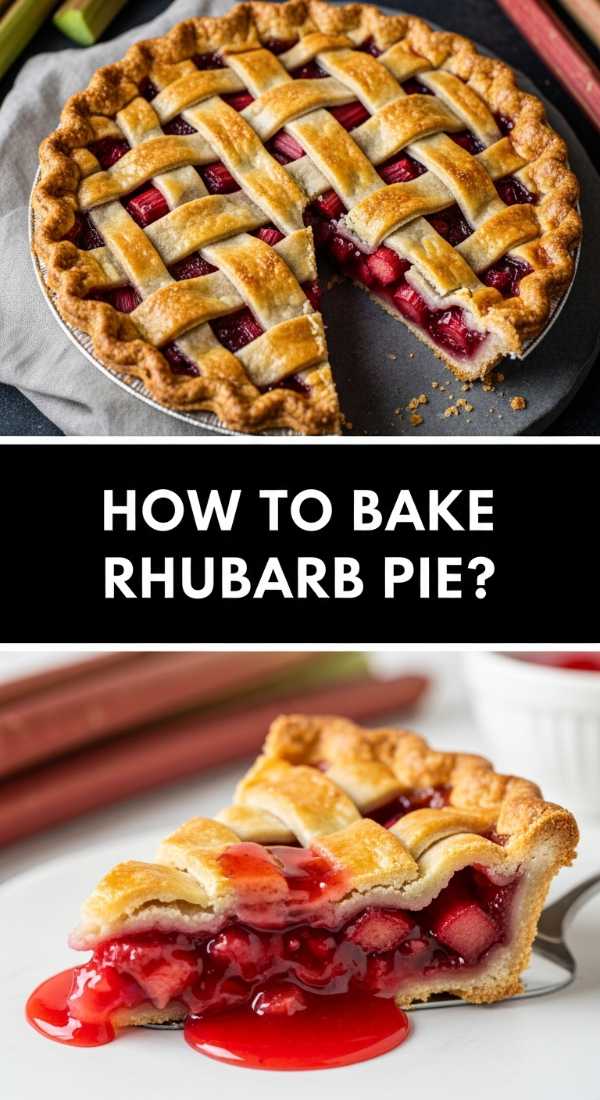
Fresh Strawberry Rhubarb Pie From Scratch
Why we love this
A strawberry rhubarb pie is the undisputed queen of seasonal desserts, offering a perfect harmony of flavors that dance between bracing tartness and sun-ripened sweetness. We love the rustic, artisanal feel of a hand-crimped crust that shatters into buttery flakes the moment your fork hits it. The filling, bubbling over the edges of a lattice top, becomes a jammy, deep-red elixir that smells like pure summer bliss. Eating a slice while it’s still slightly warm, perhaps with a melting scoop of vanilla bean ice cream, is an experience that grounds you in the present moment and celebrates the bounty of the earth.
Ingredients
- 2 1/2 cups All-purpose flour
- 1 cup Cold unsalted butter, cubed
- 1 tsp Salt
- 1 tsp Sugar
- 6-8 tbsp Ice water
- 3 cups Fresh rhubarb, sliced
- 2 cups Fresh strawberries, sliced
- 3/4 cup Granulated sugar
- 1/4 cup Cornstarch
- 1 tsp Cinnamon
- 1 Egg (for wash)
How to make it
- Prepare the crust by pulsing flour, salt, and sugar in a food processor. Add cold, cubed butter and pulse until it looks like coarse crumbs. Gradually add ice water until the dough just comes together. Divide into two discs, wrap in plastic, and chill for at least 1 hour.
- In a large bowl, toss the sliced rhubarb and strawberries with 3/4 cup sugar, cornstarch, and cinnamon. Let the fruit sit for 15 minutes to allow the juices to start flowing and the cornstarch to begin its thickening magic.
- Preheat your oven to 400°F (200°C). Roll out one dough disc and line a 9-inch pie plate. Pour the fruit filling into the crust, discarding excess liquid if it seems too watery.
- Roll out the second disc and cut into 1-inch strips to create a lattice top. Weave the strips over the fruit, trim the edges, and crimp to seal the pie.
- Brush the lattice with a beaten egg wash and sprinkle with coarse sugar. Bake for 20 minutes, then reduce heat to 375°F and bake for another 35-45 minutes until the crust is deep golden brown and the filling is thick and bubbling. Cool for at least 3 hours before slicing to allow the filling to set.
Aesthetic Summer Coffee Drinks at Home

Why we love this
There is a specific kind of joy in recreating the “expensive cafe” vibe right in your own kitchen, especially on a humid summer afternoon. These aesthetic coffee drinks are all about the visual layers: the dark, rich espresso slowly bleeding into creamy white milk over a mountain of crystal-clear ice. We love the ritual of it—the clinking of ice against glass, the gentle swirl of a straw, and the first sip of a cold brew infused with lavender or vanilla. It’s an affordable luxury that turns a caffeine fix into a moment of mindful relaxation, looking absolutely stunning on your coffee table or Instagram feed.
Ingredients
- 1/2 cup Concentrated cold brew or 2 shots of Espresso
- 1 cup Oat milk or Almond milk
- 1 tbsp Lavender or Vanilla syrup
- Large ice cubes
- Dried culinary lavender or cinnamon for garnish
How to make it
- Start with a tall, clear glass to ensure you can see the beautiful layering effect. Fill the glass to the very top with large, high-quality ice cubes.
- Pour in your choice of milk (oat milk provides a wonderful, creamy density that layers well) until the glass is about three-quarters full.
- Add your flavored syrup (like lavender) directly into the milk and give it a quick stir to combine before adding the coffee.
- Now for the “aesthetic” pour: slowly pour your cold brew concentrate or hot espresso directly over one of the ice cubes. The ice helps break the fall of the liquid, allowing the coffee to sit on top of the milk rather than mixing instantly.
- Garnish the foam or the top of the coffee with a sprinkle of dried lavender or a dash of cinnamon. Serve immediately with a reusable straw and enjoy the gradient of colors as they slowly merge.
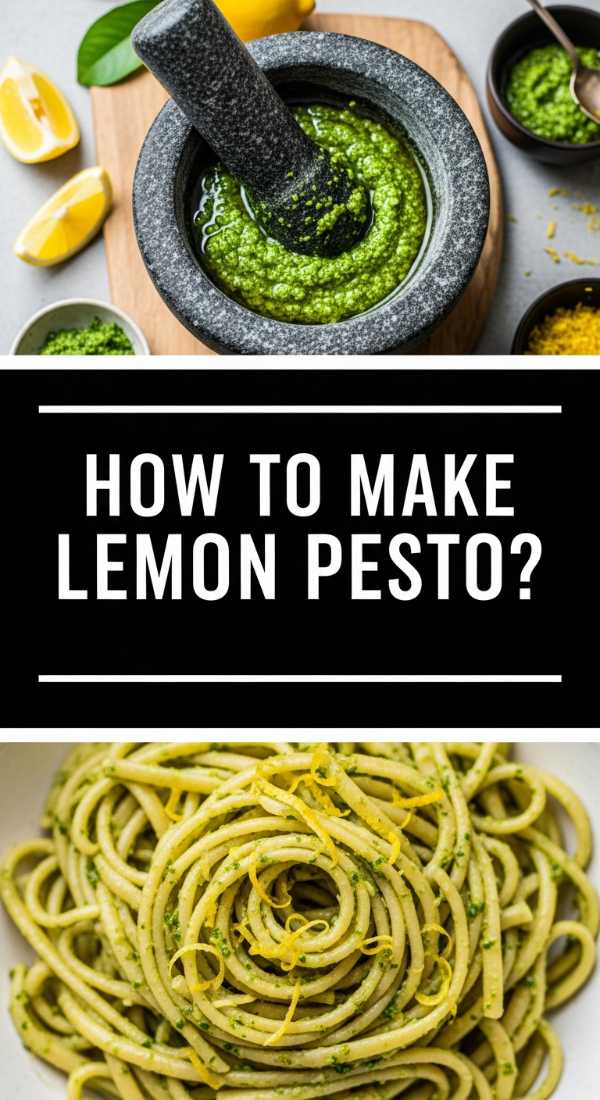
Zesty Lemon Pesto Pasta Recipe
Why we love this
When the weather warms up, we crave dishes that feel light, bright, and effortlessly chic. This lemon pesto pasta is the culinary equivalent of a sea breeze. We love the way the herbaceous, peppery bite of fresh basil meets the sharp, electric zing of lemon zest, all bound together by the richness of toasted pine nuts and nutty parmesan. The sauce clings to the pasta in a silky, emerald-green glaze that smells like a Mediterranean summer. It’s a 15-minute meal that tastes like it took hours of prep, providing a satisfying, al dente bite that leaves you feeling energized rather than weighed down.
Ingredients
- 1 lb Spaghetti or Linguine
- 2 cups Fresh basil leaves, packed
- 1/2 cup Extra virgin olive oil
- 1/3 cup Pine nuts, lightly toasted
- 2 cloves Garlic, minced
- 1/2 cup Freshly grated Parmesan cheese
- Zest and juice of 2 lemons
- Salt and cracked black pepper to taste
How to make it
- Bring a large pot of heavily salted water to a rolling boil. Add your pasta and cook until it is just shy of al dente (usually 1-2 minutes less than the package instructions).
- While the pasta cooks, prepare the pesto. In a food processor, pulse the toasted pine nuts and garlic until finely minced. Add the basil leaves, lemon juice, and lemon zest, pulsing until a coarse paste forms.
- With the processor running on low, slowly drizzle in the extra virgin olive oil in a steady stream until the pesto becomes smooth and emulsified. Stir in the Parmesan cheese by hand at the end to maintain some texture.
- Before draining the pasta, reserve at least 1 cup of the starchy pasta water—this is the secret to a silky sauce. Drain the pasta and return it to the pot over low heat.
- Add the pesto and half of the reserved pasta water to the noodles. Toss vigorously with tongs, adding more pasta water as needed, until the sauce transforms into a creamy, glossy coating that clings to every strand. Season with salt and lots of black pepper before serving with extra zest on top.
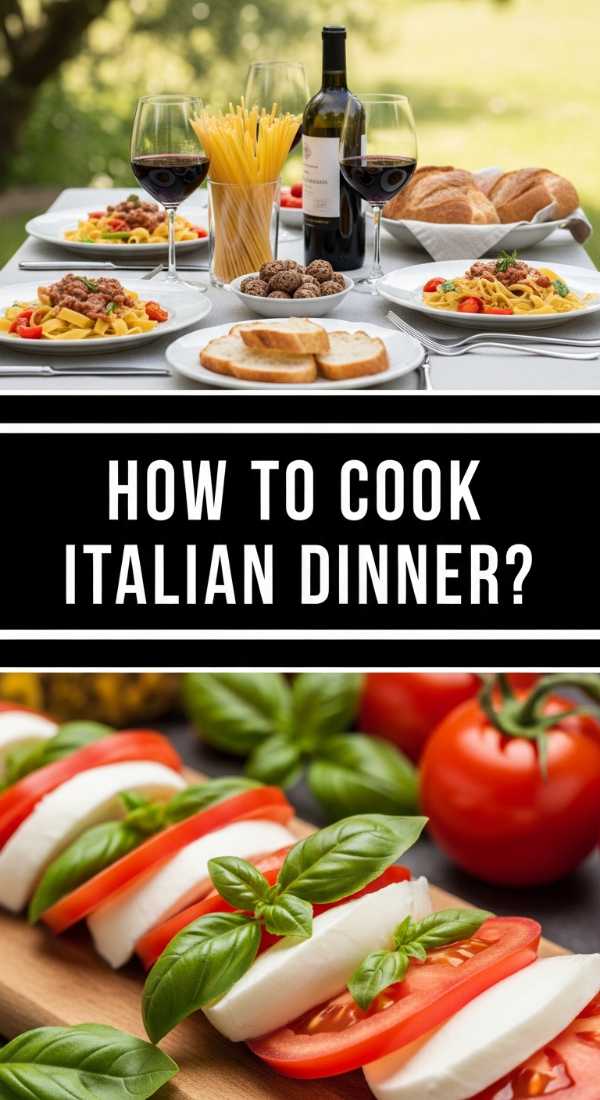
Hosting a Beautiful Italian Summer Dinner
Why we love this
An Italian summer dinner isn’t just a meal; it’s a philosophy of slow living and appreciation for quality ingredients. We love the effortless elegance of a long wooden table draped in linen, decorated with nothing but bowls of lemons and stray stems of rosemary. The air is filled with the mingled scents of warm bread, balsamic vinegar, and laughter. It’s about the “dolce far niente”—the sweetness of doing nothing—as you linger over multiple courses, enjoying the way the candlelight flickers against wine glasses. It’s a celebration of community that feels timeless and deeply restorative.
Ingredients
- Quality Crusty Bread and Olive Oil
- Selection of Antipasti (Olives, Artichokes, Prosciutto)
- Zesty Lemon Pesto Pasta (from previous section)
- Fresh Caprese Salad (Heirloom tomatoes, Mozzarella, Basil)
- Chilled Pinot Grigio or Sparkling Water with Mint
- Seasonal Fruit for Dessert
How to make it
- Start with the ambiance. Set a table outdoors if possible, using a neutral linen runner. Instead of formal floral arrangements, place clusters of fresh citrus fruits and small bowls of herbs down the center of the table.
- Prepare a simple antipasti board to greet guests as they arrive. Arrange thin slices of prosciutto, marinated olives, and chunks of Parmigiano-Reggiano on a wooden board. Serve with warm, sliced ciabatta and a small bowl of high-quality olive oil for dipping.
- For the main course, serve a large platter of the Lemon Pesto Pasta. The brightness of the lemon keeps the meal feeling light despite the humidity of summer. Pair this with a fresh Caprese salad featuring the ripest tomatoes you can find.
- Keep the drinks flowing by setting out a galvanized bucket filled with ice, holding bottles of crisp white wine and sparkling water infused with lemon slices and fresh mint.
- Focus on the pacing. In Italy, dinner is an event. Allow at least 30 minutes between the appetizer and the main course, ensuring the conversation is the main focus. Finish with a simple bowl of chilled peaches or cherries to cleanse the palate.
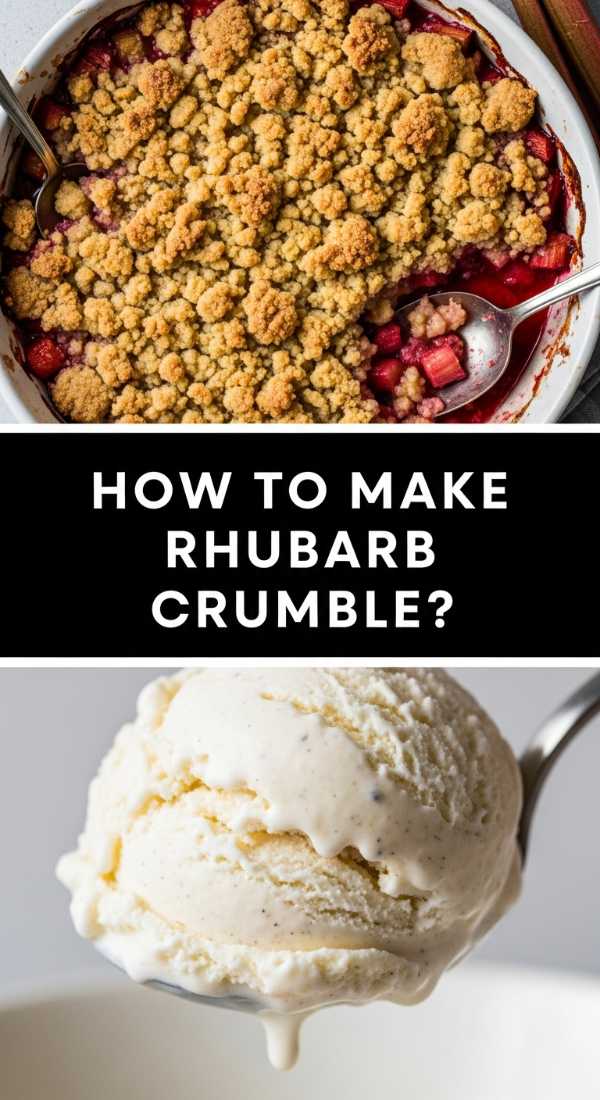
Crispy Golden Rhubarb Crumble Dessert
Why we love this
There is a rustic, humble beauty in a fruit crumble that refined pastries simply can’t match. We love the dramatic contrast between the molten, bubbling rhubarb filling and the architectural crunch of the golden-brown oat topping. As it bakes, the butter and brown sugar meld into a toffee-like crust that shatters delightfully under a spoon. The aroma—a mix of toasted grains and tart fruit—is the ultimate comfort. It’s the kind of dessert that begs to be served family-style, with a giant bowl in the middle of the table and everyone diving in for seconds of that perfect, crispy corner piece.
Ingredients
- 4 cups Rhubarb, chopped into 1-inch pieces
- 1/2 cup Granulated sugar
- 1 tbsp Cornstarch
- 1 tsp Vanilla extract
- 1 cup Rolled oats
- 1 cup All-purpose flour
- 1 cup Brown sugar, packed
- 1/2 cup Unsalted butter, cold and cubed
- 1 tsp Cinnamon
- 1/2 tsp Salt
How to make it
- Preheat your oven to 375°F (190°C) and lightly grease an 8×8 inch baking dish or a deep-dish pie pan with butter.
- In a medium bowl, toss the chopped rhubarb with the granulated sugar, cornstarch, and vanilla extract. Ensure the rhubarb is evenly coated, then spread it into the bottom of the prepared baking dish.
- In a separate large bowl, combine the rolled oats, flour, brown sugar, cinnamon, and salt. Use your fingers or a pastry cutter to work the cold, cubed butter into the dry ingredients.
- Continue mixing until the mixture looks like coarse, pea-sized crumbs and clumps together when squeezed. Do not overmix; you want those distinct “clumps” for the best texture.
- Spread the crumble topping evenly over the rhubarb layer. Bake for 35-45 minutes. The topping should be a deep, crispy golden brown, and the fruit juices should be thick and bubbling vigorously around the edges. Let it cool for 10 minutes before serving with a scoop of vanilla ice cream.
Custom Decorated Graduation Sugar Cookies

Why we love this
Custom sugar cookies are the ultimate “thank you” and celebration favor, acting as tiny, edible canvases for school pride. We love the crisp, buttery snap of a well-baked sugar cookie followed by the smooth, melt-in-your-mouth texture of royal icing. There is something incredibly therapeutic about the precision of flooding a cookie with vibrant colors and watching a simple shape transform into a graduation cap or a diploma. These cookies aren’t just snacks; they are personalized keepsakes that show your graduate exactly how much thought and love went into celebrating their incredible achievement.
Ingredients
- 3 cups All-purpose flour
- 1 cup Unsalted butter, softened
- 1 cup Granulated sugar
- 1 Egg
- 1 tsp Vanilla extract
- 4 cups Powdered sugar (for icing)
- 3 tbsp Meringue powder
- 5-7 tbsp Warm water
- Gel food coloring
How to make it
- Cream butter and sugar until smooth. Add egg and vanilla, then slowly incorporate flour until a dough forms. Roll out to 1/4 inch thickness between two sheets of parchment paper and chill for 1 hour before cutting into shapes (caps, gowns, stars).
- Bake the cookies at 350°F for 8-10 minutes until the edges are just barely starting to turn golden. They must be completely cold before you even think about icing them.
- Prepare royal icing by whisking powdered sugar, meringue powder, and water for 7-10 minutes until stiff peaks form. Divide and color with gel dyes as needed.
- Thin a portion of the icing to “flood” consistency (it should disappear into itself in 10 seconds). Pipe an outline around the cookie with stiff icing, then immediately fill the center with the flood icing using a toothpick to pop bubbles.
- Let the base layer dry for at least 4 hours before adding detailed decorations like tassels, years, or names on top with the stiffer icing. This prevents the colors from bleeding and gives that professional, layered look.
Epic Graduation Charcuterie Board Styling
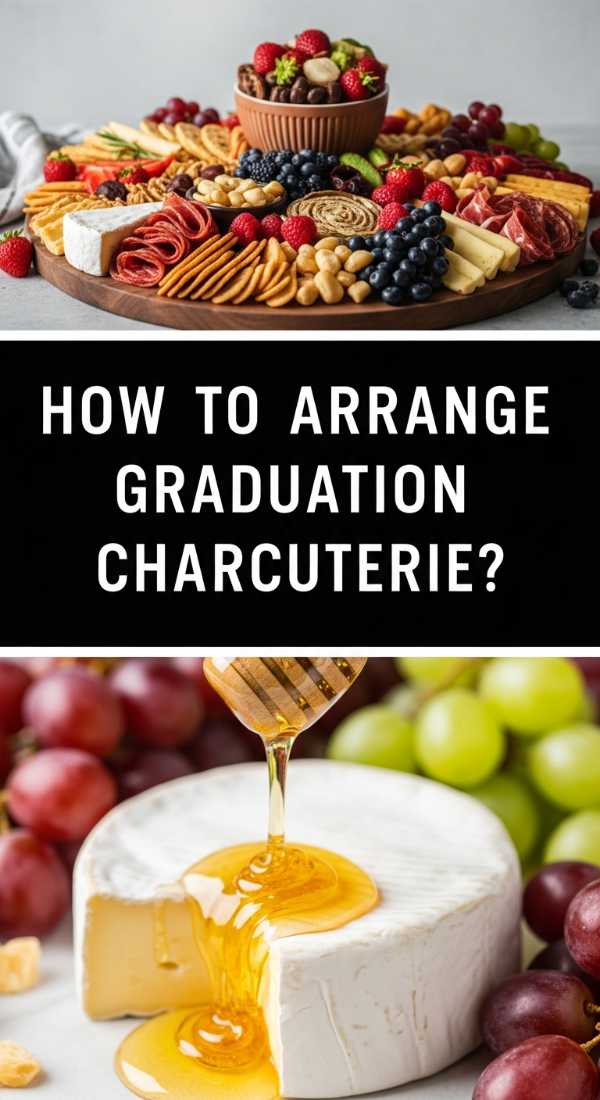
Why we love this
The charcuterie board is the reigning king of the “simple board” trend because it offers a little bit of everything for everyone. We love the visual abundance—the way the textures of velvety brie, sharp cheddar, salty prosciutto, and crunchy marcona almonds create a tapestry of flavor. It’s a conversational masterpiece that encourages guests to linger, graze, and discover new pairings. Styling an epic board is like a puzzle; there is a deep satisfaction in finding the perfect spot for a bunch of grapes or a small bowl of honey, resulting in a feast that feels both decadent and effortless.
Ingredients
- 3-4 Cheeses (Brie, Sharp Cheddar, Manchego, Goat Cheese)
- 3 Meats (Prosciutto, Salami, Sopressata)
- Fresh Fruits (Grapes, Berries, Fig slices)
- Dried Fruits and Nuts (Apricots, Almonds, Walnuts)
- Crackers and Sliced Baguette
- Accompaniments (Honey, Grainy Mustard, Cornichons)
How to make it
- Start with a large wooden board or a slate platter. Place your “anchors” first—these are small bowls filled with honey, mustard, or olives. Space them out across the board to create visual balance.
- Add the cheeses next. Place them near the bowls, leaving them whole or slicing a few pieces to “invite” guests to start eating. Space different textures (hard, soft, blue) in different quadrants of the board.
- Layer the meats. Fold prosciutto into ribbons or “roses” and fan out salami slices in a serpentine pattern across the board to create movement.
- Fill the largest remaining gaps with your crackers and bread, curving them around the cheeses and bowls.
- Finally, fill all the tiny remaining holes with “fillers”: clusters of grapes, handfuls of nuts, and sprigs of fresh rosemary or edible flowers. The goal is to see absolutely none of the board underneath—abundance is the key to that viral aesthetic!
Conclusion
Embracing the simple food board trend is about more than just aesthetics; it’s about reclaiming the joy of hosting without the stress of perfection. Whether you’re celebrating a graduate with a mountain of custom cookies or enjoying a quiet moment with homemade rhubarb jam, these rituals ground us in the beauty of the season. I hope these recipes and styling tips inspire you to clear off your counter, gather your favorite ingredients, and invite someone over to share in the magic. After all, the best memories are usually made around a table covered in good food and even better company.