
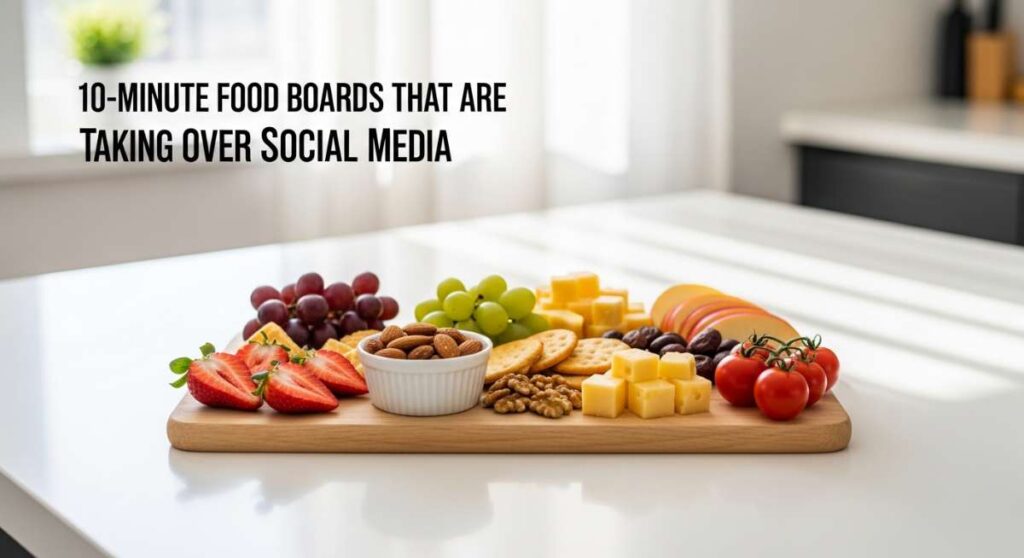
I don’t know about you, but my social media feed has been absolutely flooded lately with the most stunning, vibrant food boards. There is something so incredibly inviting about a spread that says, “Come as you are, grab a plate, and let’s celebrate.” It takes the pressure off hosting and turns every meal into a shared experience, where the colors are as bright as the conversation.
The magic of a food board isn’t just in the aesthetics; it’s in the effortless way it brings people together. Whether you’re celebrating a milestone or just making a Tuesday feel special, these boards allow you to graze and linger over your favorite flavors. Today, I’m sharing my favorite 10-minute inspiration boards—from sweet graduation treats to savory Italian dinners—that will make your next gathering unforgettable.
How to make graduation cakes?

Why we love this
There is an undeniable joy in seeing a miniature cake board laid out, each tiny sponge a celebration of a hard-earned milestone. The aroma of sweet vanilla bean and rich buttercream wafts through the room, instantly setting a festive mood. When you bite into a moist, perfectly baked cake paired with a dollop of silky frosting, the texture is like a cloud melting on your tongue, while the vibrant school-colored decorations add a pop of visual excitement that makes every guest feel like a VIP.
Ingredients
- Miniature sponge cake rounds (pre-baked or store-bought)
- Vanilla and Chocolate buttercream frosting
- Edible gold leaf and luster dust
- Fresh raspberries and blueberries
- Miniature graduation cap toppers
- Sprinkles in school colors
How to make it
- Start by leveling your mini cake rounds using a serrated knife to ensure they sit perfectly flat on your serving board. This stability is key for layering.
- Apply a thin ‘crumb coat’ of buttercream to each cake using an offset spatula. Chill them in the refrigerator for 15 minutes; this professional step traps loose crumbs and ensures your final layer of frosting is flawlessly smooth.
- Pipe generous swirls of colored buttercream onto the tops of the cakes using a star tip, moving in a circular motion from the outside in to create a professional bakery look.
- Carefully apply edible gold leaf using tweezers for a touch of elegance, ensuring you don’t touch the leaf with your fingers as it will stick to your skin.
- Arrange the cakes on a large wooden board, alternating colors and heights, and fill the gaps with fresh berries and graduation-themed picks for a lush, crowded look.
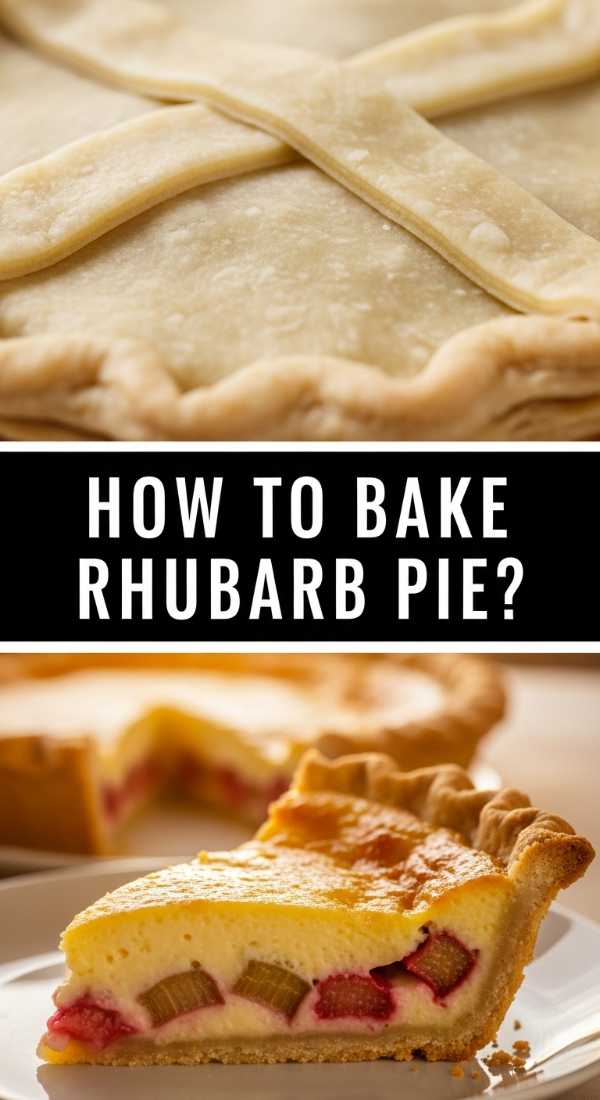
How to bake rhubarb pie?
Why we love this
Nothing says home-cooked comfort like the scent of a rhubarb pie cooling on a wooden board. The sharp, tangy bite of the crimson rhubarb stalks creates a sophisticated dance with the sweet, sugary filling, all encased in a crust so buttery and flaky it shatters at the touch of a fork. It’s a sensory journey of warmth and nostalgia, where the golden-brown lattice top offers a satisfying crunch that gives way to a bubbling, jammy center that smells like a summer afternoon.
Ingredients
- 4 cups of fresh rhubarb, sliced into 1/2 inch pieces
- 1 1/4 cups granulated sugar
- 3 tablespoons cornstarch
- 1/2 teaspoon ground cinnamon
- Double-crust pie dough (chilled)
- 1 egg (for egg wash)
- Turbinado sugar for dusting
How to make it
- Preheat your oven to 400°F (200°C). Tossing the rhubarb with sugar and cornstarch in a large bowl, let it sit for 10 minutes; this allows the juices to release and the starch to hydrate, preventing a soggy bottom.
- Roll out your bottom crust on a lightly floured surface until it’s about 1/8 inch thick, then gently drape it over a 9-inch pie plate without stretching the dough.
- Pour the rhubarb mixture into the shell, ensuring the pieces are evenly distributed for consistent cooking.
- Cut the second crust into strips and weave a lattice pattern over the top. This isn’t just for looks; the gaps allow steam to escape so the filling thickens properly.
- Brush the lattice with a beaten egg and sprinkle heavily with turbinado sugar. Bake for 45-50 minutes, or until the crust is a deep golden brown and the fruit juices are bubbling vigorously near the center.
How to decorate grad cupcakes?

Why we love this
A board full of decorated cupcakes is a literal playground for the eyes and the palate. Each cupcake is a canvas, topped with swirls of frosting that look like velvet and taste like pure indulgence. The contrast between the soft, airy cake and the slightly firm snap of a chocolate graduation cap topper provides a delightful textural variety. It’s the kind of dessert that invites guests to pick their favorite color and dive into a miniature celebration of success.
Ingredients
- Prepared chocolate and vanilla cupcakes
- Silky Swiss Meringue Buttercream
- Square chocolate pieces (for caps)
- Sour belt candies or fruit leathers (for tassels)
- M&Ms or Reese’s pieces (to anchor the tassel)
- Pearlescent sprinkles
How to make it
- Pipe a flat surface of frosting onto each cupcake using a wide round tip. This creates a stable platform for your decorations.
- Place a square chocolate piece in the center of the frosting. To make it look like a graduation cap, angle the square so it sits like a diamond relative to the person looking at it.
- Cut thin strips of sour belt candy to about 1 inch in length. Fray the ends with a knife to mimic the look of a real silk tassel.
- Use a tiny dot of frosting to ‘glue’ the tassel to the center of the chocolate square, then place a small candy (like an M&M) on top to hide the seam.
- Arrange these on your board in the shape of the graduation year (e.g., ‘2024’) to create a stunning focal point for your dessert table.
How to brew fun coffee?

Why we love this
The ritual of a coffee board brings a coffeehouse vibe directly into your living room. The rich, earthy aroma of freshly ground beans mixes with the sweet, spicy notes of cinnamon and vanilla syrups, creating an atmosphere that is both cozy and energizing. Watching the cream swirl into the dark brew like a marble painting is hypnotic, and the first sip—warm, smooth, and perfectly customized—is like a big, comforting hug for your soul.
Ingredients
- High-quality dark roast coffee beans
- Whole milk, oat milk, and heavy cream
- Flavored syrups (Caramel, Vanilla, Hazelnut)
- Cinnamon sticks and star anise
- Whipped cream and chocolate shavings
- Cold brew concentrate (for iced options)
How to make it
- Brew a concentrated pot of coffee using a French Press for a richer mouthfeel. Use a 1:15 coffee-to-water ratio to ensure the flavor holds up even when milk and ice are added.
- On your board, arrange small glass carafes with different milk options. Chilling the carafes beforehand helps keep the milk fresh and cool during the party.
- Place bowls of garnishes like cinnamon sticks and chocolate shavings next to the syrups. Professional tip: lightly toast the cinnamon sticks over an open flame for 5 seconds to release their oils and aroma.
- For a “fun” twist, provide a hand-held milk frother on the board so guests can create their own foam peaks.
- Add a bowl of ice and some long-handled spoons, allowing guests to transition from a hot morning brew to a refreshing afternoon iced latte.
How to style grad cookies?

Why we love this
Graduation cookies styled on a board are the ultimate party favor and snack in one. The snap of a perfectly tempered royal icing against a soft, buttery sugar cookie is pure satisfaction. These cookies carry a whimsical charm, with their bright colors and intricate designs like diplomas and caps. They aren’t just treats; they are edible memories that celebrate the hard work and bright future of the guest of honor, and they look stunning nestled among ribbons and confetti.
Ingredients
- Cut-out sugar cookies (caps, diplomas, stars)
- Royal icing in various colors
- Fine-tip piping bags
- Edible markers
- Sanding sugar
- Ribbon for diploma cookies
How to make it
- Outline your cooled cookies with a stiff-consistency royal icing. This acts as a dam to hold the thinner ‘flood’ icing in place.
- Fill the center with flood-consistency icing. Use a toothpick to pop any tiny air bubbles for a glass-smooth finish. Let these dry completely for at least 8 hours.
- Once dry, use a fine-tip bag to add details like the folds in a diploma or the year on a graduation cap.
- For diploma cookies, use an edible marker to draw a small red line to look like a ribbon, or actually tie a very thin physical ribbon around the center for a 3D effect.
- Style the board by layering the cookies on different levels—use small boxes hidden under a cloth to create height, making the display look abundant and professional.
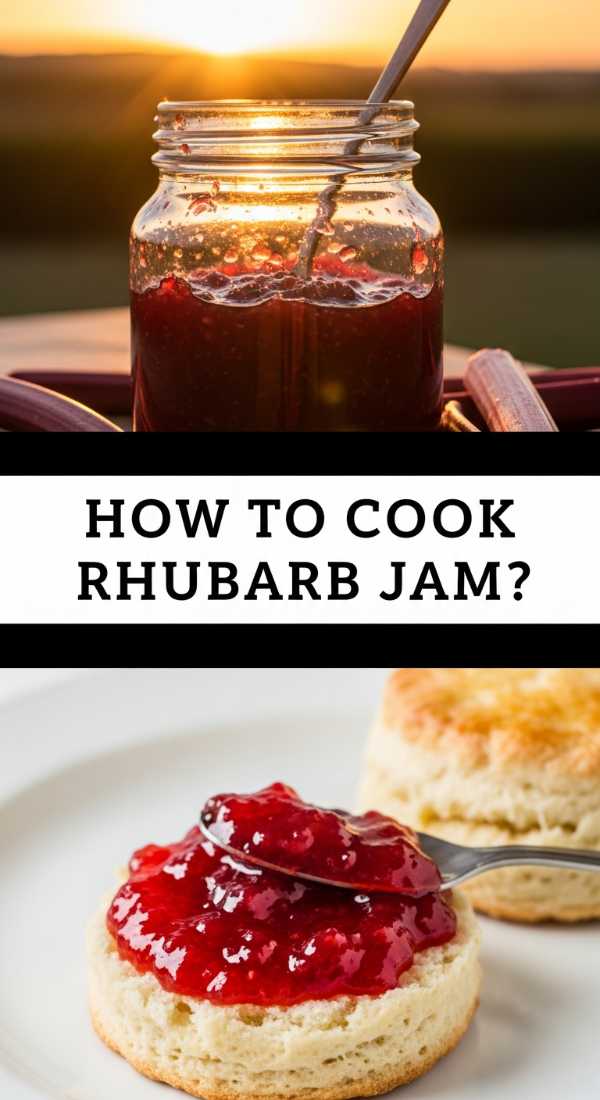
How to cook rhubarb jam?
Why we love this
Rhubarb jam is the hidden gem of any brunch or cheese board. It boasts a stunning, jewel-toned pink hue that brightens up any spread. The flavor is a sophisticated balance of tartness and floral sweetness, with a thick, spreadable texture that pairs beautifully with sharp cheddars or creamy bries. Its aroma, while simmering on the stove, fills the house with a bright, fruity scent that signals the start of the harvest season.
Ingredients
- 2 lbs rhubarb, chopped into small pieces
- 3 cups granulated sugar
- 1/4 cup lemon juice
- 1 teaspoon vanilla bean paste
- A pinch of salt
How to make it
- Combine the rhubarb, sugar, and lemon juice in a heavy-bottomed pot. Let it macerate for 2 hours; the sugar will draw out the moisture, creating a natural syrup.
- Bring the mixture to a boil over medium-high heat, stirring constantly with a wooden spoon to prevent the sugar from scorching.
- Lower the heat and simmer. You’ll see the rhubarb break down from fibrous stalks into a thick, glossy pulp. This usually takes about 20-25 minutes.
- Test the set: Place a small spoonful on a chilled plate and put it in the freezer for 1 minute. If it wrinkles when pushed with your finger, it’s ready.
- Stir in the vanilla bean paste at the very end to preserve its delicate flavor, then transfer to glass jars to cool before adding to your board.
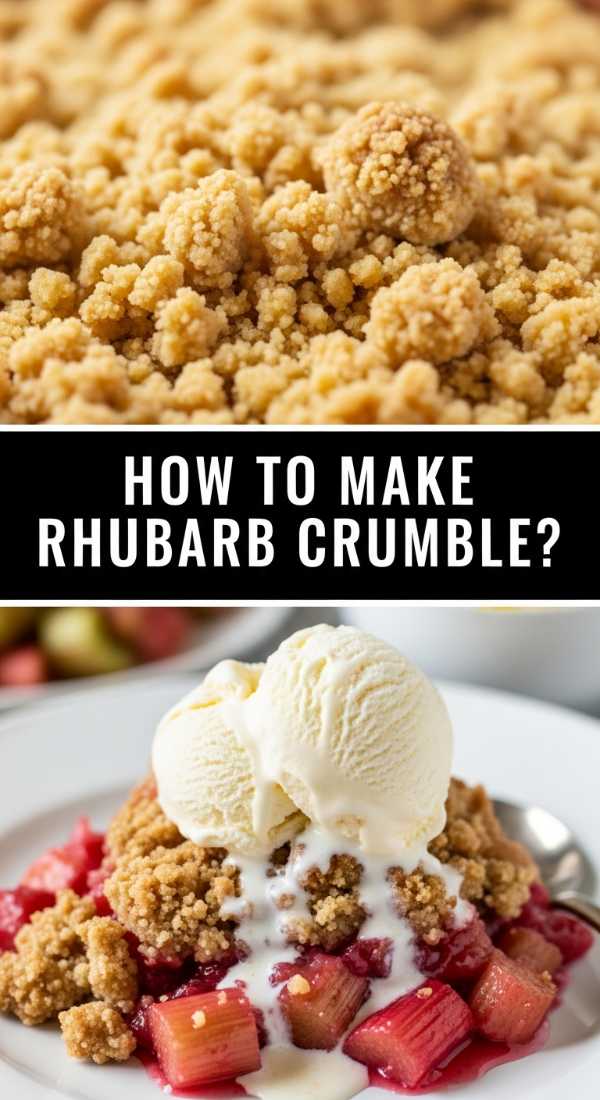
How to make rhubarb crumble?
Why we love this
There’s a rustic elegance to a rhubarb crumble board, featuring individual ramekins overflowing with golden, oat-filled topping. The sound of a spoon breaking through the crunchy, buttery crust to reach the warm, tart fruit beneath is music to a dessert lover’s ears. It’s a sensory experience of hot and cold when served with a scoop of melting vanilla bean ice cream, creating a creamy sauce that balances the zing of the rhubarb perfectly.
Ingredients
- Filling: 5 cups rhubarb, 3/4 cup sugar, 1 tbsp flour
- Topping: 1 cup rolled oats, 1 cup brown sugar, 1 cup flour
- 1/2 cup cold salted butter, cubed
- 1/2 tsp ground ginger
How to make it
- Preheat your oven to 375°F (190°C). Toss the rhubarb with sugar and flour and divide it into small, oven-safe ramekins placed on a baking sheet.
- In a separate bowl, combine oats, brown sugar, flour, and ginger. Use your fingertips or a pastry cutter to work the cold butter into the mixture until it resembles coarse breadcrumbs with some pea-sized chunks.
- Pile the crumble topping high on each ramekin. Do not press it down; you want it loose so the hot air can circulate and make it extra crispy.
- Bake for 30-35 minutes. You are looking for the fruit juice to be bubbling up the sides and the topping to be a deep, toasted brown.
- Place the ramekins on a board surrounded by small spoons and a bowl of whipped cream, allowing guests to serve themselves while the crumbles are still warm.
How to prepare italian dinner?

Why we love this
An Italian dinner board is a masterpiece of textures and savory delights. From the silky folds of prosciutto to the sharp, salty bite of aged Pecorino, it’s a tour of the Mediterranean on a single platter. The aroma of fresh basil and roasted garlic permeates the air, inviting everyone to dive in. It feels like a sun-drenched afternoon in Tuscany, where the food is simple, high-quality, and meant to be enjoyed slowly with a glass of crisp wine.
Ingredients
- Prosciutto di Parma and Genoa salami
- Marinated artichoke hearts and olives
- Fresh mozzarella pearls and sharp provolone
- Roasted red peppers and sun-dried tomatoes
- Grissini (breadsticks) and focaccia slices
- Balsamic glaze for drizzling
How to make it
- Start by placing your largest items first, like bowls of olives or a ball of burrata, to create “anchors” on the board.
- Fold the meats into “ribbons” or “fans” rather than laying them flat. This adds height and makes it easier for guests to pick up individual slices without them sticking together.
- Group your items by flavor profile—place the salty meats near the neutral crackers, and the acidic marinated vegetables near the creamy cheeses to create a balanced palate.
- Toast the focaccia slices with a bit of olive oil and sea salt under the broiler for 2 minutes until just golden; the warmth will help release the aromas of the other board components.
- Finish with a heavy drizzle of thick balsamic glaze and a scatter of fresh basil leaves to give the board a vibrant, fresh-from-the-garden look.
How to make lemon pesto?
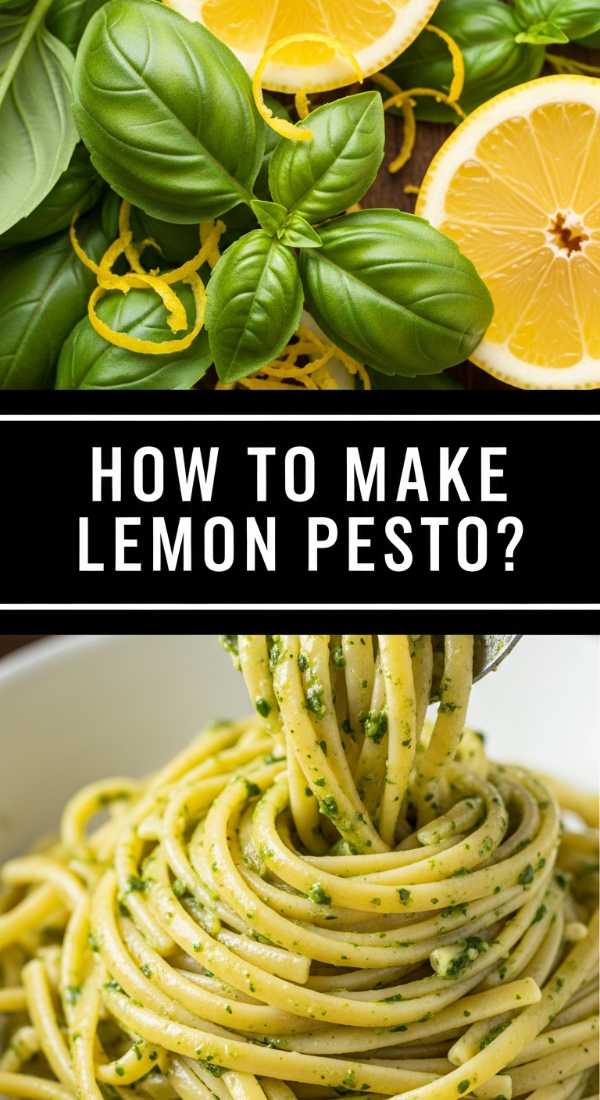
Why we love this
Lemon pesto is a bright, zingy revelation that breathes new life into the traditional basil sauce. The scent of freshly zested lemons hitting the herbal notes of basil is incredibly refreshing, like a cool breeze on a hot day. Its texture is rustic and slightly grainy from the parmesan and pine nuts, coating every strand of pasta or slice of crusty bread in a vibrant green coat that tastes like pure sunshine and summer gardens.
Ingredients
- 2 cups fresh basil leaves, packed
- 1/2 cup freshly grated Parmesan cheese
- 1/2 cup extra virgin olive oil
- 1/3 cup pine nuts (toasted)
- Zest and juice of 2 large organic lemons
- 2 cloves of garlic
How to make it
- Toast the pine nuts in a dry pan over medium heat for 3-4 minutes until golden and fragrant. Watch them closely as they can burn in seconds.
- Pulse the basil, toasted pine nuts, and garlic in a food processor until coarsely chopped. Do not over-process at this stage, or the basil may turn bitter from the heat of the blades.
- Slowly stream in the olive oil while the processor is running on low. This emulsifies the sauce, creating a smooth yet slightly textured consistency.
- Stir in the lemon zest, lemon juice, and Parmesan by hand. Adding the cheese at the end ensures the pesto keeps a bright green color and doesn’t become a paste.
- Place a bowl of this pesto in the center of a board surrounded by hot penne pasta, cherry tomatoes, and grilled chicken strips for a “build-your-own” pasta dinner.
How to plan graduation desserts?

Why we love this
Planning a graduation dessert board is about creating a grand finale that honors the graduate’s journey. It’s a joyful explosion of gold accents, school colors, and sweet treats that cater to every craving. The combination of decadent chocolate, tart fruit, and sugary confections creates a sensory overload in the best way possible. It’s a centerpiece that sparks conversation, laughter, and a sense of pride as guests gather to toast to the future.
Ingredients
- Assorted mini desserts (macarons, brownies, tarts)
- Chocolate-covered strawberries
- Graduation-themed sugar cookies
- Sparkling cider or champagne truffles
- Gold-dusted popcorn
- Fresh mint for garnish
How to make it
- Choose a theme based on school colors to give the board a cohesive, intentional look. Use colored napkins or small flowers to reinforce the palette.
- Place the largest items, like a small centerpiece cake or a bowl of truffles, in the center and work your way outwards with smaller items like macarons and cookies.
- Incorporate different textures: crunchy popcorn, chewy brownies, and soft fruit make the board more interesting to eat.
- Use small parchment paper liners for messy items like brownies or truffles; this keeps the board clean and makes it easier for guests to grab and go.
- Add a touch of “celebration” by scattering edible gold stars or small printed photos of the graduate throughout the board for a personalized, emotional touch.
The Art of the 10-Minute Board
Creating these boards is less about perfection and more about the love you put into the presentation. In just ten minutes, you can transform simple ingredients into a viral-worthy spread that nourishes both the body and the spirit. Whether it’s the tart snap of rhubarb or the savory depth of an Italian feast, these boards prove that hosting doesn’t have to be stressful to be spectacular. So, grab a board, clear your table, and start building your own delicious masterpiece today!