
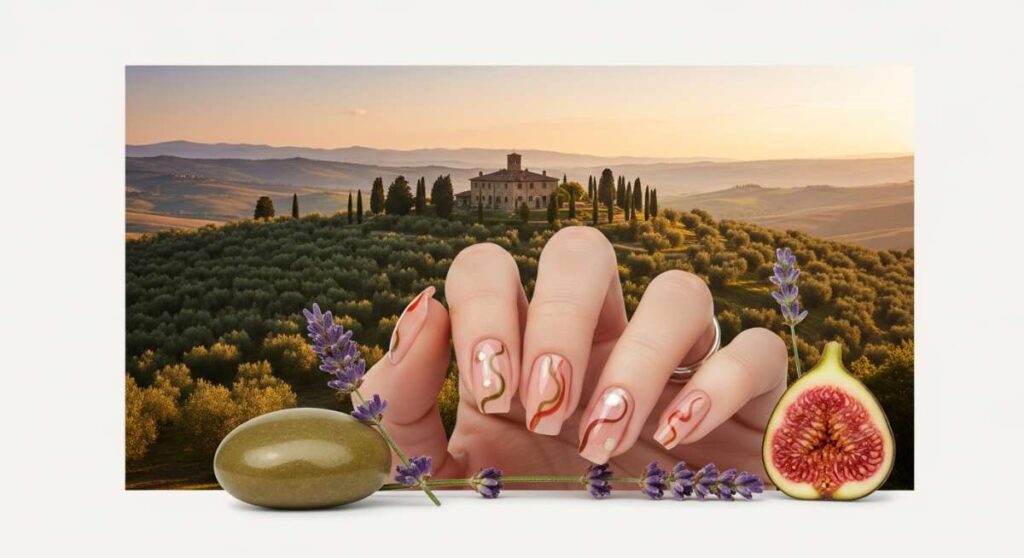
The Ultimate Guide to Achieving the Dreamy Tuscan 2000s Manicure
Hello, my beautiful loves! Can you feel it? That gentle, golden breeze blowing through the cypress trees, the scent of wild rosemary in the air, and the warmth of a terracotta sun on your skin. Lately, I’ve been feeling so inspired by that specific, nostalgic intersection of early 2000s glamour and the rustic, earthy elegance of Tuscany. It’s like a cloud-soft embrace for your hands, and honestly, we all deserve that little bit of luxury in our daily lives.
Today, I’m so excited to walk you through the ultimate guide to the ‘Tuscan 2000s’ manicure. This aesthetic is all about blending those bold, Y2K shapes and textures with the timeless, muted palette of the Italian countryside. Whether you’re sipping an espresso at a sidewalk café or just dreaming of your next getaway, these nails will transport you. Let’s dive into these dreamy trends together!
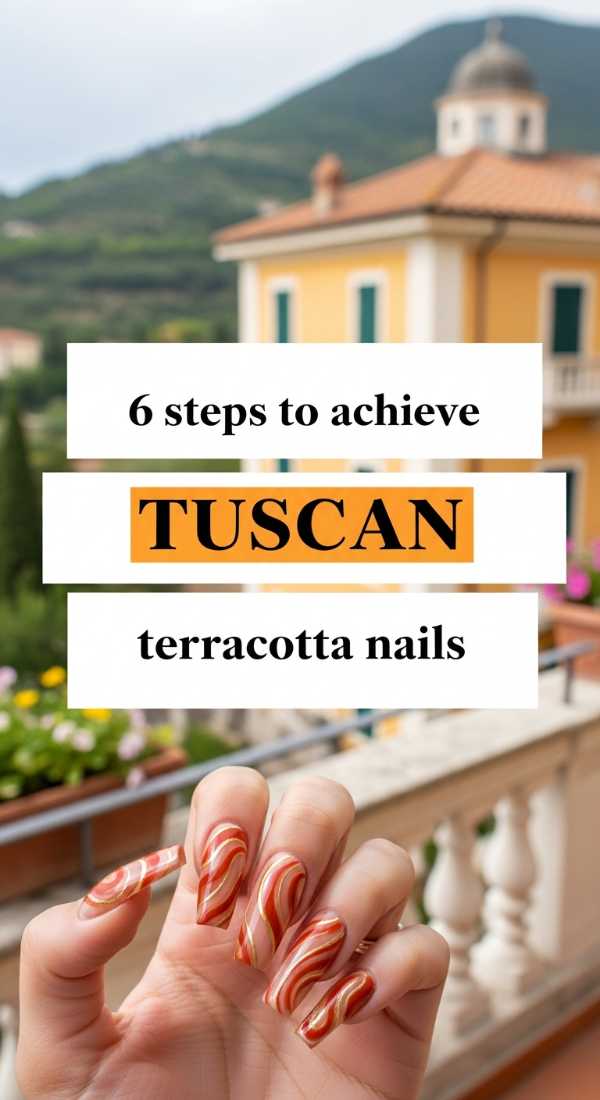
6 steps to achieve Tuscan terracotta nails
Why to love these Nails:
There’s something so deeply grounding about the warmth of a Tuscan sunset captured right on your fingertips. This terracotta shade isn’t just a color; it’s a mood. It feels organic and sophisticated, yet it has that 2000s matte finish that makes it feel slightly retro. It’s the perfect neutral for those who want a pop of soul on their hands.
Essential Items:
- Terracotta orange-brown polish
- Matte top coat
- Nail file
- Base coat
- Cuticle oil
- Fine-bristled cleanup brush
How to Prepare:
- Gently shape your nails into a soft almond or square-oval.
- Apply a thin, protective base coat to prevent staining.
- Apply your first coat of terracotta polish using three light strokes.
- Wait two minutes and apply a second coat for full opacity.
- Once dry, seal the look with a velvet-finish matte top coat.
- Hydrate your cuticles with oil for that healthy, Mediterranean glow.
Budget Range
- Essie ‘Rocky Rose’ – $10.00
- OPI ‘My Italian is a Little Rusty’ – $11.50
- Holo Taco ‘Matte Top Coat’ – $13.00
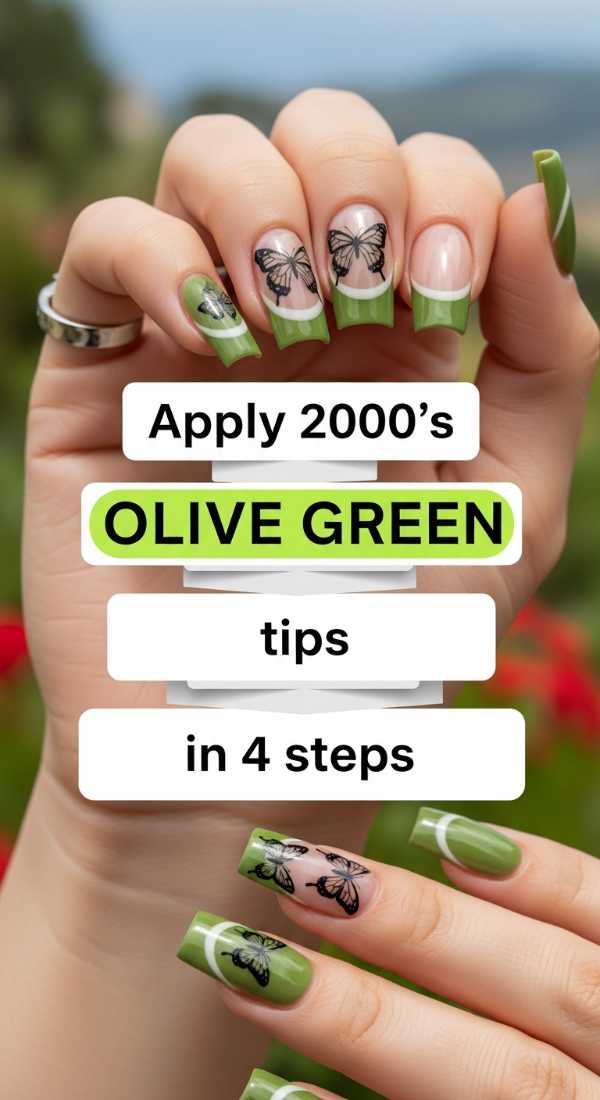
Apply 2000s olive green tips in 4 steps
Why to love these Nails:
The early 2000s were the golden era of the French tip, but we’re giving it a rustic update. Using olive green instead of classic white feels like a stroll through an ancient olive grove. It’s chic, unexpected, and pairs beautifully with gold jewelry.
Essential Items:
- Olive green polish
- French tip guide stickers
- Clear glossy top coat
- Nude base polish
How to Prepare:
- Apply two coats of a sheer nude base and let it dry completely.
- Place the tip guides slightly lower than the natural free edge for a Y2K ‘deep’ tip look.
- Paint the olive green polish on the tips and immediately peel the sticker away.
- Seal the entire nail with a high-shine top coat for a professional finish.
Budget Range
- Zoya ‘Evvie’ – $12.00
- Orly ‘Olive You Kelly’ – $10.50
- French Tip Guides (Generic) – $3.00
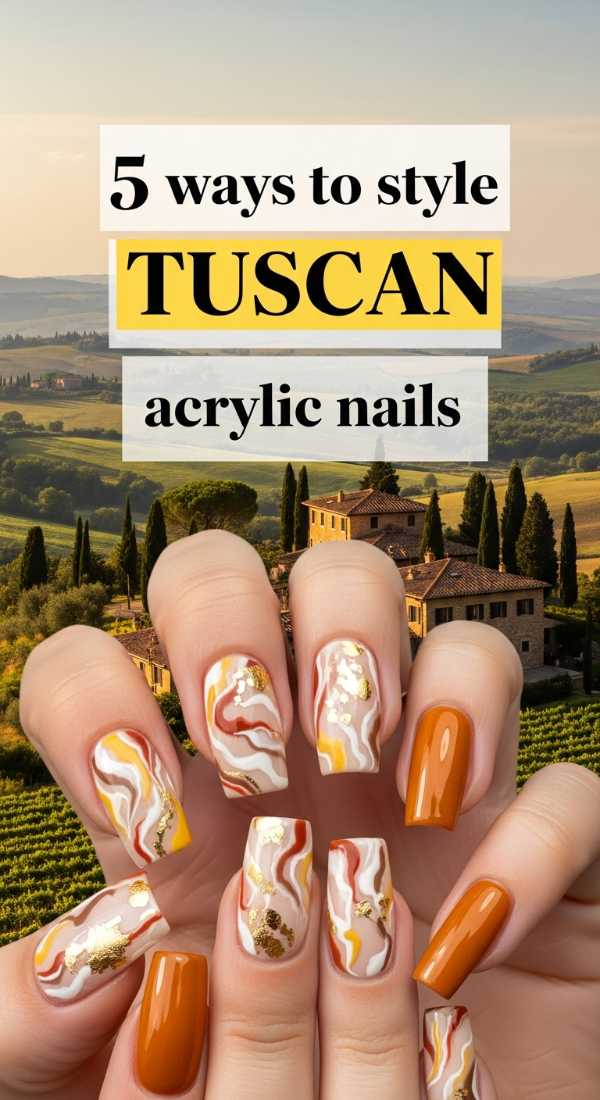
5 ways to style Tuscan acrylic nails
Why to love these Nails:
Long, sculpted acrylics were the ultimate status symbol in the 2000s. By styling them with Tuscan-inspired textures—like distressed stone or sun-bleached wood effects—you get a look that is both powerful and soft. It’s for the girl who loves the drama but keeps it classy.
Essential Items:
- Acrylic powder and liquid
- Nail forms or tips
- E-file or manual buffer
- Gel polish in cream or beige
- Matte finishing gel
How to Prepare:
- Dehydrate the natural nail plate to ensure a long-lasting bond.
- Apply your tips or forms and build the acrylic structure in a tapered coffin shape.
- Buff the surface until it resembles the smooth texture of Italian marble.
- Apply a cream-colored gel to create a ‘blank canvas’ feel.
- Experiment with textures like ‘dry brushing’ brown polish for a rustic wood-grain look.
Budget Range
- Kiara Sky Professional Nail Kit – $45.00
- Mia Secret Liquid Monomer – $15.00
- Beetles Gel Polish Set – $20.00
Create 2000s marble designs in 3 minutes

Why to love these Nails:
Marble is the hallmark of Italian architecture. Bringing this to your nails in the 2000s ‘watercolor’ style creates a look that is fluid and dreamy. It’s surprisingly easy to do and looks like you spent hours at a luxury spa in Florence.
Essential Items:
- White polish
- Grey or tan polish
- Small bowl of water
- Toothpick
- Rubbing alcohol (optional for spreading)
How to Prepare:
- Paint a solid white base and let it dry.
- Drop a single bead of grey polish into water and swirl with a toothpick.
- Dip your nail into the swirl, or use a brush dipped in alcohol to ‘melt’ grey dots onto your white base for 3 minutes.
Budget Range
- Sally Hansen ‘White On’ – $5.00
- Sinful Colors ‘Galax-Sea’ – $3.00
- Rubbing Alcohol – $2.00
Master Tuscan gold foil art in 7 steps
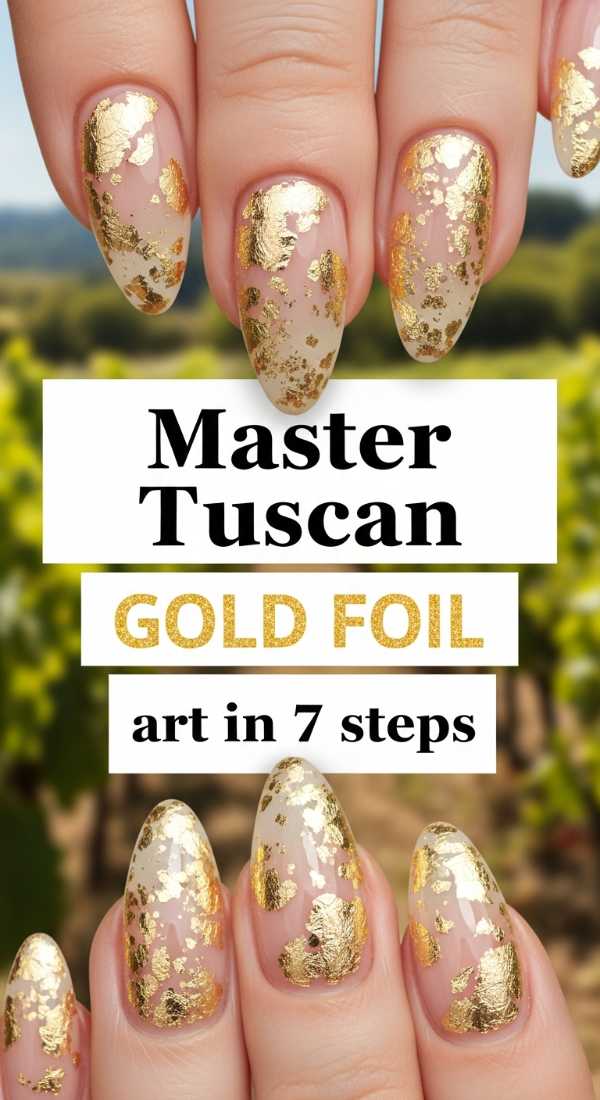
Why to love these Nails:
Gold foil adds that touch of 2000s opulence that we all secretly crave. It mimics the gold leaf found in historic Tuscan cathedrals. It’s reflective, regal, and catches the light beautifully during the golden hour.
Essential Items:
- Gold leaf flakes
- Tweezers
- Foil adhesive or tacky base
- Fan brush
- Top coat
How to Prepare:
- Apply your base color (creams work best).
- Wait for the polish to become ‘tacky’ or apply a dedicated foil glue.
- Use tweezers to pick up tiny fragments of gold leaf.
- Gently press the leaf onto the nail in random, organic patterns.
- Smooth it down with a dry fan brush.
- Remove excess flakes from the skin.
- Apply two coats of top coat to ensure the foil doesn’t peel.
Budget Range
- Nail Art Gold Foil Flakes – $7.00
- Makartt Foil Glue – $9.00
- Tweezerman Tweezers – $12.00
4 secrets to perfect 2000s espresso nails
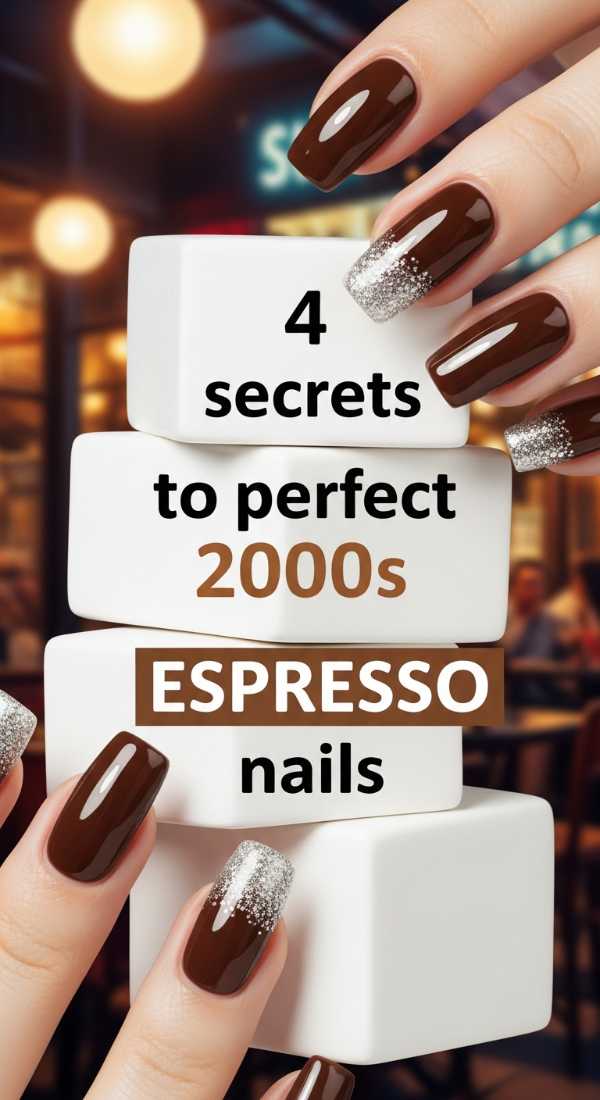
Why to love these Nails:
Deep, rich espresso tones were everywhere in the early 2000s. It’s the color of a morning coffee in a bustling piazza. This look is moody, sophisticated, and makes your hands look incredibly elegant and elongated.
Essential Items:
- Deep espresso brown polish
- Cleanup brush
- High-gloss top coat
- Cuticle softener
How to Prepare:
- The secret is in the prep: Push back cuticles perfectly for a clean ‘gap’ between skin and polish.
- Apply thin layers—espresso shades can be thick and prone to bubbling.
- Clean up the edges with a brush dipped in acetone for a sharp, salon-perfect line.
- Always finish with a high-gloss top coat to give that ‘liquid coffee’ shine.
Budget Range
- Chanel ‘Le Vernis’ in Particulière – $32.00
- Revlon ‘Storehouse’ – $6.00
- CND Vinylux ‘Satin Slippers’ – $10.50
Paint Tuscan vineyard florals in 8 steps
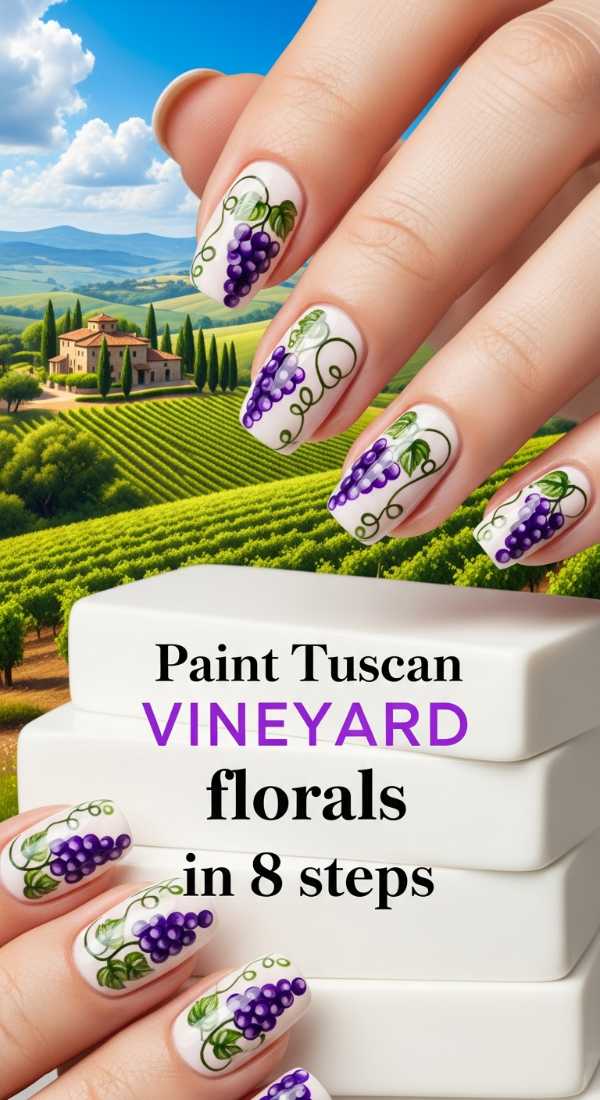
Why to love these Nails:
Tiny, delicate florals are the epitome of cottagecore-meets-2000s-chic. They remind me of the blooming vines trailing over a stone wall in the Chianti region. They are feminine, soft, and so romantic.
Essential Items:
- Dotting tool
- Fine detail brush
- Lavender, green, and cream polishes
- Base coat
How to Prepare:
- Start with a clean, cream-colored base.
- Use a dotting tool to place five tiny purple dots in a circle for a grape-like flower.
- Add a tiny yellow dot in the center.
- Use the fine brush to draw thin, wispy green vines connecting the flowers.
- Add small leaves with a single ‘drag’ of the brush.
- Let the art dry for at least 5 minutes before touching.
- Seal with a glossy top coat.
- Apply a second layer of top coat the next day for extra longevity.
Budget Range
- Beetles Nail Art Brushes – $8.00
- Nail Art Dotting Tool Set – $5.00
- OPI ‘Do You Lilac It?’ – $11.00
5 easy tips for 2000s metallic nails
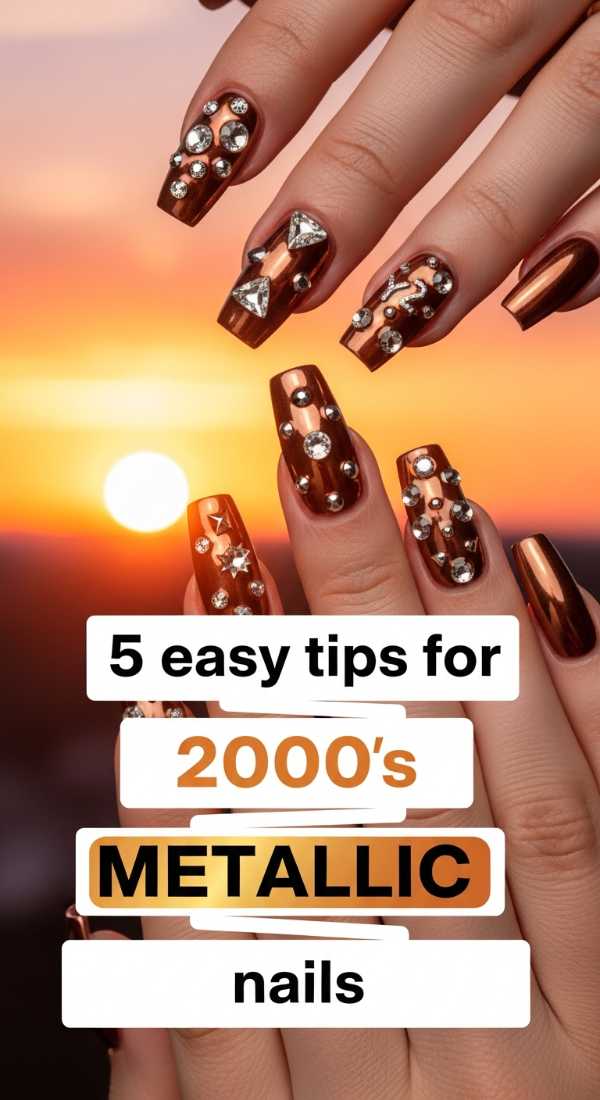
Why to love these Nails:
The 2000s loved a metallic finish, and when you do it in shades of burnished copper or antique bronze, it feels like Tuscan metalwork. It’s a bit edgy but feels grounded in history.
Essential Items:
- Metallic or chrome polish
- No-wipe top coat
- Sponge applicator
- Lint-free wipes
How to Prepare:
- Apply a dark base color to make the metallic pigment pop.
- If using powder, rub it onto a cured no-wipe top coat with a sponge.
- Brush off excess powder immediately.
- Use a lint-free wipe to clean the edges.
- Seal with a dedicated top coat that won’t dull the shine.
Budget Range
- Born Pretty Chrome Powder – $6.00
- Maybelline ‘Copper Spark’ – $5.00
- ILNP ‘Amber’ – $12.50
Get the 2026 Tuscan look in 3 steps

Why to love these Nails:
Looking ahead, the ‘Future Tuscan’ look is all about hyper-glossy, iridescent textures that look like sun hitting a glass of Pinot Grigio. It’s minimalist but incredibly high-tech and glowy.
Essential Items:
- Iridescent ‘Glazed Donut’ powder
- Sheer peach polish
- UV Lamp (for gel)
How to Prepare:
- Apply one coat of sheer peach gel polish and cure.
- Rub the iridescent powder over the nail until it glows.
- Top coat and cure for a finish that looks like the year 2026.
Budget Range
- Mooncat ‘Moonflower’ – $14.00
- Pearls Chrome Powder – $8.00
- SUNUV Gel Lamp – $25.00
Apply Tuscan sunset glitter in 5 steps

Why to love these Nails:
Who doesn’t love a bit of sparkle? This glitter gradient mimics the way the sun sparkles over the rolling hills as it sets. It’s festive, warm, and brings a little bit of magic to your fingertips.
Essential Items:
- Fine gold and orange glitter polish
- Makeup sponge
- Peel-off latex barrier
- Top coat
How to Prepare:
- Apply a liquid latex barrier around your cuticles.
- Dab glitter onto a makeup sponge to soak up excess clear base.
- Press the sponge onto the tips of your nails, fading upward.
- Peel off the latex and clean any stray sparkles.
- Apply a thick ‘plumping’ top coat to smooth out the texture.
Budget Range
- Holo Taco ‘Orange Drink’ – $13.00
- Latex Nail Barrier – $7.00
- Wedge Makeup Sponges – $4.00
Embrace Your Inner Italian Goddess
My loves, I hope this guide helps you find a little piece of Tuscany in your own home. Whether you go for the bold espresso or the delicate vineyard florals, remember that beauty is all about how it makes you feel—and you deserve to feel like a dream. Tag me in your nail selfies, I can’t wait to see your Tuscan transformations! Stay glowing!