
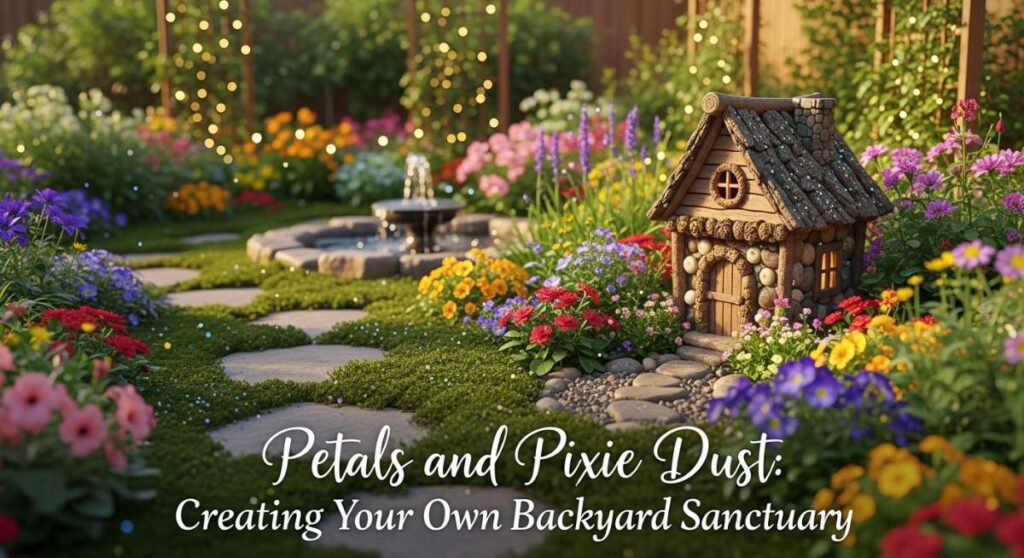
Petals and Pixie Dust: Creating Your Own Backyard Sanctuary
Do you remember the feeling of being six years old, crouching in the tall grass and looking for a shimmer of light that might just be a fairy wing? Life has a way of dimming that magic, but lately, I’ve found that my garden is the one place where I can invite it back in. There is something profoundly healing about getting your hands dirty and creating a space that feels like a portal to another world.
Creating a backyard sanctuary isn’t just about landscaping; it’s about storytelling. It’s about the way the morning dew clings to a mossy stone or how the evening light filters through the leaves of a weeping willow. When we build these whimsical spaces, we aren’t just planting flowers—we are planting peace, wonder, and a little bit of magic for our souls to rest in. Let’s dive into how you can turn your outdoor space into a living fairytale.
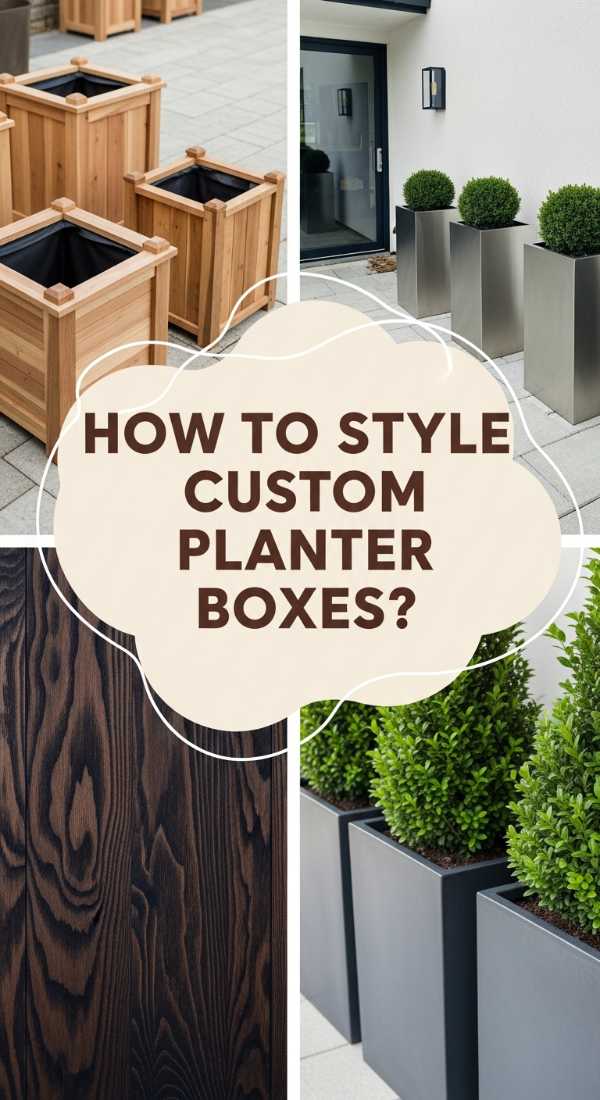
How to Style Custom Planter Boxes for a Sleek Terrace Transformation
Why we love this
There is a specific, modern elegance that comes with custom planter boxes; they provide the structured bones that every whimsical garden needs to prevent it from looking cluttered. Imagine the aroma of sun-warmed cedar blending with the sharp, clean scent of rosemary and lavender as you walk across your terrace. The smooth, satiny finish of the wood against the organic, wild textures of the plants creates a visual harmony that feels both sophisticated and grounding, like a deep breath for your outdoor space.
Essential Elements:
- Weather-resistant cedar or redwood planks
- Galvanized wood screws
- Heavy-duty landscape fabric
- Potting soil with perlite for aeration
- Selected thriller, filler, and spiller plants (like Grasses, Petunias, and Creeping Jenny)
How to make it
- Measure your terrace space and cut your wood planks into four sides and a bottom panel; use a miter saw for 45-degree corner angles to achieve that professional, high-end sleek look.
- Pre-drill holes to prevent the wood from splitting, then assemble the box using galvanized screws, ensuring every corner is perfectly square by using a carpenter’s square tool.
- Drill drainage holes every six inches along the bottom panel; without these, your roots will suffocate and rot in standing water.
- Staple landscape fabric to the interior walls to prevent soil from leaching through the cracks while still allowing water to escape freely.
- Fill the bottom third with lightweight drainage rocks, then top with high-quality potting mix, ensuring you leave two inches of space at the top for watering.
- Plant your ‘thriller’ in the center for height, surround with ‘fillers’ for volume, and place ‘spillers’ at the edges so they can gracefully cascade over the sides.
How to Design Enchanting Fairy Garden Ideas for Absolute Backyard Wonder

Why we love this
Designing a fairy garden is like writing a silent poem where every pebble and twig is a chosen word. We love this because it forces you to slow down and notice the micro-beauty of the world—the velvety texture of Irish Moss, the iridescent sheen of a glass marble hidden under a leaf, and the earthy fragrance of damp soil. It transforms a mundane corner of the yard into a site of absolute wonder, where the imagination can run wild and every guest feels a sudden, joyful urge to look a little closer.
Essential Elements:
- A dedicated garden nook or large shallow pot
- Miniature fairy houses and furniture
- Pea gravel or colored sea glass for paths
- Tiny succulent varieties or miniature ferns
- Small LED fairy lights (waterproof)
How to make it
- Identify a shaded, protected area under a tree or near a shrubbery where the ‘fairies’ would naturally want to hide from the midday sun.
- Clear the area of large debris and level the soil with a small hand rake, creating a flat canvas for your miniature landscape.
- Place your largest focal point first—usually a fairy cottage or a hollowed-out log—to establish the scale for the rest of the decor.
- Create winding paths using pea gravel or blue sea glass to mimic a river; use a small spoon to precisely place stones so they don’t disturb the surrounding soil.
- Tuck small-leafed plants like Sedum or Baby’s Tears around the house to act as ‘miniature shrubbery,’ ensuring the roots are fully submerged and firmly packed.
- Scatter ‘life-like’ details such as tiny benches, birdbaths, or even a miniature clothesline made of twine and toothpicks to give the illusion of a lived-in space.
How to Choose Hardy Outdoor Plants for a Year Round Green Sanctuary

Why we love this
A true sanctuary should be a place of rest, not a source of constant stress, which is why hardy plants are the unsung heroes of the garden. We love these resilient beauties because they offer a reliable backdrop of deep emeralds and dusty sage colors, even when the seasons shift and the weather turns harsh. There is a quiet confidence in a plant that can withstand a frost or a heatwave, providing a textural richness that keeps your garden feeling alive and vibrant twelve months a year.
Essential Elements:
- Hostas (for shade)
- Coneflowers or Black-Eyed Susans (for sun)
- Ornamental grasses (for texture)
- Evergreen shrubs like Boxwood or Juniper
- Mulch or wood chips
How to make it
- Assess your garden’s light levels throughout the day; ‘hardy’ only works if you place sun-lovers in the sun and shade-dwellers in the shadows.
- Dig a hole twice as wide as the plant’s root ball but no deeper; planting too deep is a common mistake that can lead to crown rot.
- Gently tease the roots if they are circling the pot, which encourages them to grow outward into the new soil rather than staying in a tight ball.
- Mix the native soil with compost in a 50/50 ratio to provide a nutrient-rich start while still helping the plant adapt to your local ground conditions.
- Water the plant deeply immediately after planting until the soil is saturated; this removes air pockets that can dry out sensitive roots.
- Apply a two-inch layer of organic mulch around the base, keeping it a few inches away from the stem to prevent moisture-related fungal issues.
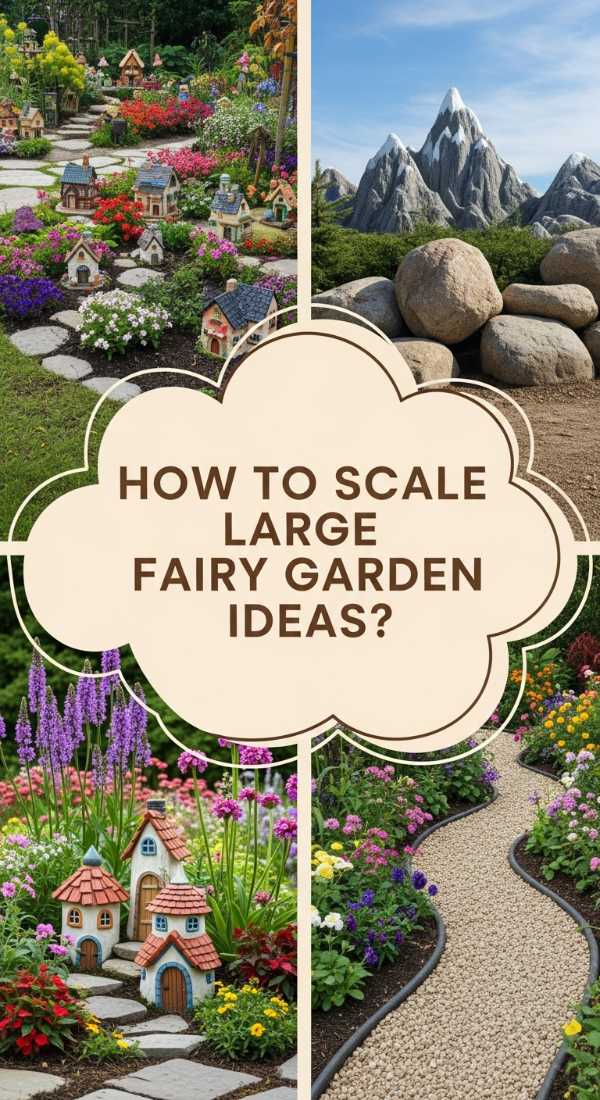
How to Scale Large Fairy Garden Ideas for Immersive Garden Paths
Why we love this
When you scale up a fairy garden, you aren’t just making a decoration; you are building an immersive experience that people can actually walk through. We love the way large-scale whimsy plays with perspective, using oversized stones and sprawling moss beds to create a sense of being ‘shrunk’ down into a magical world. The crunch of gravel underfoot and the sight of hidden ‘fairy doors’ at the base of massive oaks turn a simple stroll through the yard into a nostalgic adventure for all ages.
Essential Elements:
- Large flagstones or stepping stones
- Natural moss or low-growing groundcover
- Solar-powered garden lanterns
- Large driftwood pieces or stumps
- Weatherproof fairy doors and windows
How to make it
- Map out a winding path using a garden hose to visualize the curves; straight lines are rarely found in nature or fairytales, so aim for soft ‘S’ shapes.
- Excavate the path area to a depth of three inches and lay down a weed barrier to ensure your magical trail doesn’t get overtaken by grass.
- Set large flagstones into the path, leaving 2-3 inch gaps between them; use a rubber mallet to tap them level so they don’t wobble when stepped on.
- Fill the gaps between stones with ‘Elfin Thyme’ or moss; these plants thrive in foot-traffic areas and release a beautiful herbal scent when brushed against.
- Attach fairy doors to the base of actual trees along the path using outdoor-safe adhesive or small finishing nails that won’t harm the bark.
- Install hidden solar lanterns behind bushes to cast a soft, ethereal glow upward onto the tree canopy at night, creating a truly immersive evening experience.
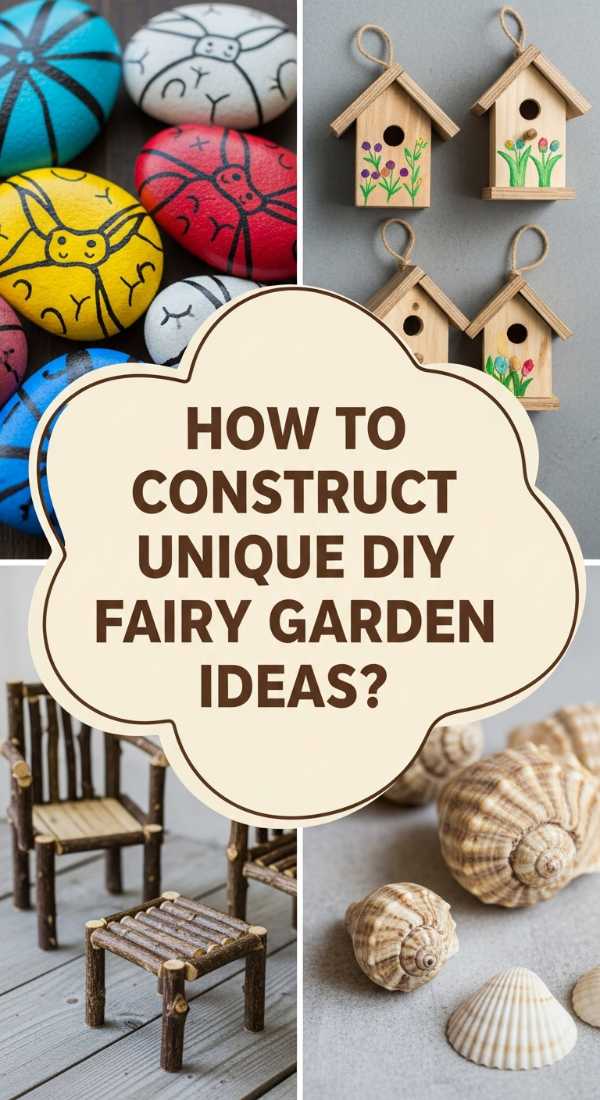
How to Construct Unique DIY Fairy Garden Ideas for Personal Touches
Why we love this
The best gardens are the ones that reflect the unique soul of the gardener, and DIY fairy elements allow you to infuse your personal history into the soil. We love the tactile satisfaction of turning an old teapot into a whimsical home or painting a smooth river stone to look like a sleeping dragon. It’s about the fragrance of outdoor paint drying in the sun and the rough texture of bark and twine as you craft something that exists nowhere else in the world but your own backyard.
Essential Elements:
- Upcycled containers (old boots, teapots, birdhouses)
- Acrylic paints and outdoor sealant
- Hot glue gun and E6000 adhesive
- Natural found items (acorn caps, twigs, flat stones)
- Copper wire for sculpting
How to make it
- Select an upcycled item, like a cracked ceramic pot, and clean it thoroughly; any dirt or oils will prevent your paint and glue from adhering properly.
- Sketch your design on paper first; if you’re turning an old boot into a house, decide where the windows, ‘flower boxes’, and ‘shingles’ will go.
- Use a hot glue gun for temporary placement and E6000 adhesive for a permanent, weatherproof bond when attaching twigs or stones as siding.
- Create ‘shingles’ by layering acorn caps or small pieces of bark from the bottom up, overlapping them slightly to shed water just like a real roof.
- Paint details using outdoor-grade acrylics; add a tiny house number or a ‘Fairies Welcome’ sign to add a layer of narrative and charm.
- Apply two coats of clear UV-resistant spray sealant once the paint is dry to prevent fading from the sun and peeling from the rain.
How to Start Your First Fairy Garden DIY for Creative Relaxation
Why we love this
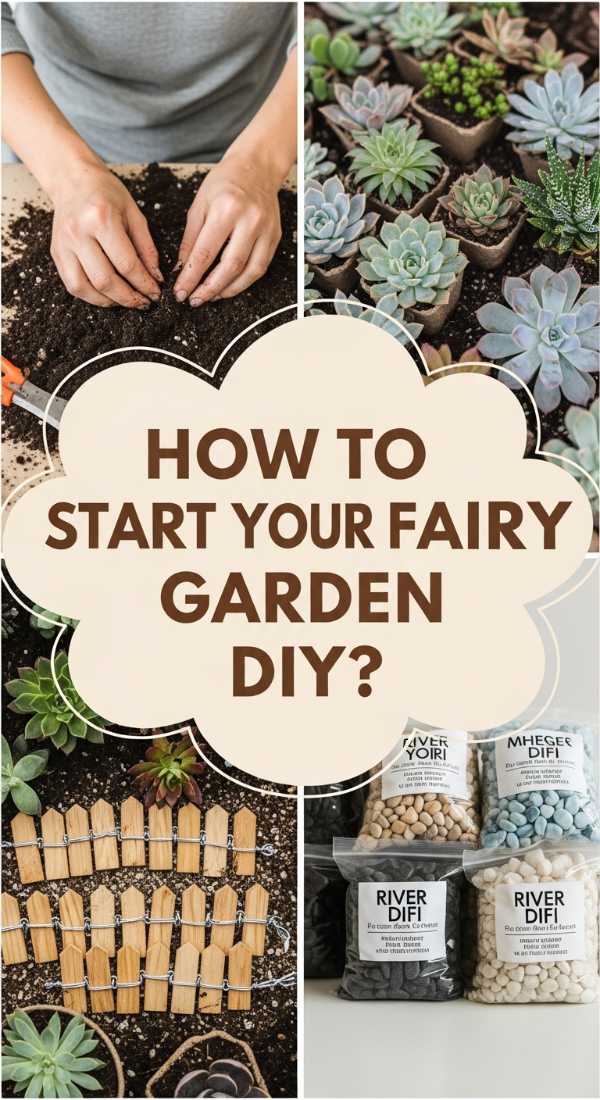
Starting your first fairy garden is the ultimate act of creative self-care, offering a meditative escape from the digital noise of modern life. We love the way the cool, damp soil feels between your fingers and the rhythmic process of arranging tiny accessories until they feel ‘just right.’ It’s a low-stakes project where there are no mistakes, only happy accidents, and the end result is a charming little world that serves as a daily reminder to find joy in the small things.
Essential Elements:
- A medium-sized terracotta or plastic pot
- All-purpose potting soil
- A small ‘focal point’ house
- Two or three ‘miniature’ plants (like a small fern or succulent)
- Decorative sand or fine gravel
How to make it
- Choose a container with at least one drainage hole; if using terracotta, soak the pot in water for an hour first so it doesn’t suck all the moisture out of your new soil.
- Fill the pot with soil, stopping about an inch from the rim, and pat it down gently to remove large air pockets without compacting it too tightly.
- Plan your layout by placing your house and plants on top of the soil while they are still in their nursery pots to see how the heights interact.
- Dig small holes and transplant your greenery, starting from the back with the tallest plant and moving toward the front with smaller ones.
- Add your fairy house, pressing it slightly into the soil so it looks like it has a foundation rather than just sitting on top of the ground.
- Finish by pouring a thin layer of decorative sand to create a ‘clearing’ or a ‘beach’ effect, giving the garden a clean, finished look.
How to Build Durable Outdoor Fairy Garden DIY for Lasting Whimsy
Why we love this
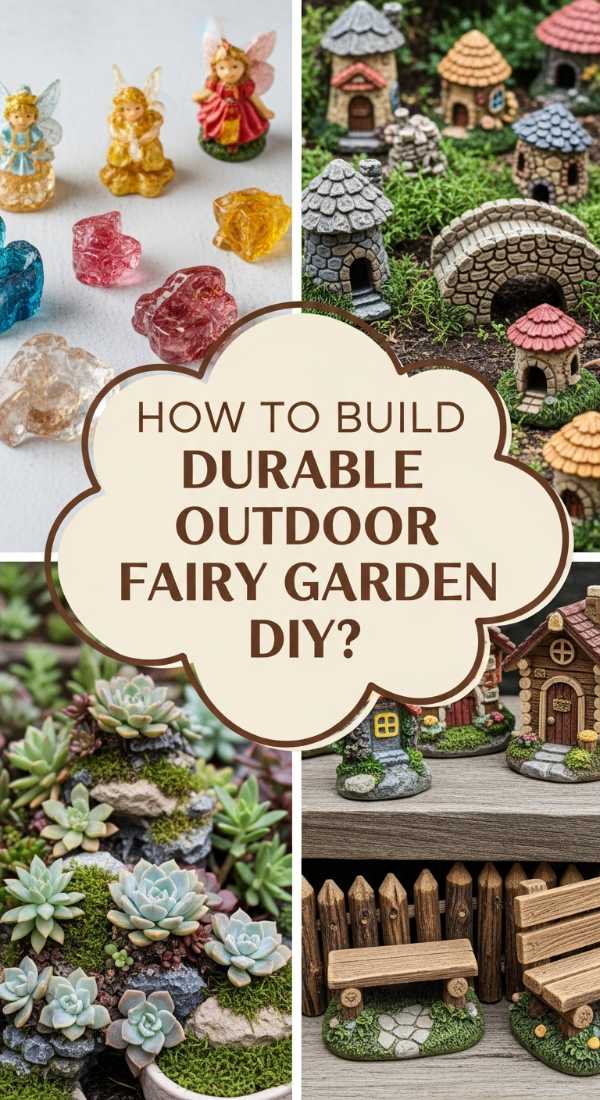
There is nothing more heartbreaking than a garden that fades away after the first storm, which is why we value the durability of well-constructed outdoor displays. We love the use of heavy stones, treated wood, and hardy perennials that can stand up to the wind and rain while maintaining their magical allure. There’s a sturdy beauty in a fairy garden that gathers a natural patina over time—where moss grows over the roof of a stone hut, making it look like it’s been part of the earth for centuries.
Essential Elements:
- Cast resin or stone fairy houses (avoid cheap plastics)
- Frost-proof ceramic pots
- Perennial groundcovers (like Blue Star Creeper)
- Heavy river rocks for landscaping
- Stainless steel wire for securing items
How to make it
- Select materials that are rated for outdoor use; stone, concrete, and resin are superior to wood or thin plastic which will rot or warp in humidity.
- Choose a location that is slightly elevated or has excellent natural drainage to prevent the garden from becoming a swamp during heavy rains.
- Secure lightweight accessories by gluing them to a long galvanized nail or a ‘tent stake’ and pushing that deep into the ground to anchor them against the wind.
- Use ‘Hardy’ plant varieties that are specifically rated for your climate zone so they return year after year without needing to be replanted.
- Clean your resin houses once a season with a soft brush and mild soap to remove algae or dirt buildup that can trap moisture and cause cracking.
- In extreme winter climates, cover the garden with a light layer of evergreen boughs to provide insulation while still allowing the plants to breathe.
How to Plant a Mini Fairy Garden for Whimsical Desktop Joy
Why we love this
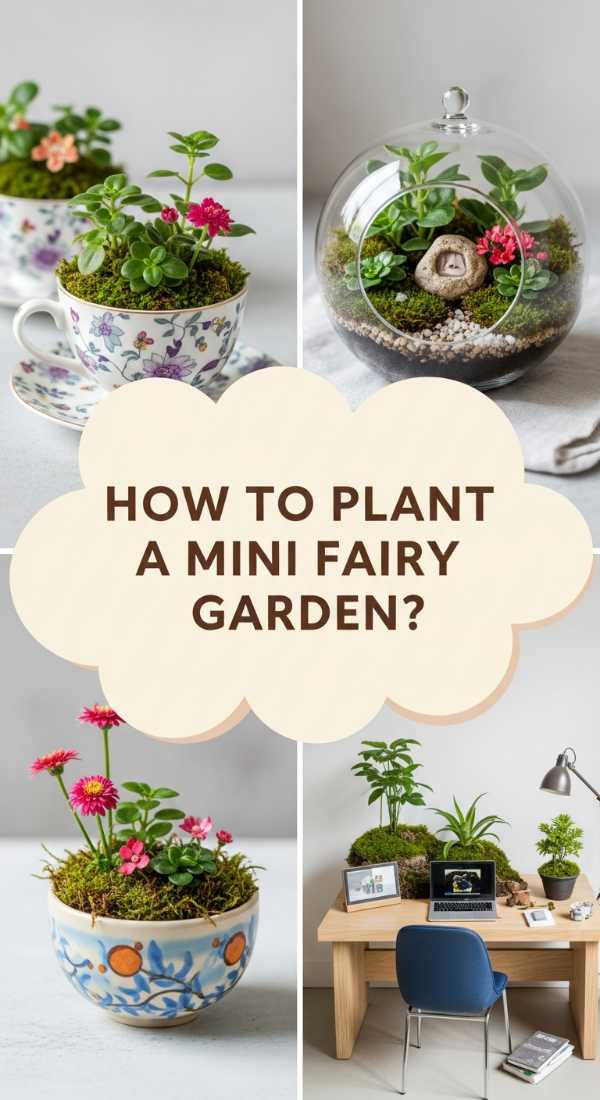
Not everyone has a sprawling backyard, but everyone has room for a little bit of magic on their desk. We love mini fairy gardens because they bring the refreshing essence of the outdoors inside, providing a tiny green oasis to rest your eyes on during a long workday. The crisp, clean scent of a miniature succulent and the sight of a tiny porcelain bunny hidden in the leaves can instantly lower your cortisol levels and spark a moment of creative inspiration right in your office.
Essential Elements:
- A shallow glass bowl or wide-mouthed terrarium
- Activated charcoal (for drainage in glass)
- Cactus or succulent soil mix
- Miniature succulents (like Haworthia or Lithops)
- Micro-miniature figurines (scale 1:48)
How to make it
- Layer the bottom of your glass container with an inch of small stones, followed by a thin layer of activated charcoal to keep the soil fresh and prevent odors.
- Add a layer of specialized succulent soil; these plants need fast-draining medium because their roots will rot quickly in standard moisture-retaining soil.
- Remove the miniature succulents from their pots and shake off the excess soil, then use a pair of long tweezers to place them into the container.
- Use a small brush to sweep away any soil that may have landed on the leaves or the sides of the glass for a pristine aesthetic.
- Add ‘micro’ accessories—at this scale, a single small pebble can look like a massive boulder, and a tiny bit of moss can look like a forest.
- Water sparingly using a dropper or a spray bottle; indoor mini gardens need significantly less water than outdoor ones due to lack of evaporation.
How to Detail Miniature Fairy Gardens for Intricate Visual Stories
Why we love this
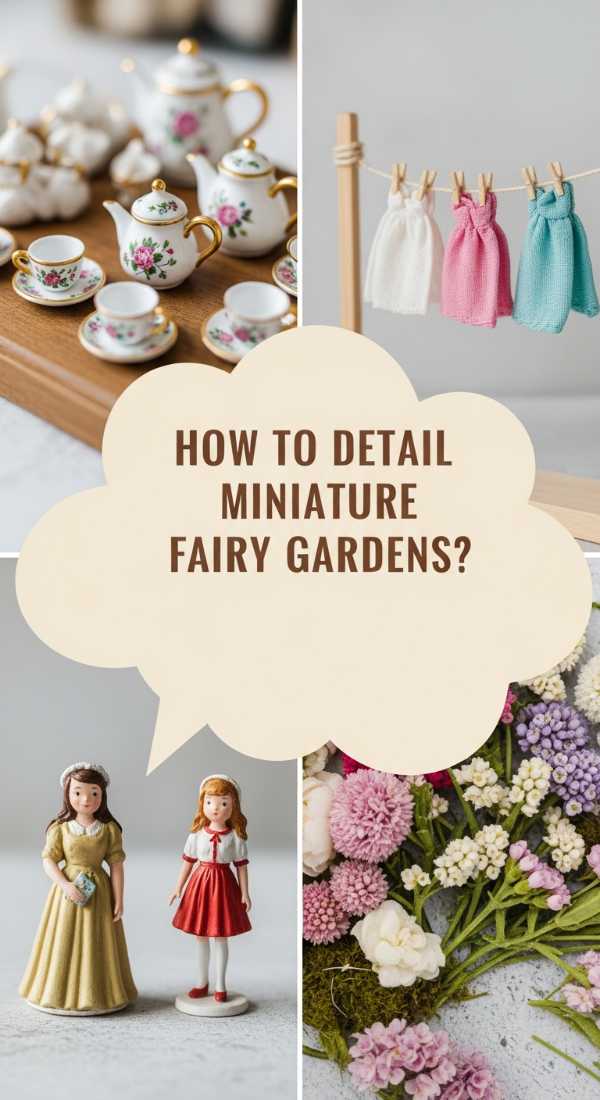
The magic is truly in the details, and we love the storytelling aspect of a highly detailed miniature garden. It’s the difference between a ‘pot with a house’ and a ‘home where a fairy just stepped out for tea.’ When you add a tiny stack of firewood by the door or a ‘lost’ silver thimble used as a bucket, you create a narrative that captures the heart. The intricate textures of tiny woven baskets and the glint of a ‘magical’ crystal hidden in a cave make the garden feel alive and deeply personal.
Essential Elements:
- Tweezers and fine-tipped paintbrushes
- Natural materials (dried flowers, tiny shells, seeds)
- Beads and jewelry findings
- Clear-drying craft glue
- Fine-grain sand or ‘fairy dust’ (glitter)
How to make it
- Work from the ground up, starting with ‘hardscaping’ details like tiny stone walls made by gluing individual pebbles together with a steady hand.
- Add ‘furniture’ and then accessorize those pieces; place a tiny book on a bench or a miniature ‘pie’ made from a bottle cap on a table.
- Use natural elements to bridge the gap between ‘fake’ and ‘real’; an acorn cap makes a perfect bowl, and a dried hydrangea petal looks like a tiny lace doily.
- Incorporate ‘treasures’ like small crystals or shiny beads tucked away in corners to represent the fairy’s collection of human ‘found objects.’
- Create ‘vignettes’ or small scenes within the garden—perhaps a laundry day scene with a tiny string and scraps of fabric or a gardening scene with a thimble-bucket.
- Apply a very light dusting of eco-friendly glitter over the path to act as ‘pixie dust’ that catches the light whenever someone walks by.
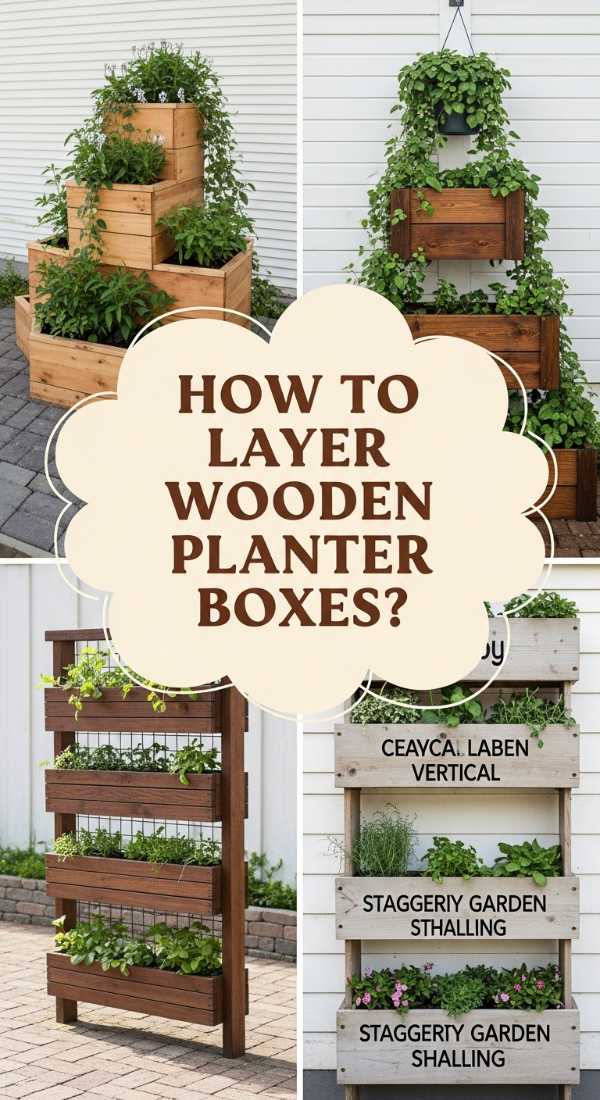
How to Layer Wooden Planter Boxes for a Lush Vertical Landscape
Why we love this
Vertical gardening is a game-changer for creating a lush, enclosed feeling in your sanctuary, and layered wooden boxes offer a gorgeous, cascading aesthetic. We love the way this technique draws the eye upward, filling your field of vision with various shades of green and the intoxicating perfume of climbing jasmine or honeysuckle. It’s about creating a living wall that provides privacy while also acting as a vertical forest, making even the smallest patio feel like a hidden, leafy glade far away from the rest of the world.
Essential Elements:
- Varying sizes of wooden planter boxes
- A sturdy trellis or wall-mounting hardware
- Climbing plants (Ivy, Clematis, or Creeping Fig)
- Slow-release fertilizer granules
- Drip irrigation kit (optional but recommended)
How to make it
- Secure your largest, heaviest boxes at the base to create a stable foundation; if stacking, ensure the weight is supported by the frame, not just the soil of the box below.
- Install a trellis or wire grid behind the boxes, anchoring it firmly into the wall or fence to support the weight of mature climbing vines.
- Fill each box with a lightweight potting mix enriched with slow-release fertilizer; vertical gardens dry out faster and need consistent nutrient availability.
- Plant your ‘climbers’ in the back of the boxes closest to the trellis, and gently weave their tendrils into the grid using soft plant ties.
- Plant trailing ‘spillers’ like Ivy or Vinca at the front edges so they grow downward, eventually meeting the plants from the box below for a seamless wall of green.
- Monitor the moisture levels daily; because water naturally moves downward, the top boxes will often dry out much faster than the bottom ones.
Conclusion: Your Sanctuary Awaits
Building a backyard sanctuary is a journey, not a destination. Whether you start with a single desktop fairy garden or a full-scale vertical terrace, the goal is to create a space that makes your heart feel light. As your plants grow and your miniature scenes evolve, you’ll find that the time spent tending to your garden is actually time spent tending to yourself. So, go ahead—grab a shovel, find some pixie dust, and start creating your own little slice of magic today.