
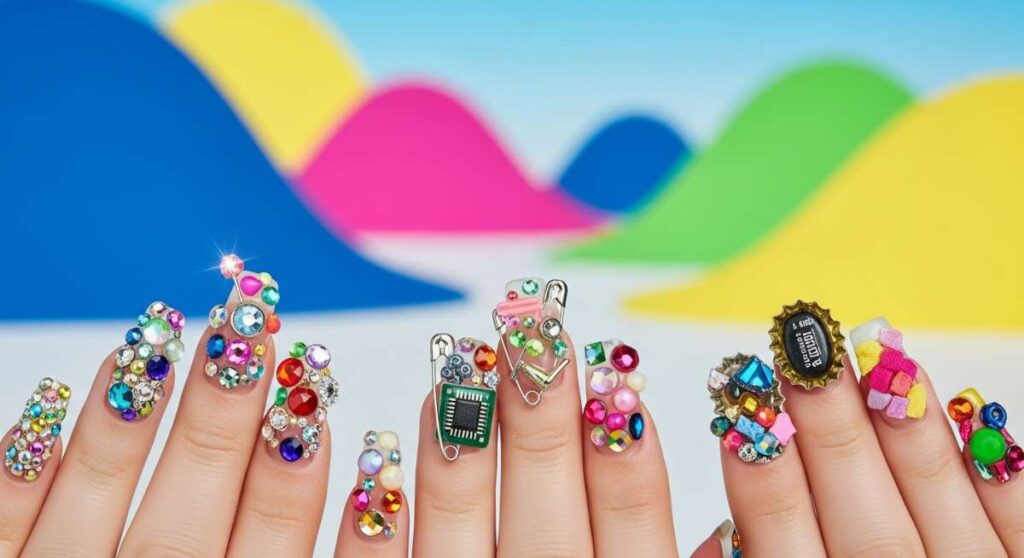
More is More: The Bold World of Vibrant Junk Nail Artistry
Hello, my beautiful loves. Pull up a chair and let’s chat for a moment. You know those days when the world feels a little too quiet, a little too beige? I’ve always believed that our bodies are living, breathing canvases, and lately, I’ve been finding so much peace in the chaotic beauty of ‘junk nails.’ It’s about more than just a manicure; it’s about wearing your joy, your memories, and your spark right on your fingertips.
There is something so deeply healing about looking down and seeing a symphony of colors and textures. It’s a soft embrace for your spirit, a reminder that you don’t have to fit into a neat little box. Today, I want to guide you through this vibrant world where ‘too much’ is never enough. Let’s create some magic together, shall we?
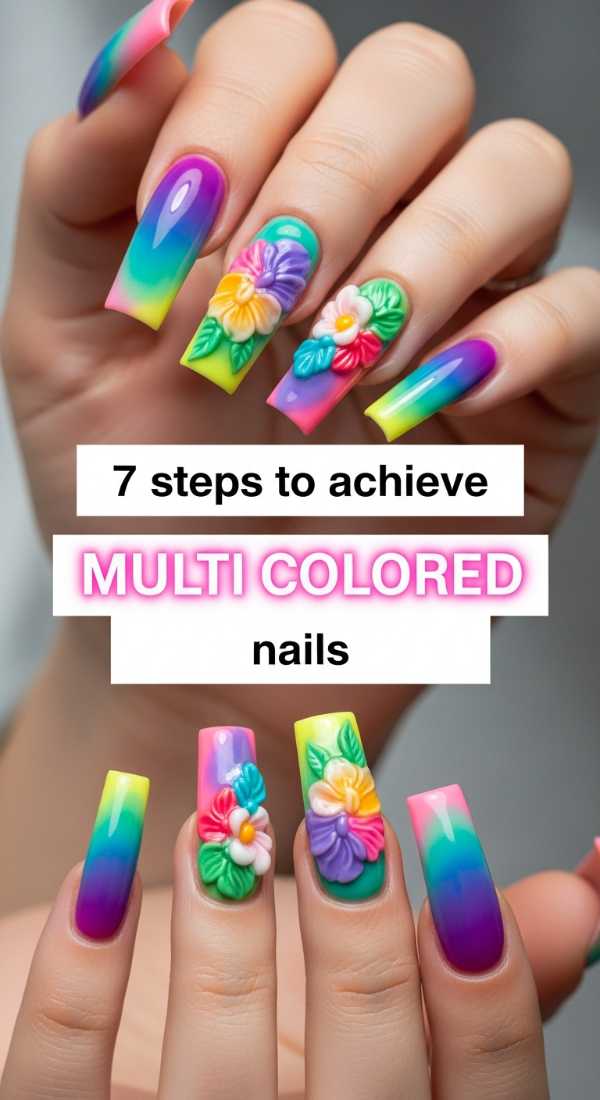
7 Steps to Achieve Multi Colored Nails
Why to love this recipe:
This approach is like a warm hug for your indecisive heart. You never have to choose just one shade ever again! It’s the perfect way to express every facet of your personality in a single sitting, creating a harmonious rainbow that feels uniquely you.
Essential Ingredients:
- 5-10 different polish shades
- Base coat and top coat
- Nail polish remover for clean-up
- Small detail brush
How to Prepare:
- Start with a clean, prepped nail bed and apply a strengthening base coat.
- Select your palette—think sunset oranges, deep sea blues, and meadow greens.
- Apply the first color to your thumb, moving through the spectrum for each finger.
- Wait two minutes between coats to ensure a smooth finish.
- Use a detail brush dipped in remover to clean up any edges.
- Apply a high-gloss top coat to seal the rainbow.
- Moisturize your cuticles with a drop of lavender oil.
Budget Range
- Essie Glossy Shine Polish ($10)
- Sally Hansen Hard as Nails Base Coat ($4)
- Olive & June Cuticle Serum ($15)
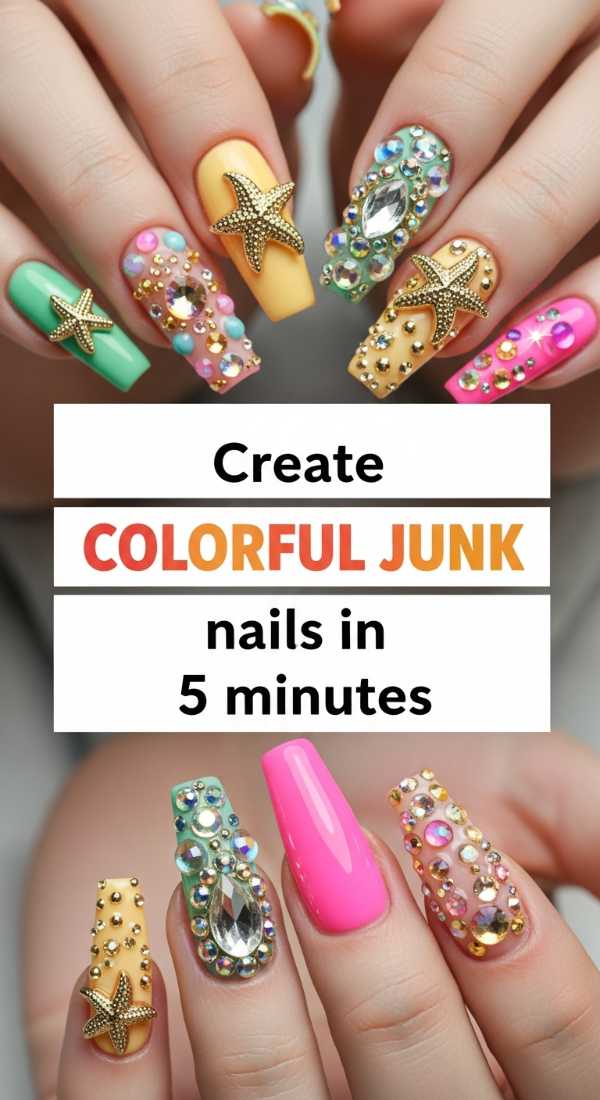
Create Colorful Junk Nails in 5 Minutes
Why to love this recipe:
For my loves who are always on the go but still want that maximalist energy, this is your secret weapon. It’s fast, it’s fun, and it turns a boring commute or a quick coffee break into an art session.
Essential Ingredients:
- Self-adhesive nail charms
- Quick-dry top coat
- Tweezers
- Small stickers or decals
How to Prepare:
- Start with whatever polish you currently have on (even if it’s clear!).
- Pick 3-4 charms per nail—think tiny hearts, stars, or gummy bears.
- Use tweezers to press the charms firmly onto the nail plate.
- Add a few tiny stickers in the gaps to fill the space.
- Apply a generous layer of quick-dry top coat over everything.
Budget Range
- Amazon Nail Charm Bulk Pack ($8)
- Seche Vite Fast Dry Top Coat ($9)
- Decal Sticker Sheets ($5)
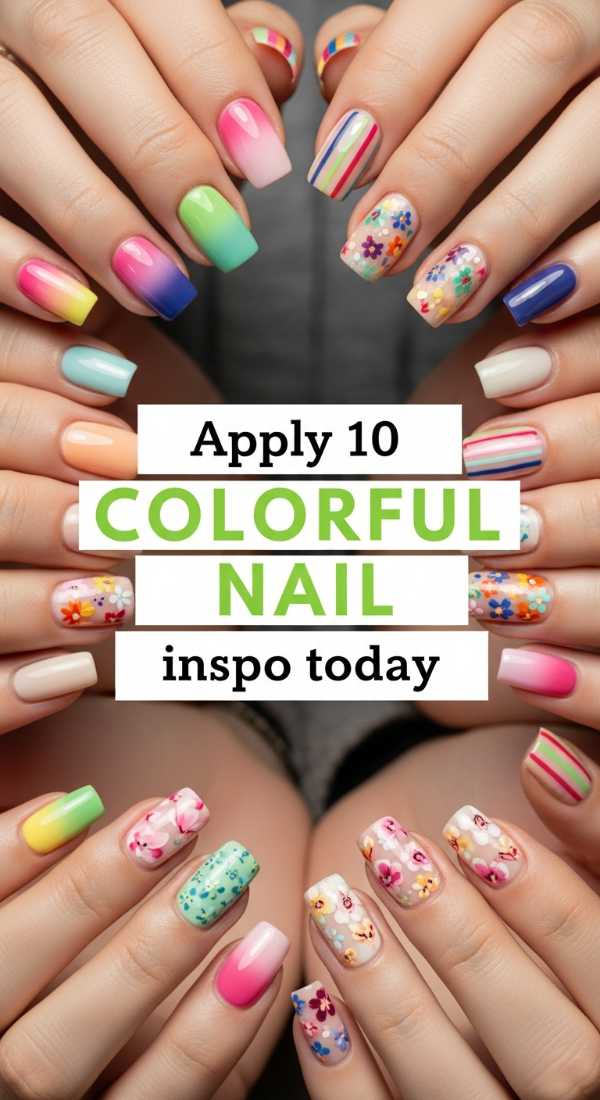
Apply 10 Colorful Nail Inspo Ideas Today
Why to love this recipe:
Sometimes the hardest part is just getting started. This ‘recipe’ is actually a buffet of inspiration, designed to spark that creative fire in your soul when you’re feeling a little stuck in a style rut.
Essential Ingredients:
- Pinterest or Instagram for reference
- A variety of finishes (matte, glitter, cream)
- Nail art pens
- Patience and an open mind
How to Prepare:
- Scroll through your favorite mood boards and pick 10 distinct elements.
- Assign one element to each finger (e.g., one glitter, one stripe, one dot).
- Sketch your ideas on paper first to visualize the balance.
- Layer your colors, starting with the lightest shades first.
- Incorporate different textures to keep the eye moving.
- Don’t worry about perfection; focus on the feeling of the colors.
- Seal with a matte or shiny top coat depending on your mood.
- Show them off to a friend!
- Take a photo to remember your masterpiece.
- Reflect on which style felt most like ‘you.’
Budget Range
- Beetles Gel Nail Art Liner Set ($15)
- Holo Taco Glitter Polish ($14)
- Handmade Inspiration Journal ($12)
Style 5 Different Color Nails Like a Pro
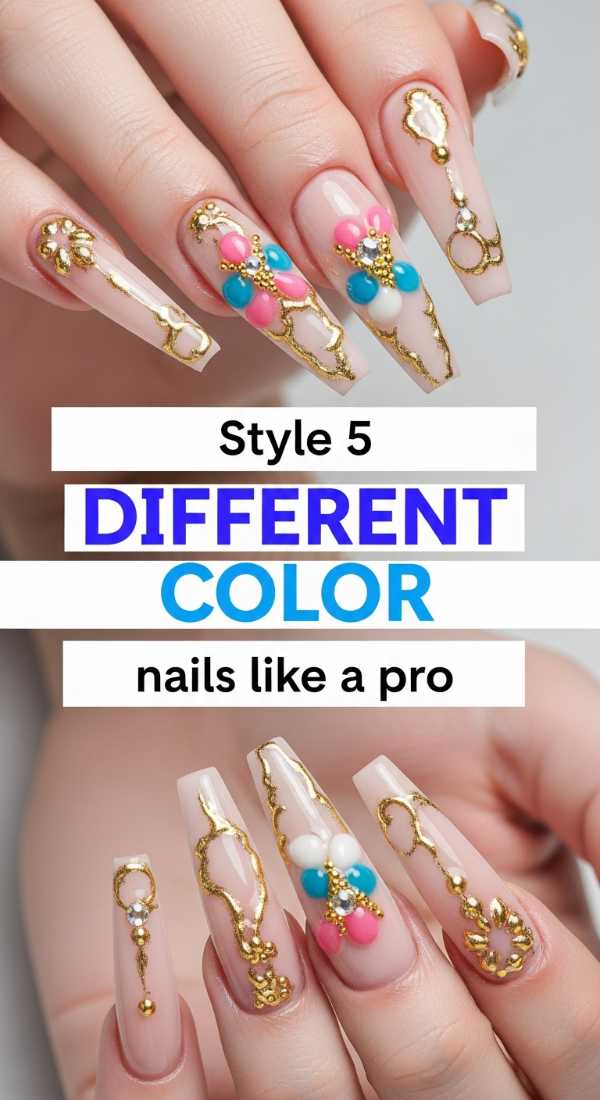
Why to love this recipe:
Styling a multi-colored look can feel intimidating, but it’s all about finding the rhythm in the colors. This method teaches you how to balance tones so your hands look like a curated art gallery rather than a random accident.
Essential Ingredients:
- A color wheel
- Primary color polishes
- Mixing palette
- Flat nail brush
How to Prepare:
- Identify a ‘hero’ color that will anchor your look.
- Choose two complementary colors and two analogous colors from the wheel.
- Apply the hero color to your middle finger.
- Flank it with the complementary colors on the pointer and ring fingers.
- Use the analogous shades for the pinky and thumb.
Budget Range
- OPI Nail Lacquer ($11)
- Pocket Color Wheel ($6)
- Stainless Steel Mixing Palette ($7)
Apply Colourful Acrylic Nails in 6 Easy Steps
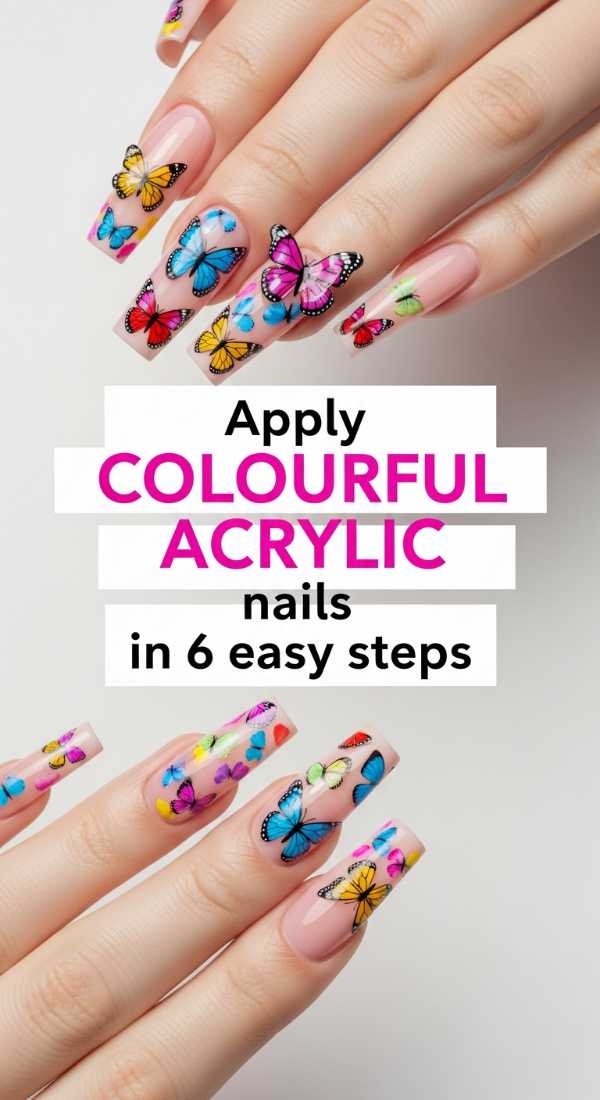
Why to love this recipe:
Acrylics offer a sturdy, long-lasting canvas for those of us who want our vibrant art to stand the test of time. It’s a ritual of building something strong and beautiful, much like we build our own lives every day.
Essential Ingredients:
- Acrylic powder (vibrant shades)
- Liquid monomer
- Acrylic brush (Size 8 or 10)
- Nail forms or tips
How to Prepare:
- Prep the natural nail by gently buffing and applying primer.
- Apply the nail form or tip to extend the length.
- Dip your brush in monomer, then into the colored acrylic powder to create a bead.
- Press and smooth the bead from the center to the edges.
- File and shape the nail once the acrylic has hardened.
- Buff to a shine or add a vibrant gel top coat.
Budget Range
- Mia Secret Acrylic System ($20)
- Saviland Colored Acrylic Powder Set ($25)
- Professional Acrylic Brush ($15)
Master Two Color Nails in 4 Simple Techniques
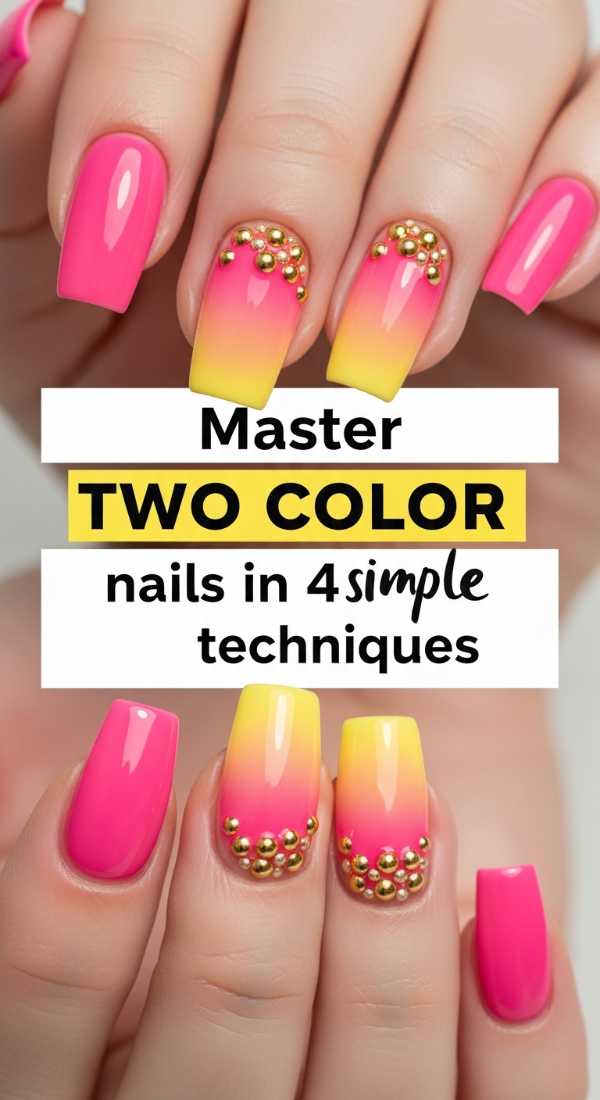
Why to love this recipe:
Sometimes, a duo is all you need to tell a story. This is for my loves who want a sophisticated yet bold look, focusing on the beautiful tension between two contrasting shades.
Essential Ingredients:
- Two high-pigment polishes
- Sponge for ombre
- Striping tape
- Clear stamper
How to Prepare:
- The Ombre: Sponge the two colors where they meet for a soft gradient.
- The Split: Use striping tape to create a crisp line down the center.
- The Half-Moon: Paint the base one color and the tip another.
- The Aura: Use a stamper to press a circle of color into the center of a different base.
Budget Range
- Zoya Professional Lacquer ($12)
- Makeup Sponges ($3)
- Nail Striping Tape ($5)
Shape 8 Colorful Stiletto Nails at Home
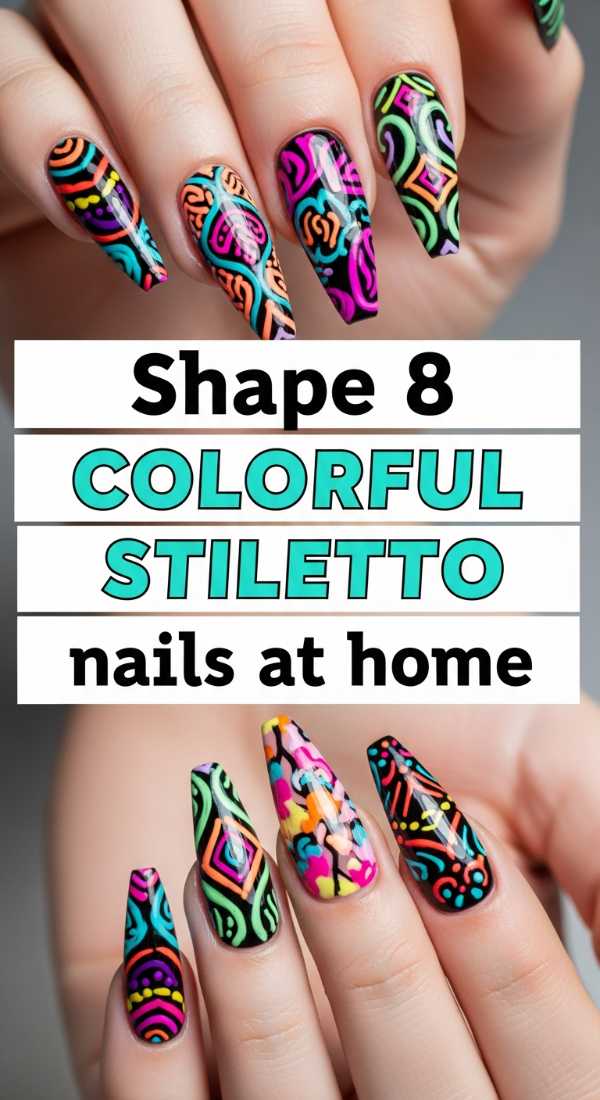
Why to love this recipe:
The stiletto shape is fierce, bold, and unapologetic. It lengthens the fingers and provides a dramatic backdrop for the most vibrant ‘junk’ elements you can dream up.
Essential Ingredients:
- High-grit nail file
- Nail clippers
- Buffing block
- Bright neon polish
How to Prepare:
- Find the center point of your nail tip.
- Clip the sides at an angle toward that center point.
- File in long, one-way strokes to smooth the edges into a sharp point.
- Buff the surface to ensure no snags.
- Apply your brightest colors to accentuate the sharp silhouette.
- Apply three layers of top coat to reinforce the tip.
- Repeat for all fingers, ensuring symmetry.
- Add a tiny rhinestone at the very tip for extra drama.
Budget Range
- Flowery Blue Center Nail Files ($6)
- Revlon Nail Clippers ($5)
- Modelones Neon Gel Set ($12)
Layer Your Color Street Nails in 3 Easy Ways
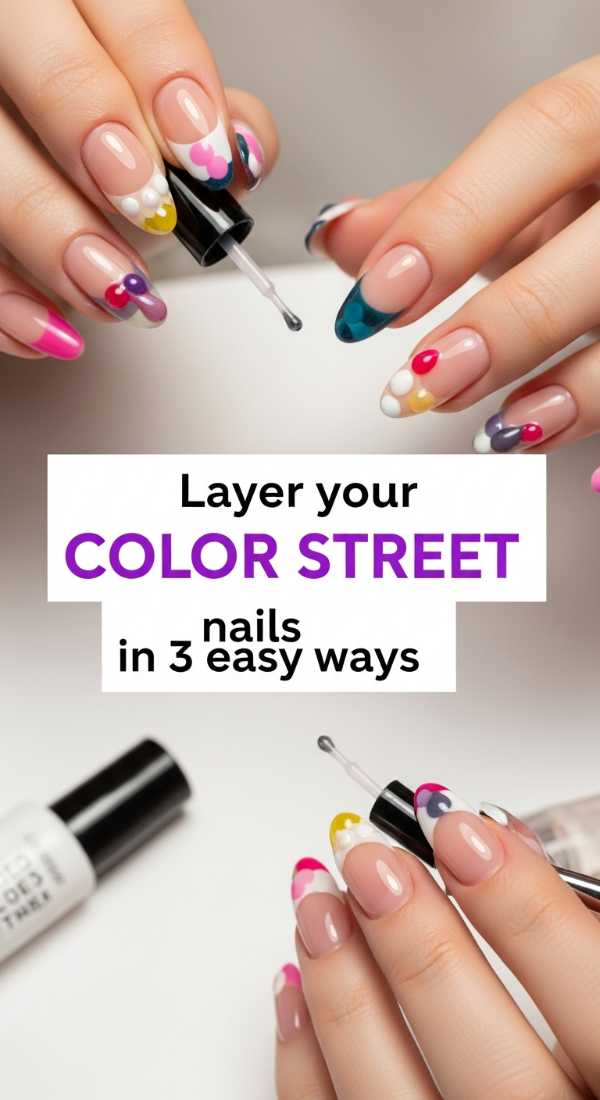
Why to love this recipe:
I love a good shortcut that doesn’t sacrifice style! Using nail strips allows you to layer patterns and colors with zero drying time, making it the ultimate ‘soft life’ hack for busy creators.
Essential Ingredients:
- Color Street nail strips (various patterns)
- Nail file
- Rubber cuticle pusher
How to Prepare:
- The Peek-a-Boo: Apply a solid strip, then layer a patterned strip slightly offset.
- The French Twist: Use a glitter strip only on the tips over a solid base.
- The Collage: Cut strips into small geometric shapes and ’tile’ them onto the nail.
Budget Range
- Color Street Sets ($11 – $14)
- Glass Nail File ($10)
- Rubber Cuticle Pusher ($4)
Design Multicolor Nails with 3D Floral Art
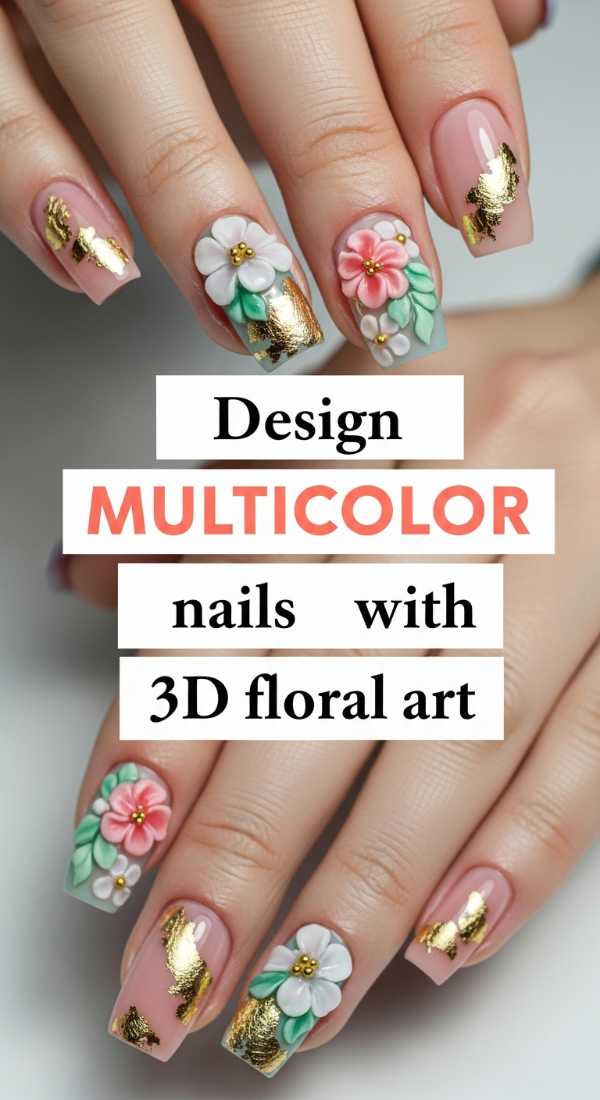
Why to love this recipe:
This is where we truly enter the garden of junk nails. Adding 3D flowers makes your hands feel like a blooming meadow. It’s tactile, whimsical, and deeply romantic.
Essential Ingredients:
- 3D resin or acrylic flowers
- Nail glue or thick builder gel
- Gold caviar beads
- Pastel polishes
How to Prepare:
- Paint each nail a different soft pastel shade.
- Apply a small bead of glue or builder gel to the center of the nail.
- Place a 3D flower into the glue and hold for 10 seconds.
- Surround the flower with tiny gold beads to act as ‘pollen.’
- Cure or let dry completely before touching.
Budget Range
- Makartt Rhinestone Glue ($10)
- Resin Flower Charms ($7)
- Gold Caviar Beads ($6)
Make Your Nails Colorful Using 5 Neon Shades
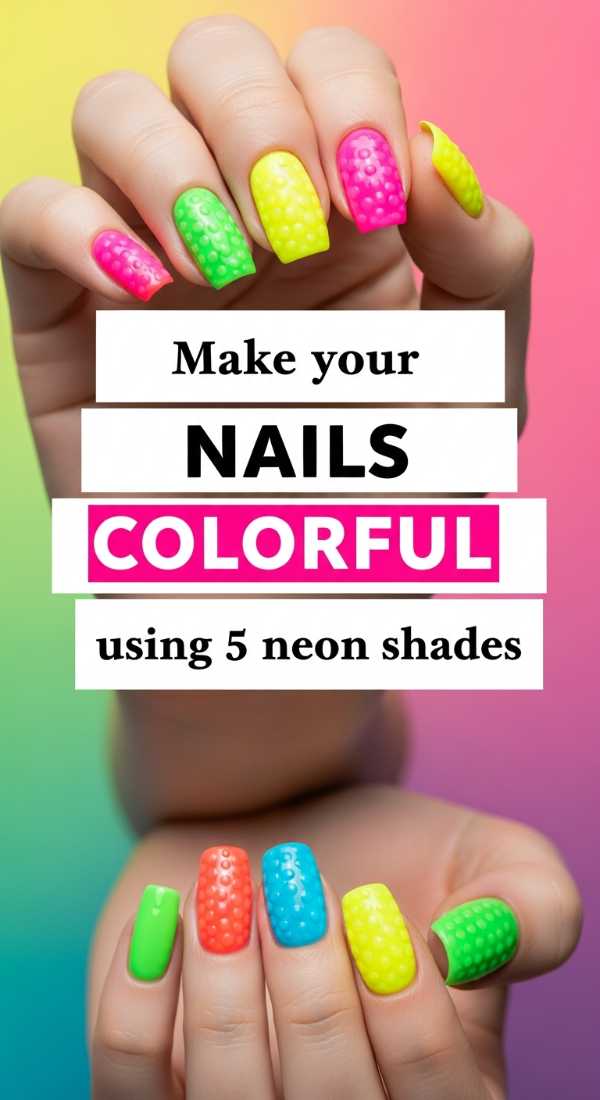
Why to love this recipe:
Neon is a vibration. It’s loud, it’s proud, and it literally glows with energy. This recipe is for the days when you need to be your own sunshine.
Essential Ingredients:
- White base polish (to make neons pop)
- 5 neon shades (pink, yellow, green, orange, blue)
- Matte top coat
How to Prepare:
- Apply a coat of crisp white polish first; this is the secret to neon intensity!
- Paint each nail a different neon shade.
- Apply a second coat to ensure full opacity.
- Finish with a matte top coat for a trendy ‘highlighter’ look.
- Step into the sunlight and watch them glow!
Budget Range
- China Glaze Electric Nights Collection ($7 per bottle)
- Alpine Snow by OPI ($11)
- NYX Matte Top Coat ($6)
Conclusion
My loves, I hope this journey through the vibrant world of junk nails has left you feeling inspired and perhaps a little more daring. Remember, there are no rules in art, and your nails are the most personal gallery you own. Whether you choose a simple two-tone look or go full maximalist with 3D flowers and neon scales, do it because it makes your heart sing. Go forth and shine—the world needs your color!