
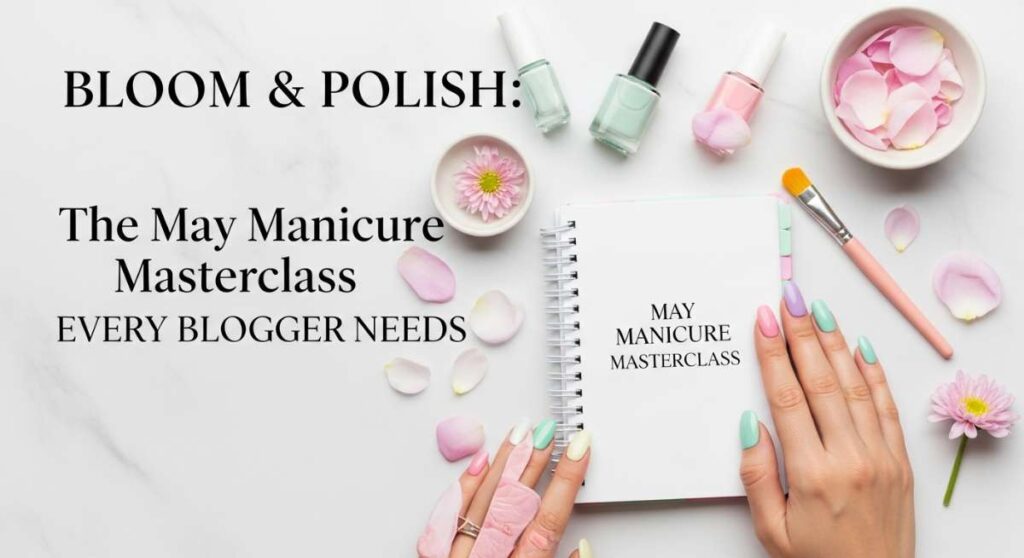
Bloom & Polish: The May Manicure Masterclass Every Blogger Needs
Hello, my loves. Can you feel it? The air has shifted into that sweet, honeyed warmth that only May can bring. As the cherry blossoms drift like pink snow outside my window, I’ve been thinking so much about how we, too, are meant to bloom. This month isn’t just a transition; it’s a full-on celebration of color, texture, and the soft, glowing energy of renewal.
There is something so soul-soothing about taking an hour for yourself, putting on your favorite lo-fi playlist, and letting your creativity flow onto your fingertips. Your nails are like ten tiny canvases reflecting the garden of your heart. Whether you’re sipping a lavender latte or typing away at your latest blog post, a fresh May mani is the ultimate mood-booster that makes every moment feel a little more magical.
Today, I’m opening up my personal lookbook to share a masterclass in May manicures. We’re moving beyond the basics into textures that dance in the sunlight—from 3D petals to aura glows that look like a soft morning mist. So, grab your favorite tea, settle into your sunniest nook, and let’s create something beautiful together.
4 Simple Steps to Sculpt 3D May Flowers

Why to love this recipe:
There is nothing quite as whimsical as having actual texture on your nails. These 3D flowers look like they’ve just sprouted from a fairy garden, catching the light and adding a high-fashion, tactile element to your everyday look. It’s like carrying a bouquet with you wherever you go, and honestly, you deserve that kind of floral luxury.
Essential Ingredients:
- Thick 3D Sculpture Gel (Clear or White)
- Silicone nail art tool
- Fine liner brush
- UV/LED Lamp
- Small pearl or rhinestone centers
How to Prepare:
- Apply your base color and a matte top coat to create a non-slip surface.
- Pick up a tiny bead of sculpture gel with your silicone tool and place it on the nail, gently pressing and dragging toward the center to form a petal shape.
- Repeat for five petals, then place a small pearl or gold stud in the center using a dotting tool.
- Cure under the UV lamp for 60 seconds to lock your blossom in place.
Budget Range
- Beetles 4D Sculpture Gel ($8.99)
- Saviland Silicone Nail Art Pens ($6.50)
- Makartt Rhinestone Glue & Gem Set ($12.00)
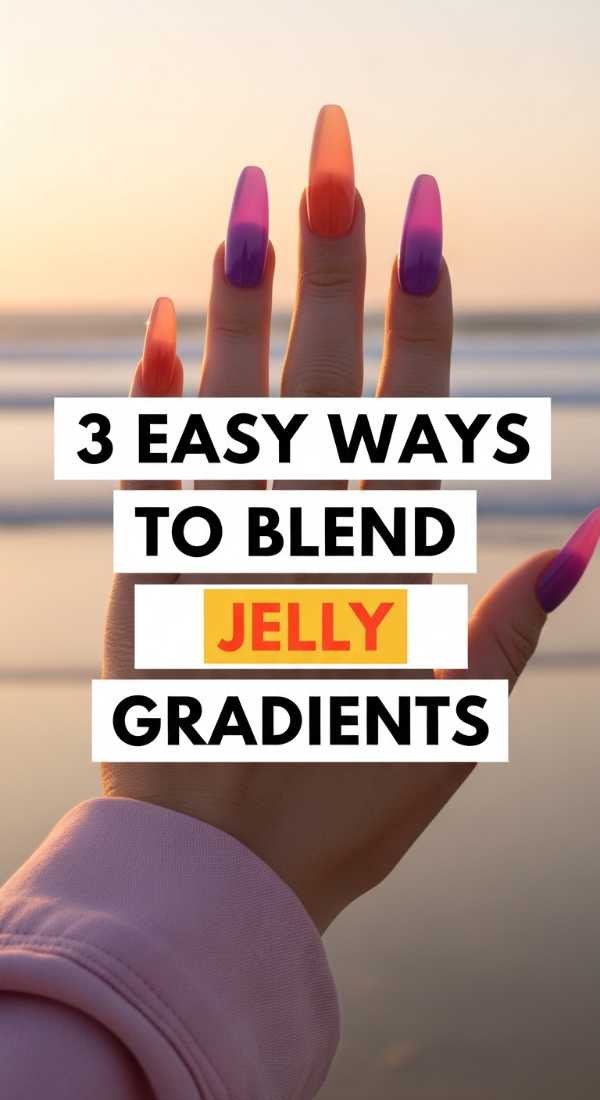
3 Easy Ways to Blend Jelly May Gradients
Why to love this recipe:
Jelly polishes are the unsung heroes of spring. They have this translucent, glass-like finish that feels incredibly fresh and juicy. A gradient blend of these colors looks like a sunset trapped in a bottle or a delicious fruit syrup, giving your hands a youthful, vibrant glow that’s perfect for those outdoor brunch dates.
Essential Ingredients:
- Sheer ‘Jelly’ nail polishes in two coordinating shades
- Makeup sponge (latex-free)
- Liquid latex or nail tape
- Glossy top coat
How to Prepare:
- Method 1: Apply a thin layer of the lighter jelly color, then while wet, dab the darker color onto the tip with a sponge, repeating layers for depth.
- Method 2: Stripe both colors directly onto a makeup sponge and press onto the nail in a rocking motion for a seamless transition.
- Method 3: ‘The Lazy Blend’ – Paint the bottom half of the nail one color and the top half another, then use a clean brush dipped in clear base coat to blur the line where they meet.
Budget Range
- Cirque Colors Jelly Collection ($12.50 per bottle)
- Born Pretty Jelly Nude Polish ($5.99)
- Sally Hansen Insta-Dri Clear Top Coat ($5.49)
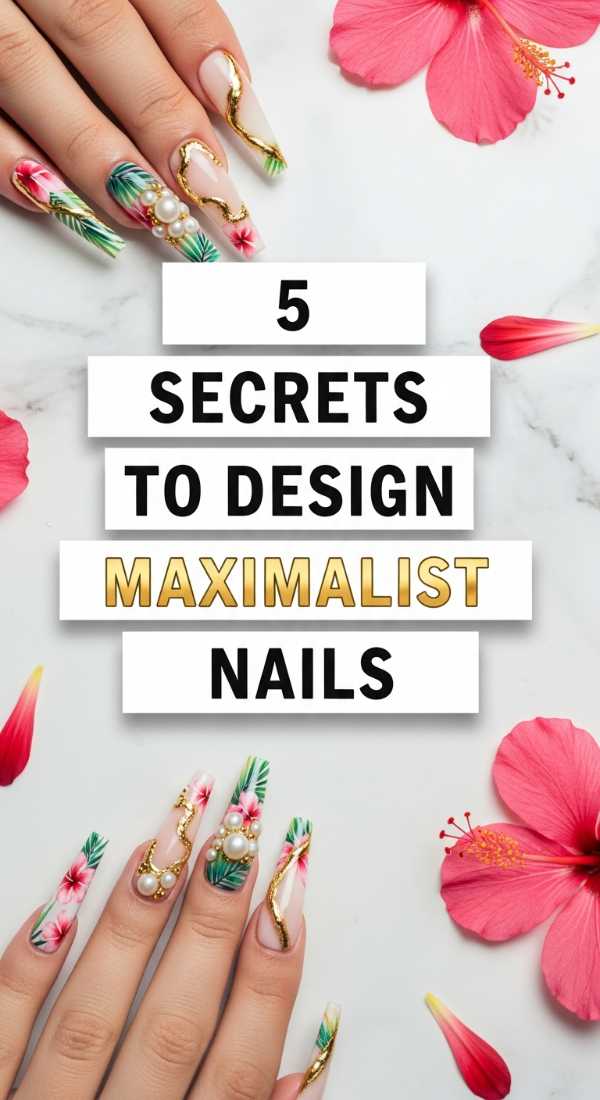
5 Secrets to Design Maximalist May Nails
Why to love this recipe:
Sometimes, more is just more! Maximalist nails are for the days when you feel bold, expressive, and unapologetically yourself. This style combines charms, colors, and patterns in a way that feels like a curated art gallery on your hands. It’s loud, it’s proud, and it’s a total conversation starter for your next Instagram reel.
Essential Ingredients:
- Assorted nail charms (bows, butterflies, hearts)
- Nail art stickers or decals
- Contrasting polish colors
- Strong nail glue or builder gel
- Tweezers
How to Prepare:
- Start with a different base color on every nail to establish the maximalist foundation.
- Mix textures by applying a chrome powder to one nail and a chunky glitter to another.
- Layer your stickers first, ensuring they are pressed flat against the nail surface.
- Apply a thick bead of builder gel where you want your largest charms to sit.
- Place the charms with tweezers, cure immediately, and seal the edges with a thin brush and top coat.
Budget Range
- Amazon 3D Nail Charm Variety Pack ($9.99)
- Maniology Nail Stamping Plates ($8.00)
- Modelones Builder Nail Gel ($7.99)
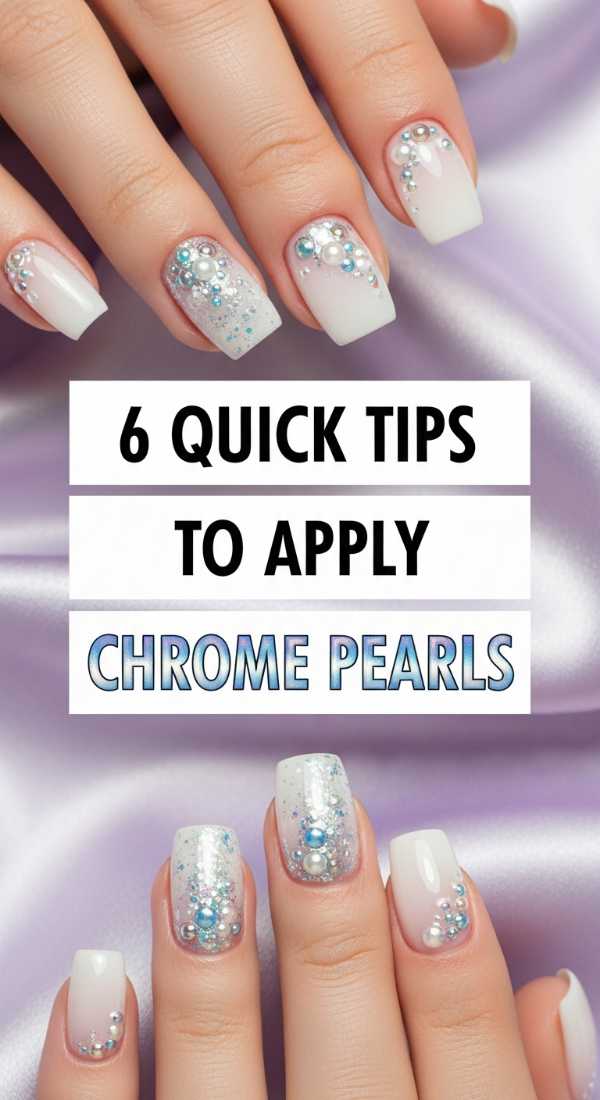
6 Quick Tips to Apply May Chrome Pearls
Why to love this recipe:
If you want that ‘clean girl’ aesthetic with a magical twist, chrome pearl powder is your best friend. It gives the nails a soft-focus, ethereal shimmer that looks like the inside of a seashell. It’s sophisticated enough for a wedding but trendy enough for a coffee shop work session.
Essential Ingredients:
- White or nude base polish
- No-wipe top coat
- Pearl chrome powder
- Eyeshadow applicator or silicone tool
- Dust brush
How to Prepare:
- Apply your base color and cure fully.
- Apply a no-wipe top coat and cure for exactly 30 seconds (it needs to be slightly ‘tacky’ but not wet).
- Dip your applicator into the pearl powder and rub it firmly onto the nail surface until it shines.
- Use a soft dust brush to remove any excess powder from the cuticles.
- Apply a final layer of no-wipe top coat to seal the chrome.
- Double-seal the free edge (the very tip of your nail) to prevent peeling.
Budget Range
- Daily Charme White Chrome Powder ($14.00)
- Artdone Pearl Nail Powder ($6.99)
- Kiara Sky No Wipe Top Coat ($14.99)
3 Steps to Create May Water Droplet Art

Why to love this recipe:
This is pure magic, darlings! Water droplet art creates the illusion of fresh dew sitting on your nails. It’s hyper-realistic and looks incredible over floral designs or matte backgrounds. It’s the ultimate way to bring that ‘after a spring rain’ feeling to your manicure.
Essential Ingredients:
- Matte top coat
- Hard Gel or thick ‘Top Gloss’
- Dotting tool
How to Prepare:
- Complete your base design and apply a matte top coat to the entire nail, then cure.
- Dip your dotting tool into a thick, non-wipe hard gel and ‘deposit’ various sized droplets onto the matte surface.
- Cure immediately for 60 seconds so the ‘water’ stays raised and doesn’t level out.
Budget Range
- IBD Hard Gel LED/UV Clear ($12.50)
- Kupa Mani-Q Matte Top Coat ($15.00)
- Teenitor Dotting Tools Set ($4.99)
5 Ways to Paint Colorful May French Tips
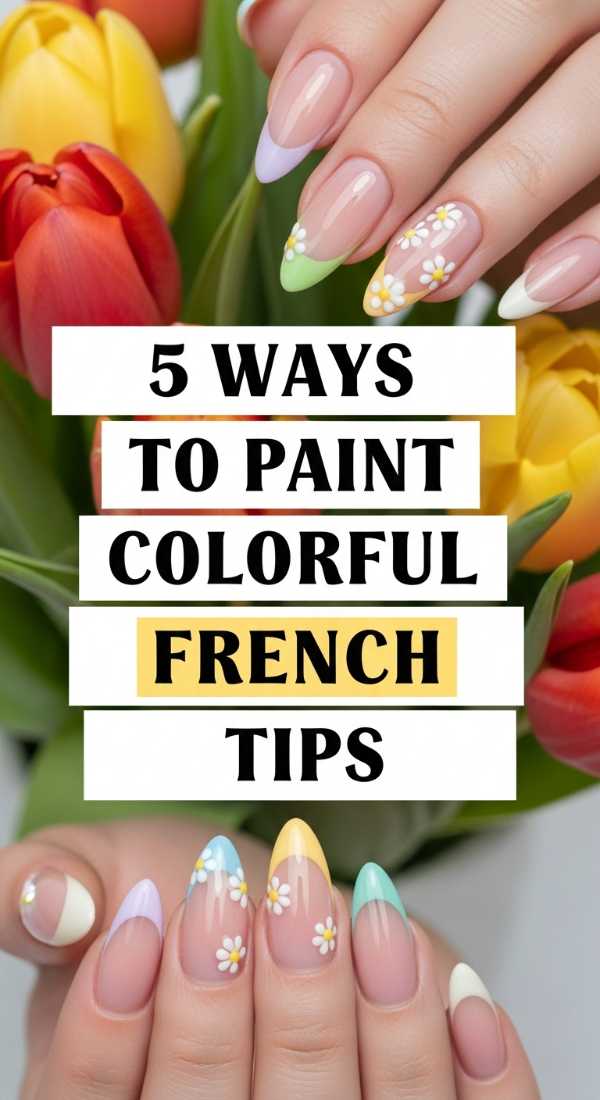
Why to love this recipe:
The classic French mani gets a playful May makeover! By swapping white for pastels or bright neons, you’re giving a nod to tradition while embracing the joy of the season. It’s clean, elongated, and works on any nail length, making your hands look instantly polished and chic.
Essential Ingredients:
- Pastel polish set
- Thin striping brush
- Nail guide stickers (optional)
- Sheer pink base color
How to Prepare:
- Try a ‘Micro-French’ by painting an ultra-thin line of mint green at the very tip.
- Go for a ‘Double-French’ by painting two thin parallel lines of different colors.
- Experiment with ‘Side-French’ by swooping the color down one side of the nail only.
- Use a ‘V-Shape’ French for a more architectural, modern look.
- Try a ‘Reverse French’ by painting the color at the cuticle line (the lunula) instead of the tip.
Budget Range
- Essie Spring Collection Set ($18.00)
- OPI Pastel Power Shades ($11.50 each)
- Winstonia Fine Nail Art Brushes ($7.99)
4 Steps to Achieve the May Aura Glow
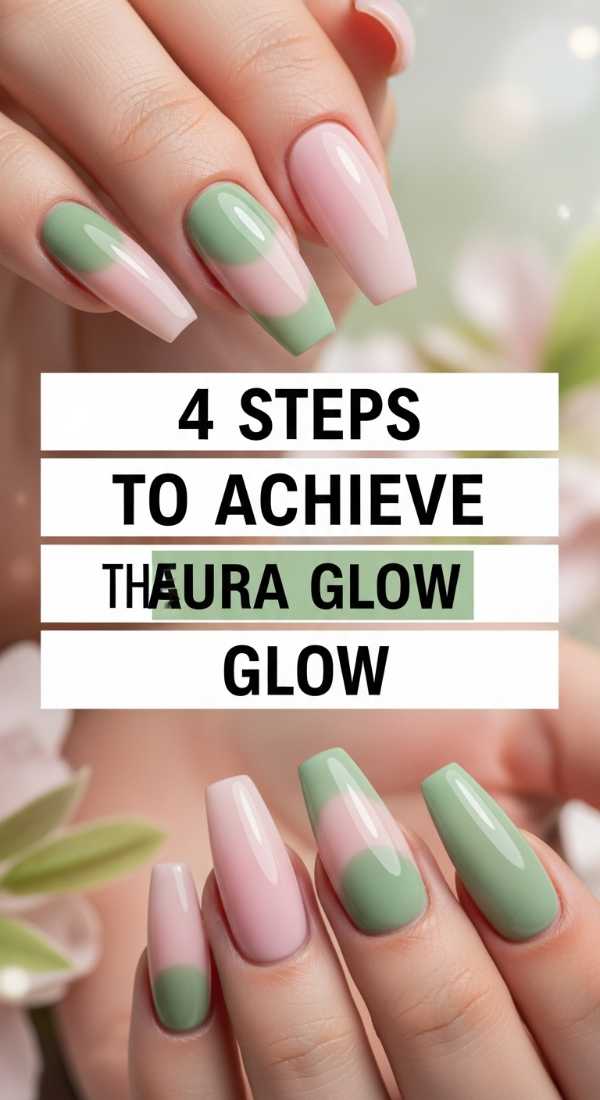
Why to love this recipe:
Aura nails are all about capturing your inner energy. This soft, circular gradient looks like a glowing orb in the center of your nail. It’s incredibly trendy on social media because it’s both minimalist and deeply expressive, mimicking the soft light of a May sunrise.
Essential Ingredients:
- Base color polish
- Contrasting ‘Aura’ color
- Makeup sponge or small fluffy eyeshadow brush
- Acetone for cleanup
How to Prepare:
- Apply your base color and let it dry completely (or cure if using gel).
- Take a small amount of your aura color on a damp makeup sponge and lightly tap it only in the center of the nail.
- Build the intensity in the very middle while keeping the edges soft and diffused.
- Top it off with a high-shine top coat to blend the ‘glow’ into the base.
Budget Range
- Makartt Jelly Gel Polish Kit ($22.00)
- Apreés Aer Gel Head ($15.00)
- Beauty Blender Micro.Mini ($18.00)
7 Ideas to Style May Botanical Nails
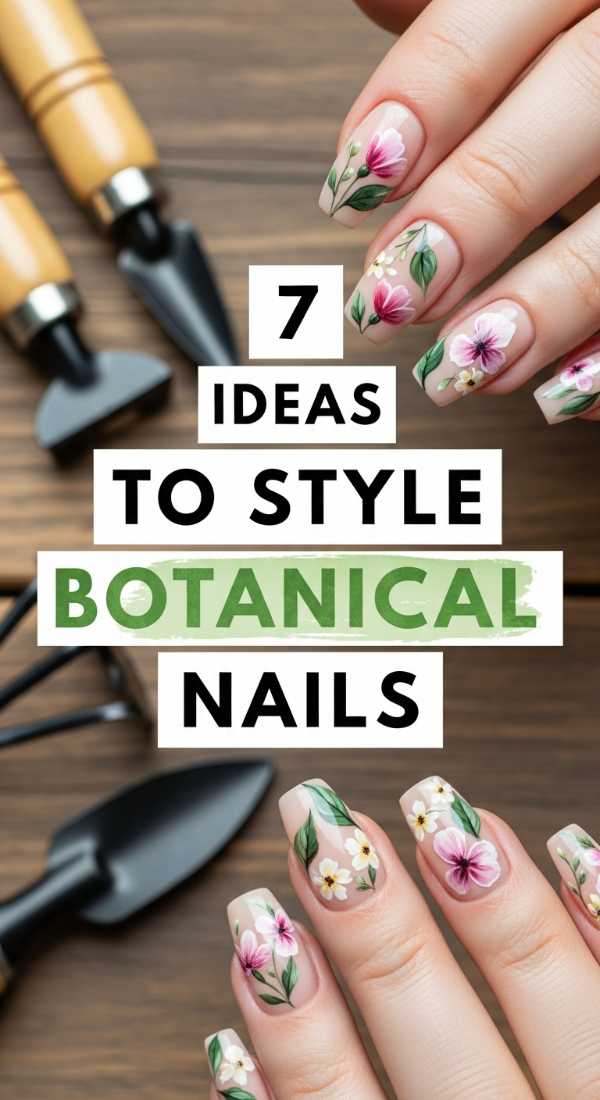
Why to love this recipe:
Botanical nails are for the dreamers. Think delicate leaves, winding vines, and tiny sprigs of lavender. This style feels very ‘cottagecore’ and grounded, connecting you to the earth as everything begins to green up outside. It’s sophisticated and timeless.
Essential Ingredients:
- Forest green and sage polishes
- Ultra-fine detail brush
- Gold leaf flakes
- Matte or glossy top coat
How to Prepare:
- Paint a sheer nude base to let the greenery pop.
- Use a fine brush to draw a single ‘stem’ line down the center of the nail.
- Add tiny ‘pressure-and-flick’ strokes to create leaves along the stem.
- Incorporate ‘Negative Space’ by leaving parts of the nail bare.
- Press a few gold leaf flakes onto the leaves for a ‘sun-dappled’ effect.
- Try a ‘Fern Overlay’ by layering different shades of green leaves.
- Seal with a matte top coat for a realistic, pressed-flower look.
Budget Range
- Holo Taco ‘Greener Pastures’ ($13.00)
- Maniology Botanical Stamping Plate ($8.00)
- Pueen Nail Art Gold Foil ($6.99)
3 Easy Methods for Simple May Manicures
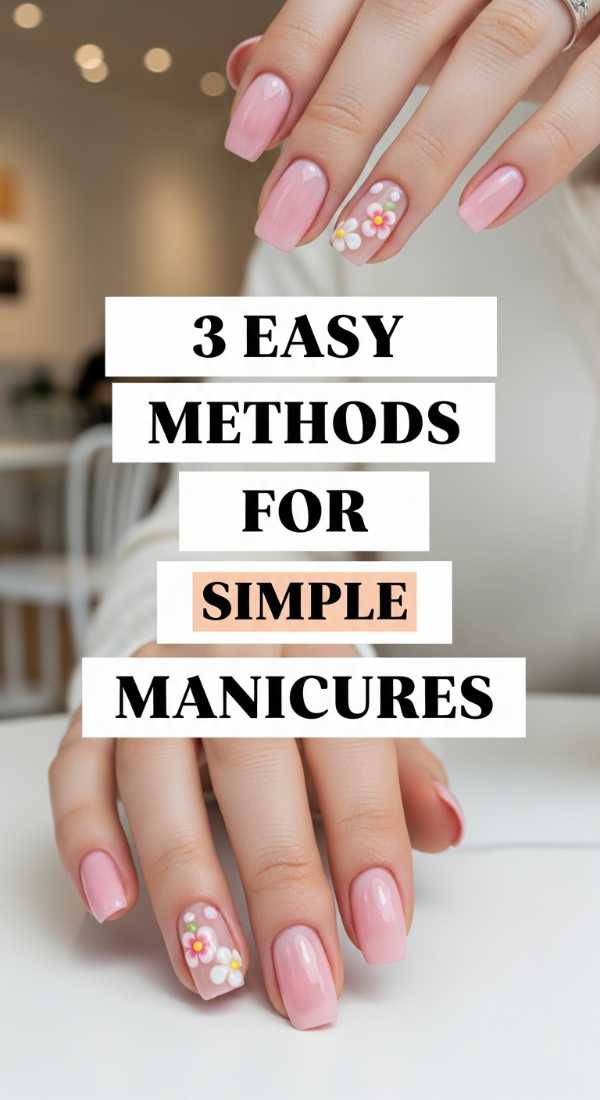
Why to love this recipe:
Not every day requires a masterpiece! Simple May manicures are for my busy loves who still want to feel put-together. These methods take less than 15 minutes but still offer that fresh, seasonal ‘pop’ that makes your morning coffee feel a little more aesthetic.
Essential Ingredients:
- One ‘hero’ pastel color
- A dotting tool or toothpick
- Clear top coat
How to Prepare:
- Method 1: The ‘Single Dot’ – Paint a neutral base and put one tiny pastel dot at the base of each nail.
- Method 2: The ‘Skittle’ – Paint each nail a different shade of the same color family (e.g., five different pinks).
- Method 3: The ‘Accent Foil’ – Paint all nails a solid color except the ring finger, where you press on a bit of iridescent foil.
Budget Range
- Zoya Professional Lacquer ($12.00)
- Sally Hansen Xtreme Wear ($3.99)
- Olive & June Press-On Kit ($10.00)
5 Tips to Prep Your May Graduation Nails

Why to love this recipe:
Graduation is such a massive milestone! Your hands will be holding your diploma and will be the star of a thousand photos. Prepping your nails for this moment ensures you feel confident, elegant, and ready to step into your next chapter with grace.
Essential Ingredients:
- Cuticle oil
- Nail strengthener
- Neutral ‘your nails but better’ polish
- Glass nail file
How to Prepare:
- Start a hydration routine 2 weeks before the ceremony using jojoba-based cuticle oil nightly.
- Choose a shape that is manageable; ‘Soft Square’ or ‘Oval’ are timeless for photos.
- Match your polish to your graduation gown accents or keep it classic with a ‘Rich Girl Mauve’ or ‘Cloud White’.
- Use a glass file to seal the keratin layers of your nails, preventing snags on your gown.
- Carry a small tube of hand cream for that ‘photo-ready’ glow right before the ceremony.
Budget Range
- CND SolarOil ($9.00)
- Orly Nailtrition ($15.00)
- Glass Nail File by Mont Bleu ($10.00)
Bloom Into Your Most Beautiful Self
My loves, I hope this masterclass inspires you to take a little time for yourself this May. Whether you choose a maximalist explosion of charms or a simple, soft aura glow, remember that the act of creating is a gift to yourself. You are blooming, you are growing, and your journey is just as beautiful as the art on your fingertips. Share your creations with me—I can’t wait to see your May magic!
Frequently Asked Questions
- Q: How do I make my May manicure last longer?
A: Always dehydrate the nail plate with a bit of alcohol before painting, and don’t forget to ‘cap the free edge’ with your top coat to prevent chipping! - Q: Can I do 3D flower art on natural nails?
A: Absolutely! Just ensure you use a strong base coat or a layer of builder gel first to give the 3D sculpture something solid to grip onto. - Q: What is the best way to remove chrome powder?
A: Chrome powder is sealed with top coat, so you’ll need to gently buff the surface and then use an acetone soak or a high-quality polish remover. - Q: Are jelly polishes hard to work with?
A: Not at all! They are actually very forgiving because they are sheer. The key is to apply thin, even layers to build up the ‘depth’ you want.