
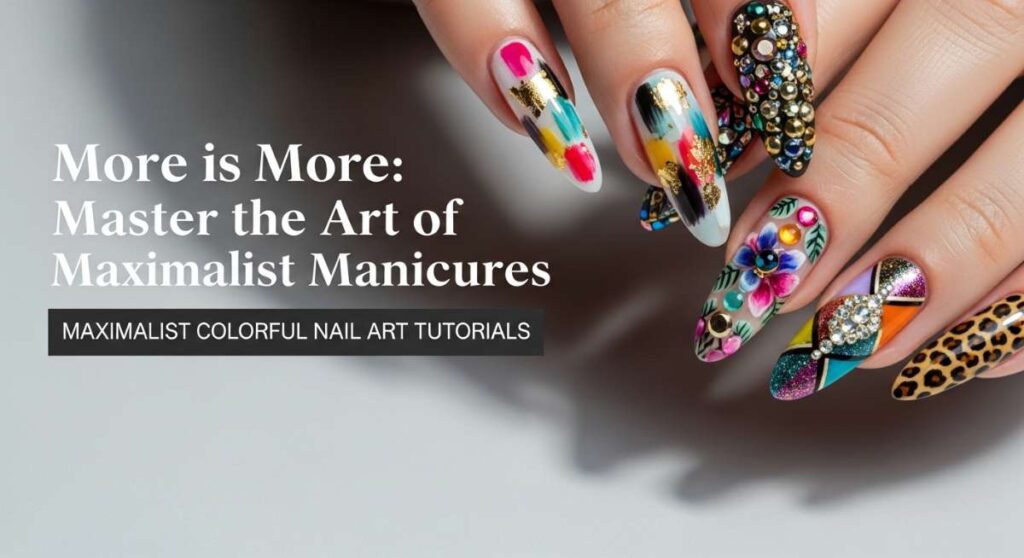
More is More: Master the Art of Maximalist Manicures
Hello, my loves. Welcome back to our cozy corner of the internet, where today we are shedding the ‘clean girl’ aesthetic like an old coat and stepping into the vibrant, chaotic, and utterly beautiful world of maximalism. There is something so healing about looking down at your hands and seeing a literal rainbow staring back at you. It’s a reminder that life is too short for just one shade of beige, don’t you think?
I’ve spent the last week surrounded by tiny crystals, neon pigments, and the sweet scent of top coat to bring you this guide. Whether you’re a seasoned pro or just someone looking to add a little sparkle to your self-care ritual, these tutorials are designed to hold your hand through the process. Let’s dive into the color together, sweethearts.
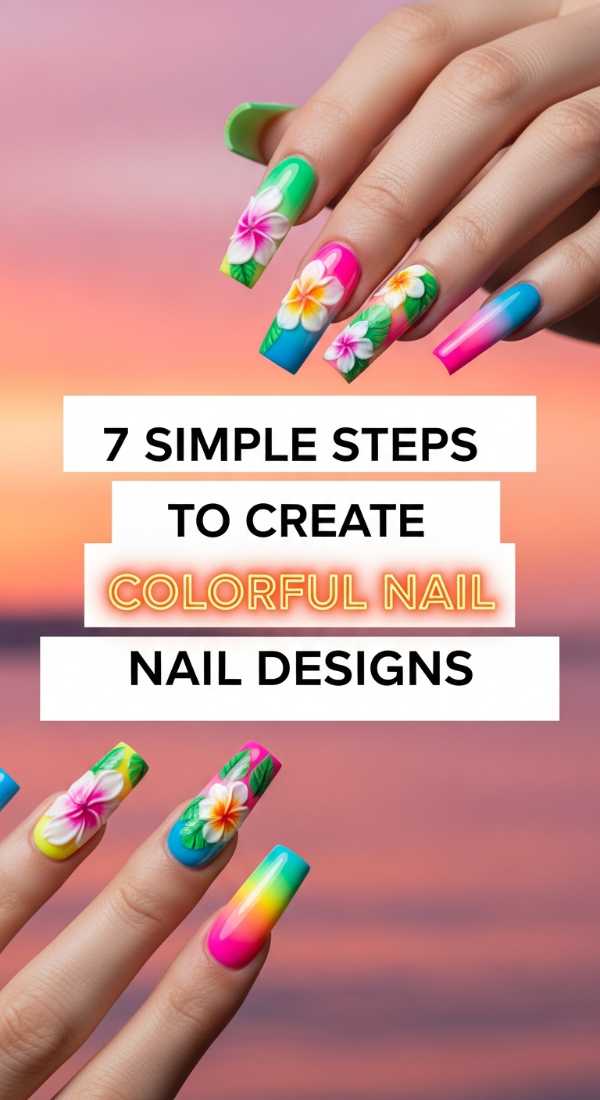
The Seven-Step Rainbow Spectrum
Why to love this recipe:
This design is like wearing a liquid sunset on your fingertips. It’s the perfect entry point for my loves who want to experiment with multiple colors without feeling overwhelmed by complex patterns.
Essential Ingredients:
- 5 Neon gel polishes
- Fine liner brush
- Makeup sponge
- Matte top coat
- UV Lamp
How to Prepare:
- Prep your nail bed by pushing back cuticles gently.
- Apply a clear base coat and cure.
- Dot your five chosen colors onto a palette.
- Use a sponge to dab the first two colors onto the bottom half of the nail.
- Dab the remaining colors onto the top half, overlapping slightly for a gradient.
- Use a fine liner brush to crisp up the edges near the cuticle.
- Seal with a matte top coat for that velvet finish.
Budget Range
- Modelones Neon Gel Set ($15.99)
- Beetles Fine Liner Brushes ($8.99)
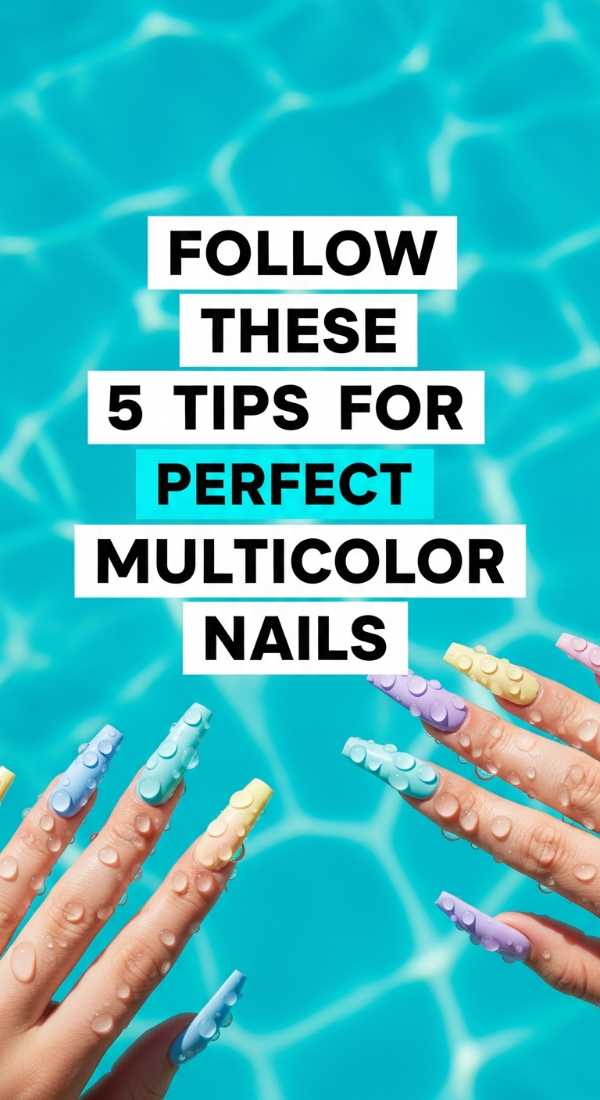
5 Tips for Perfect Multicolor Harmony
Why to love this recipe:
Sometimes the hardest part of maximalism is making sure the chaos looks intentional. These tips will help you find the ‘rhythm’ in your rainbow so your hands look like a curated art gallery.
Essential Ingredients:
- Color wheel chart
- Neutral ‘bridge’ polish
- Glossy top coat
- Lint-free wipes
How to Prepare:
- Pick a ‘hero’ color to start.
- Use a color wheel to find its complementary opposites.
- Balance warm tones with one cool ‘accent’ finger.
- Ensure your polish consistency is thin to avoid bulk.
- Always clean your brush between shades to keep colors crisp.
Budget Range
- OPI Infinite Shine Palette ($13.00 per bottle)
- Zeva Color Wheel ($5.00)
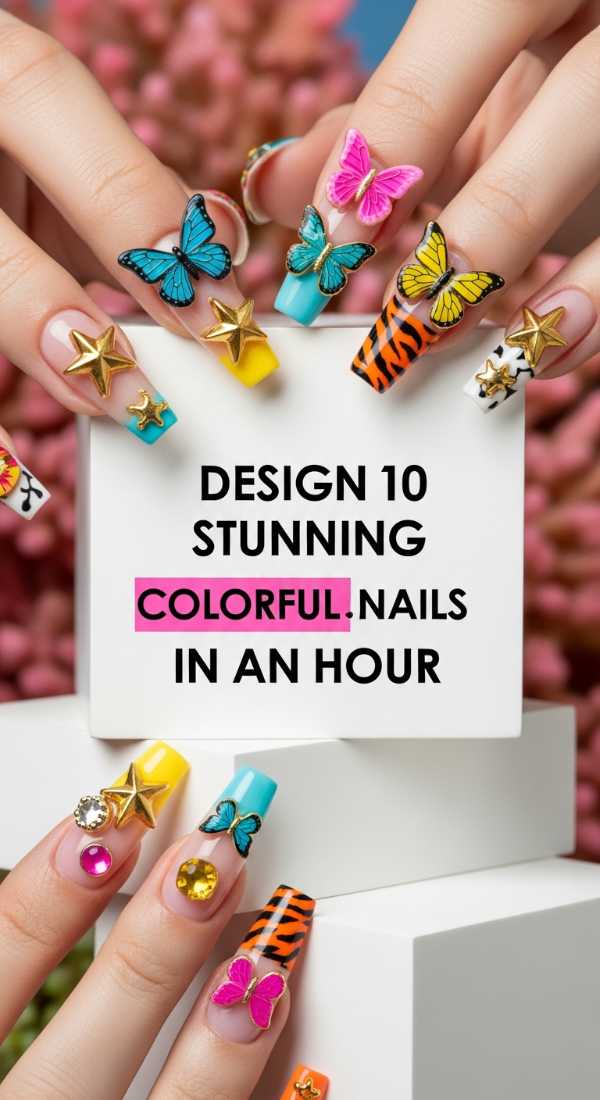
10 Stunning Junk Nails in One Hour
Why to love this recipe:
Junk nails are the ultimate expression of ‘more is more.’ It’s about texture, height, and personality. This is for the babe who wants their nails to be a conversation starter at every coffee shop visit.
Essential Ingredients:
- Assorted 3D charms (bears, bows, hearts)
- Builder gel or jewelry glue
- Iridescent flakes
- Tweezers
How to Prepare:
- Paint a solid base color on all ten nails.
- Apply a thick layer of builder gel to the thumb.
- Place three large charms using tweezers.
- Fill the gaps with iridescent flakes.
- Cure under the lamp immediately to ‘freeze’ the charms.
- Repeat for each finger, varying the charm placement.
- Finish with a ‘no-wipe’ top coat around the charms.
- Add a tiny pearl to the pinky for balance.
- Check for any sharp edges and file gently.
- Apply cuticle oil to nourish the skin.
Budget Range
- Saviland 3D Nail Charm Kit ($12.00)
- Makartt Rhinestone Glue ($9.99)
Mastering Two-Tone Magic
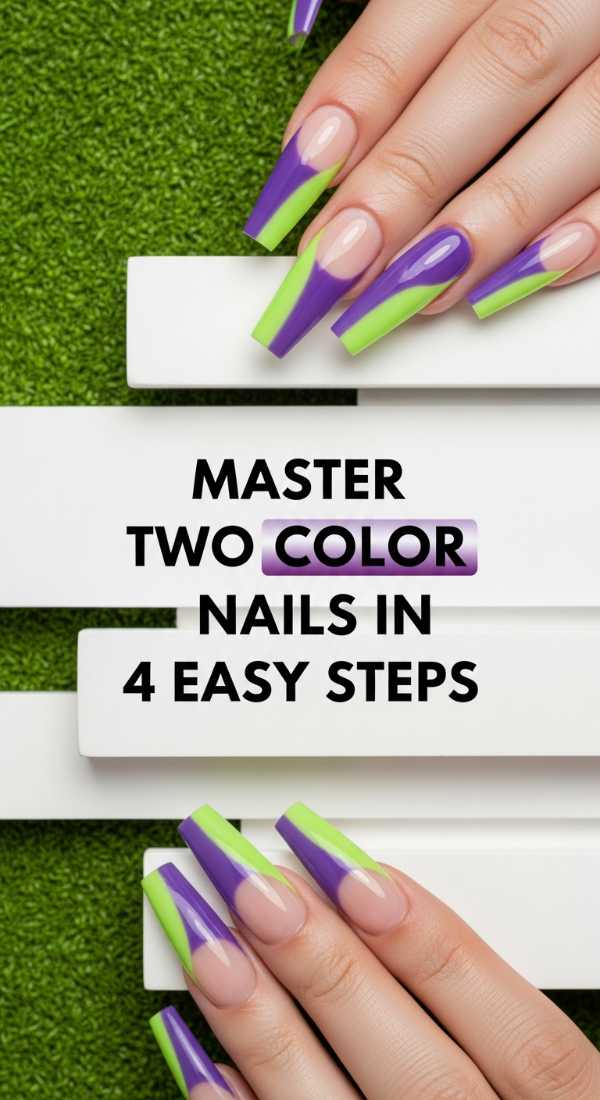
Why to love this recipe:
If you’re just starting your maximalist journey, this two-color approach is your soft place to land. It’s bold, geometric, and wonderfully satisfying to look at while you’re typing away.
Essential Ingredients:
- Striping tape
- Two contrasting high-pigment polishes
- Quick-dry top coat
How to Prepare:
- Apply your lighter color as the base and let it dry completely.
- Place a piece of striping tape diagonally across the center.
- Paint the darker color on one side of the tape.
- Peel the tape away while the polish is still wet for a sharp line.
Budget Range
- Essie Expressie ‘Word on the Street’ ($10.00)
- LineGirl Striping Tape ($6.00)
8 Unique Stiletto Canvas Designs

Why to love this recipe:
Stiletto nails offer so much ‘real estate’ for art! These designs focus on using that beautiful length to create vertical stories of color and movement.
Essential Ingredients:
- Extra long stiletto tips
- Gel liner pens
- Gold leaf foil
How to Prepare:
- Glue and shape your stiletto tips.
- Apply a sheer nude base.
- Draw vertical swirls using three different liner pens.
- Dab bits of gold leaf into the wet ink.
- Cure for 60 seconds.
- Add a second layer of swirls for depth.
- File the tip one last time for sharpness.
- Seal with a thick high-gloss top coat.
Budget Range
- Aprés Gel-X Stiletto Tips ($30.00)
- Daily Charme Gold Leaf ($7.00)
6 Hacks for Different Color Perfection

Why to love this recipe:
Getting a different color on every finger can sometimes look messy if the formulas don’t match. These hacks ensure a professional, high-end look even when you’re using ten different bottles.
Essential Ingredients:
- White base polish
- Liquid latex (cuticle guard)
- Clean-up brush
- Acetone
How to Prepare:
- Apply white polish first to make every color ‘pop’.
- Use liquid latex around the skin to allow for messy, fast painting.
- Choose colors with the same finish (all creams or all shimmers).
- Use a clean-up brush dipped in acetone for perfect cuticle curves.
- Apply two thin coats rather than one thick one.
- Synchronize your thumb and pinky colors for ‘framing’.
Budget Range
- Pueen Liquid Latex ($9.00)
- Sally Hansen Insta-Dri ($7.00)
Color Street in 3 Minutes
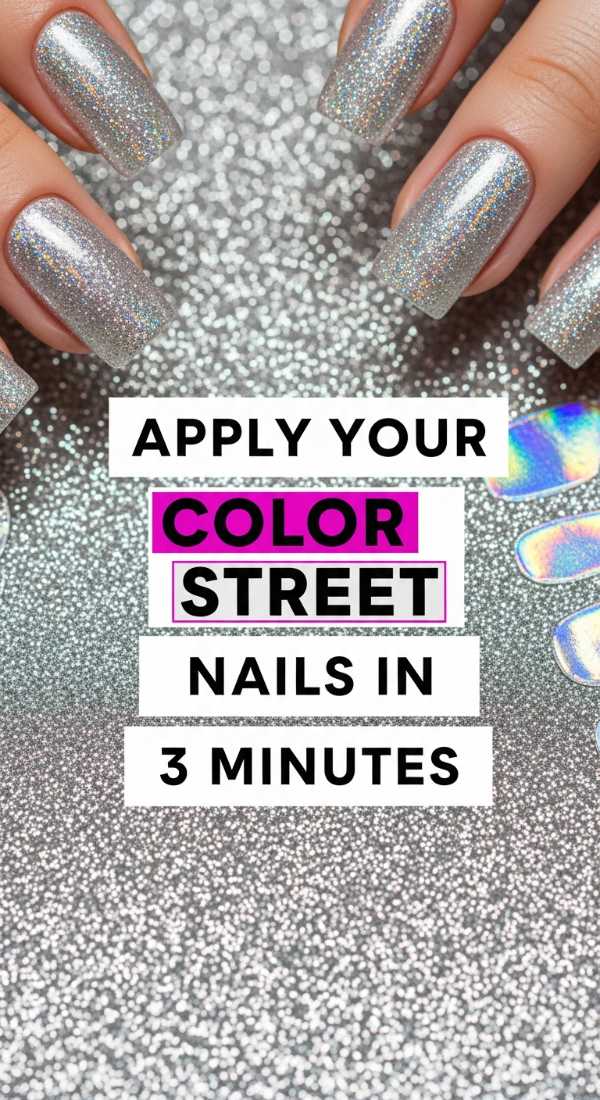
Why to love this recipe:
For my busy loves who still want that maximalist punch without the hours of drying time. This is the ‘cheat code’ to gorgeous, multi-colored hands on the go.
Essential Ingredients:
- Color Street mixed mani sets
- Alcohol prep pads
- Nail file
How to Prepare:
- Clean nails thoroughly with an alcohol pad.
- Peel the strip that best fits your nail width.
- Press firmly and fold the excess over the tip, filing it away.
Budget Range
- Color Street ‘Midnight in Manhattan’ Sets ($13.00)
Sculpting Colourful Acrylic Dreams
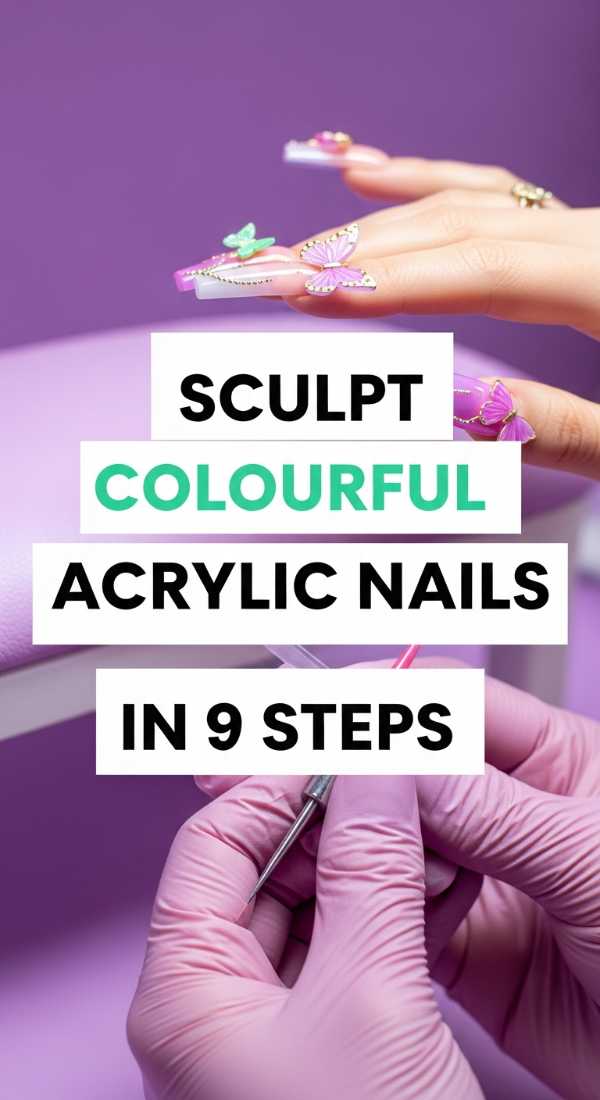
Why to love this recipe:
Acrylics allow us to build color *into* the nail itself. It’s structural art, my loves. These steps will help you create a multi-tonal sculpt that lasts for weeks.
Essential Ingredients:
- Colored acrylic powders
- Monomer
- Acrylic brush (Size 8 or 10)
- Dashing Diva forms
How to Prepare:
- Apply nail forms securely.
- Dip brush in monomer, then into the first colored powder.
- Place the bead at the free edge.
- Pick up a second color and place it at the stress point.
- Blend the two beads where they meet.
- Add a third color at the cuticle area.
- Encapsulate the entire design in clear acrylic.
- File and buff until smooth.
- Apply a non-wipe top coat and cure.
Budget Range
- Young Nails Core Kit ($50.00)
- Mia Secret Colored Acrylics ($15.00 for 6)
12 Ideas for Colorful Inspiration
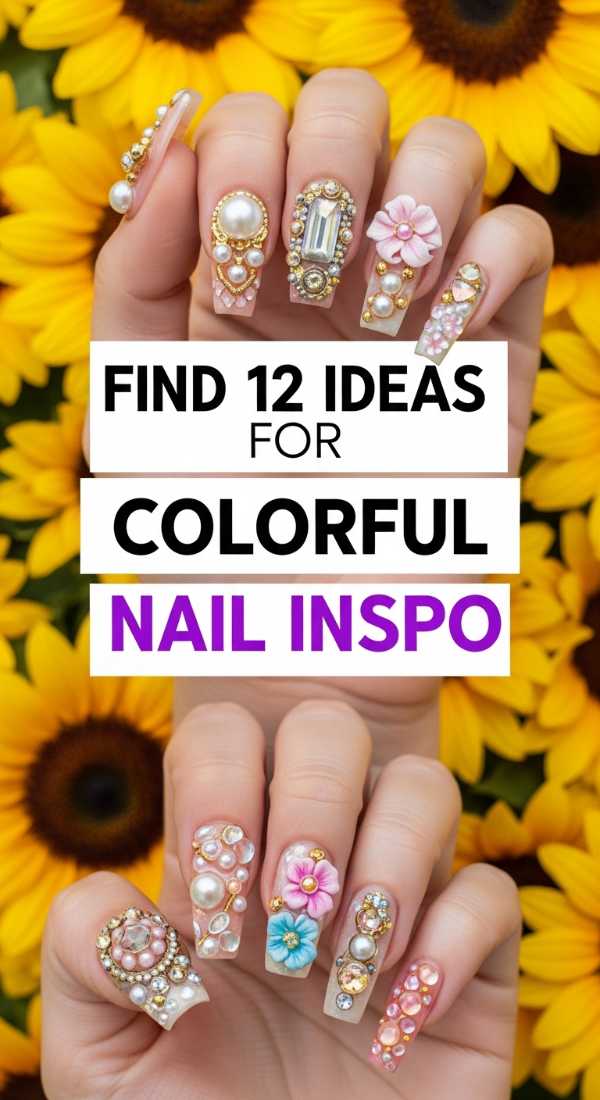
Why to love this recipe:
Sometimes the brain just needs a little spark! This list is a curated mood board for your next appointment or DIY session, focusing on high-contrast joy.
Essential Ingredients:
- Pinterest board access
- Dotting tools
- Sticker decals
How to Prepare:
- Try ‘Skittles’ nails with all pastels.
- Experiment with animal prints in neon colors.
- Create ‘aura’ nails using eyeshadow pigments.
- Try mismatched French tips.
- Add tiny fruit slices to a clear base.
- Do ‘lava lamp’ swirls.
- Use holographic glitter over solid primary colors.
- Apply chrome powder over a multi-colored base.
- Try ‘comic book’ 2D outlines.
- Use dried pressed flowers.
- Create marble effects with water dropping.
- Layer sheer ‘jelly’ polishes for a stained glass look.
Budget Range
- Born Pretty Stamping Plates ($6.00)
- Amazon Pressed Flowers ($8.00)
Styling with 5 Must-Have Charms
Why to love this recipe:
The cherry on top of any maximalist set! Adding charms is like accessorizing an outfit; it’s where your personality truly shines through.
Essential Ingredients:
- Gummy bear charms
- Swarovski crystals
- Metal chain bits
- UV LED Torch
How to Prepare:
- Apply a dot of glue where you want the focal point.
- Press a large Gummy Bear charm down.
- Flash-cure with a handheld torch for 10 seconds.
- Surround the base with tiny crystals.
- Add a metal chain looping from one charm to another.
Budget Range
- Swarovski Crystal Mix ($20.00)
- Handheld UV Light ($10.00)
Embrace the Chaos, My Loves
As we wrap up this journey into the world of maximalism, I want you to remember that there are no rules in art—and your nails are the most personal canvas you own. If a design makes you smile when you’re grabbing your morning tea, then it is perfect. Don’t let anyone tell you that ‘less is more’ if your heart is screaming for ‘more is more.’ Go forth, be bold, and let your hands tell the world exactly how colorful your soul is. I can’t wait to see what you create!
Frequently Asked Questions
How do I make my 3D charms stay on without falling off?
The secret is using a high-quality builder gel or a specific ‘rhinestone glue’ that requires a UV light to cure. Always make sure to ‘anchor’ the charm by brushing a little top coat around its base (but not over the top if it’s a crystal, or you’ll lose the sparkle!).
Will all these colors make my nails look shorter?
Actually, if you use vertical lines or ‘aura’ gradients that are lighter in the center and darker on the edges, you can actually create the illusion of more length! Don’t be afraid to experiment.
How do I remove ‘junk nails’ without damaging my natural nail?
Patience is key, sweetheart. Use a coarse file to take down the bulk of the charms and top coat, then soak in pure acetone for 15-20 minutes. The charms should slide off gently with a wooden cuticle stick. Never, ever pry them off!