
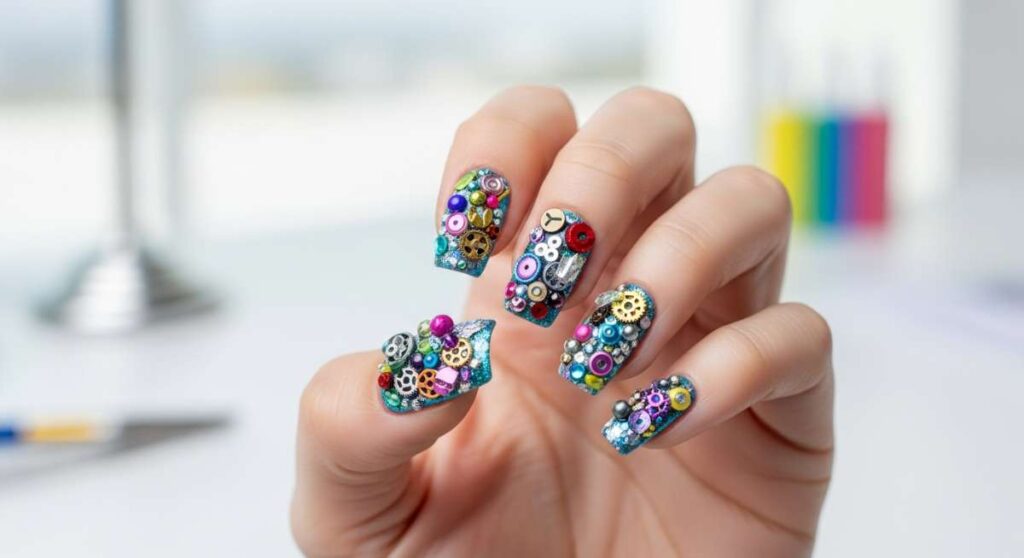
Bursting with Color: How to Create Professional 3D Junk Nails
Hello, my darling loves! There is something so incredibly magical about looking down at your hands and seeing a literal playground of color and texture staring back at you. It’s like carrying a tiny gallery of your own joy wherever you go. I’ve always believed that our nails are the softest, most beautiful way to express the vibrant chaos of our souls, and lately, I’ve been completely head-over-heels for the ‘junk nail’ aesthetic.
If you haven’t heard of them yet, think of junk nails as a beautiful maximalist dream—a curated collection of charms, gems, and 3D art that feels like a treasure chest on your fingertips. It’s about breaking the rules, embracing the bold, and letting your creativity bloom without any boundaries. Today, I want to wrap you in a warm, artistic embrace and show you exactly how to bring this colorful magic to life on your own beautiful hands.
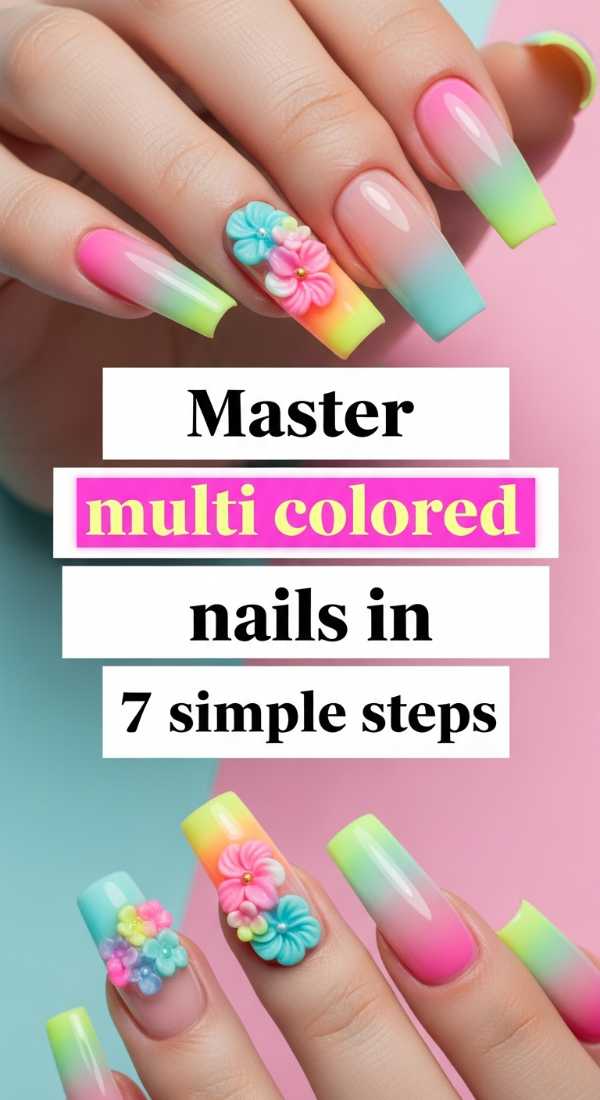
Master multi colored nails in 7 simple steps
Why to love this recipe:
This approach is all about the foundation. By mastering the rainbow across your fingertips, you create a harmonious canvas that feels intentional rather than messy. It’s the perfect way to ease into maximalism with a soft, guided touch.
Essential Ingredients:
- A palette of 5-10 pastel gel polishes
- High-quality base coat
- Strengthening builder gel
- Lint-free wipes
- Isopropyl alcohol
- Fine liner brush
- Non-wipe glossy top coat
How to Prepare:
1. Prep the nail plate by gently pushing back cuticles. 2. Apply a thin layer of base coat and cure. 3. Select a unique color for every single nail to establish the ‘multi-color’ theme. 4. Apply the first thin coat of color and cure for 60 seconds. 5. Apply a second coat for full opacity. 6. Use a liner brush to clean up the edges for a professional finish. 7. Seal with a glossy top coat to make those colors pop.
Budget Range
- Beetles Pastel Gel Polish Set – $15.99
- Makartt Base and Top Coat Duo – $12.99
- Saviland Liner Brush Set – $8.99
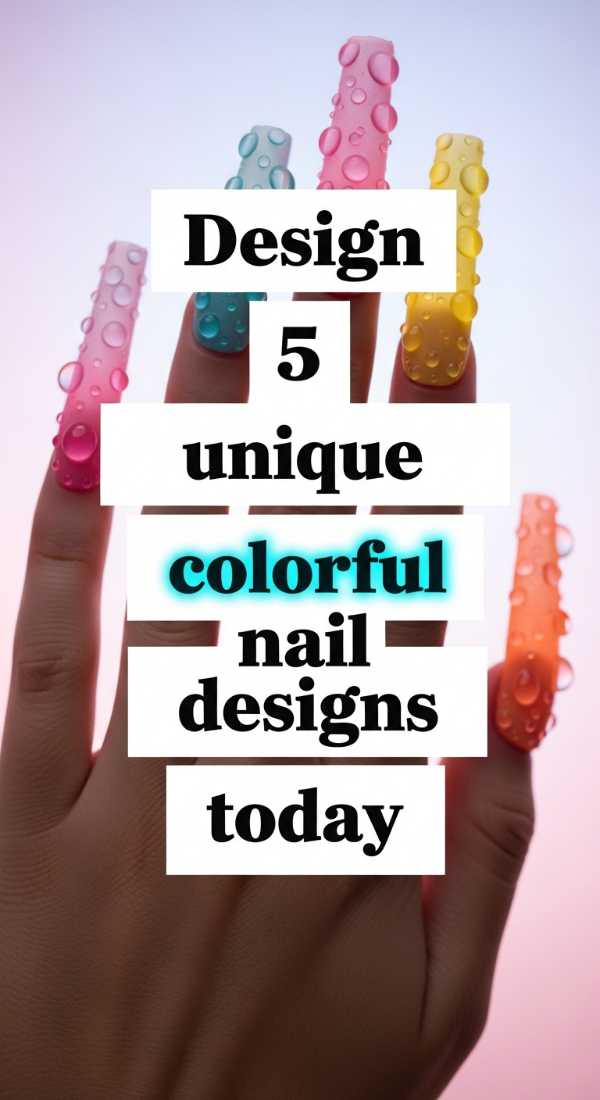
Design 5 unique colorful nail designs today
Why to love this recipe:
Variety is the spice of life, my loves! Creating five distinct designs ensures your set looks like a curated art collection. It’s a wonderful way to practice different textures and patterns in one sitting.
Essential Ingredients:
- Dotting tools
- Blooming gel
- Gold flakes
- Matte top coat
- Neon pigment powders
How to Prepare:
1. Create a ‘Galaxy Dream’ design using blooming gel and deep purples. 2. Design a ‘Sunset Ombre’ on the index finger. 3. Add ‘Confetti Dots’ using your dotting tool on the middle finger. 4. Apply ‘Gold Leaf Luxury’ over a solid pink base. 5. Finish with a ‘Matte Neon’ statement on the pinky.
Budget Range
- Modelones Blooming Gel – $7.99
- Aonur Gold Flakes for Nails – $6.50
- Teenitor Dotting Tool Set – $5.99
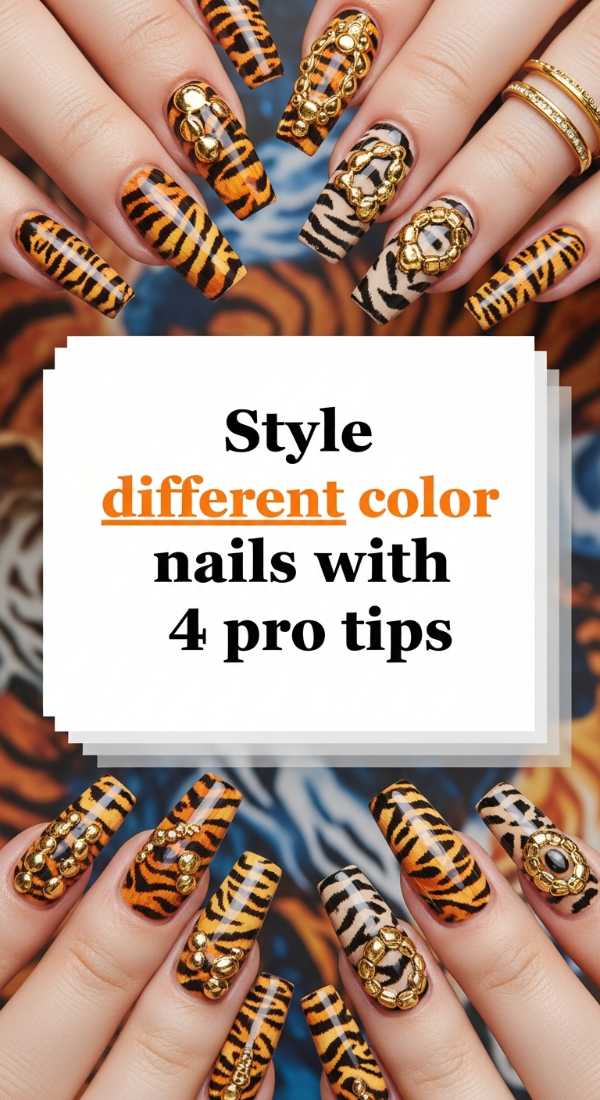
Style different color nails with 4 pro tips
Why to love this recipe:
Styling is where the professional ‘vibe’ truly comes from. These tips help you balance the ‘junk’ so it looks chic and expensive rather than cluttered, giving you that soft, high-fashion glow.
Essential Ingredients:
- Color wheel chart
- Buffing block
- Nail glue/Resin
- Crystal picker tool
How to Prepare:
1. Use the color wheel to choose complementary colors that sit opposite each other. 2. Vary the ‘height’ of your charms to create visual depth. 3. Keep the thumb and ring finger as the ‘heavy’ focal points. 4. Balance a busy design with a slightly more muted color on the adjacent nail.
Budget Range
- Mini Color Wheel for Artists – $4.00
- Wax Pencil Crystal Picker – $3.99
- KDS Nail Glue (Bulk Pack) – $8.00
Create 10 bold colorful junk nails at home
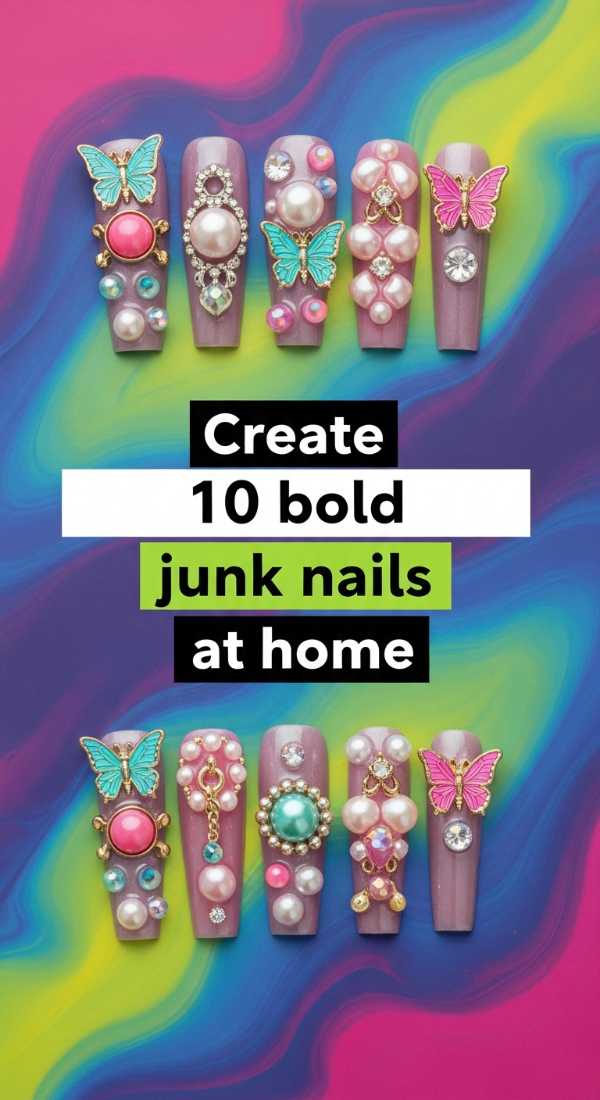
Why to love this recipe:
This is the ultimate ‘more is more’ guide! It’s about filling every corner with love and charms. Doing this at home is so therapeutic; it’s like a cozy spa day for your creative spirit.
Essential Ingredients:
- Mixed bulk charm bag (bows, hearts, bears)
- Rhinestones in various sizes
- 3D Clay shapes
- Hard gel or ‘Gummy’ gel
- UV Lamp
How to Prepare:
1. Lay out all 10 nails’ charms before gluing. 2. Apply a thick bead of gummy gel. 3. Place large charms first. 4. Fill gaps with tiny rhinestones. 5. Flash cure each nail for 10 seconds to freeze the design. 6. Fully cure for 120 seconds. 7. Add a tiny drop of top coat around the base of charms for extra security. 8. Repeat for all ten fingers. 9. Check for snags. 10. Hydrate cuticles with oil.
Budget Range
- 500pcs Mixed Resin Nail Charms – $12.00
- Makartt Rhinestone Glue Gel – $9.99
- SUNUV 48W LED Lamp – $25.00
Finish your color nails in 3 easy stages
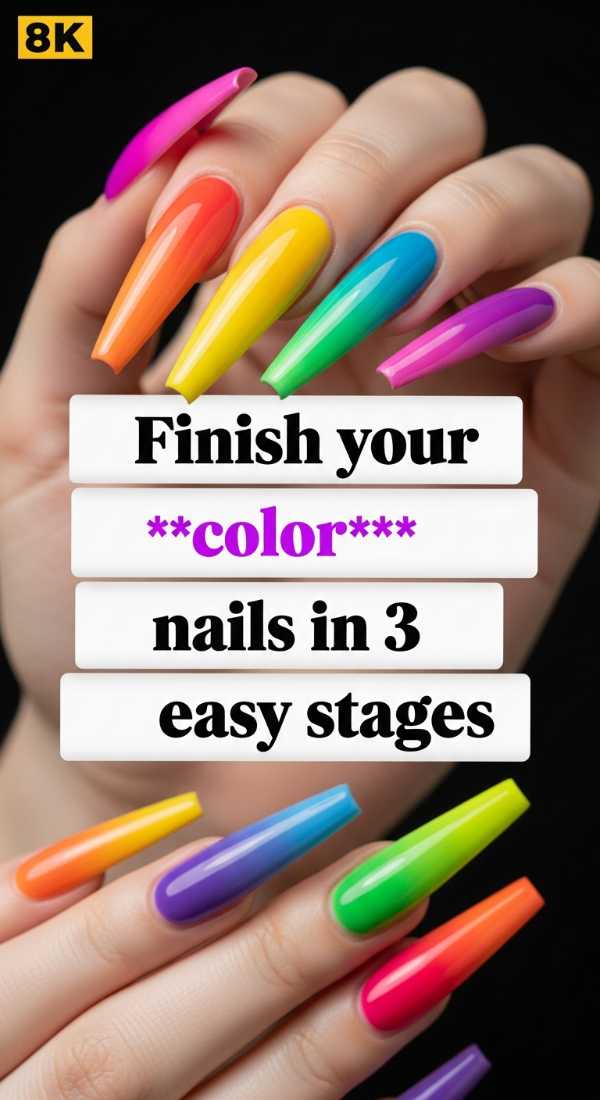
Why to love this recipe:
Sometimes the process feels overwhelming, so breaking it into stages makes it feel like a gentle breeze. It ensures you don’t rush the most important parts of the finish.
Essential Ingredients:
- High-shine top coat
- Cuticle oil (lavender scented)
- Small cleanup brush
How to Prepare:
1. The Reinforcement Stage: Apply a thin layer of clear builder gel over small gems. 2. The Sealing Stage: Apply your final top coat, ensuring you go around (not over) the large 3D charms. 3. The Hydration Stage: Massage a warm cuticle oil into the skin to give that professional, healthy glow.
Budget Range
- Cuccio Revitalize Cuticle Oil – $9.00
- Morovan 5-in-1 Builder Gel – $10.99
- Zulay Small Detail Brush – $5.00
Perfect two color nails using 2 brush strokes
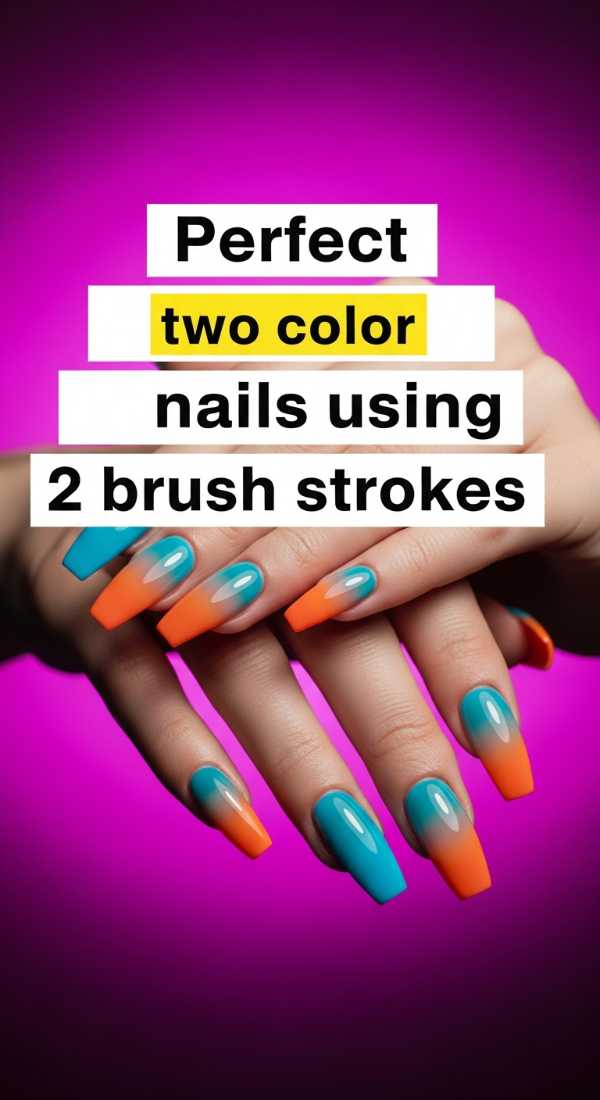
Why to love this recipe:
Efficiency is beautiful! This technique is for those days when you want a striking, high-contrast look without the fuss. It creates a soft, blurred ‘aura’ effect that is so trendy right now.
Essential Ingredients:
- Two contrasting high-pigment polishes
- Sponge applicator
- Liquid latex (optional)
How to Prepare:
1. Place a drop of color A on the left and color B on the right. 2. Take a wide brush or sponge and use one horizontal stroke to blend, and one vertical stroke to smooth. It’s that simple!
Budget Range
- Pueen Liquid Latex – $8.99
- Venalisa High-Pigment Gel – $7.50
- Wedge Makeup Sponges – $4.00
Apply your color street nails in 6 quick minutes
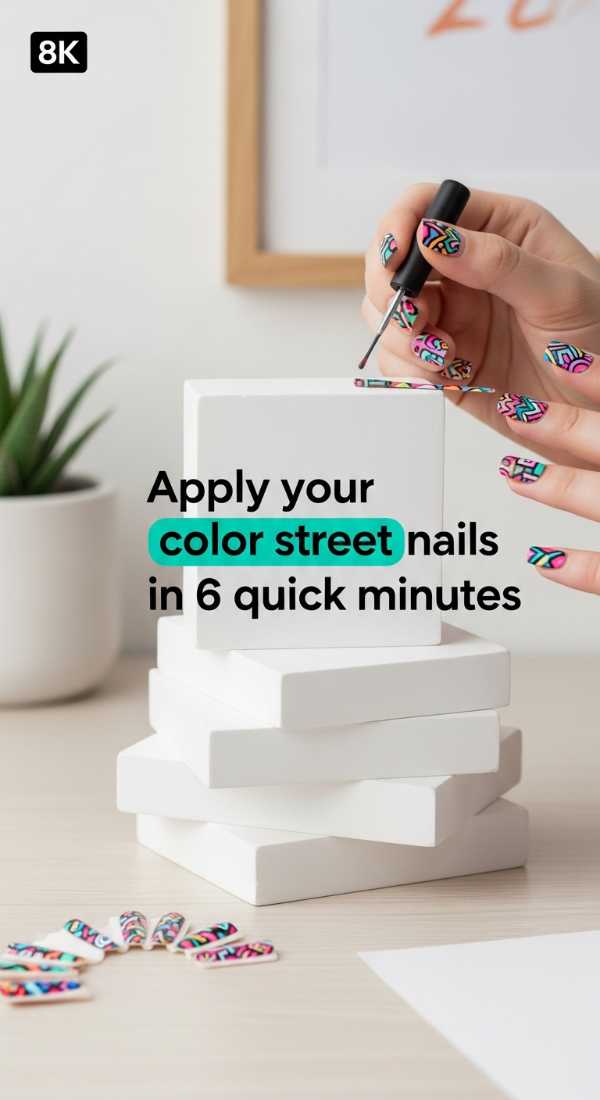
Why to love this recipe:
For my loves on the go, nail strips are a lifesaver. You can layer 3D charms right on top of them for a ‘semi-handmade’ look that saves so much time!
Essential Ingredients:
- Color Street or similar nail polish strips
- Alcohol prep pad
- Nail file
How to Prepare:
1. Clean nails with alcohol. 2. Peel the strip. 3. Apply to nail. 4. Stretch gently for a snug fit. 5. File off the excess. 6. Smooth down the edges. Done in six minutes!
Budget Range
- Color Street Solid Strips – $11.00
- Glass Nail File – $6.00
- Prepping Alcohol Pads – $3.00
Get nails colorful with 8 viral techniques
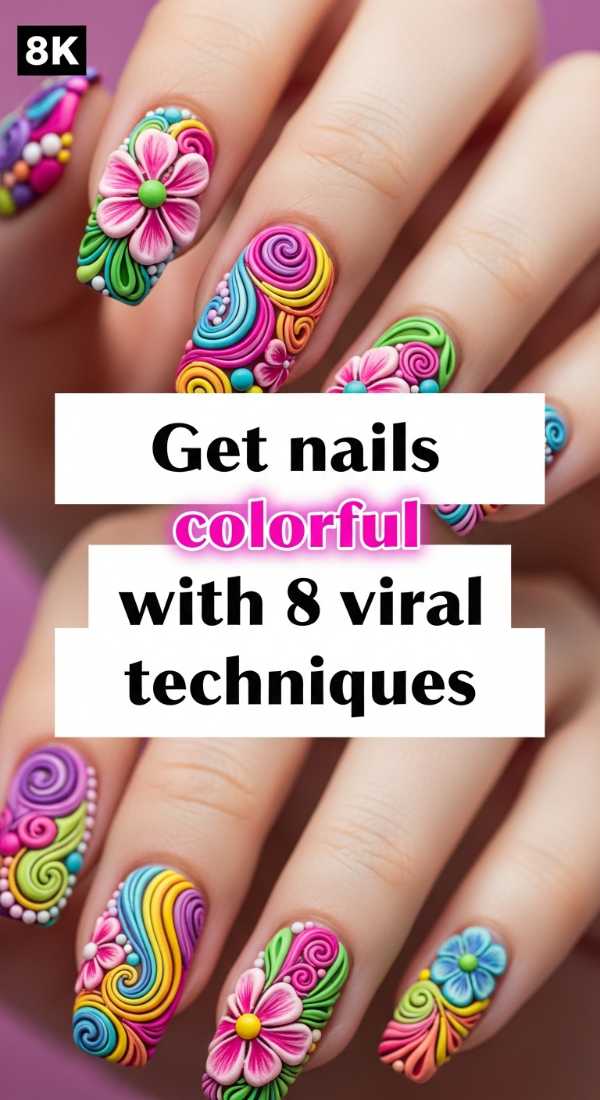
Why to love this recipe:
Stay ahead of the curve! These techniques are what all the ‘it-girls’ are wearing on social media. It’s like a masterclass in modern nail art.
Essential Ingredients:
- Chrome powder
- Magnetic velvet wand
- Cat-eye polish
- Transfer foil
How to Prepare:
1. Use the ‘Velvet’ technique with a magnet. 2. Apply ‘Chrome’ over black for a mirror finish. 3. Try the ‘Tortoise Shell’ layering. 4. Do ‘Water Marble’ swirls. 5. Apply ‘Transfer Foils’. 6. Create ‘Aura’ centers with pigment. 7. Use ‘3D Sweater’ texture gel. 8. Finish with ‘Sugar Glitter’ dusting.
Budget Range
- Artdone 6 Colors Chrome Powder – $9.99
- Mizhse Cat Eye Gel Set – $14.00
- Nail Art Foil Glue Set – $7.00
Craft multicolor nails using 5 3D charms
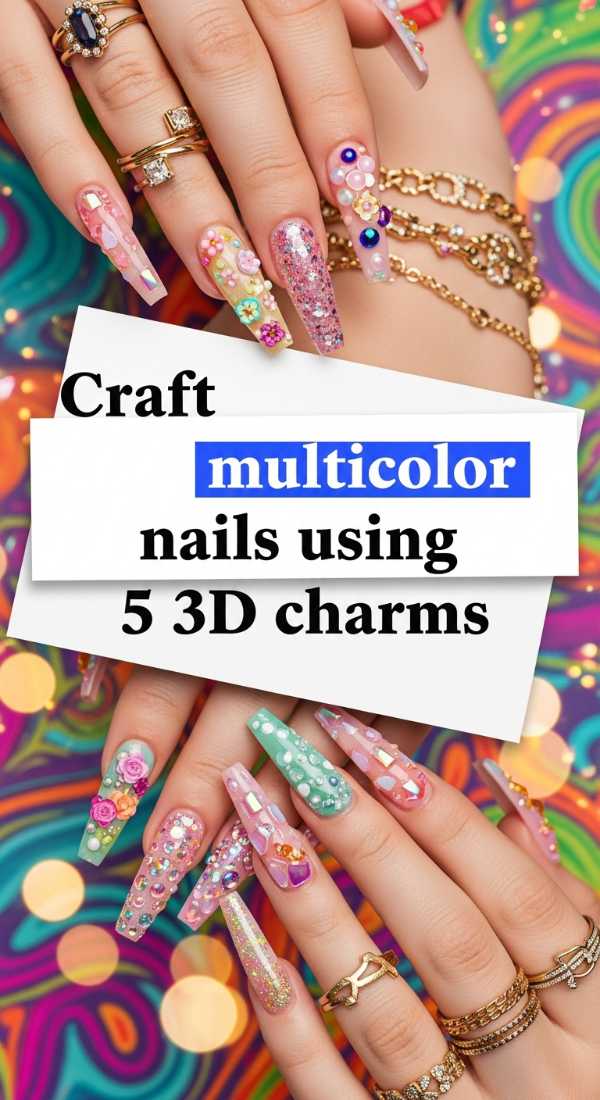
Why to love this recipe:
Limiting yourself to five specific charms per hand creates a ‘theme.’ It feels like a story being told across your fingers—sweet, cohesive, and intentional.
Essential Ingredients:
- Kawaii gummy bear charms
- Pearl half-spheres
- Miniature resin flowers
- Small metal chains
- Acrylic butterflies
How to Prepare:
1. Center the butterfly on the middle finger. 2. Place the gummy bear on the thumb. 3. Frame the pinky with tiny pearls. 4. Anchor the index with a flower. 5. Drape a tiny chain on the ring finger.
Budget Range
- Kawaii Charms Variety Pack – $10.00
- Flatback Pearl Box – $5.99
- Mini Metal Nail Chains – $6.50
Replicate colorful stiletto nails in 9 layers
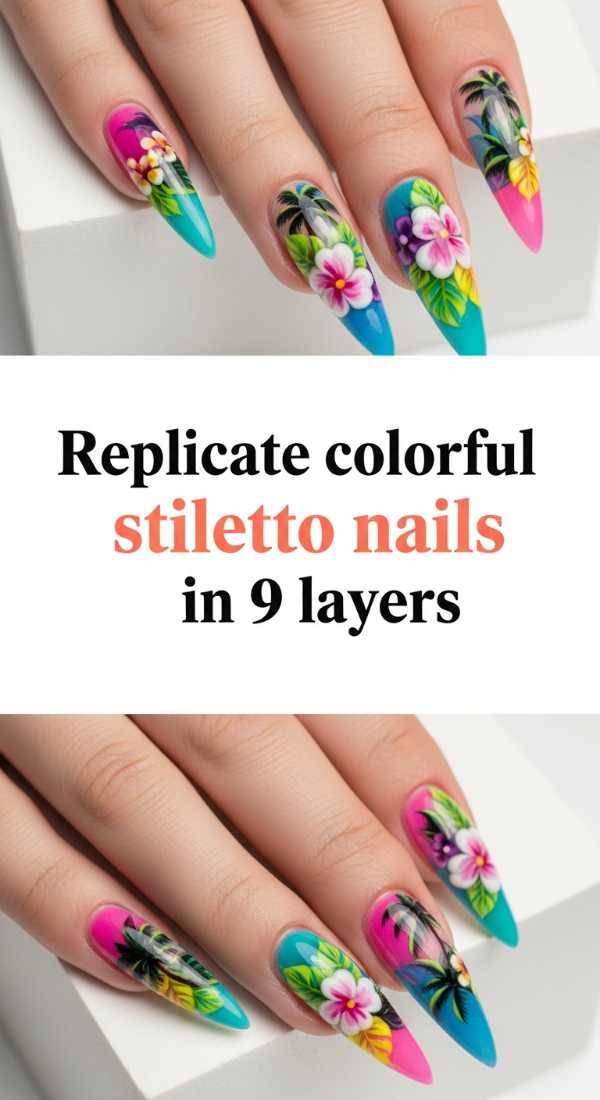
Why to love this recipe:
Stiletto nails offer so much ‘real estate’ for art. Layering ensures the design has incredible physical and visual depth, making them look like professional salon extensions.
Essential Ingredients:
- Extra long stiletto tips
- Clear polygel
- Encapsulated glitter
- Inhibitor solution
How to Prepare:
1. Apply tip. 2. Base layer. 3. Color coat. 4. Thin layer of glitter. 5. First set of small charms. 6. Encapsulate with clear polygel. 7. File and shape. 8. Add top-layer 3D accents. 9. Final high-gloss seal.
Budget Range
- ECBASKET Stiletto Tips – $9.99
- Gershion Poly Nail Gel – $12.00
- Holographic Chunky Glitter – $7.00
Embrace the Color, My Loves
Creating these 3D junk nails is more than just a manicure; it’s an act of self-love. It’s taking the time to sit with yourself, play with colors, and build something beautiful from scratch. Every time you see your hands today, I hope you feel a spark of that creative fire we shared here. Don’t be afraid to be ‘too much’—because the world needs your specific kind of vibrant magic. Go forth and sparkle!