
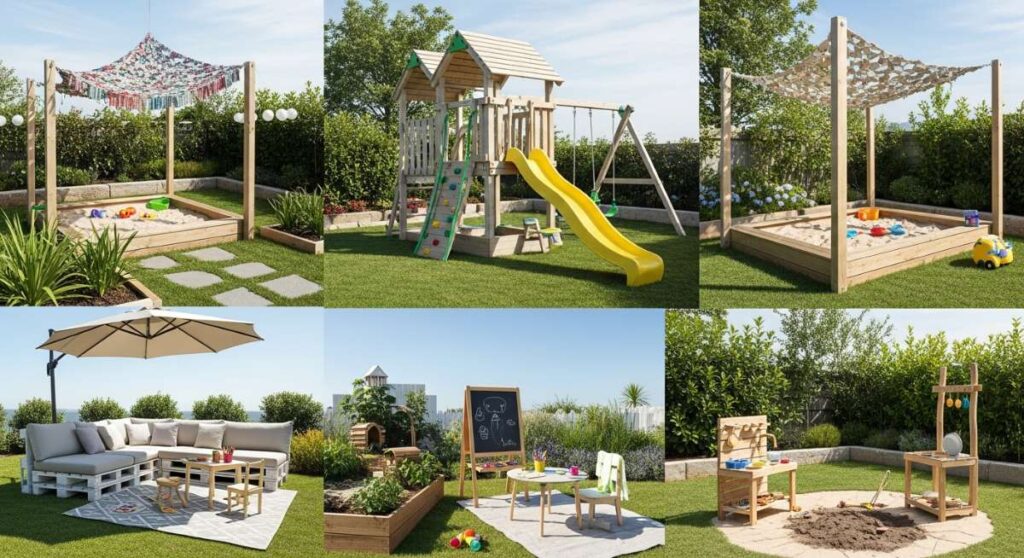
7 Weekend Projects to Build the Perfect Outdoor Kid Space
Oh, my loves, there is something truly magical about these golden, sun-drenched afternoons when the only soundtrack is the sound of little giggles echoing across the grass. As a mama who cherishes those slow, intentional moments, I’ve realized that our backyards are more than just patches of green—they are the canvases where our children’s wildest dreams take flight. Whether it’s a secret corner for quiet whispers or a muddy station for ‘gourmet’ dirt pies, creating a space for them is like weaving a soft, warm embrace around their childhood memories.
I know how overwhelming the idea of a ‘DIY playground’ can feel, but I promise you, we are keeping things gentle and achievable this weekend. We don’t need a construction crew; we just need a bit of heart, a few simple materials, and the desire to see our little ones bloom in the fresh air. Let’s dive into these seven soulful projects that will transform your outdoor space into a sanctuary of play and wonder.
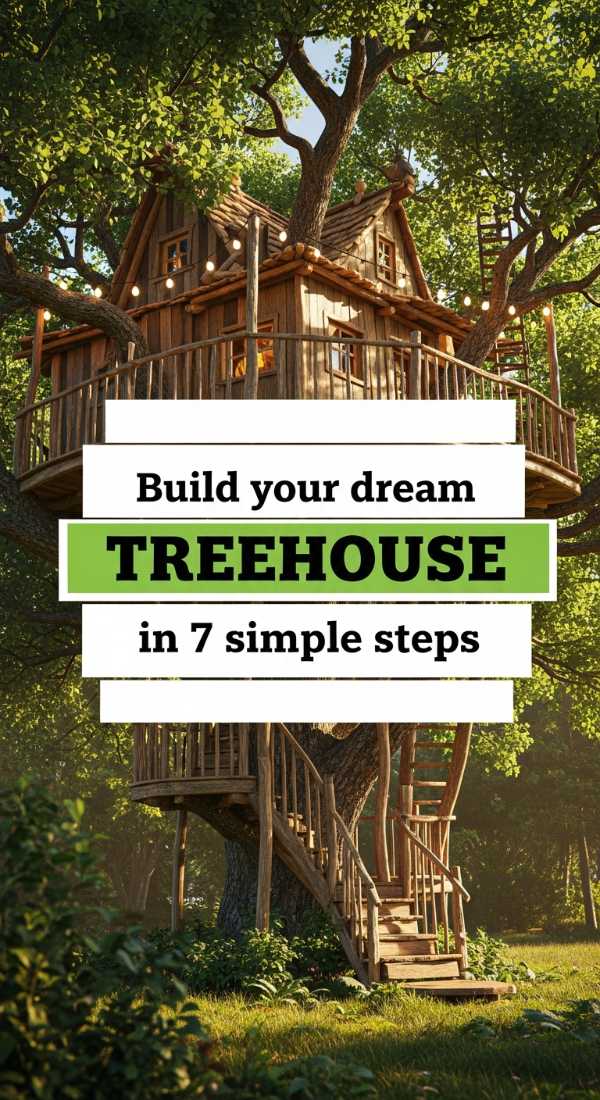
Build your dream treehouse in 7 simple steps
Why to love this Decor:
A treehouse is the ultimate childhood sanctuary, a place where the floor is high above the worries of the world and the ceiling is made of rustling leaves. It fosters independence and provides a magical vantage point for their little imaginations to soar while staying nestled in nature’s arms.
Items needed:
- Pressure-treated lumber (for the base and frame)
- Heavy-duty deck screws
- Galvanized lag bolts
- Plywood sheets for flooring
- Safety railing slats
- A sturdy wooden ladder
- Weatherproof roof sealant or shingles
How to Prepare:
- Select a healthy, mature hardwood tree with thick branches to serve as your anchor.
- Build a support frame on the ground, ensuring it is a manageable size for your specific tree.
- Hoist and secure the main support beams to the tree using lag bolts (leave room for growth!).
- Lay down the plywood flooring and secure it firmly to the frame.
- Construct the four wall frames with safety in mind, keeping them open and airy.
- Install a simple slanted roof to keep the interior dry during summer rain showers.
- Attach the ladder and add a safety gate at the entrance for peace of mind.
Budget Range
- Lumber & Decking: $200 – $450
- Heavy Duty Hardware: $50 – $100
- Safety Railings & Ladder: $70 – $120
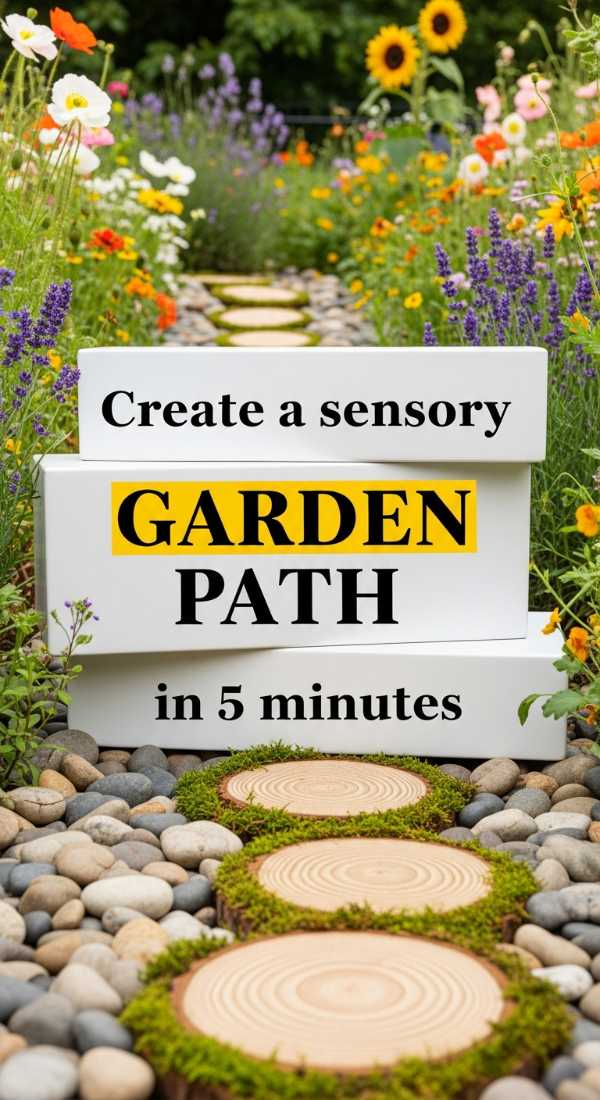
Create a sensory garden path in 5 minutes
Why to love this Decor:
There is nothing quite like watching a child discover the world through touch. This sensory path is a soft, grounding experience that invites them to slow down, feel the textures of the earth beneath their toes, and connect with the natural world in a beautiful, tactile way.
Items needed:
- Smooth river stones
- Bagged play sand
- Soft moss patches or ‘Lamb’s Ear’ plants
- Bark mulch
- Stepping stones
How to Prepare:
- Identify a small, unused strip of the yard or a border along a flower bed.
- Clear the grass and lay down a thin layer of sand to level the area.
- Section off the path into ‘texture zones’ using small logs or bricks.
- Fill each zone with a different material: smooth stones, soft moss, and crunchy mulch.
- Place a few decorative stepping stones in between to guide their little feet.
Budget Range
- River Stones & Mulch: $30 – $60
- Sensory Plants (Lamb’s Ear): $15 – $25
- Stepping Stones: $20 – $40
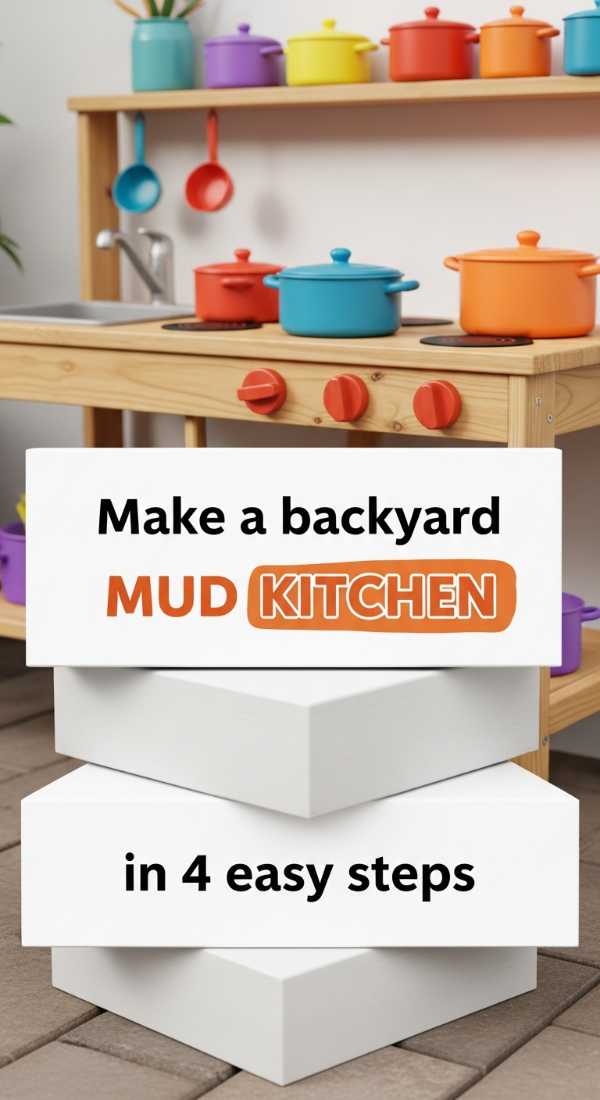
Make a backyard mud kitchen in 4 easy steps
Why to love this Decor:
Oh, the joy of a mud pie! A mud kitchen is a space of pure, unbridled creativity where ‘messy’ is a badge of honor. It’s a wonderful way to encourage sensory play and fine motor skills while letting them explore the ‘delicious’ possibilities of dirt, water, and petals.
Items needed:
- Two wooden pallets or an old potting bench
- Stainless steel mixing bowls (to act as sinks)
- Outdoor-safe hooks
- Old whisks, spoons, and pots
- A chalkboard for the ‘daily menu’
How to Prepare:
- Sand down your pallets to ensure there are no splinters for tiny hands.
- Stack and secure the pallets to create a ‘countertop’ height that fits your child.
- Cut circular holes in the top pallet to drop in your stainless steel bowls.
- Screw in hooks on the sides to hang utensils and mount the chalkboard for their recipes.
Budget Range
- Recycled Pallets: $0 – $20
- Stainless Steel Bowls/Utensils: $15 – $30
- Hardware & Sandpaper: $10 – $20
Build a DIY tire swing playground in 6 steps
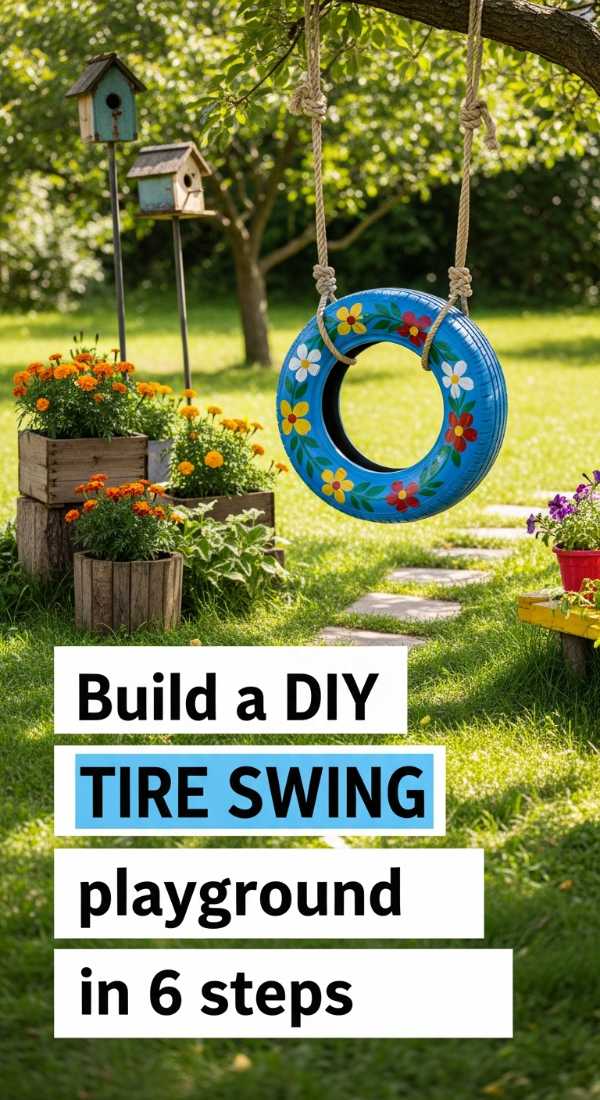
Why to love this Decor:
The gentle sway of a tire swing is the heartbeat of a nostalgic backyard. It’s a classic for a reason—it’s sturdy, whimsical, and provides that perfect ‘weightless’ feeling that makes every afternoon feel like a dream. Plus, it’s a beautiful way to upcycle!
Items needed:
- One clean, recycled tire
- Heavy-duty nylon or Manila rope
- A large carabiner or quick link
- A drill with a large bit (for drainage)
- U-bolts or a tire swing swivel
How to Prepare:
- Thoroughly scrub the tire with soapy water and let it dry completely in the sun.
- Drill 3-4 small holes in the bottom of the tire to prevent water from pooling inside.
- Select a thick, healthy horizontal branch at least 10 feet off the ground.
- Loop your rope over the branch, using a protective sleeve to prevent bark damage.
- Secure the rope to the tire using three points of contact (for a horizontal swing) or one (for vertical).
- Test the weight capacity yourself before letting the little ones take their first flight.
Budget Range
- Recycled Tire: $0 – $15
- High-Strength Rope: $20 – $40
- Swivel & Hardware: $15 – $30
Design a natural backyard obstacle course in 5 steps
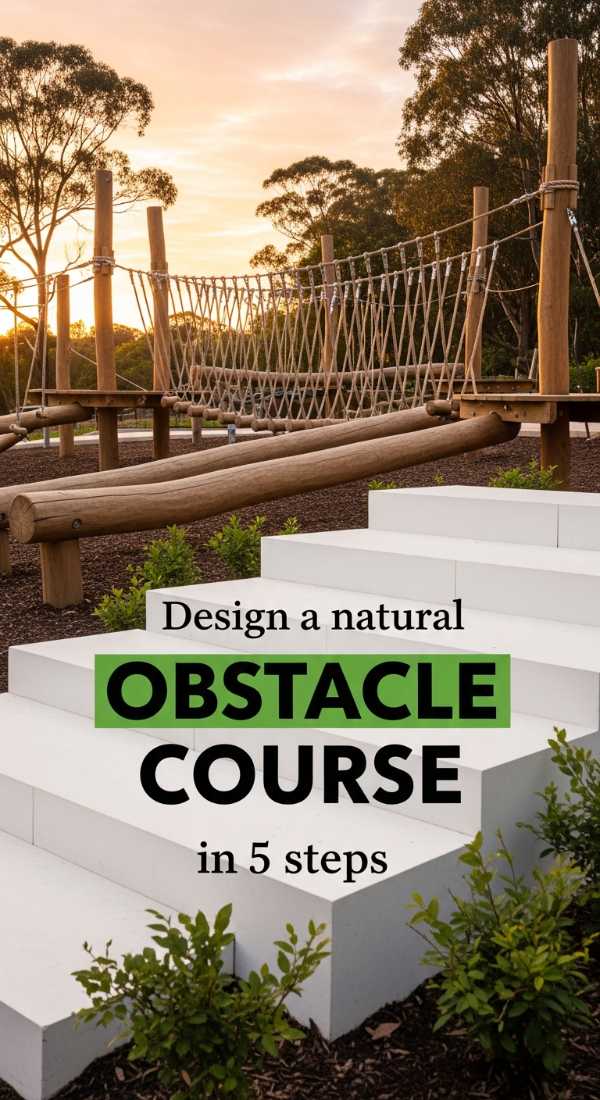
Why to love this Decor:
For the little adventurers who have energy to burn, a natural obstacle course is a godsend. It turns the backyard into an arena of triumph, building confidence and physical strength through logs, balance beams, and soft landings. It’s play with a purpose, wrapped in sunshine.
Items needed:
- Large landscaping logs or tree stumps
- A long 4×4 wooden beam (for a balance beam)
- Old tires or hula hoops
- Playground mulch or wood chips (for safety)
- Hemp rope
How to Prepare:
- Sketch a simple loop or zigzag path through your yard.
- Set up ‘stump jumps’ by partially burying tree stumps at varying heights.
- Secure the 4×4 beam across two low stumps to create a sturdy balance beam.
- Lay out tires or hoops for ‘agility hops’ across the grass.
- Designate a ‘finish line’ with a simple rope arch or a colorful flag.
Budget Range
- Landscaping Logs/Stumps: $40 – $80
- 4×4 Timber Beam: $15 – $25
- Playground Mulch: $50 – $100
Create a magical garden reading nook in 4 steps
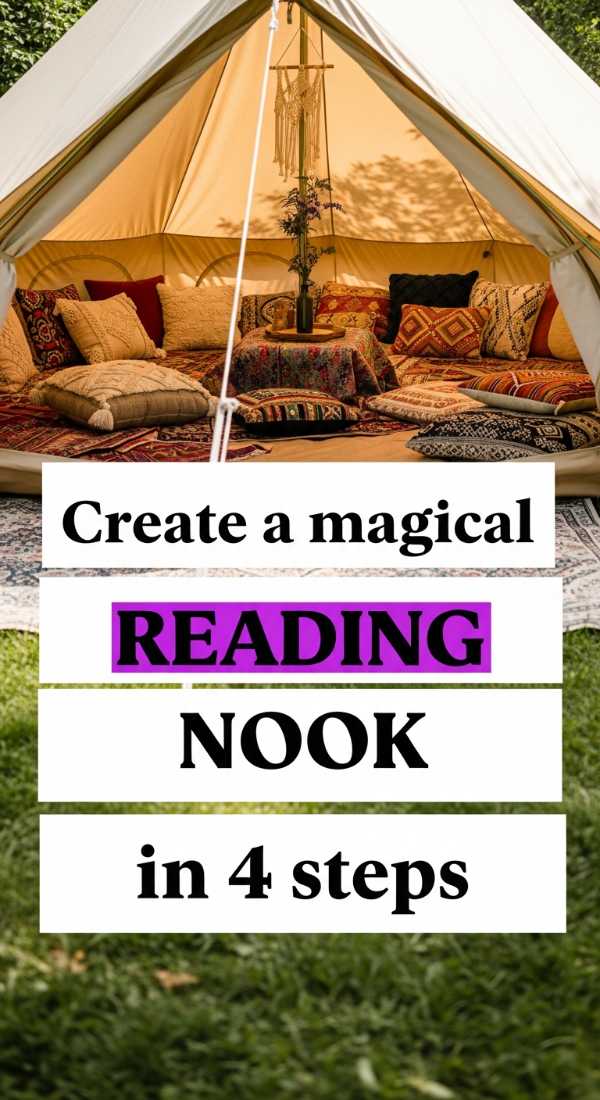
Why to love this Decor:
Every child needs a quiet corner to disappear into a story. This magical nook is a soft, hushed space draped in fabric and light, where the rustle of pages competes only with the chirping of birds. It’s a sanctuary for the little dreamers and bookworms in your life.
Items needed:
- A hula hoop or a wooden frame
- Sheer outdoor-friendly fabric or canvas
- Outdoor floor cushions
- Battery-operated fairy lights
- A small weather-resistant crate for books
How to Prepare:
- Drape your fabric over the hula hoop and secure it with twine to create a canopy.
- Suspend the canopy from a low tree branch or a porch hook.
- Layer the ground underneath with plush outdoor cushions and a soft rug.
- Weave fairy lights through the top for a glowy, ethereal vibe as the sun sets.
Budget Range
- Canvas/Fabric: $20 – $45
- Outdoor Cushions: $30 – $70
- Fairy Lights & Twine: $10 – $20
Build a deluxe backyard sandpit in 5 easy steps
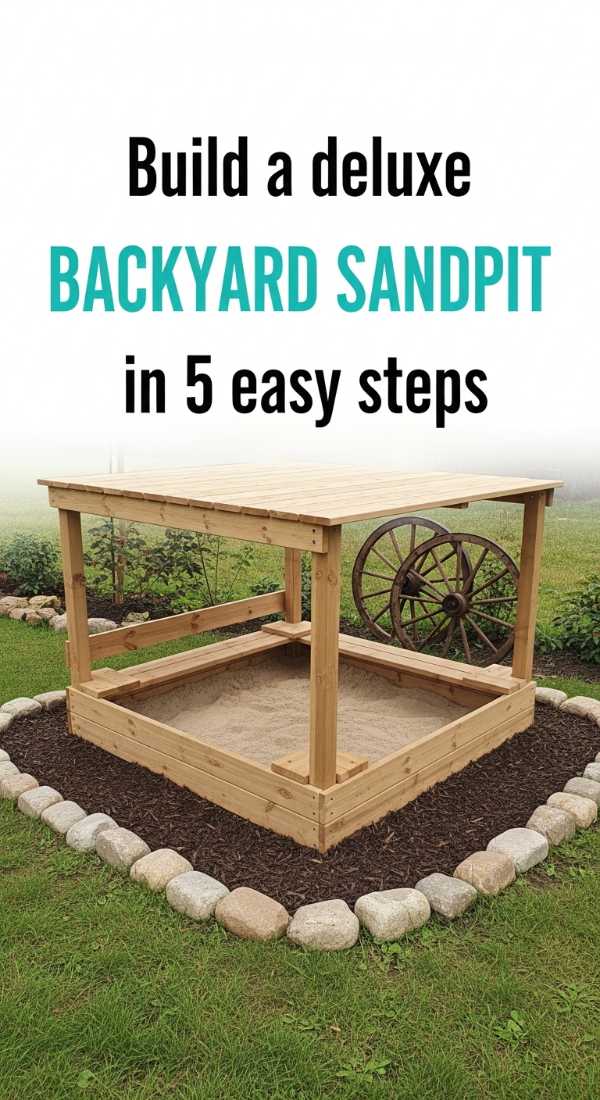
Why to love this Decor:
A sandpit is the ultimate destination for focused, meditative play. There’s something so grounding about running sand through your fingers, and a dedicated, deluxe pit keeps the mess contained while offering hours of ‘beach day’ magic right at home.
Items needed:
- Cedar or pressure-treated boards
- Landscape fabric (weed barrier)
- Exterior-grade wood screws
- Filtered play sand
- A fitted tarp or wooden lid
How to Prepare:
- Clear a level area and dig down about 2-4 inches to create a base.
- Lay down landscape fabric to prevent weeds while allowing for drainage.
- Assemble the wooden frame using the boards and secure the corners with screws.
- Pour in the play sand, smoothing it out to fill the frame evenly.
- Add a lid or a heavy-duty tarp to keep the sand clean and dry when not in use.
Budget Range
- Cedar Boards: $60 – $120
- Play Sand (multiple bags): $40 – $80
- Landscape Fabric & Cover: $20 – $40
Conclusion
Building these spaces isn’t just about the wood, the sand, or the swings; it’s about creating an environment where our children feel seen, inspired, and free. When we take the time to craft these little corners of wonder, we’re telling them that their play matters and that our home is a place where magic is always welcome. I hope these projects bring a new layer of warmth and joy to your family weekends. Happy building, my loves!