
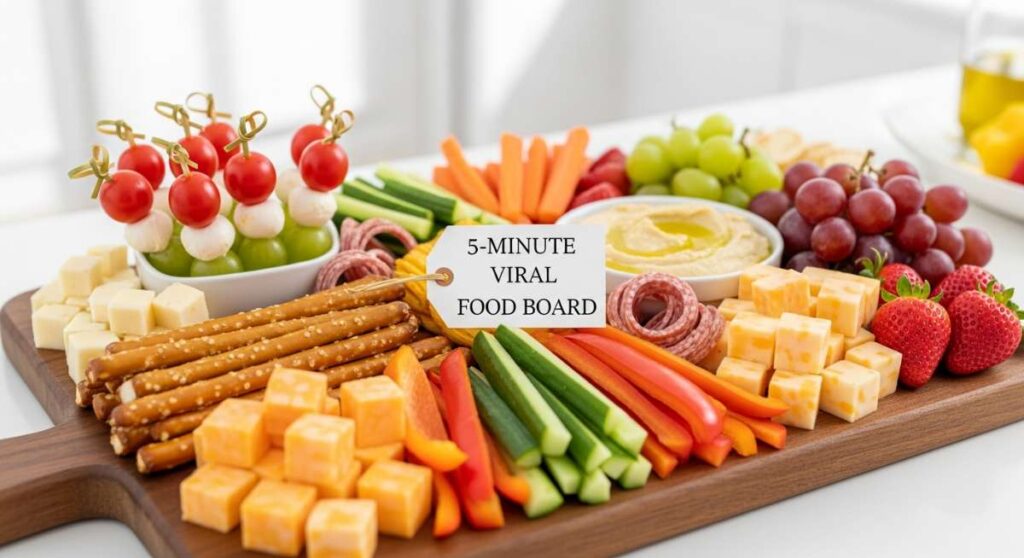
We’ve all been there—the guests are arriving in twenty minutes, the house is buzzing with laughter, and you realize you haven’t quite finished the spread. There is something so magical about a beautifully curated food board; it’s the ultimate way to bring people together without the stress of a formal three-course meal. In my kitchen, boards have become my secret weapon for every celebration, from graduation parties to quiet Sunday brunches, because they invite everyone to graze, chat, and linger just a little bit longer.
Whether you are celebrating a major milestone or just looking to elevate your weeknight dinner, these viral simple food boards are designed to be assembled in just five minutes using high-quality ingredients and a little bit of creative flair. I’m sharing my favorite ways to turn classic desserts and savory favorites into visual masterpieces that will have your friends reaching for their phones to snap a photo before the first bite. Let’s dive into these effortless, soul-warming spreads that prove hosting can be just as relaxing as it is beautiful.
How to build the ultimate graduation sheet cake board?

Why we love this
There is nothing quite like the smell of a freshly baked vanilla bean sheet cake wafting through the house to signify a job well done. We love this board because it takes the classic, comforting texture of a moist sponge and transforms it into a communal experience where every guest can pick their favorite corner piece. The sight of velvety buttercream, topped with delicate edible gold flakes and colorful tassels, creates an atmosphere of pure celebration. Each bite offers a cloud-like softness that melts on the tongue, balanced perfectly by the sweet, creamy richness of the frosting.
Ingredients
- 1 Large pre-baked vanilla sheet cake
- 2 Cups of whipped vanilla buttercream frosting
- Miniature chocolate graduation caps
- Fresh strawberries and blueberries
- Edible gold leaf or gold sprinkles
- Fresh mint leaves for garnish
How to make it
- Begin by placing your chilled sheet cake on a large, clean wooden board. Using a sharp, warm knife, slice the cake into uniform 2-inch squares, ensuring you wipe the blade between every cut for clean edges.
- Space the cake squares slightly apart on the board to allow room for the garnishes. This creates a more abundant, professional look than a single solid block.
- Pipe a small, elegant swirl of extra buttercream onto the center of each square using a star tip. This acts as the “glue” for your decorations.
- Place a miniature chocolate cap or a fresh berry on top of each swirl. Carefully apply tiny fragments of edible gold leaf using tweezers for a touch of luxury.
- Fill the gaps between the cake squares with clusters of fresh berries and mint leaves. This provides a vibrant color contrast and a fresh aroma that balances the sweetness of the cake.
How to style a rustic rhubarb pie spread?

Why we love this
This board is a tribute to the transition of seasons, capturing the vibrant tartness of spring rhubarb wrapped in a flaky, golden-brown crust. We love the way the aroma of cinnamon and warm sugar fills the room as the pie sits at the center of the board, inviting everyone to dig in. The texture play is incredible—the crisp, buttery layers of the pastry shattering against the jammy, slightly acidic filling. It’s a nostalgic experience that feels like a warm hug, perfectly paired with a dollop of cold, whipped cream that slowly melts into the warm fruit.
Ingredients
- 1 Large rustic rhubarb pie (homemade or high-quality bakery)
- 1 Jar of honeyed mascarpone or thick clotted cream
- Handful of toasted walnut halves
- Fresh rhubarb stalks (for decoration)
- Dusting of powdered sugar
How to make it
- Center the warm rhubarb pie on a slate or dark wood board to make the red hues of the fruit pop. If the pie is in a tin, carefully slide it out to showcase the side crust.
- Place a small artisanal bowl filled with honeyed mascarpone or clotted cream directly next to the pie. This encourages guests to help themselves to a generous dollop.
- Scatter toasted walnut halves around the perimeter of the pie. The earthiness of the nuts complements the tartness of the rhubarb beautifully.
- Thinly slice raw rhubarb stalks on a sharp diagonal and scatter them around the board for a pop of bright pink and an architectural element.
- Finish with a light dusting of powdered sugar over the entire board to create a cohesive, finished look that mimics a light spring frost.
How to craft a graduation cupcake tower board?
Why we love this
Cupcakes are the ultimate party food because they are perfectly portioned and infinitely customizable. We love this board because it turns simple handheld treats into a grand, vertical centerpiece that screams “success.” The sight of swirling frosting peaks decorated with tiny diploma scrolls creates a sense of whimsy and pride. The texture is a delightful mix of fluffy cake and smooth, rich frosting that provides an instant hit of sugar-coated joy, making it the perfect celebratory snack for graduates and their families alike.
Ingredients
- 12-18 Assorted cupcakes (chocolate, vanilla, and red velvet)
- White fondant for making mini diplomas
- Small black ribbons
- Assorted candies in school colors
- Sparkling cider or champagne truffles
How to make it
- Select a multi-tiered board or a large flat tray. If using a flat tray, arrange the cupcakes in a circular pattern, starting from the center and working outwards to create a “flower” effect.
- Roll out small pieces of white fondant into thin rectangles, roll them up to look like diplomas, and tie each with a tiny black ribbon. Place one on top of every other cupcake.
- Group the cupcakes by flavor to create visual zones on the board. This helps guests with dietary preferences identify their choices quickly.
- Tuck champagne truffles or high-end chocolates into the small spaces between the cupcake liners to add depth and variety to the board.
- Sprinkle candies in the graduate’s school colors across the entire board to tie the theme together and add a playful, festive touch.
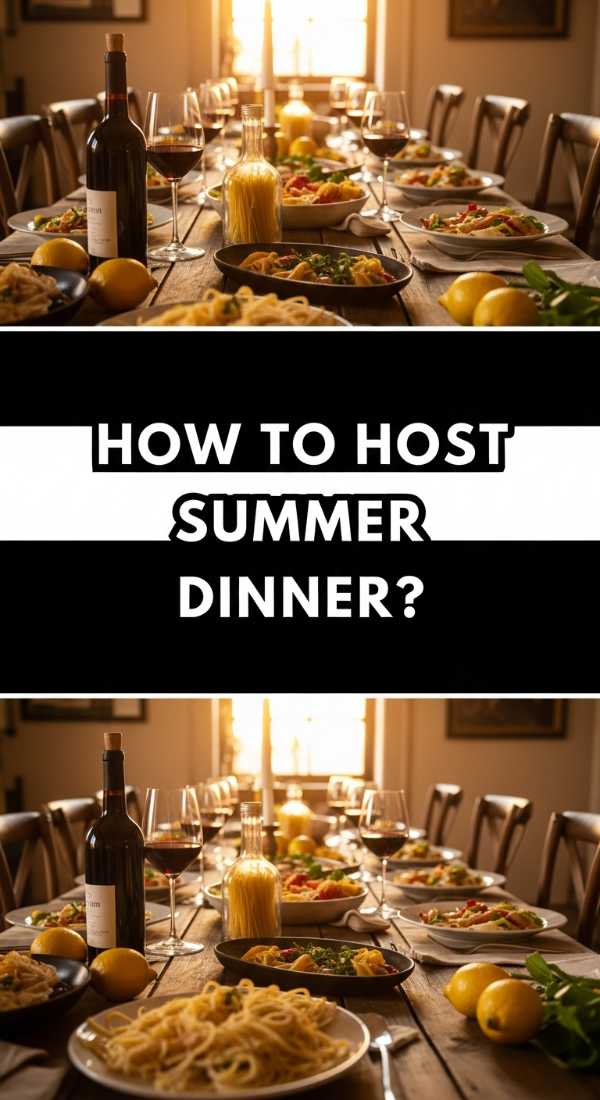
How to host an effortless Italian dinner party board?
Why we love this
There is an inherent warmth in Italian dining that encourages long conversations and shared plates. We love this board because it simplifies the complexity of an Italian feast into an accessible, gorgeous display of cured meats, aged cheeses, and sun-drenched flavors. The aroma of fresh basil mingled with the salty tang of Prosciutto di Parma is absolutely intoxicating. Each bite is a journey through textures—from the creamy softness of a fresh burrata ball to the crunch of a crusty baguette dipped in emerald-green olive oil.
Ingredients
- Thinly sliced Prosciutto and Salami
- 1 Ball of fresh Burrata cheese
- Marinated artichoke hearts and olives
- Crusty ciabatta bread, sliced
- Balsamic glaze and extra virgin olive oil
- Fresh basil leaves and cherry tomatoes
How to make it
- Place the burrata ball in the center of a shallow bowl on your board. Use a knife to gently tear the top open, then drizzle with olive oil and a pinch of flaky sea salt.
- Artfully fold the prosciutto slices into “ribbons” and nestle them in a curving line across the board. This adds height and makes the meat easy to pick up.
- Arrange small mounds of marinated artichokes and olives in different corners to balance the rich flavors of the meat and cheese.
- Toast the ciabatta slices until the edges are just starting to brown (about 3-4 minutes under a broiler). Stack them near the burrata for easy scooping.
- Garnish the entire board with fresh basil leaves and halved cherry tomatoes to provide a vibrant, garden-fresh finish that cuts through the saltiness.
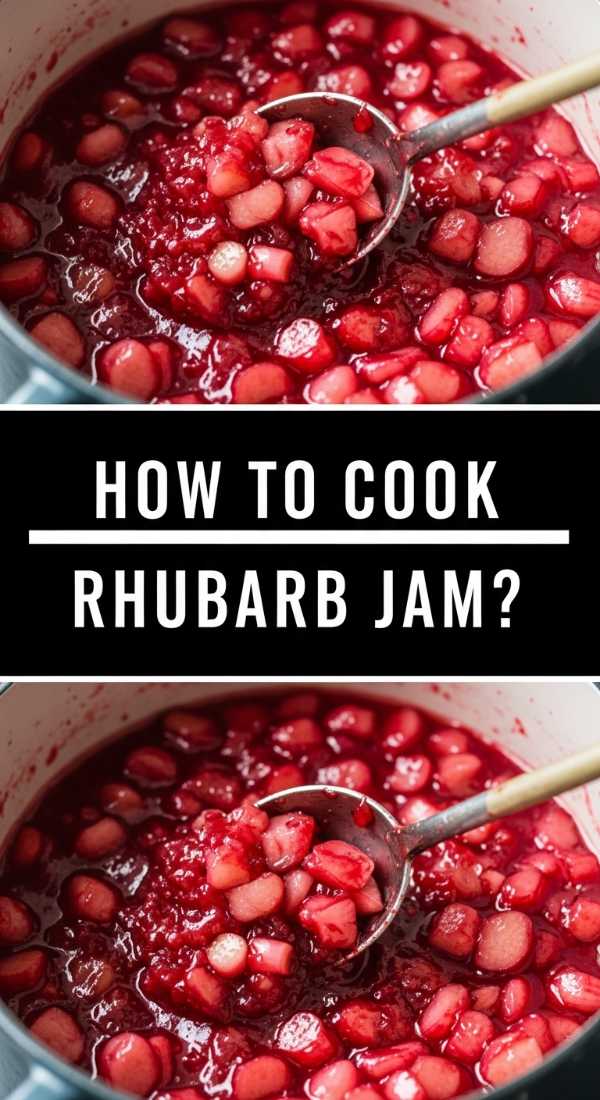
How to pair a sweet rhubarb jam & cheese board?
Why we love this
The combination of sweet and savory is a timeless culinary delight, and this board takes that concept to a new level of sophistication. We love the way the deep ruby-red rhubarb jam glows against the pale, creamy hues of artisanal cheeses. The jam brings a bright, tangy sweetness that cuts through the buttery fat of a double-cream brie or the sharp bite of an aged cheddar. It’s a sensory experience that feels incredibly upscale, yet it’s remarkably simple to assemble for an afternoon gathering or a quiet night in.
Ingredients
- 1 Small jar of homemade or artisanal rhubarb jam
- Aged Cheddar and Double-Cream Brie
- Raincoast crisps or multi-seed crackers
- Fresh honeycomb or a drizzle of honey
- Dried apricots and almonds
How to make it
- Place the brie and cheddar at opposite ends of the board. Slice a few pieces of the cheddar in advance to show off the interior texture and make it more inviting.
- Spoon the rhubarb jam into a small ceramic ramekin and place it right next to the brie. This visual pairing signals to guests that these two are meant to be enjoyed together.
- Arrange the crackers in a flowing “river” that connects the two cheese zones. Ensure the crackers are sturdy enough to support both a slice of cheese and a dollop of jam.
- Add a small piece of honeycomb to the board for an extra layer of sweetness and a beautiful, crystalline texture.
- Fill any remaining gaps with dried apricots and almonds to add a chewy and crunchy element, making the board feel abundant and well-rounded.
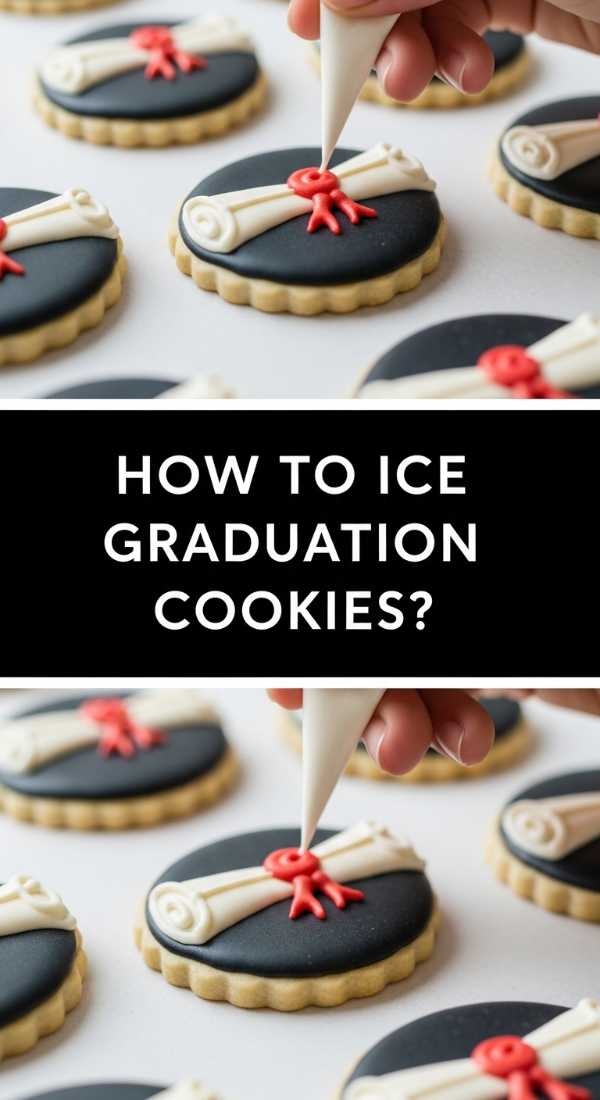
How to assemble a personalized graduation cookie board?
Why we love this
Cookies are the ultimate canvas for creativity, and a dedicated cookie board is a guaranteed crowd-pleaser. We love this board for its nostalgia—the sound of a crisp shortbread snapping and the sweet, buttery flavor that lingers on the palate. By personalizing the cookies with the graduate’s initials or the year, you transform a simple snack into a meaningful tribute. The variety of shapes, from classic rounds to miniature diplomas, creates a visual feast that is almost too pretty to eat, though no one ever resists for long.
Ingredients
- Assorted shortbread and sugar cookies
- Royal icing in various colors
- Edible markers for personalization
- White chocolate-covered pretzels
- Macarons in complementary colors
How to make it
- If the cookies aren’t already decorated, use royal icing to pipe simple borders or the graduation year onto the center of your sugar cookies. Let them dry completely before arranging.
- Start with the largest cookies in the center of the board and work your way out with smaller treats. This creates a natural focal point for the graduate’s name or year.
- Mix in white chocolate-covered pretzels for a salty contrast. Their irregular shapes add a nice visual break from the round and square cookies.
- Tuck colorful macarons into the crevices to add a pop of sophisticated color and a different, chewy texture to the board.
- Use an edible marker to write small “congrats” messages on any plain shortbread cookies for an extra layer of personalized charm.
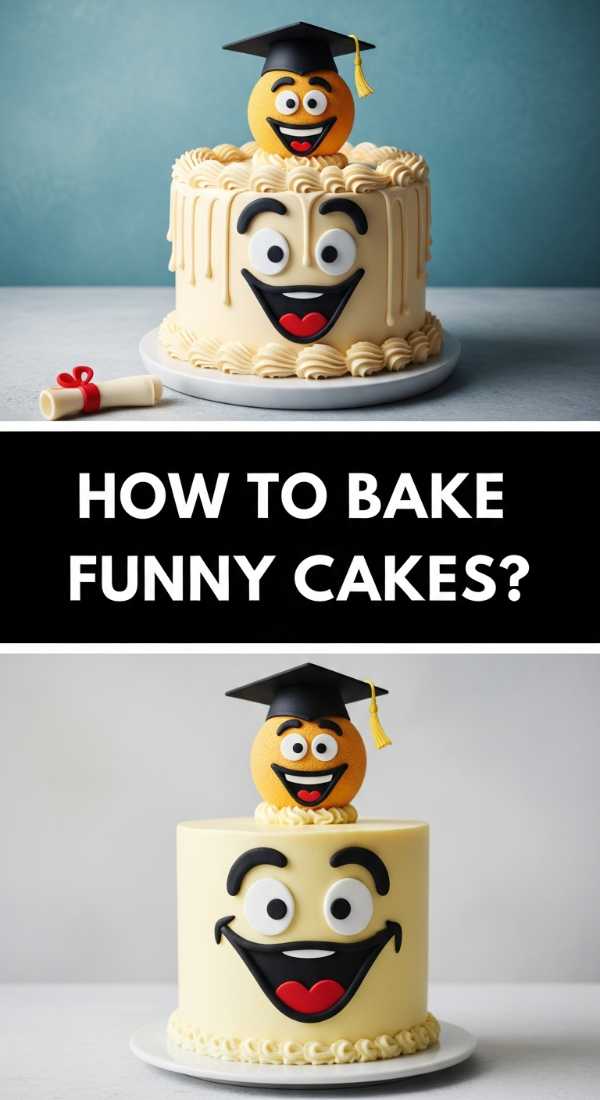
How to make a hilarious “congrats” cake board?
Why we love this
Sometimes, the best way to celebrate a major achievement is with a side of humor. We love this board because it doesn’t take itself too seriously, using a “funny” cake as the centerpiece to break the ice and get everyone laughing. The aroma of sweet chocolate and the sight of bright, slightly chaotic sprinkles create an instant party atmosphere. It’s about the joy of the moment, the inside jokes, and the relief of finally being finished with school, all captured in a delicious, sugar-coated package.
Ingredients
- 1 Small round cake with a funny message (e.g., “You’re finally someone else’s problem”)
- Gummy worms and sour candies
- Brightly colored confetti sprinkles
- Miniature “emergency” chocolate bars
- Sparkling fruit punch on the side
How to make it
- Place the cake slightly off-center to give yourself more room to play with the “chaotic” candy elements. The message on the cake should be the first thing guests see.
- Surround the base of the cake with a thick ring of gummy worms and sour candies. The bright, neon colors emphasize the fun and humorous theme.
- Scatter confetti sprinkles liberally across the entire board—don’t worry about being too neat; the “organized mess” look works perfectly here.
- Position the miniature chocolate bars around the edges as “fuel” for the next chapter of the graduate’s life.
- Serve with a brightly colored fruit punch to match the vibrant energy of the board, ensuring the whole display feels cohesive and high-energy.
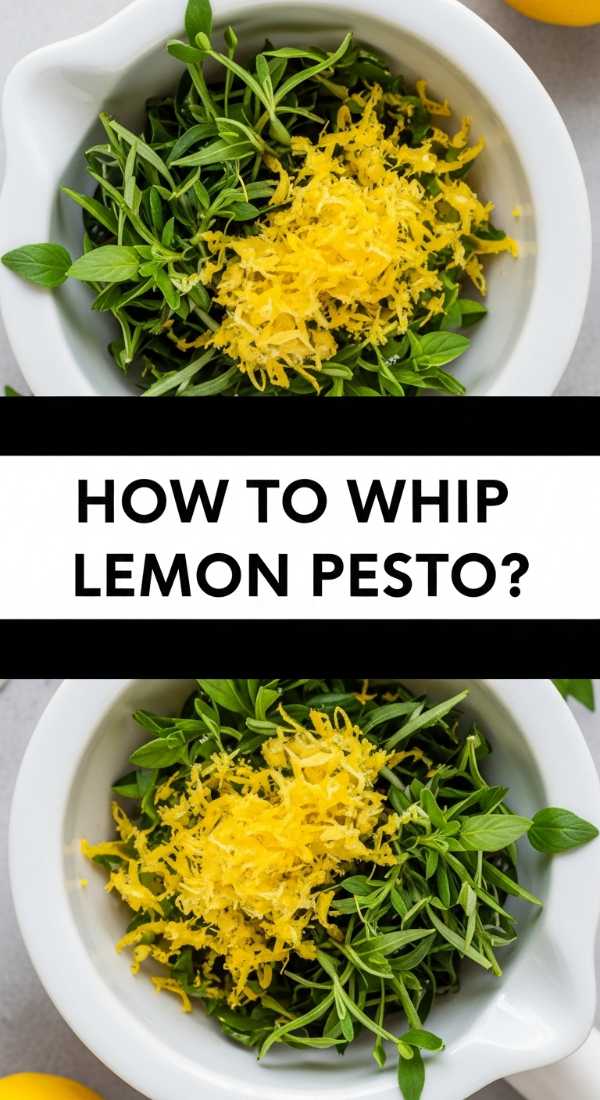
How to serve a zesty lemon pesto pasta board?
Why we love this
Pasta boards are the new viral sensation, and for good reason—they turn a solo meal into a shared experience. We love this version because the scent of fresh lemon zest and toasted pine nuts is incredibly uplifting. The bright, herbaceous green of the pesto against the golden pasta creates a stunning visual. The texture is all about that perfect al dente bite, coated in a silky, citrusy sauce that feels light yet deeply satisfying. It’s the ultimate way to enjoy a Mediterranean-inspired dinner with friends in a relaxed, communal setting.
Ingredients
- 1 lb. Fusilli or Campanelle pasta, cooked al dente
- 1 Cup of fresh basil pesto
- Zest and juice of two organic lemons
- Shaved Parmesan cheese
- Toasted pine nuts and red pepper flakes
How to make it
- Toss the warm pasta with the pesto and lemon juice in a large bowl before transferring it to a long, rectangular board or platter. Spreading it out allows it to stay warm and accessible.
- Use a microplane to zest the lemons directly over the pasta while it’s on the board. The fresh oils from the zest will be most fragrant right after grating.
- Shower the pasta with a generous amount of shaved Parmesan cheese. Use a vegetable peeler to get those wide, beautiful ribbons of cheese.
- Sprinkle toasted pine nuts over the top for a necessary crunch and red pepper flakes for a subtle, warming heat.
- Garnish with a few whole basil leaves and lemon wedges so guests can add an extra squeeze of citrus if they desire.
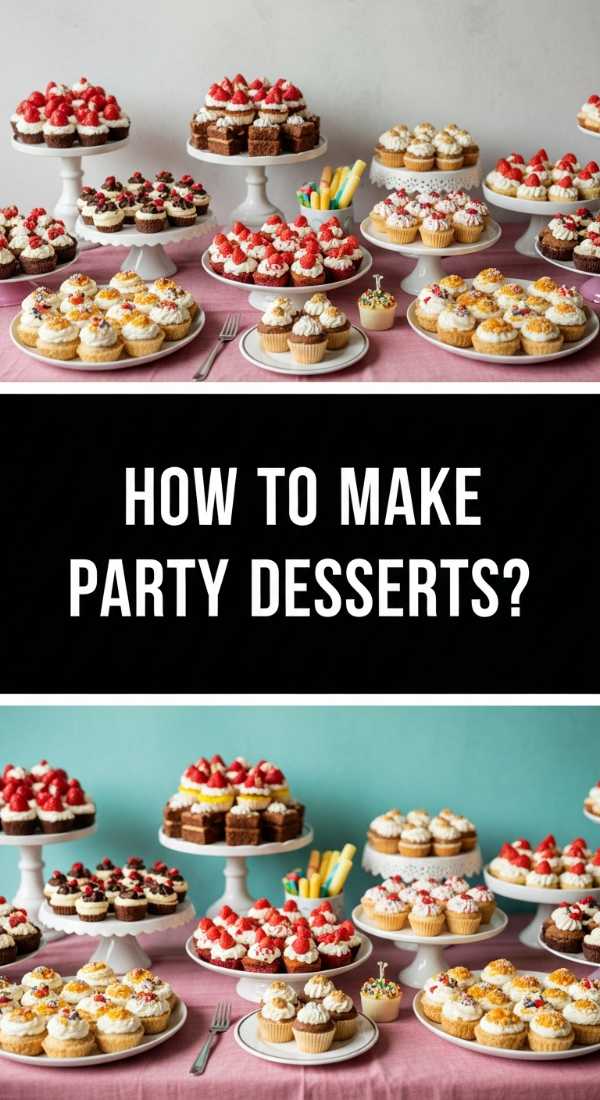
How to create the ultimate midnight party dessert board?
Why we love this
As the party winds down and the clock nears midnight, there is nothing more indulgent than a board filled with decadent treats. We love this spread because it combines the best of all worlds—dark chocolate, salty snacks, and sweet dips. The aroma of rich cocoa and the sight of shimmering sugar-coated fruits create an atmosphere of pure luxury. It’s the kind of board that makes guests linger for “just one more bite,” offering a mix of textures that satisfy every possible late-night craving, from crunchy pretzels to smooth, velvety chocolate ganache.
Ingredients
- Dark chocolate ganache or chocolate hazelnut spread
- Strawberries and banana slices
- Marshmallows and graham crackers
- Salted pretzels and popcorn
- Miniature brownies or fudge pieces
How to make it
- Place a bowl of warm chocolate ganache in the center of the board. This serves as the anchor for the entire spread.
- Create “dipping zones” by grouping the strawberries, marshmallows, and brownies around the chocolate bowl. This makes it easy for guests to navigate the board.
- Add a generous mound of salted popcorn and pretzels to the corners. The saltiness is essential for balancing the intense sweetness of the chocolate.
- Use graham crackers to build small “stations” where guests can assemble mini-s’mores if they like.
- Finish by scattering a few edible silver stars or glitter over the board to give it that “midnight magic” feel.
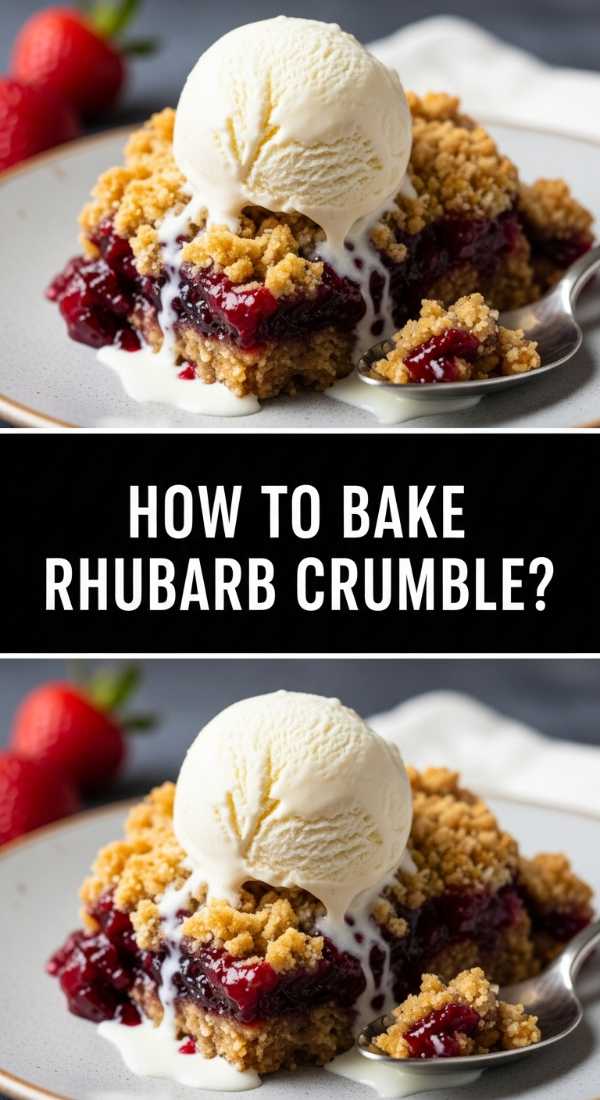
How to serve a warm rhubarb crumble family board?
[IMAGE_10]
Why we love this
This board is the definition of comfort food. We love the contrast between the bubbling, ruby-red rhubarb filling and the crunchy, golden-brown oat topping. The scent of cinnamon and nutmeg creates an instantly cozy environment, perfect for a family gathering. There is something so satisfying about the texture of the crumble—the way the buttery oats give way to the soft, jammy fruit underneath. Served directly on a board with small bowls of vanilla bean ice cream, it encourages everyone to dive in together and share in the simple joy of a home-cooked dessert.
Ingredients
- 1 Large baking dish of fresh rhubarb crumble
- Vanilla bean ice cream
- Fresh mint for garnish
- Small pitcher of warm salted caramel sauce
- Extra toasted oats for topping
How to make it
- Bake the crumble in a beautiful ceramic dish until the fruit is bubbling and the topping is deeply golden (usually 35-40 minutes at 375°F). Let it sit for 5 minutes before placing the dish on your wooden board.
- Place several small, pre-scooped bowls of vanilla ice cream around the baking dish on the board. Doing this in advance prevents the ice cream from melting too quickly.
- Set a small pitcher of warm salted caramel sauce next to the crumble, allowing guests to drizzle it over their individual portions.
- Sprinkle a few fresh mint leaves around the board to add a touch of green and a fresh scent that cuts through the richness of the butter and sugar.
- Keep a stack of small dessert plates and spoons at the end of the board to make serving easy and informal.
Conclusion
Creating a viral-worthy food board isn’t about being a professional chef; it’s about the love and care you put into the presentation. These ten ideas show that with just five minutes of assembly and a few high-quality ingredients, you can create a centerpiece that is both beautiful and delicious. Whether you’re celebrating a graduate or just enjoying a Sunday dinner, I hope these boards inspire you to bring people together around the table. Happy hosting!
FAQ Section
What is the best board to use for food displays?
Wooden boards are classic and warm, while marble or slate can keep cheeses and meats cooler for longer. Just ensure the surface is food-safe!
How can I keep the fruit from browning?
For fruits like apples or bananas, a quick toss in lemon juice will keep them looking fresh and vibrant for hours.
Can I prepare these boards in advance?
You can definitely prep individual components (slicing cheese, washing fruit) a few hours early, but I recommend doing the final assembly right before guests arrive to keep everything looking its best.