
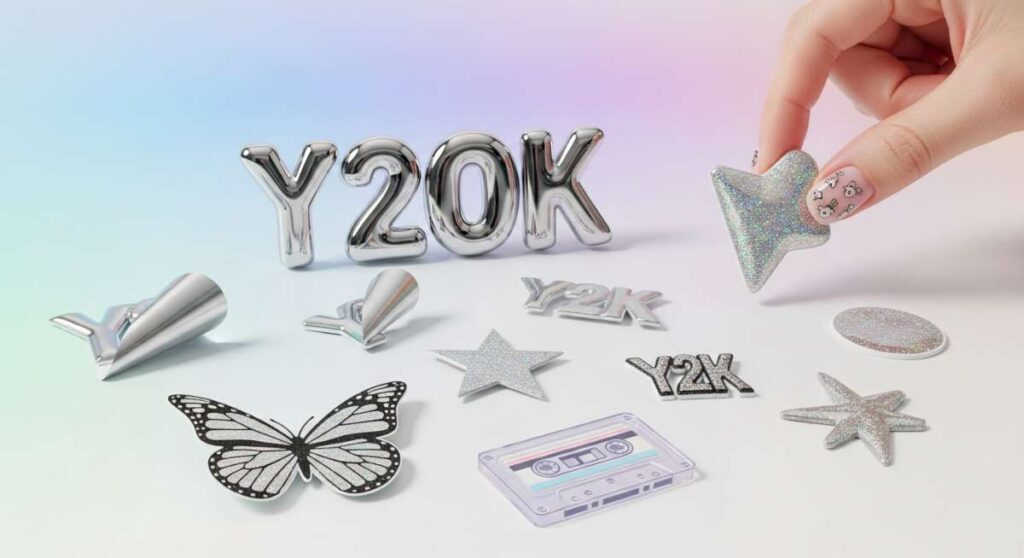
3D Texture Secrets: Crafting Hyper-Trendy Y2K Decals from Scratch
Hello my beautiful loves! Welcome back to our cozy little corner of the internet. Grab a warm cup of tea, wrap yourself in your favorite chunky knit cardigan, and let’s have a heart-to-heart about the magic we can create right at our fingertips. Lately, I’ve been feeling so inspired by how much a tiny bit of art on our nails can shift our entire mood, like a soft-cloud embrace that follows us through the day.
Today, we’re diving deep into the world of aesthetic nail art—from those hyper-trendy Y2K 3D textures to the most delicate, whisper-soft designs. Whether you’re a seasoned pro or just starting your DIY journey, I want this space to feel like a safe, creative playground for you. Let’s explore these ten gorgeous ways to express your unique light through the art of the manicure.
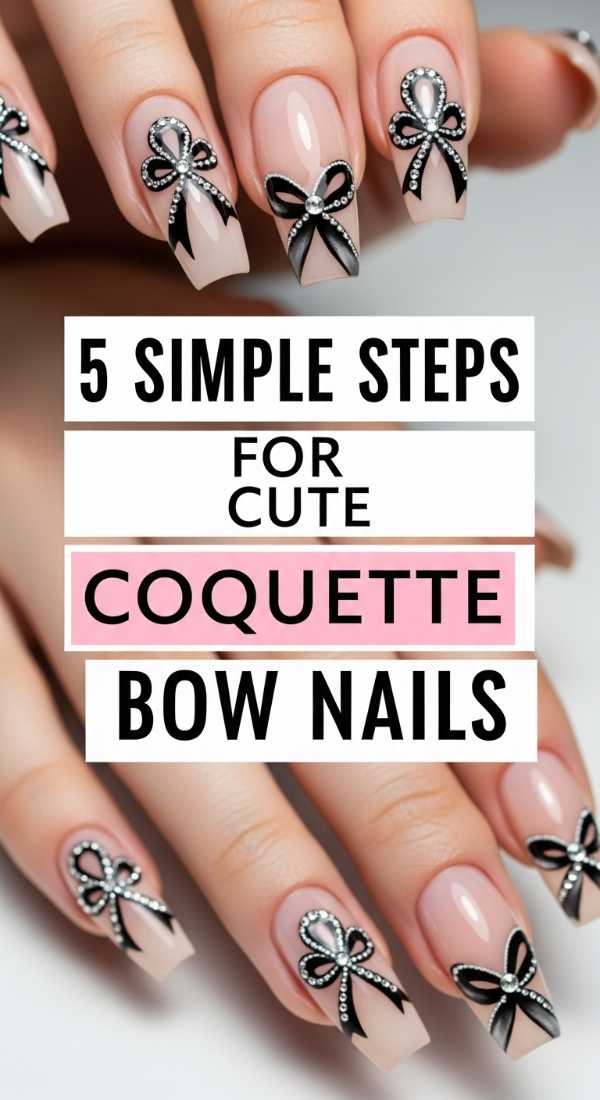
5 Simple Steps for Cute Coquette Bow Nails
Why to love these Nails:
Oh, my loves, there is something so incredibly romantic about the coquette aesthetic. It’s all about embracing your softest, most feminine side with delicate ribbons and pink hues. These nails feel like a love letter to yourself, adding a touch of ballet-core whimsy to every gesture you make.
Essential Items:
- Soft blush pink base polish
- White 3D nail art gel or tiny ribbon charms
- Ultra-fine liner brush
- Top coat
How to Prepare:
- Apply two coats of your favorite soft pink base and let it dry completely.
- Using a fine liner brush, draw two small triangles meeting at a center point to form a bow shape.
- Fill in the triangles and add two delicate ‘tails’ flowing downward.
- Add a tiny dot of silver glitter or a pearl in the center of the bow for extra charm.
- Seal the look with a high-shine top coat to protect your tiny masterpiece.
Budget Range
- OPI Bubble Bath ($11.49)
- Saviland Liner Gel Set ($14.99)
- Makartt Rhinestone Glue ($8.99)
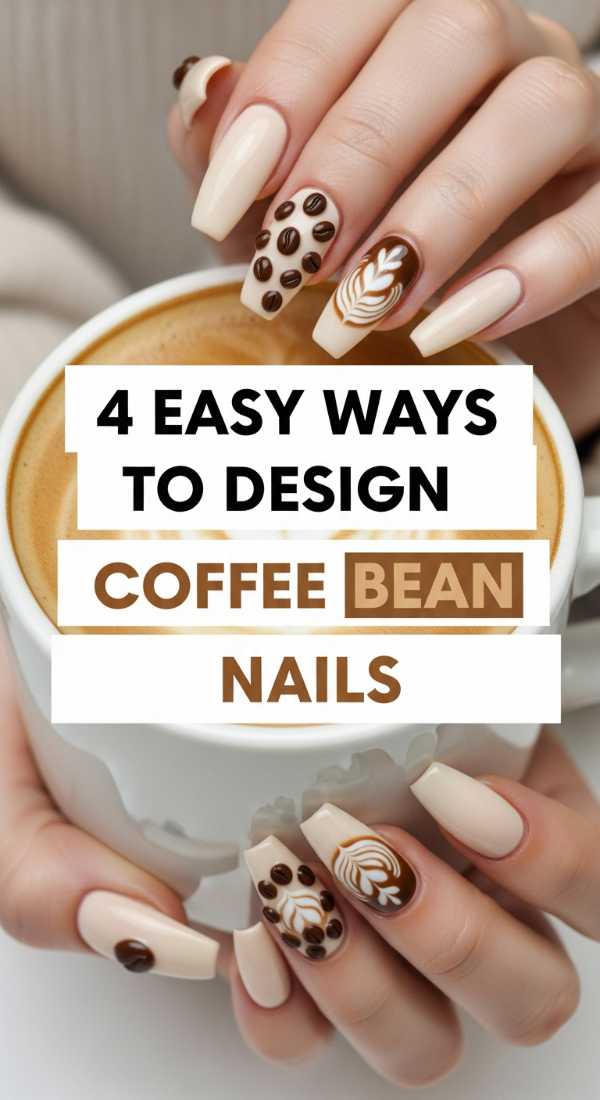
4 Easy Ways to Design Coffee Bean Nails
Why to love these Nails:
If you’re a coffee lover like me, this design is like a warm hug in a mug for your hands. It’s earthy, sophisticated, and perfectly cozy for those rainy afternoons spent in a café. The rich brown tones are so grounding and chic, making them the ultimate mood-setter for autumn or winter.
Essential Items:
- Espresso brown polish
- Caramel or tan accent polish
- Dotting tool
- Matte top coat
How to Prepare:
- Paint your nails with a creamy tan base to represent the ‘latte’ backdrop.
- Using a dotting tool and dark brown polish, create small oval shapes across the nail.
- Take a toothpick or thin brush and draw a tiny vertical line through the center of each oval to create the ‘bean’ crease.
- Finish with a matte top coat for a realistic, roasted bean texture.
Budget Range
- Essie Expressie ‘Cold Brew’ ($9.99)
- Modelones Brown Gel Polish Set ($12.99)
- Dotting Tool Kit ($5.99)
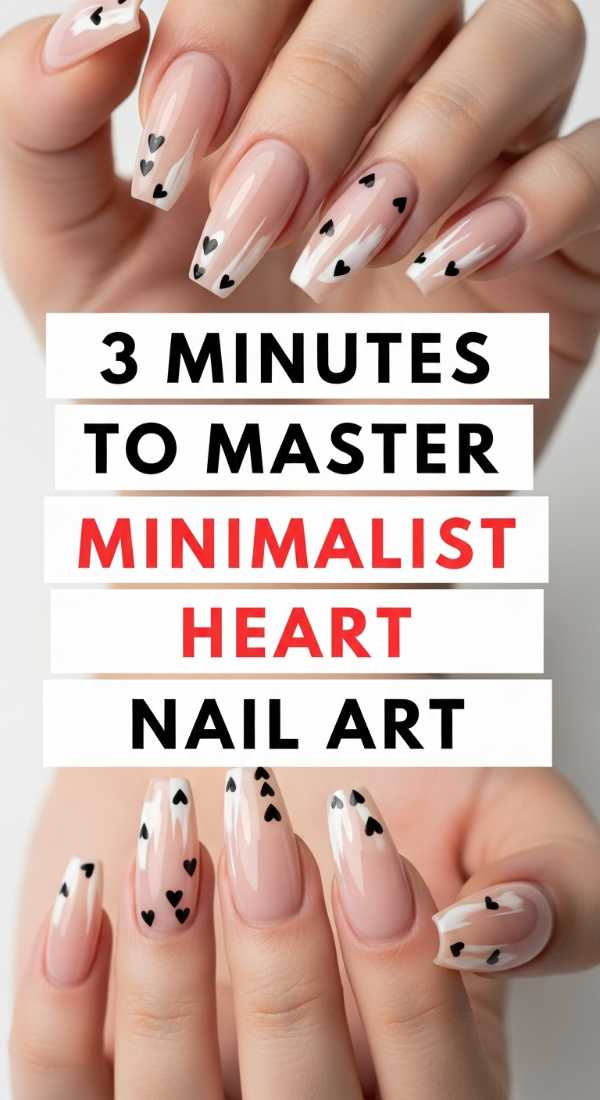
3 Minutes to Master Minimalist Heart Nail Art
Why to love these Nails:
Sometimes, the quietest designs speak the loudest. These minimalist hearts are perfect for my loves who want a touch of sweetness without the fuss. It’s a gentle reminder to lead with love in everything you do, tucked away on a clean, nude canvas.
Essential Items:
- Sheer nude base polish
- Red or black nail polish
- A toothpick or bobby pin
How to Prepare:
- Start with a clean, buffed nail and a single coat of sheer nude polish.
- Dip the tip of a toothpick into your chosen heart color.
- Place two dots side-by-side on the nail, then drag both dots downward to meet in a ‘V’ shape to form the heart.
Budget Range
- Zoya Naked Manicure ($12.00)
- Sally Hansen Insta-Dri Red ($5.49)
- Generic Bobby Pins ($2.00)
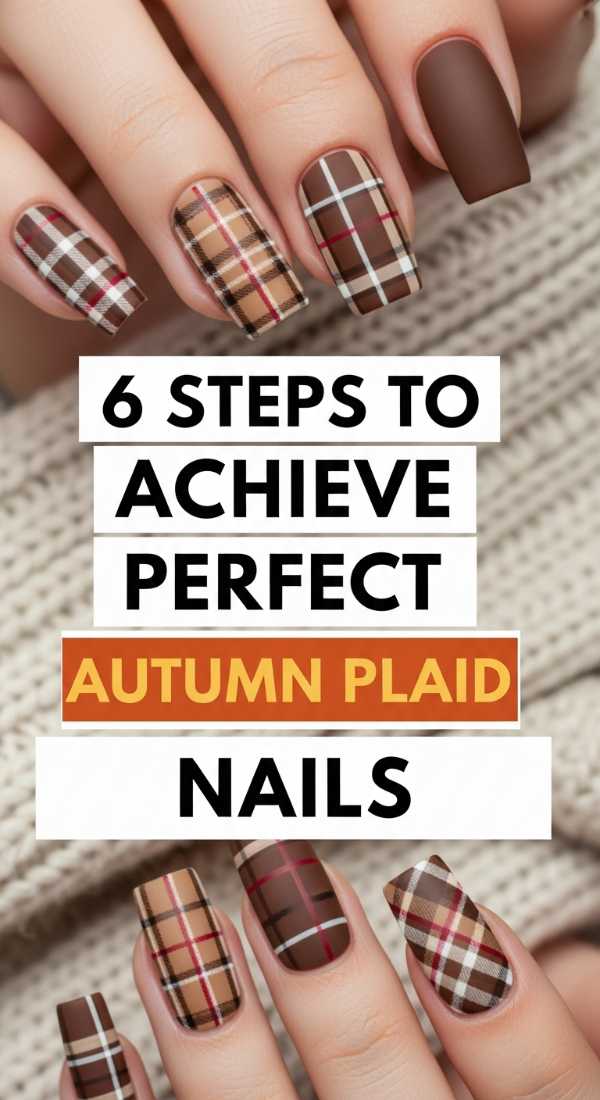
6 Steps to Achieve Perfect Autumn Plaid Nails
Why to love these Nails:
Is there anything more nostalgic than a plaid pattern? It reminds me of oversized flannels and crisp morning walks through fallen leaves. This design brings a structural, cozy element to your look that feels both classic and incredibly trendy during the harvest season.
Essential Items:
- Deep forest green or burnt orange polish
- Gold striping tape or metallic liner
- White and black striping polish
How to Prepare:
- Apply your primary autumn color as the base.
- Draw two thick vertical stripes in a contrasting shade using a flat brush.
- Draw two matching horizontal stripes to create a grid.
- Use a thin liner brush to add very fine white or black lines overlapping the grid.
- Add a single thin gold line for a touch of luxury.
- Finish with a thick top coat to level out the layers.
Budget Range
- Orly Terra Nova Collection ($15.00)
- Beetles Nail Art Liners ($13.99)
- Nail Striping Tape Set ($6.50)
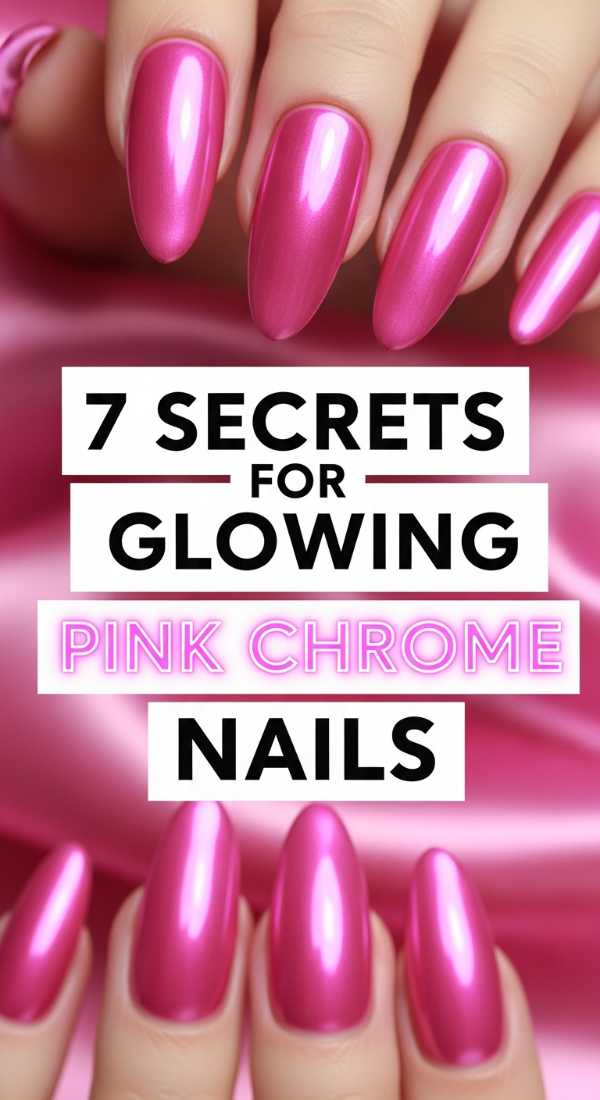
7 Secrets for Glowing Pink Chrome Nails
Why to love these Nails:
These are the ultimate ‘it-girl’ nails, my loves! The pink chrome finish has a futuristic, pearlescent glow that catches the light in the most magical way. It’s like having tiny sunset clouds or holographic bubbles right on your fingertips—pure Y2K energy!
Essential Items:
- Pale pink gel polish
- No-wipe top coat
- Pink chrome or holographic powder
- Sponge applicator
How to Prepare:
- Apply and cure your pink gel base.
- Apply a no-wipe top coat and cure for only 30 seconds (it needs to be slightly tacky).
- Dip your sponge into the chrome powder and rub it firmly onto the nail surface.
- Continue buffing until a mirror-like finish appears.
- Gently brush off excess powder with a soft brush.
- Apply another layer of top coat and cure fully to seal the glow.
- Wipe the edges with alcohol for a crisp finish.
Budget Range
- Artdone Chrome Powder Set ($9.99)
- Gelish Mini Pink Smooth ($10.50)
- SUNUV LED Nail Lamp ($24.00)
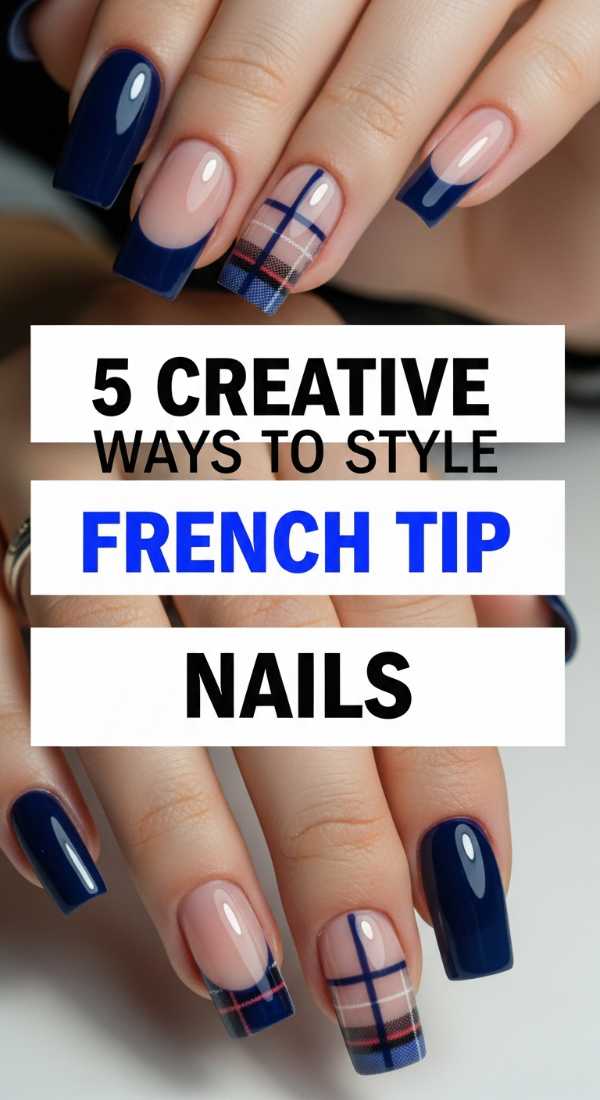
5 Creative Ways to Style French Tip Nails
Why to love these Nails:
We all love a classic, but these creative twists on the French tip are where the real fun begins. It’s about taking a timeless silhouette and making it your own—whether it’s through neon colors, double lines, or V-shapes. It’s chic, polished, and endlessly versatile.
Essential Items:
- Nude base polish
- Various colored polishes for the tips
- French tip guides or a silicone stamper
How to Prepare:
- Apply your base nude and let it dry.
- Apply polish to the edge of a silicone stamper.
- Gently press your nail tip into the stamper at an angle to create a perfect ‘smile line’.
- Try a ‘double French’ by adding a second, thinner line just below the first one.
- Seal with a glossy top coat.
Budget Range
- Silicone Nail Stamper ($7.00)
- Holler and Glow Nail Polish ($4.00)
- Maniology French Tip Plates ($8.00)
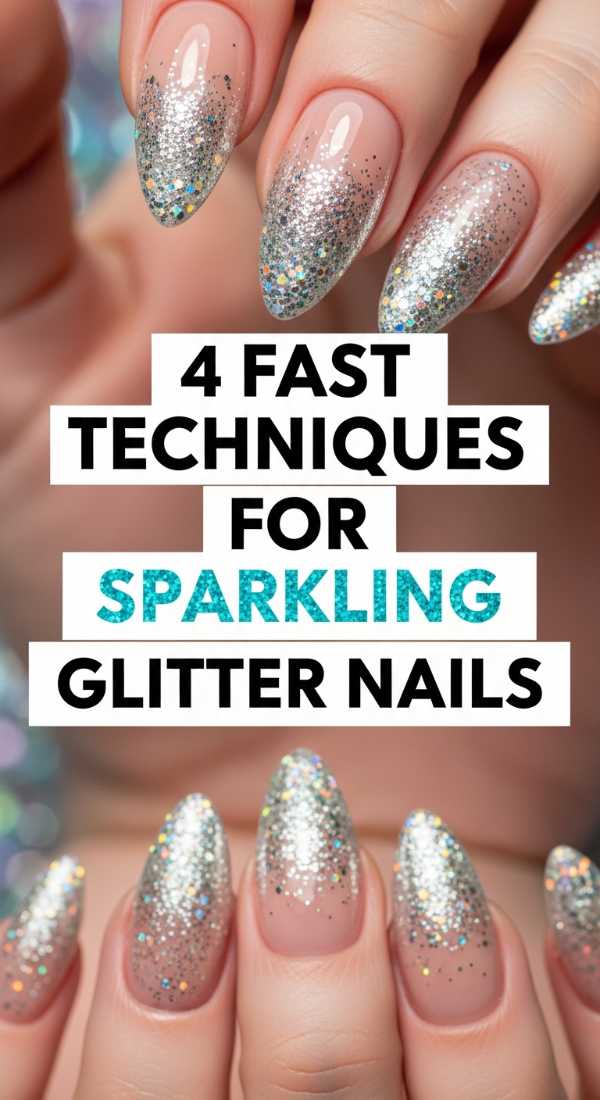
4 Fast Techniques for Sparkling Glitter Nails
Why to love these Nails:
For those days when you just need to shine, glitter is your best friend. It’s joyful, celebratory, and impossible to look at without smiling. Whether you want a full sparkle or a subtle gradient, it’s the quickest way to add a bit of ‘wow’ to your routine.
Essential Items:
- Loose cosmetic-grade glitter or glitter polish
- Make-up sponge
- Peel-off base coat (for easy removal)
How to Prepare:
- Apply a peel-off base coat to make cleanup a breeze later.
- Dab glitter polish onto a makeup sponge to soak up excess liquid.
- Press the sponge onto the nail for maximum glitter density in one go.
- Add a second layer of chunky glitter near the tips for an ombre effect.
Budget Range
- Unt Ready for Takeoff Base Coat ($15.00)
- Holo Taco Glitter Polish ($14.00)
- NYX Face & Body Glitter ($6.50)
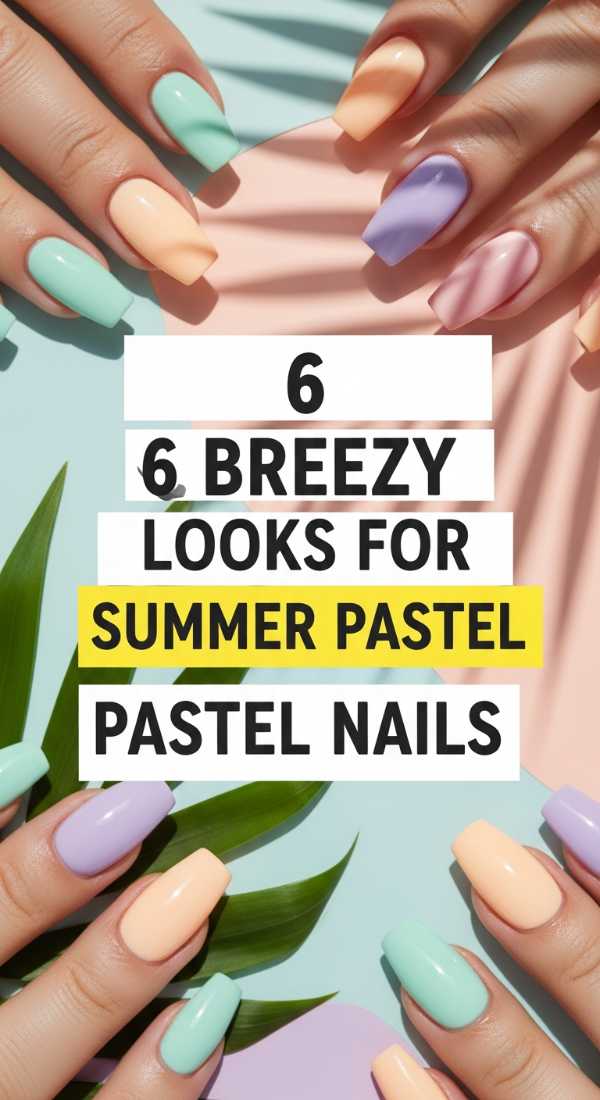
6 Breezy Looks for Summer Pastel Nails
Why to love these Nails:
Summer pastels are like a cool breeze on a humid day. Lavender, mint, and lemon tones bring such a lighthearted, airy feeling to your style. They look incredible against sun-kissed skin and make every outfit feel a bit more whimsical and bright.
Essential Items:
- Pastel polish set (mint, lilac, sky blue)
- Matte and glossy top coats
- White polish for accents
How to Prepare:
- Paint each nail a different pastel shade for a ‘skittle’ mani.
- Use a white polish to add tiny daisy petals over the pastel base.
- Try a ‘mismatched’ look with matte on one hand and glossy on the other.
- Add a tiny swipe of silver at the cuticle for a ‘reverse French’ pastel look.
- Use a sponge to blend two pastels together for a soft sunset gradient.
- Apply a clear coat with a hint of shimmer to finish.
Budget Range
- Barry M Gelly Hi Shine Pastels ($6.00 each)
- Beetles Pastel Gel Set ($16.99)
- Revlon Matte Top Coat ($8.00)
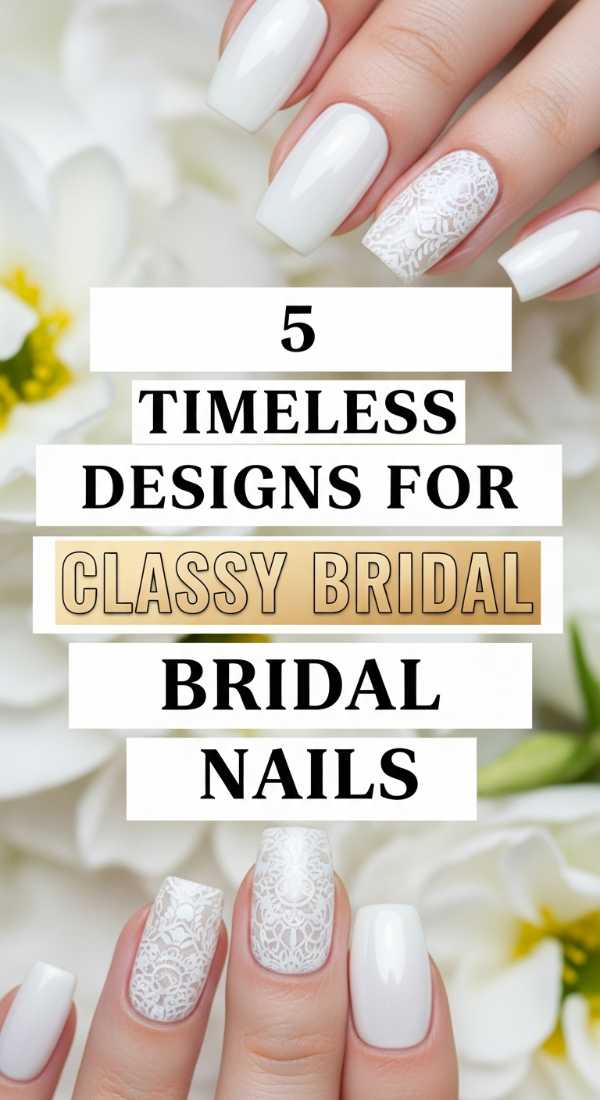
5 Timeless Designs for Classy Bridal Nails
Why to love these Nails:
Whether it’s your big day or you’re just a guest, bridal-style nails are the epitome of elegance. They are clean, sophisticated, and understated. These designs focus on enhancing your natural beauty with soft whites, pearls, and delicate shimmers that feel truly timeless.
Essential Items:
- Milky white polish
- Tiny flat-back pearls
- Silver or rose gold foil
How to Prepare:
- Apply two thin coats of a milky, semi-sheer white polish.
- Place a single tiny pearl at the base of the ring finger for a ‘jewelry’ accent.
- Add a touch of rose gold foil to the tips for a ‘distressed’ metallic edge.
- Keep the shape soft—either oval or a gentle almond—to maintain the elegant vibe.
- Finish with a high-gloss, long-wear top coat.
Budget Range
- Essie ‘Marshmallow’ ($10.00)
- Nail Art Pearl Studs ($5.99)
- Old English Rose Gold Foil ($7.00)
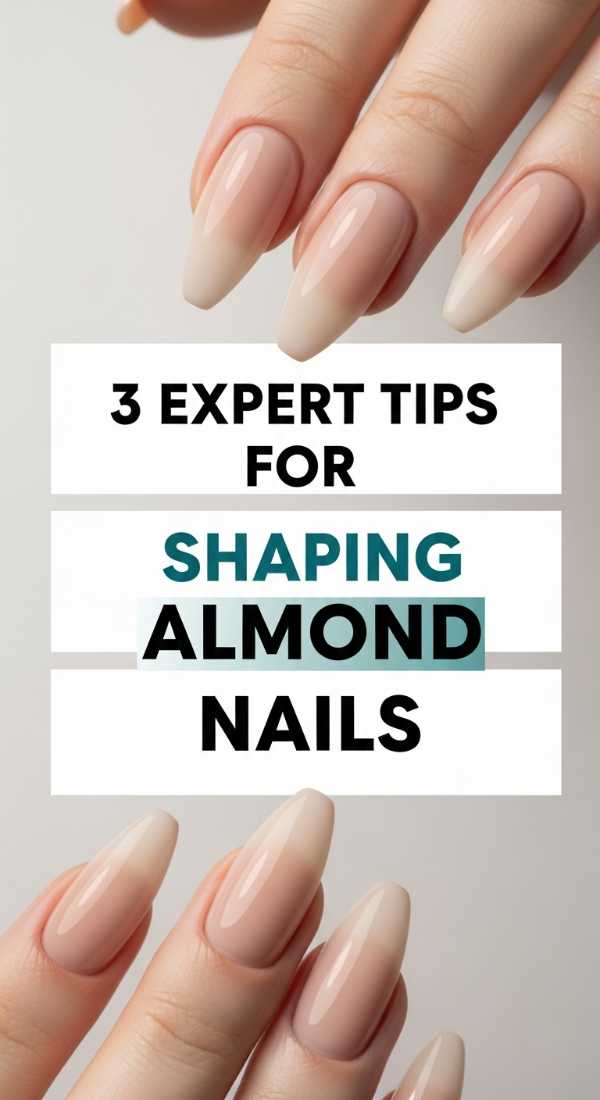
3 Expert Tips for Shaping Almond Nails
Why to love these Nails:
Almond is the queen of nail shapes, my loves! It elongates the fingers and provides the perfect sophisticated canvas for any art. It’s durable yet delicate, giving you that ‘expensive’ look without needing a trip to a high-end salon.
Essential Items:
- 180/240 grit nail file
- Glass nail file (for smoothing)
- Cuticle oil
How to Prepare:
- Find the center point of your nail tip and mark it mentally; file the sides toward this center at a 45-degree angle.
- Round off the peak to ensure it’s a soft curve, not a sharp point (that would be stiletto!).
- Use a glass file to smooth the edges to prevent peeling or snagging.
Budget Range
- Mont Bleu Glass Nail File ($10.00)
- Flowery Blue Files ($2.00)
- CND SolarOil ($9.00)
Embrace Your Inner Artist
I hope these tutorials spark a little flame of creativity in your hearts today. Remember, my loves, nail art isn’t about perfection—it’s about the joy of the process and the little boost of confidence you feel every time you look down at your hands. You are the artist of your own life, and your nails are just one beautiful way to show the world who you are. Go forth and create something stunning!