

365 Days of Mani Magic: Your All-Access Pass to Seasonal DIY Nails
Hello, my loves! Welcome to my cozy corner of the internet where we believe that self-care starts right at your fingertips. There is something so incredibly grounding about taking a quiet hour for yourself, turning on your favorite acoustic playlist, and watching a fresh set of nails come to life. It’s more than just polish; it’s a tiny canvas for your soul to dance on, a little ritual that says, ‘I am worth the time and the beauty.’
As the seasons shift and the light changes in our living rooms, I find myself craving different colors and textures. Whether it’s the soft whisper of a spring lavender or the fiery confidence of a summer coral, our nails tell the story of where we are in the journey of the year. I’ve gathered my absolute favorite designs and secrets to share with you today, like a warm, cloud-soft embrace for your creative spirit. Let’s dive into this year of magic together, one brushstroke at a time.
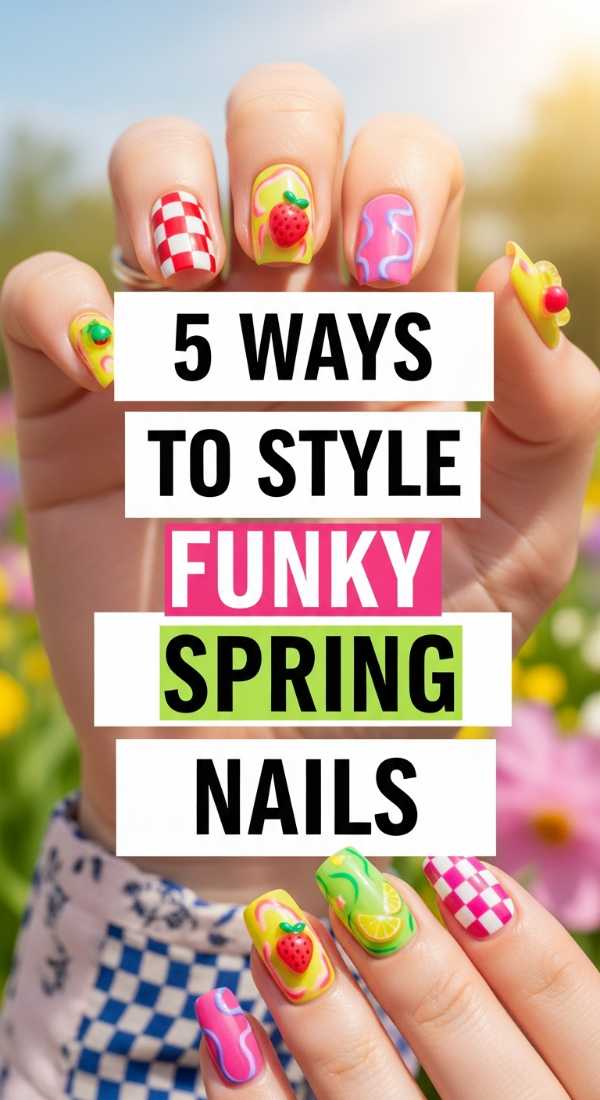
5 Ways to Style Funky Spring Nails
Why to love this Design:
Spring is all about the rebirth of creativity! Funky spring nails allow you to break the rules of traditional pastels by adding whimsical patterns like checkers or swirls that mirror the playful energy of a garden coming back to life. It’s a joyful way to express your unique personality while staying seasonal.
Essential Elements:
- Mismatched pastel shades
- A fine detailing brush
- Geometric stamps or stickers
- Matte and glossy top coat mixing
- Dotting tools for dainty accents
How to Prepare:
- Shape nails into a soft oval to mimic flower petals.
- Apply a clear base coat to protect the natural nail.
- Paint each nail a different base pastel color.
- Use a detailing brush to add wavy lines or tiny checks.
- Seal with a high-shine top coat for a professional finish.
Budget Range
- Essie Pastel Collection ($9.00)
- Beetles Nail Art Brushes ($7.99)
- Sally Hansen Hard as Nails Base Coat ($4.50)
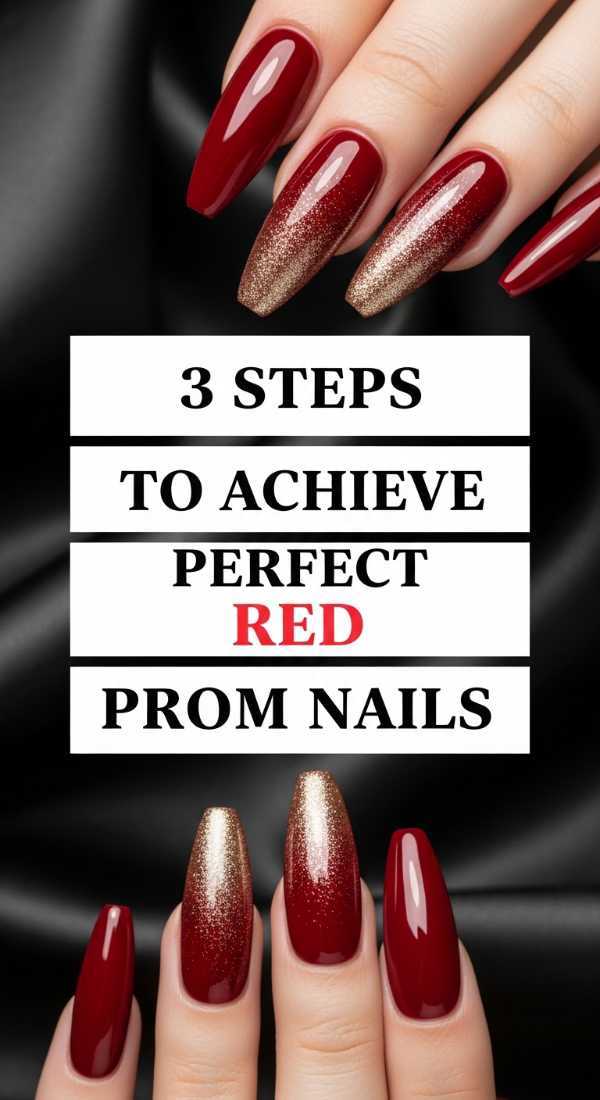
3 Steps to Achieve Perfect Red Prom Nails
Why to love this Design:
There is nothing quite as timeless and powerful as a classic red mani for a big night like prom. It exudes a soft, romantic confidence that pairs beautifully with any dress color, giving you that ‘Old Hollywood’ glow that never goes out of style. It’s the ultimate statement of elegance.
Essential Elements:
- Deep crimson or true red polish
- Smoothing ridge filler
- High-gloss gel-effect top coat
How to Prepare:
- Buff the nail surface until perfectly smooth and apply ridge filler.
- Apply two thin, even coats of red polish, capping the edges.
- Finish with a thick layer of gel-effect top coat for that glass-like shine.
Budget Range
- OPI ‘Big Apple Red’ ($11.50)
- Revlon Quick Dry Top Coat ($6.00)
- Flowery Nail Buffer Block ($2.00)
6 Must-Have Nail Colors for Spring

Why to love this Design:
Curating a palette for the season is like picking a bouquet that never wilts. These six colors represent the transition from the chill of winter to the warmth of spring, offering a soft transition for your wardrobe and your mood. They are the ‘quiet luxury’ of the nail world.
Essential Elements:
- Sage Green
- Dusty Periwinkle
- Creamy Peach
- Soft Lavender
- Pale Lemonade
- Blush Pink
How to Prepare:
- Dehydrate the nail bed with a quick swipe of alcohol.
- Choose one color for a minimalist look or all six for a ‘skittle’ mani.
- Apply two coats of your chosen shade for full opacity.
Budget Range
- Zoya Professional Lacquer Spring Shades ($12.00 each)
- Orly Bonder Base Coat ($10.00)
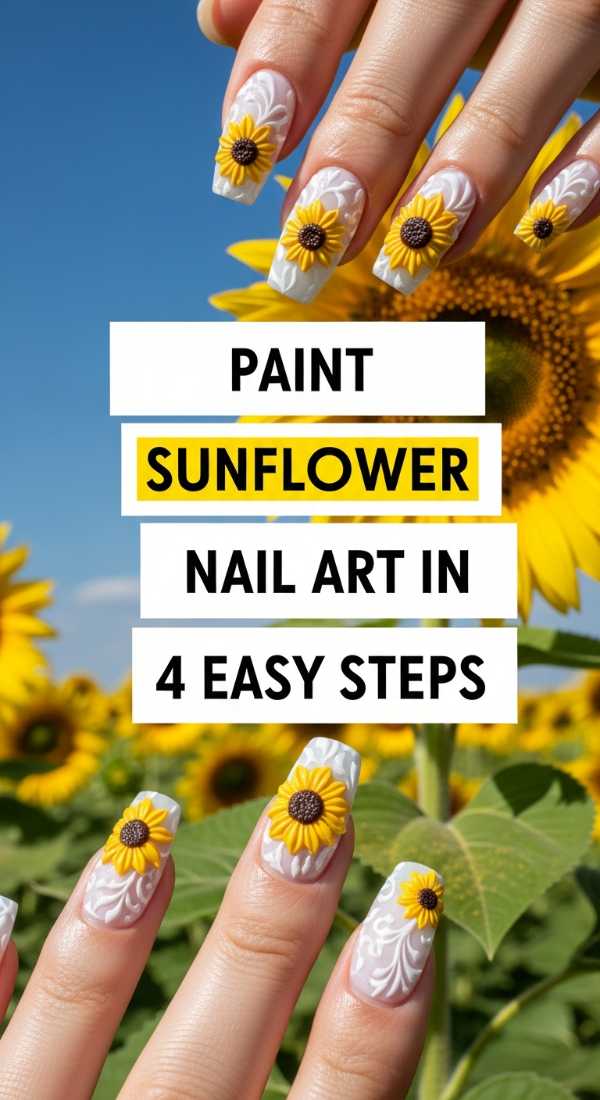
Paint Sunflower Nail Art in 4 Easy Steps
Why to love this Design:
Sunflowers are the ultimate symbol of looking toward the light. Adding this floral art to your nails brings a literal bit of sunshine to your day. It’s surprisingly simple to achieve and looks like you spent hours at a high-end salon when it only took minutes at your kitchen table.
Essential Elements:
- Bright yellow polish
- Chocolate brown polish
- A toothpick or dotting tool
- Clear top coat
How to Prepare:
- Paint a neutral nude base and let it dry completely.
- Place a large brown dot near the base or corner of the nail.
- Using a toothpick, pull small yellow ‘petals’ outward from the brown center.
- Add tiny black or dark brown dots in the center for texture once dry.
Budget Range
- Holo Taco ‘Butterscotch Hop’ ($11.00)
- Sinful Colors ‘Black on Black’ ($2.00)
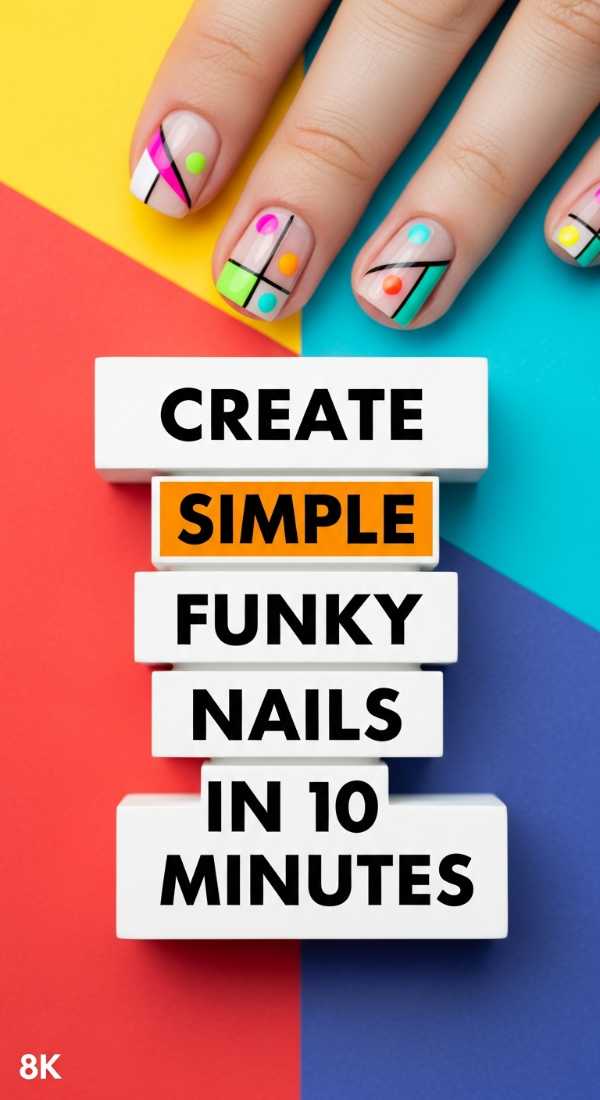
Create Simple Funky Nails in 10 Minutes
Why to love this Design:
We lead busy lives, sweetheart, and sometimes we only have a few minutes for ourselves. This design is for the girl on the go who still wants to feel put-together and edgy. It’s low-effort but high-impact, focusing on negative space and bold accents.
Essential Elements:
- Clear polish
- One bold ‘pop’ color (like electric blue)
- Nail tape or stickers
How to Prepare:
- Apply a clear base.
- Place a piece of tape diagonally across half the nail.
- Paint the exposed half with your bold color and peel the tape immediately.
- Seal with a quick-dry top coat.
Budget Range
- Nail Art Striping Tape ($5.00 for a set)
- Seche Vite Fast Dry Top Coat ($9.00)
5 Secrets for Stunning Hot Coral Nails

Why to love this Design:
Hot coral is the heartbeat of summer! It’s vibrant, warm, and makes your skin look instantly sun-kissed. These secrets will ensure your coral never looks streaky and always looks professionally applied, glowing with a neon-soft finish.
Essential Elements:
- White base polish (the secret glow-up!)
- Vibrant coral polish
- Cuticle oil
How to Prepare:
- Secret 1: Always use a white base coat to make the coral pop.
- Secret 2: Use thin layers to avoid bubbling.
- Secret 3: Clean your edges with a brush dipped in acetone.
- Secret 4: Use a matte top coat for a modern ‘sorbet’ look.
- Secret 5: Hydrate cuticles daily to keep the vibrant color looking fresh.
Budget Range
- China Glaze ‘Flip Flop Fantasy’ ($7.50)
- Cuccio Revitalize Oil ($13.00)
7 Almond Nail Inspo Spring Designs to Try

Why to love this Design:
The almond shape is incredibly flattering—it elongates the fingers and provides a sophisticated canvas for spring art. These seven designs range from delicate French tips with a floral twist to ethereal marble effects that look like spring clouds.
Essential Elements:
- Almond-shaped tips (natural or press-on)
- Iridescent toppers
- Floral water decals
How to Prepare:
- File nails into a tapered point and round off the tip.
- Apply a sheer ‘your nails but better’ base.
- Apply water decals or hand-paint tiny daisies.
- Finish with a UV-protectant top coat to prevent yellowing.
Budget Range
- BTArtbox Almond Press-on Nails ($15.00)
- Born Pretty Floral Decals ($6.00)
4 Baseball Nails Design Ideas for Moms
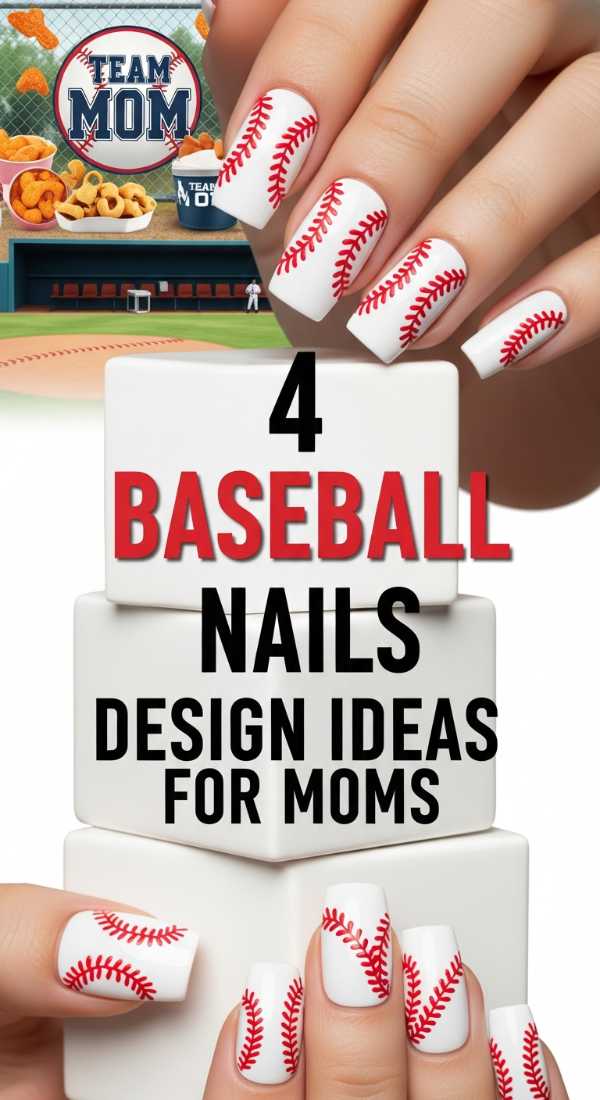
Why to love this Design:
For the moms spending their weekends at the bleachers, this is for you! It’s a sweet way to show your team spirit while keeping your style game strong. It’s approachable, fun, and a great conversation starter with the other sports parents.
Essential Elements:
- White creme polish
- Red striper polish
- Matte top coat (to look like a real baseball!)
How to Prepare:
- Paint nails a crisp white.
- Draw two curved red lines on the sides of the nail.
- Add tiny ‘V’ shapes along the lines to mimic stitching.
- Top with a matte coat for that authentic leather feel.
Budget Range
- Wet n Wild ‘French White’ ($1.50)
- Art Deco Red Nail Striper ($4.00)
Get the Ultimate Summer Nail Inspo in 5 Mins

Why to love this Design:
Summer is a state of mind, and your nails are the passport! This quick-start guide gives you the hottest trends—from ‘glazed donut’ finishes to fruit-inspired art—without the stress of long tutorials. It’s all about high-energy fun.
Essential Elements:
- Neon pigments
- Chrome powders
- Fruit-shaped fimo slices
How to Prepare:
- Pick a bright base color.
- Rub on a pearl chrome powder while the polish is slightly tacky.
- Apply a fruit slice decal with a drop of nail glue.
- Seal everything under a thick gel top coat.
Budget Range
- Ardell Nail Addict Fruit Kit ($8.00)
- PrettyDiva Pearl Chrome Powder ($9.99)
3 Tricks for Butter Yellow Nails with Chrome
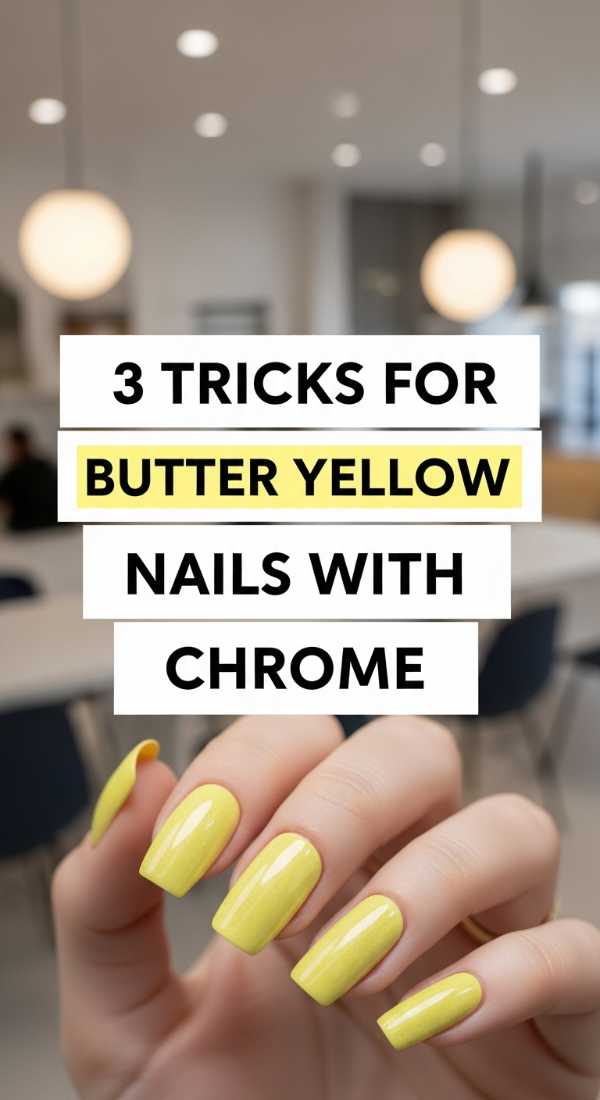
Why to love this Design:
Butter yellow is the ‘it’ color of the season—it’s soft, creamy, and incredibly comforting. Adding a chrome finish turns it into something ethereal and modern. It’s like wearing a sunbeam on your hands, and these tricks make the application flawless.
Essential Elements:
- Pale yellow polish
- White chrome or ‘aurora’ powder
- Sponge applicator
How to Prepare:
- Trick 1: Use a non-wipe top coat before the chrome for a smoother finish.
- Trick 2: Apply the chrome powder with a silicone tool for better burnishing.
- Trick 3: Dust off excess powder thoroughly before the final top coat to avoid ‘glitter’ spots.
Budget Range
- Lights Lacquer ‘Paper Snow’ ($13.00)
- Modelones No-Wipe Gel Top Coat ($7.00)
A Warm, Inspiring Conclusion
My sweet friends, I hope this guide feels like a gentle invitation to play. Your hands do so much for the world—they cook, they type, they hug, and they create. Giving them a little bit of ‘mani magic’ is a beautiful way to honor the work they do every day. Don’t worry about being perfect; the beauty is in the process and the little moments of joy you find along the way. Until next time, stay colorful and keep shining!